2007-2012 Honda Accord Brake Job
Cost of a front and rear brake job at the dealership: $550
Cost of the same job done at home: $200
(And it doesn’t take $350 in tools either!)

Our 2011 Honda Accord needed new brakes and rotors all around and the savings of $350 is well worth the three hours I spent on the job. I have a friend who used to work for Honda and he’s told me that Honda tries to keep their designs simple and not make changes unless there is a good reason for it. When he was working on a new design, they were told to make it as much like the Accord as possible since it works so well. I have to say that, notwithstanding a few idiosyncrasies, the job was the easiest brake job I have done.
I found a video that breaks most of the process down pretty well: https://www.youtube.com/watch?v=-Y6SFNSId24
There were only a few things that weren’t in the video that gave me pause, and I’ve tried to highlight them for myself in the future and for anyone looking to do this job.
Tools Required
Jack (you can use the one that comes with the car)
Blocks for the wheels
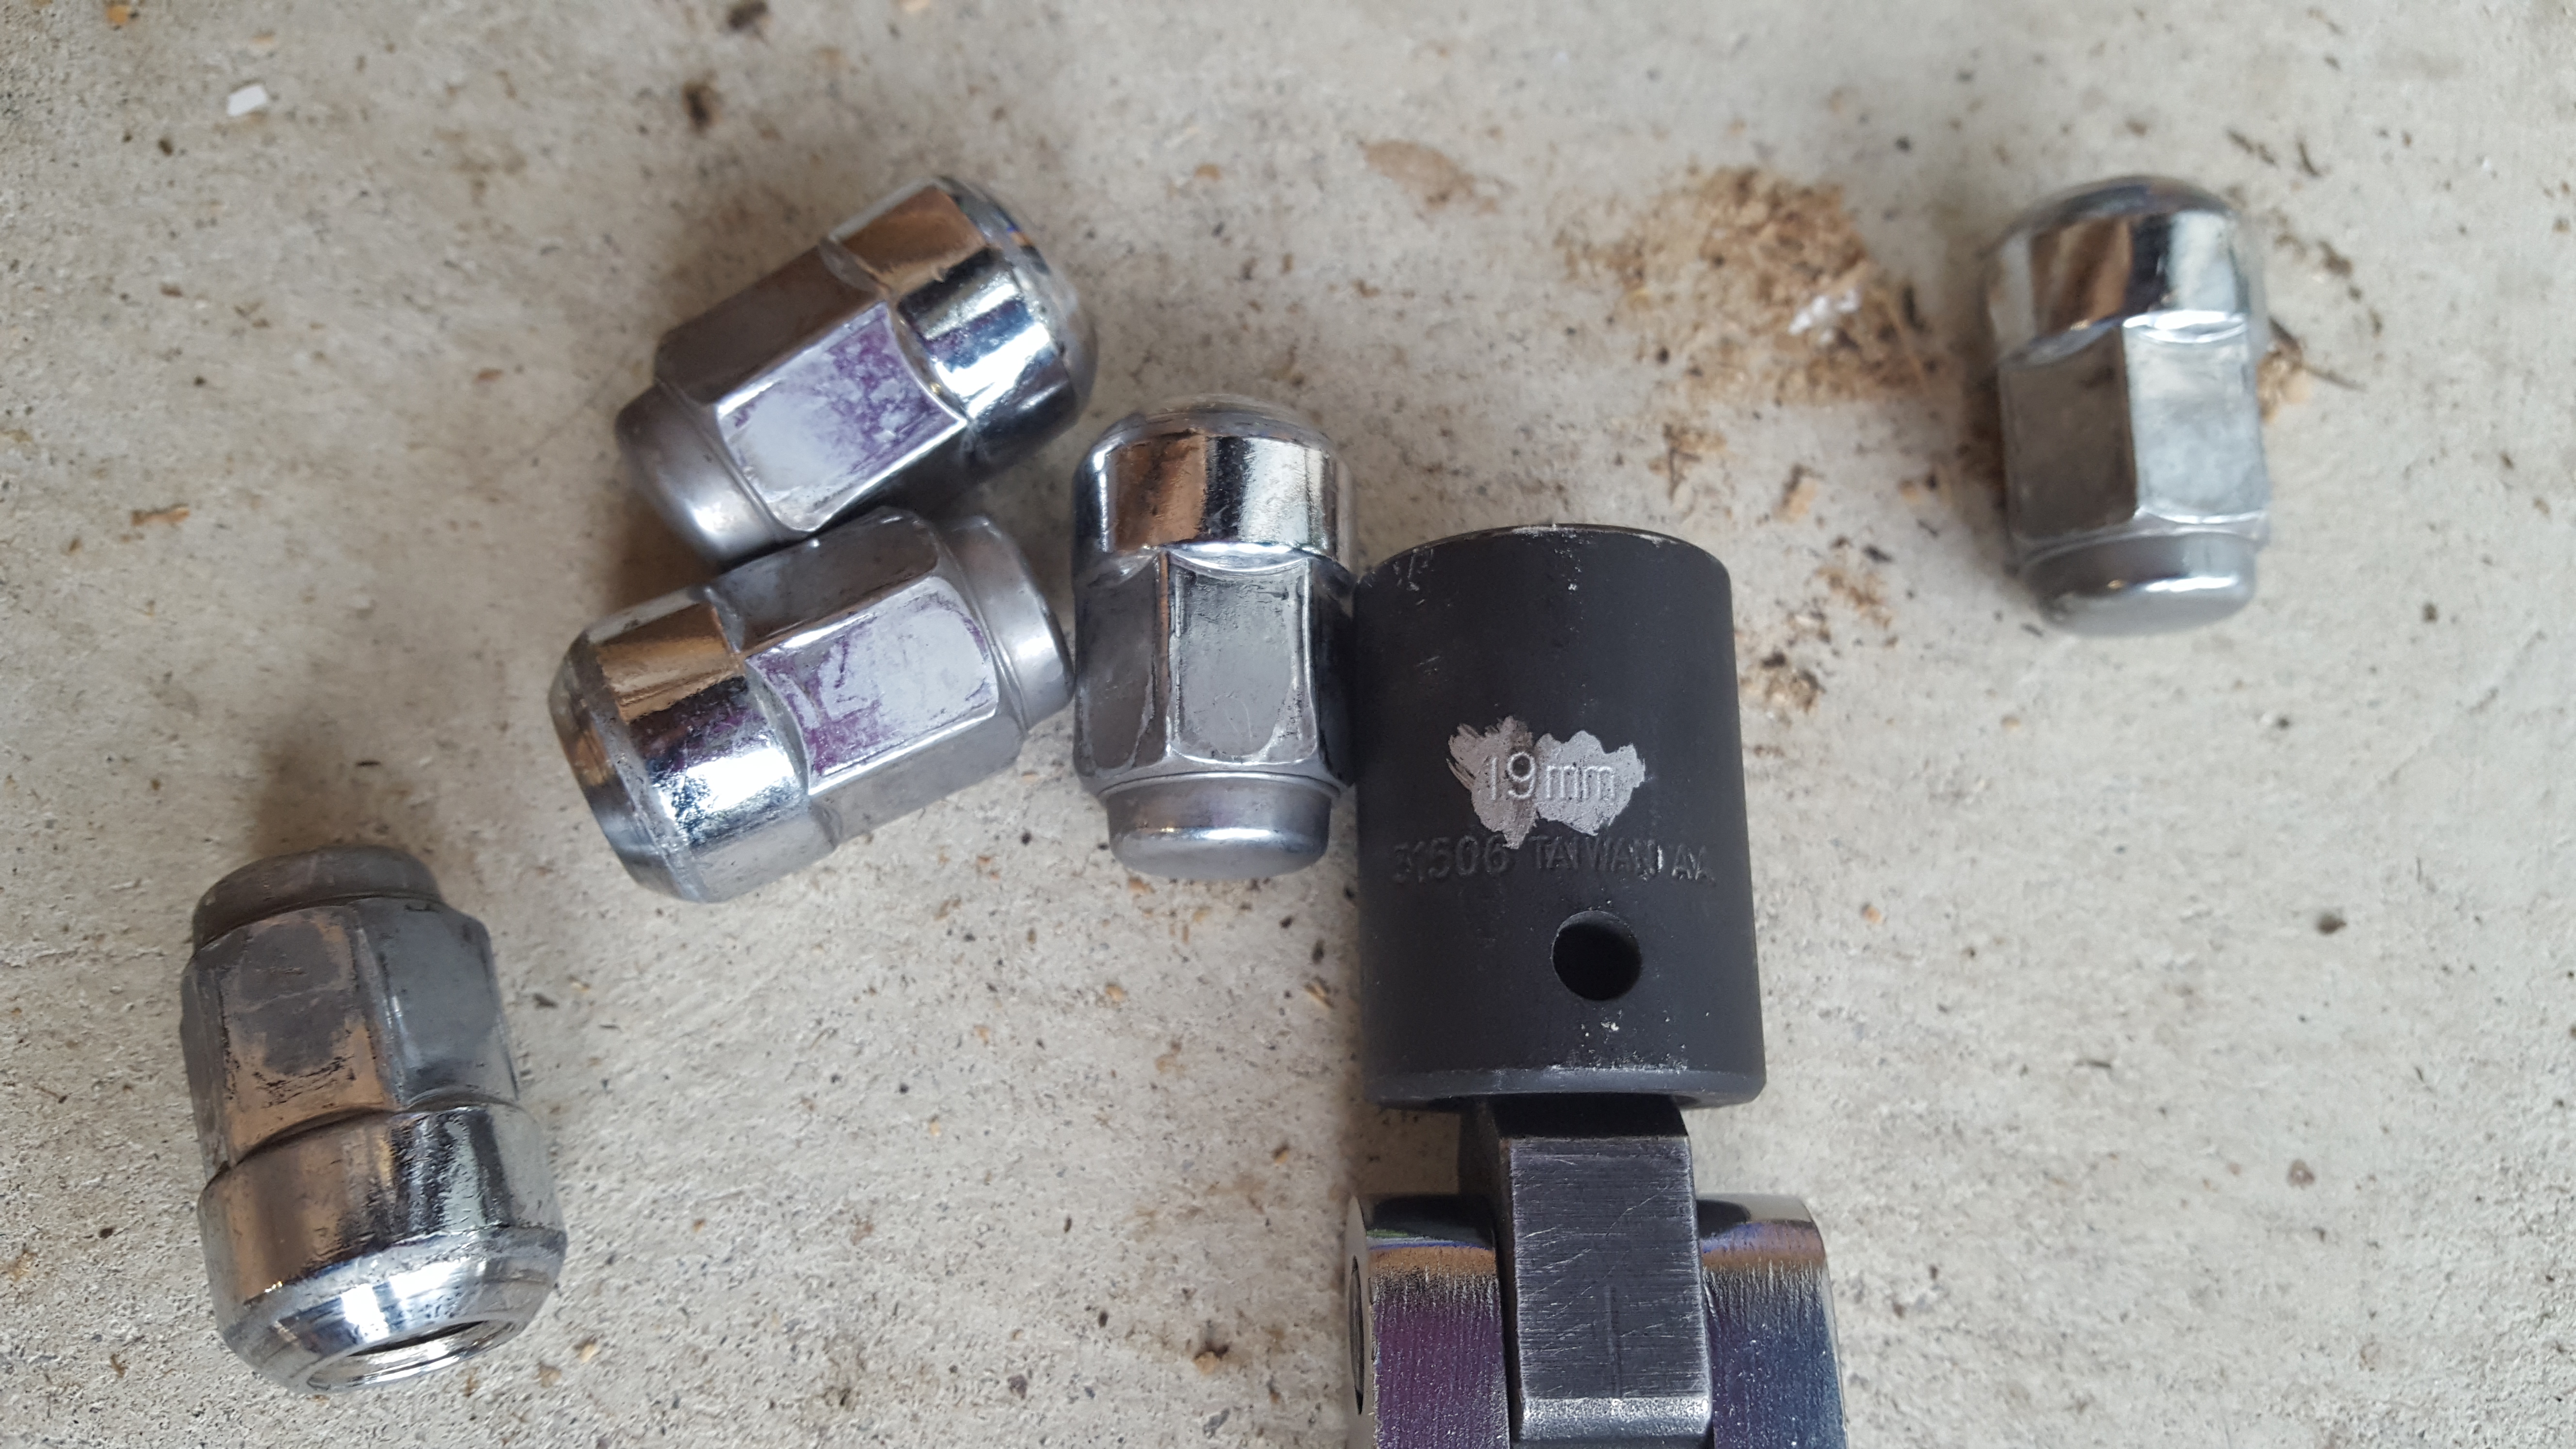
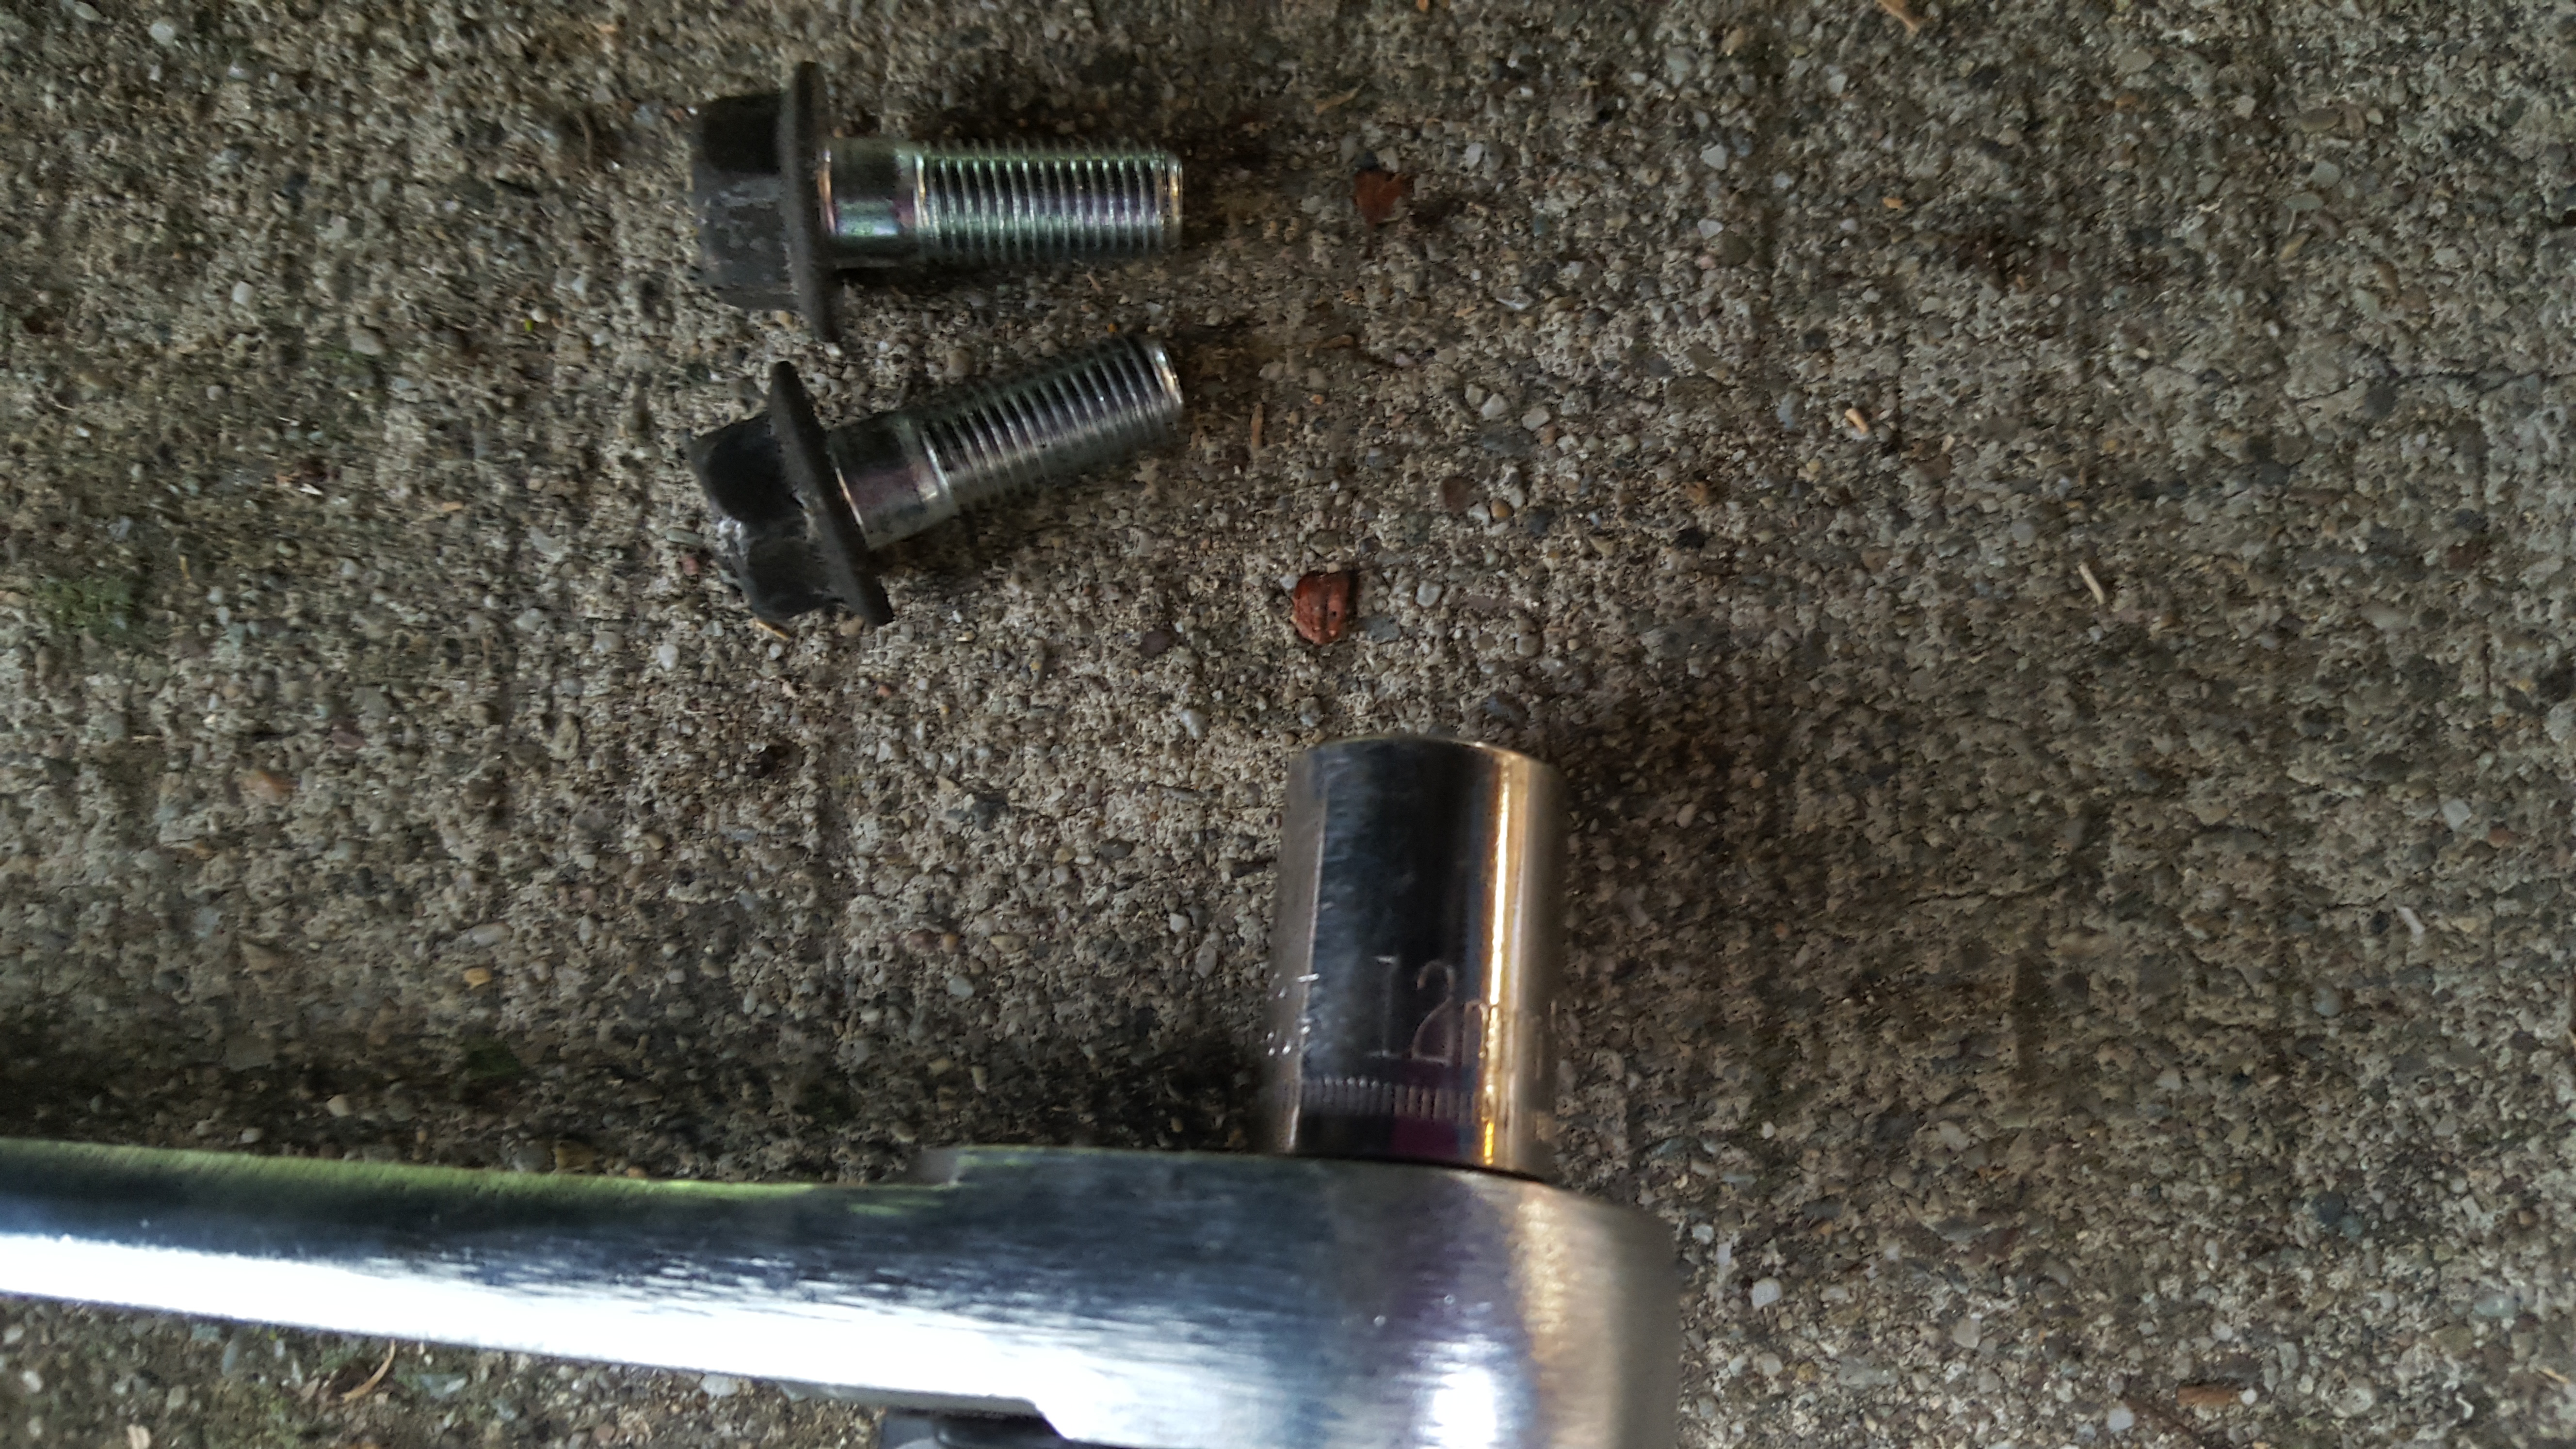
Sockets: 19, 17, 12 mm
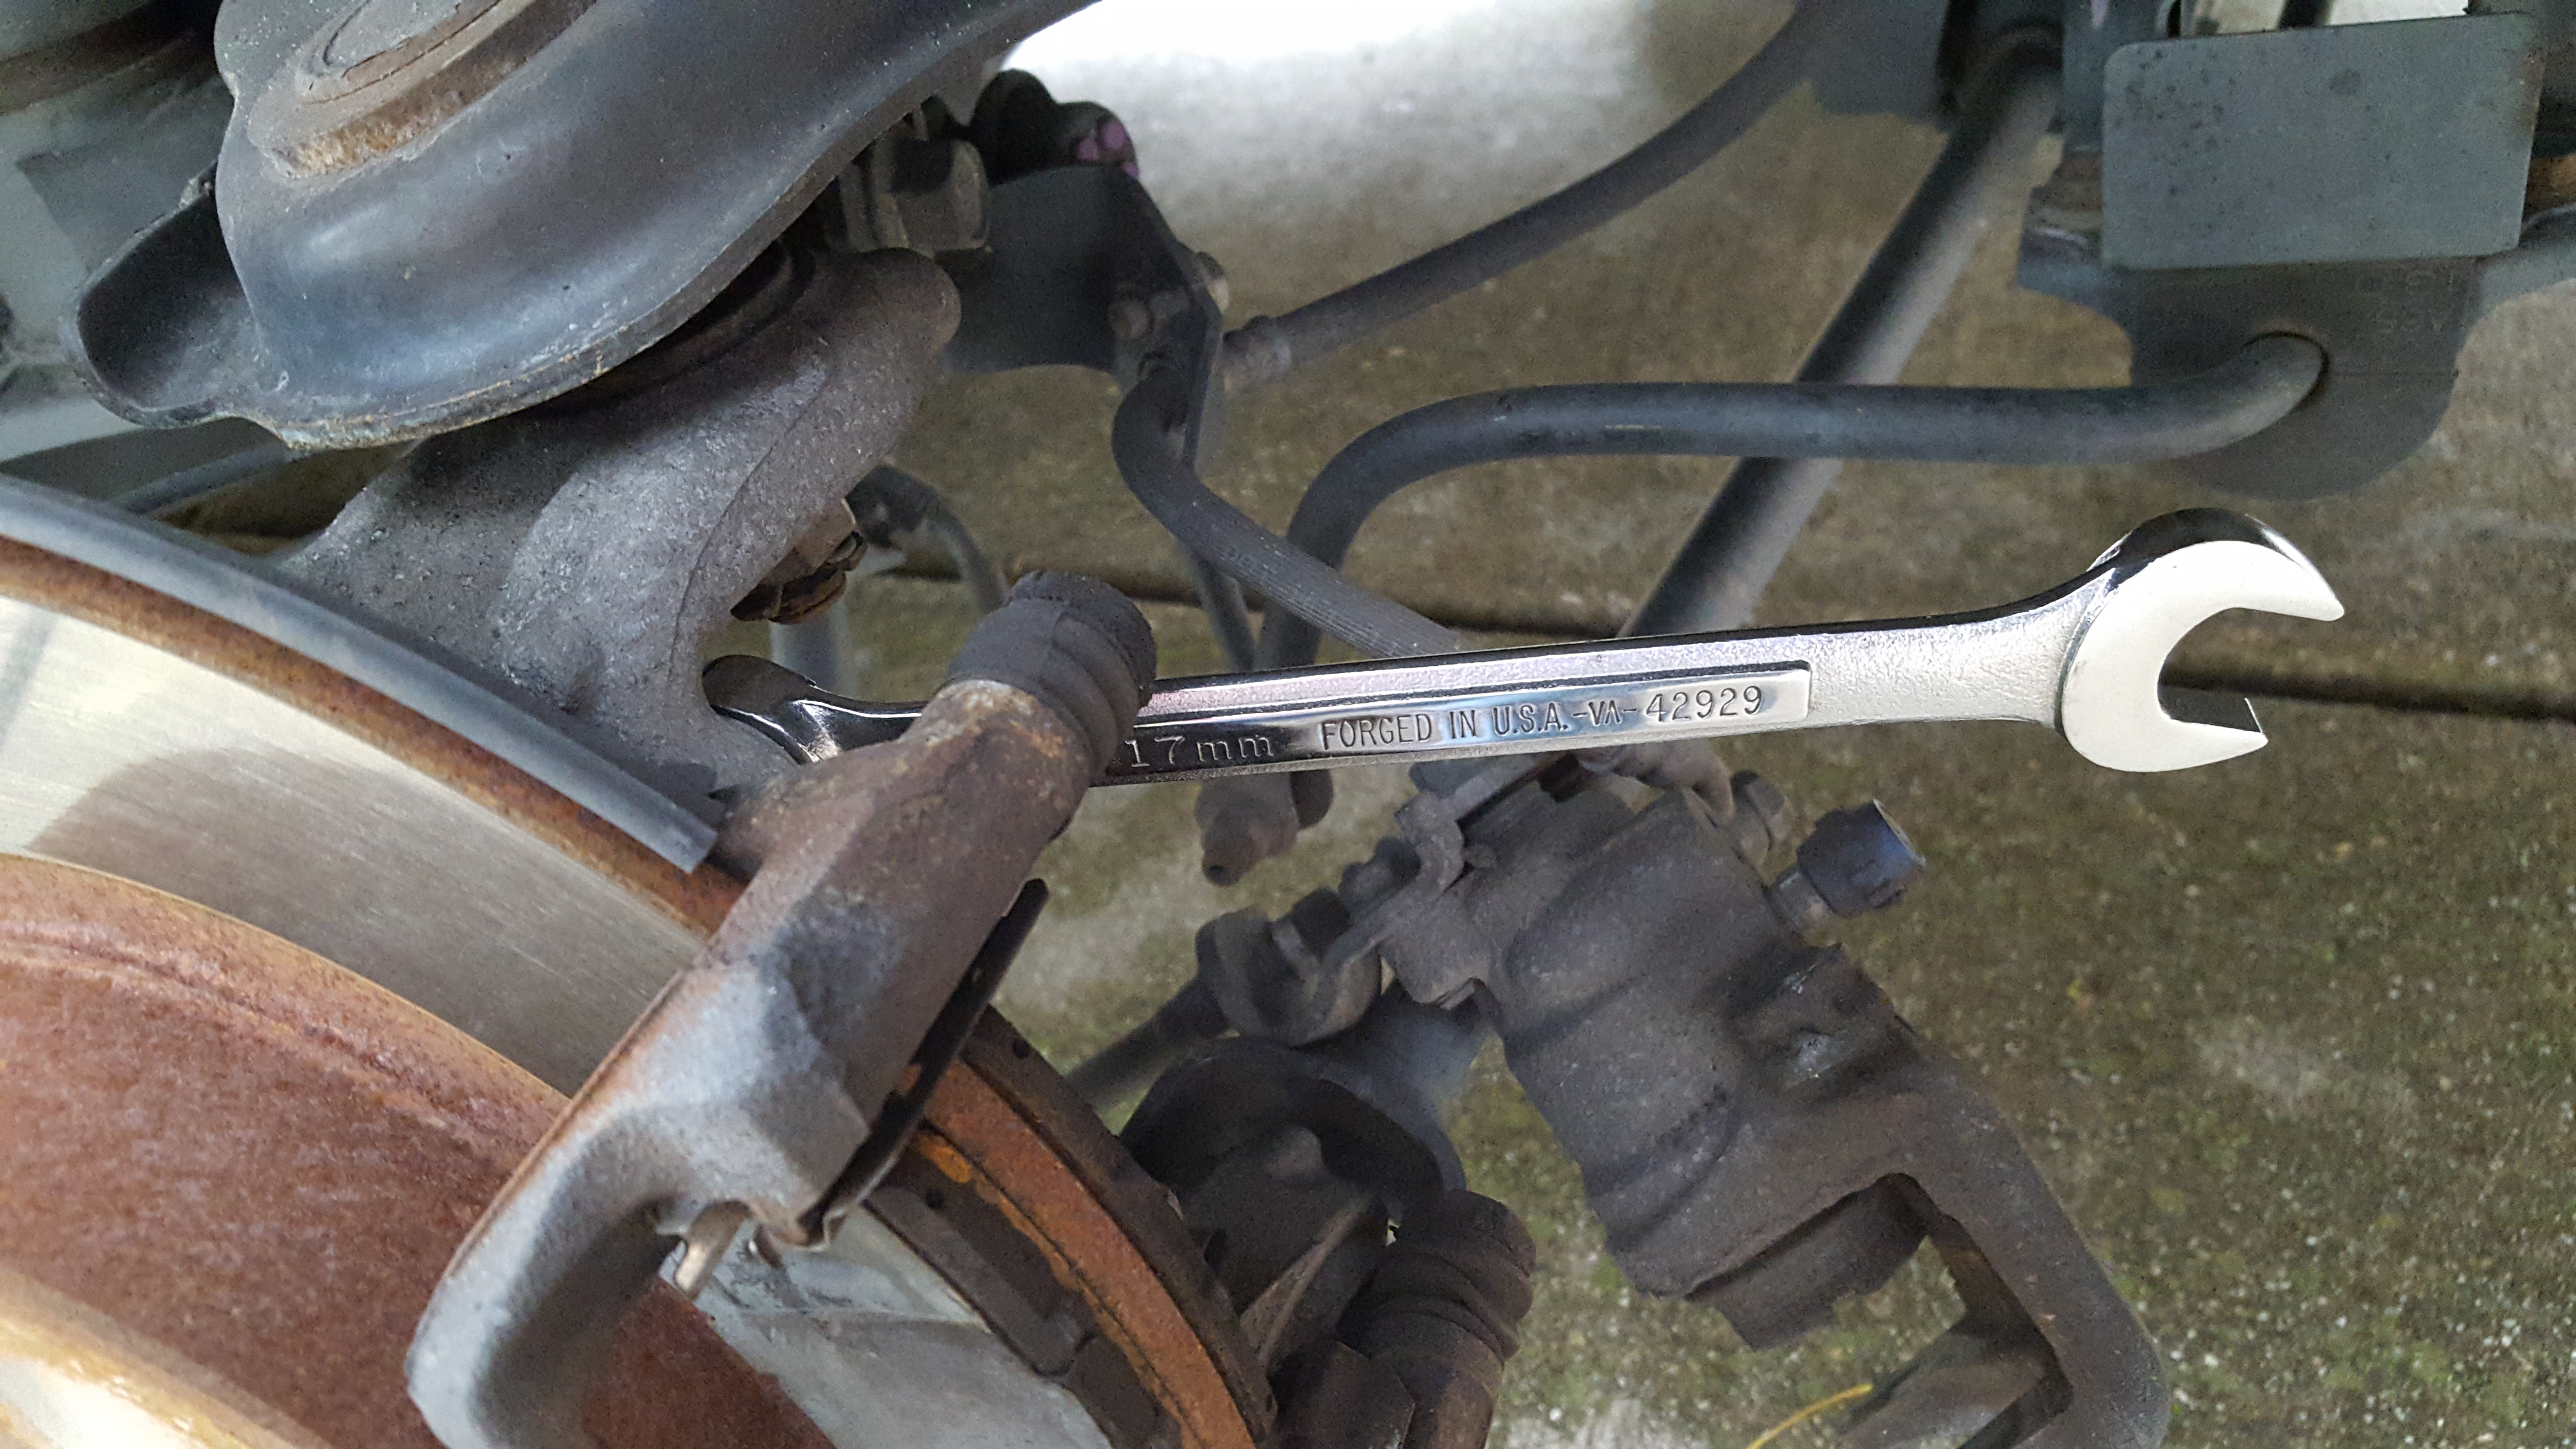
17mm wrench (needed for the rear)
Phillips screwdriver
Rags
Brake cleaner
Small pry bar
Needlenose pliers
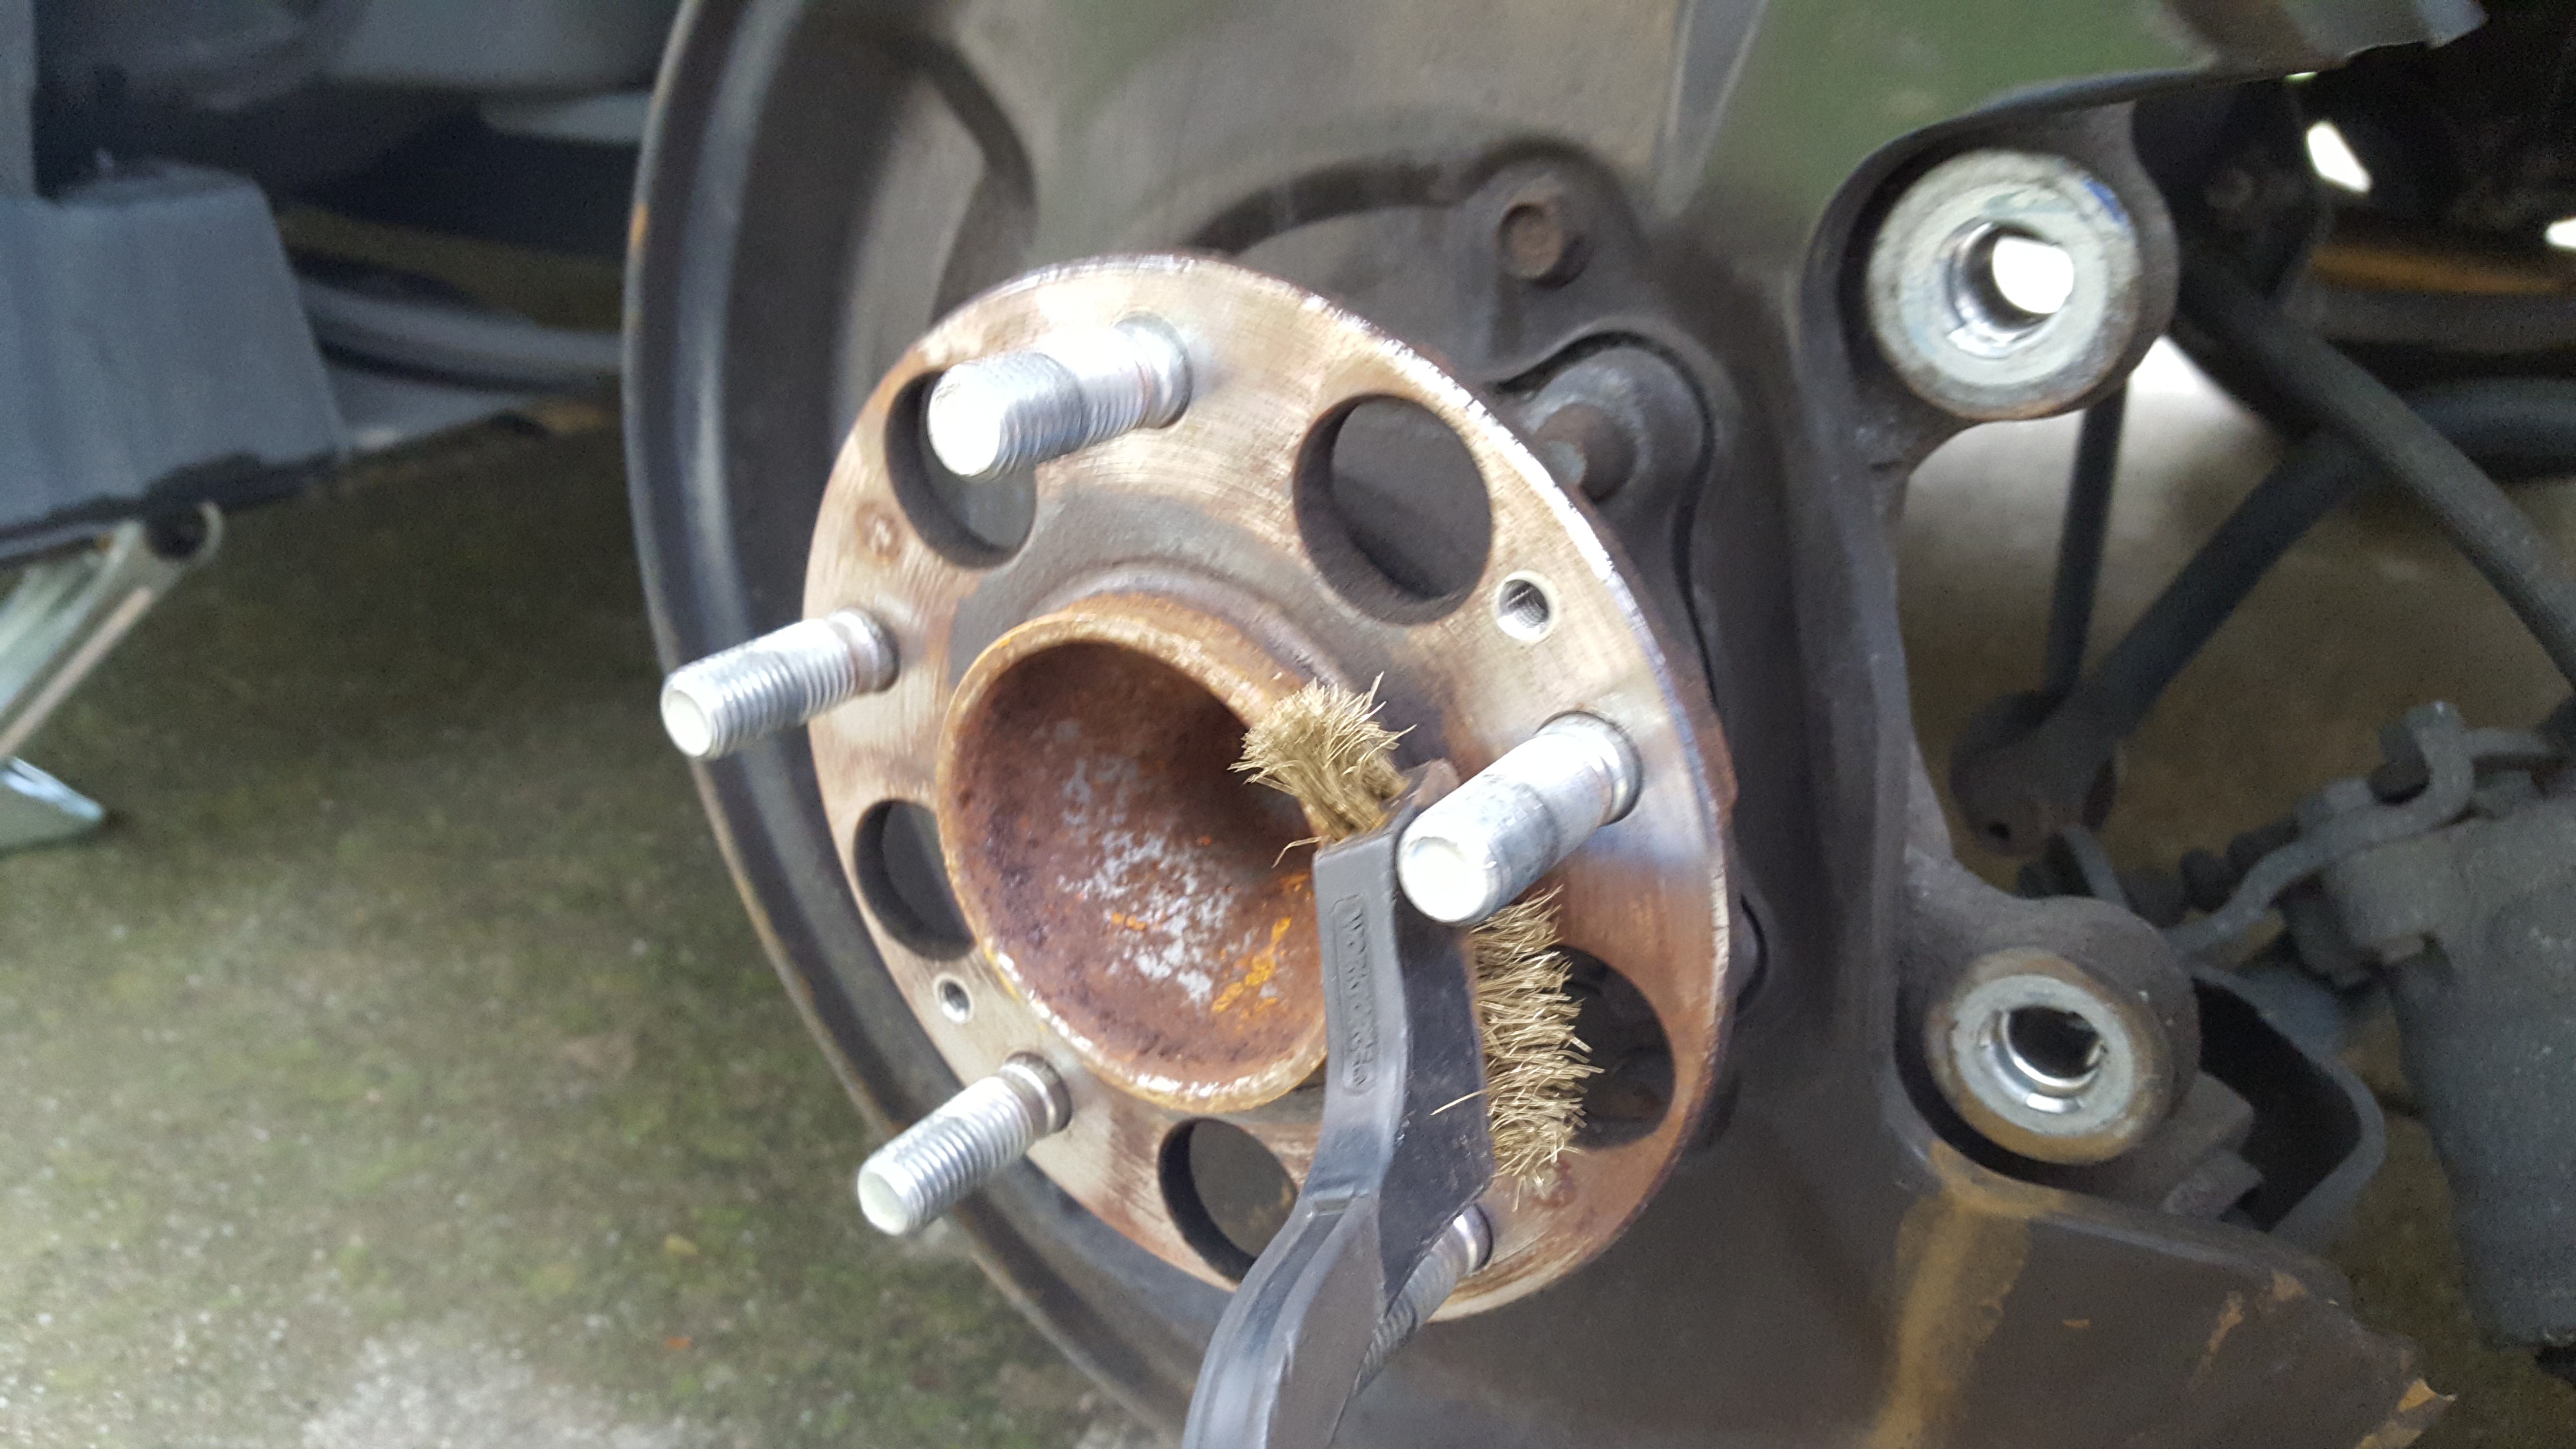
Small brass brush
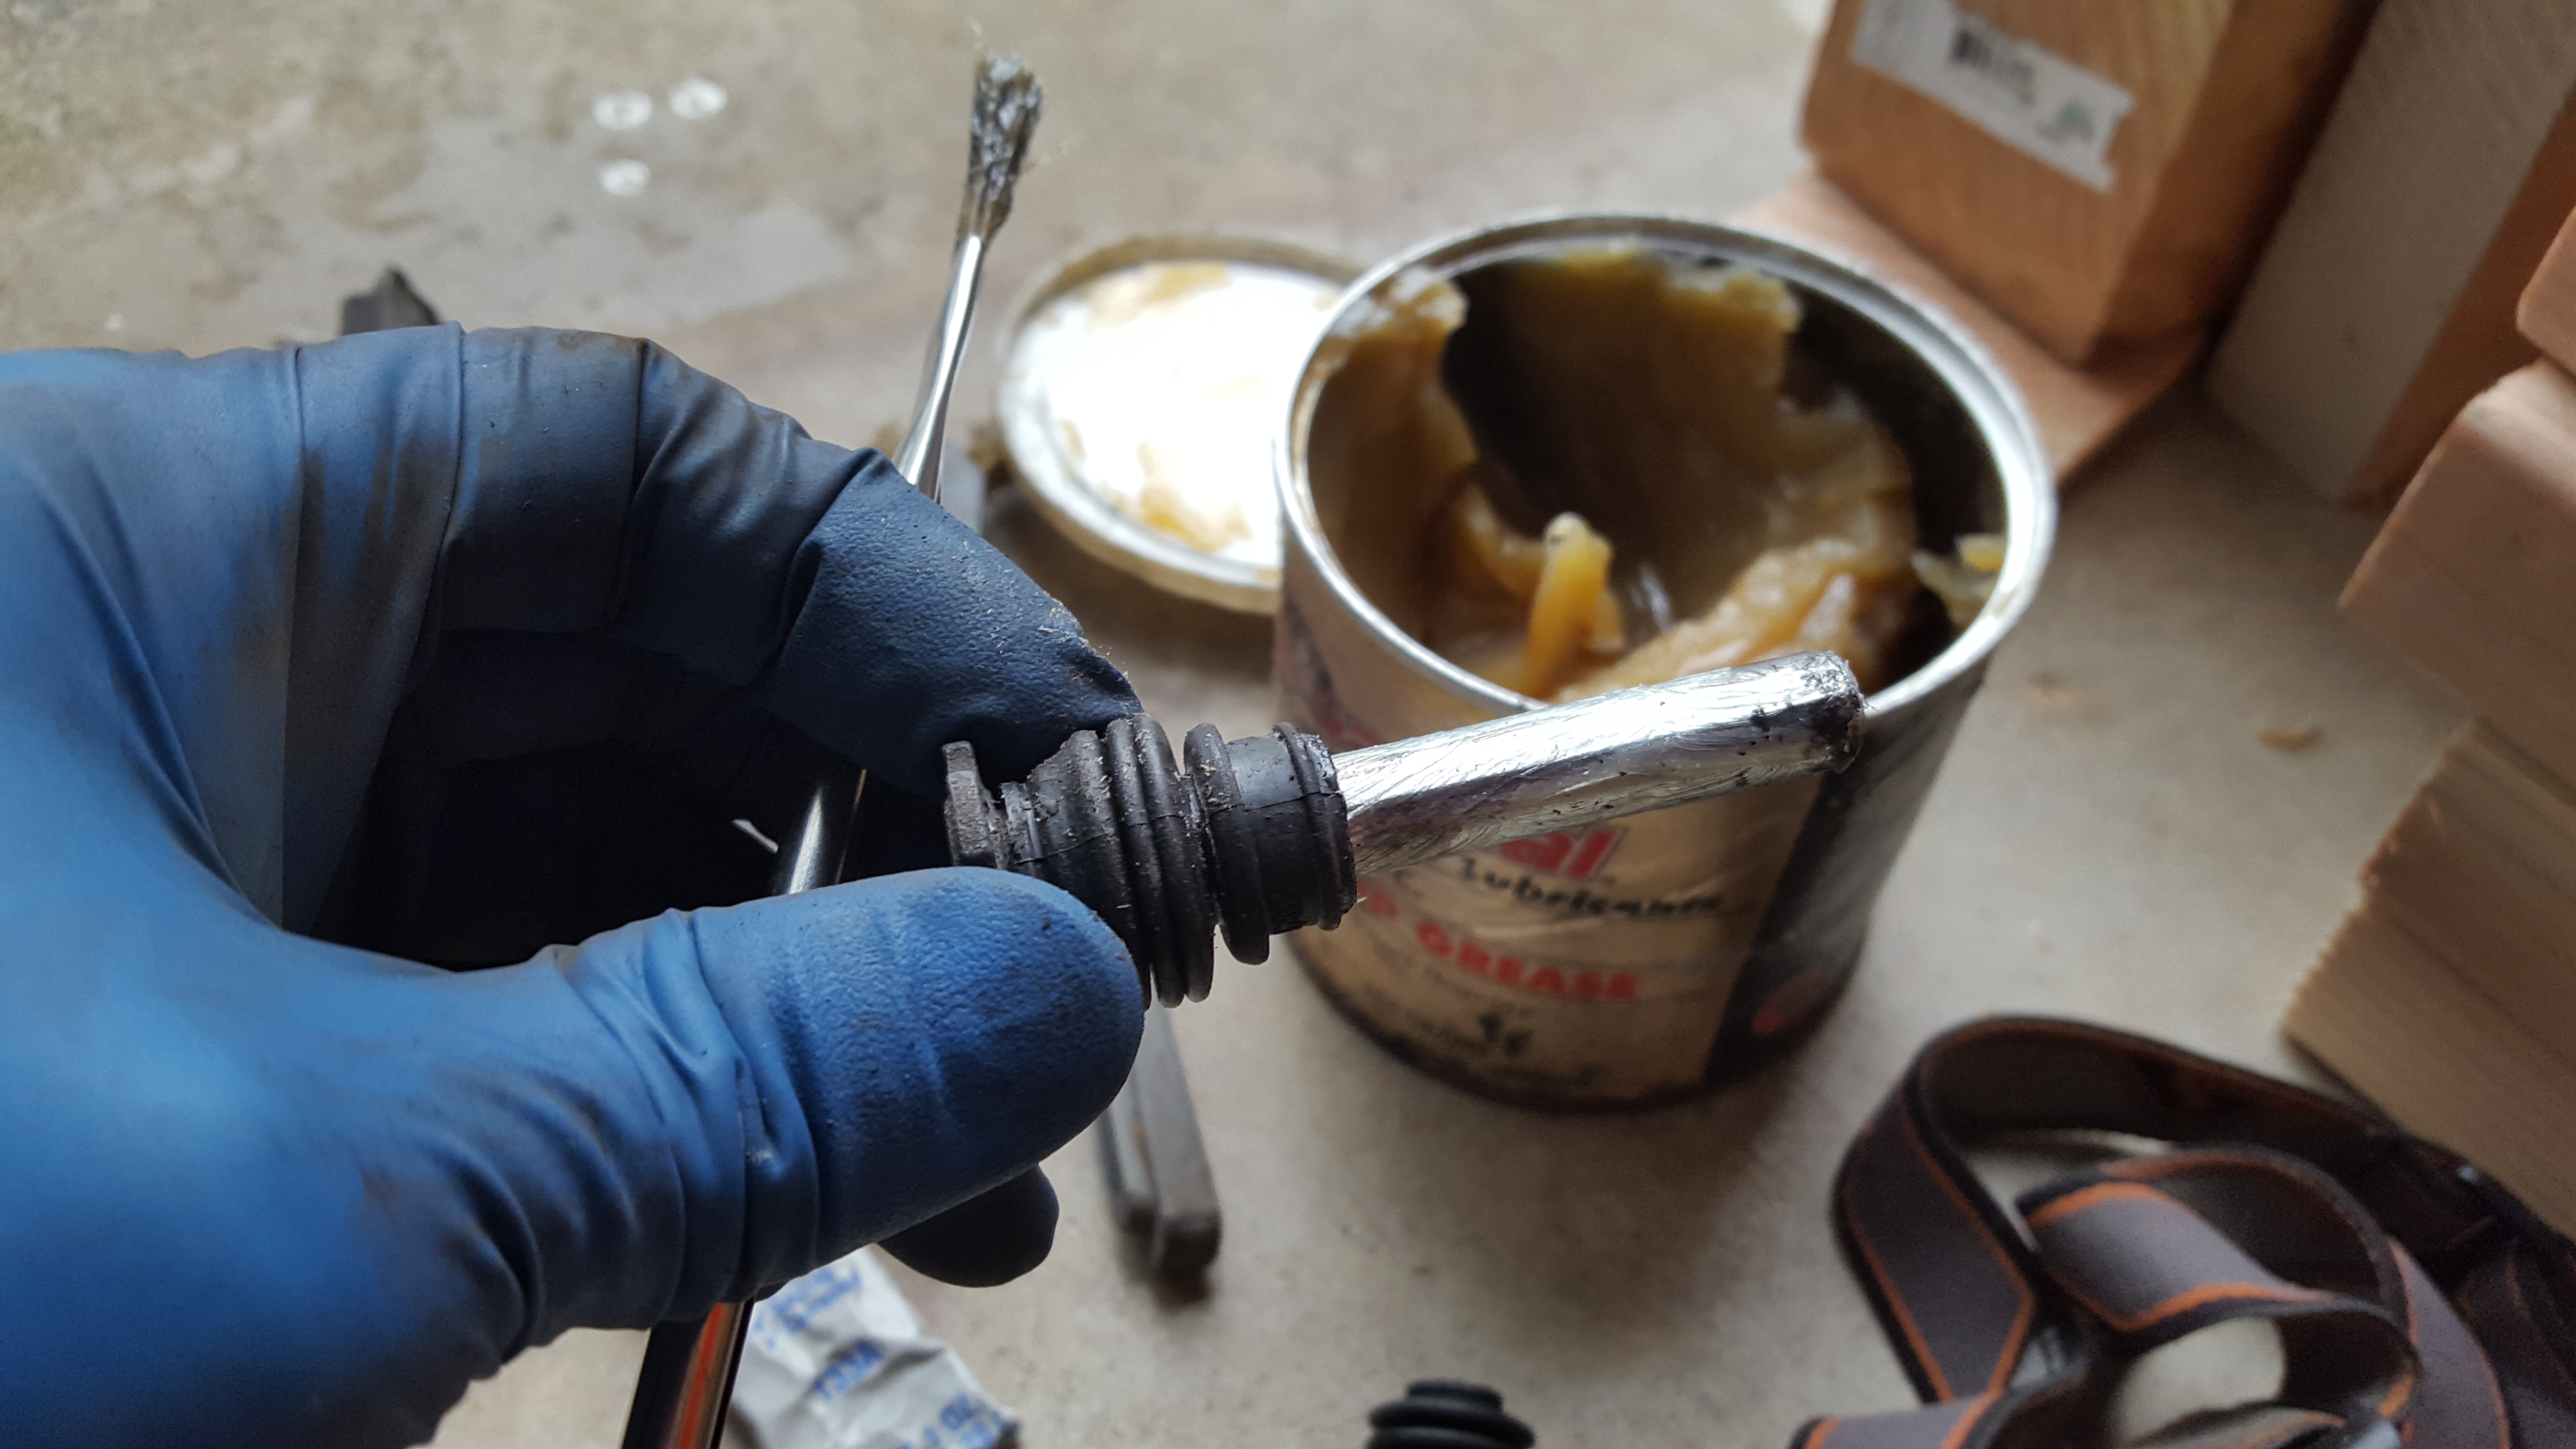
Anti-seize
Grease
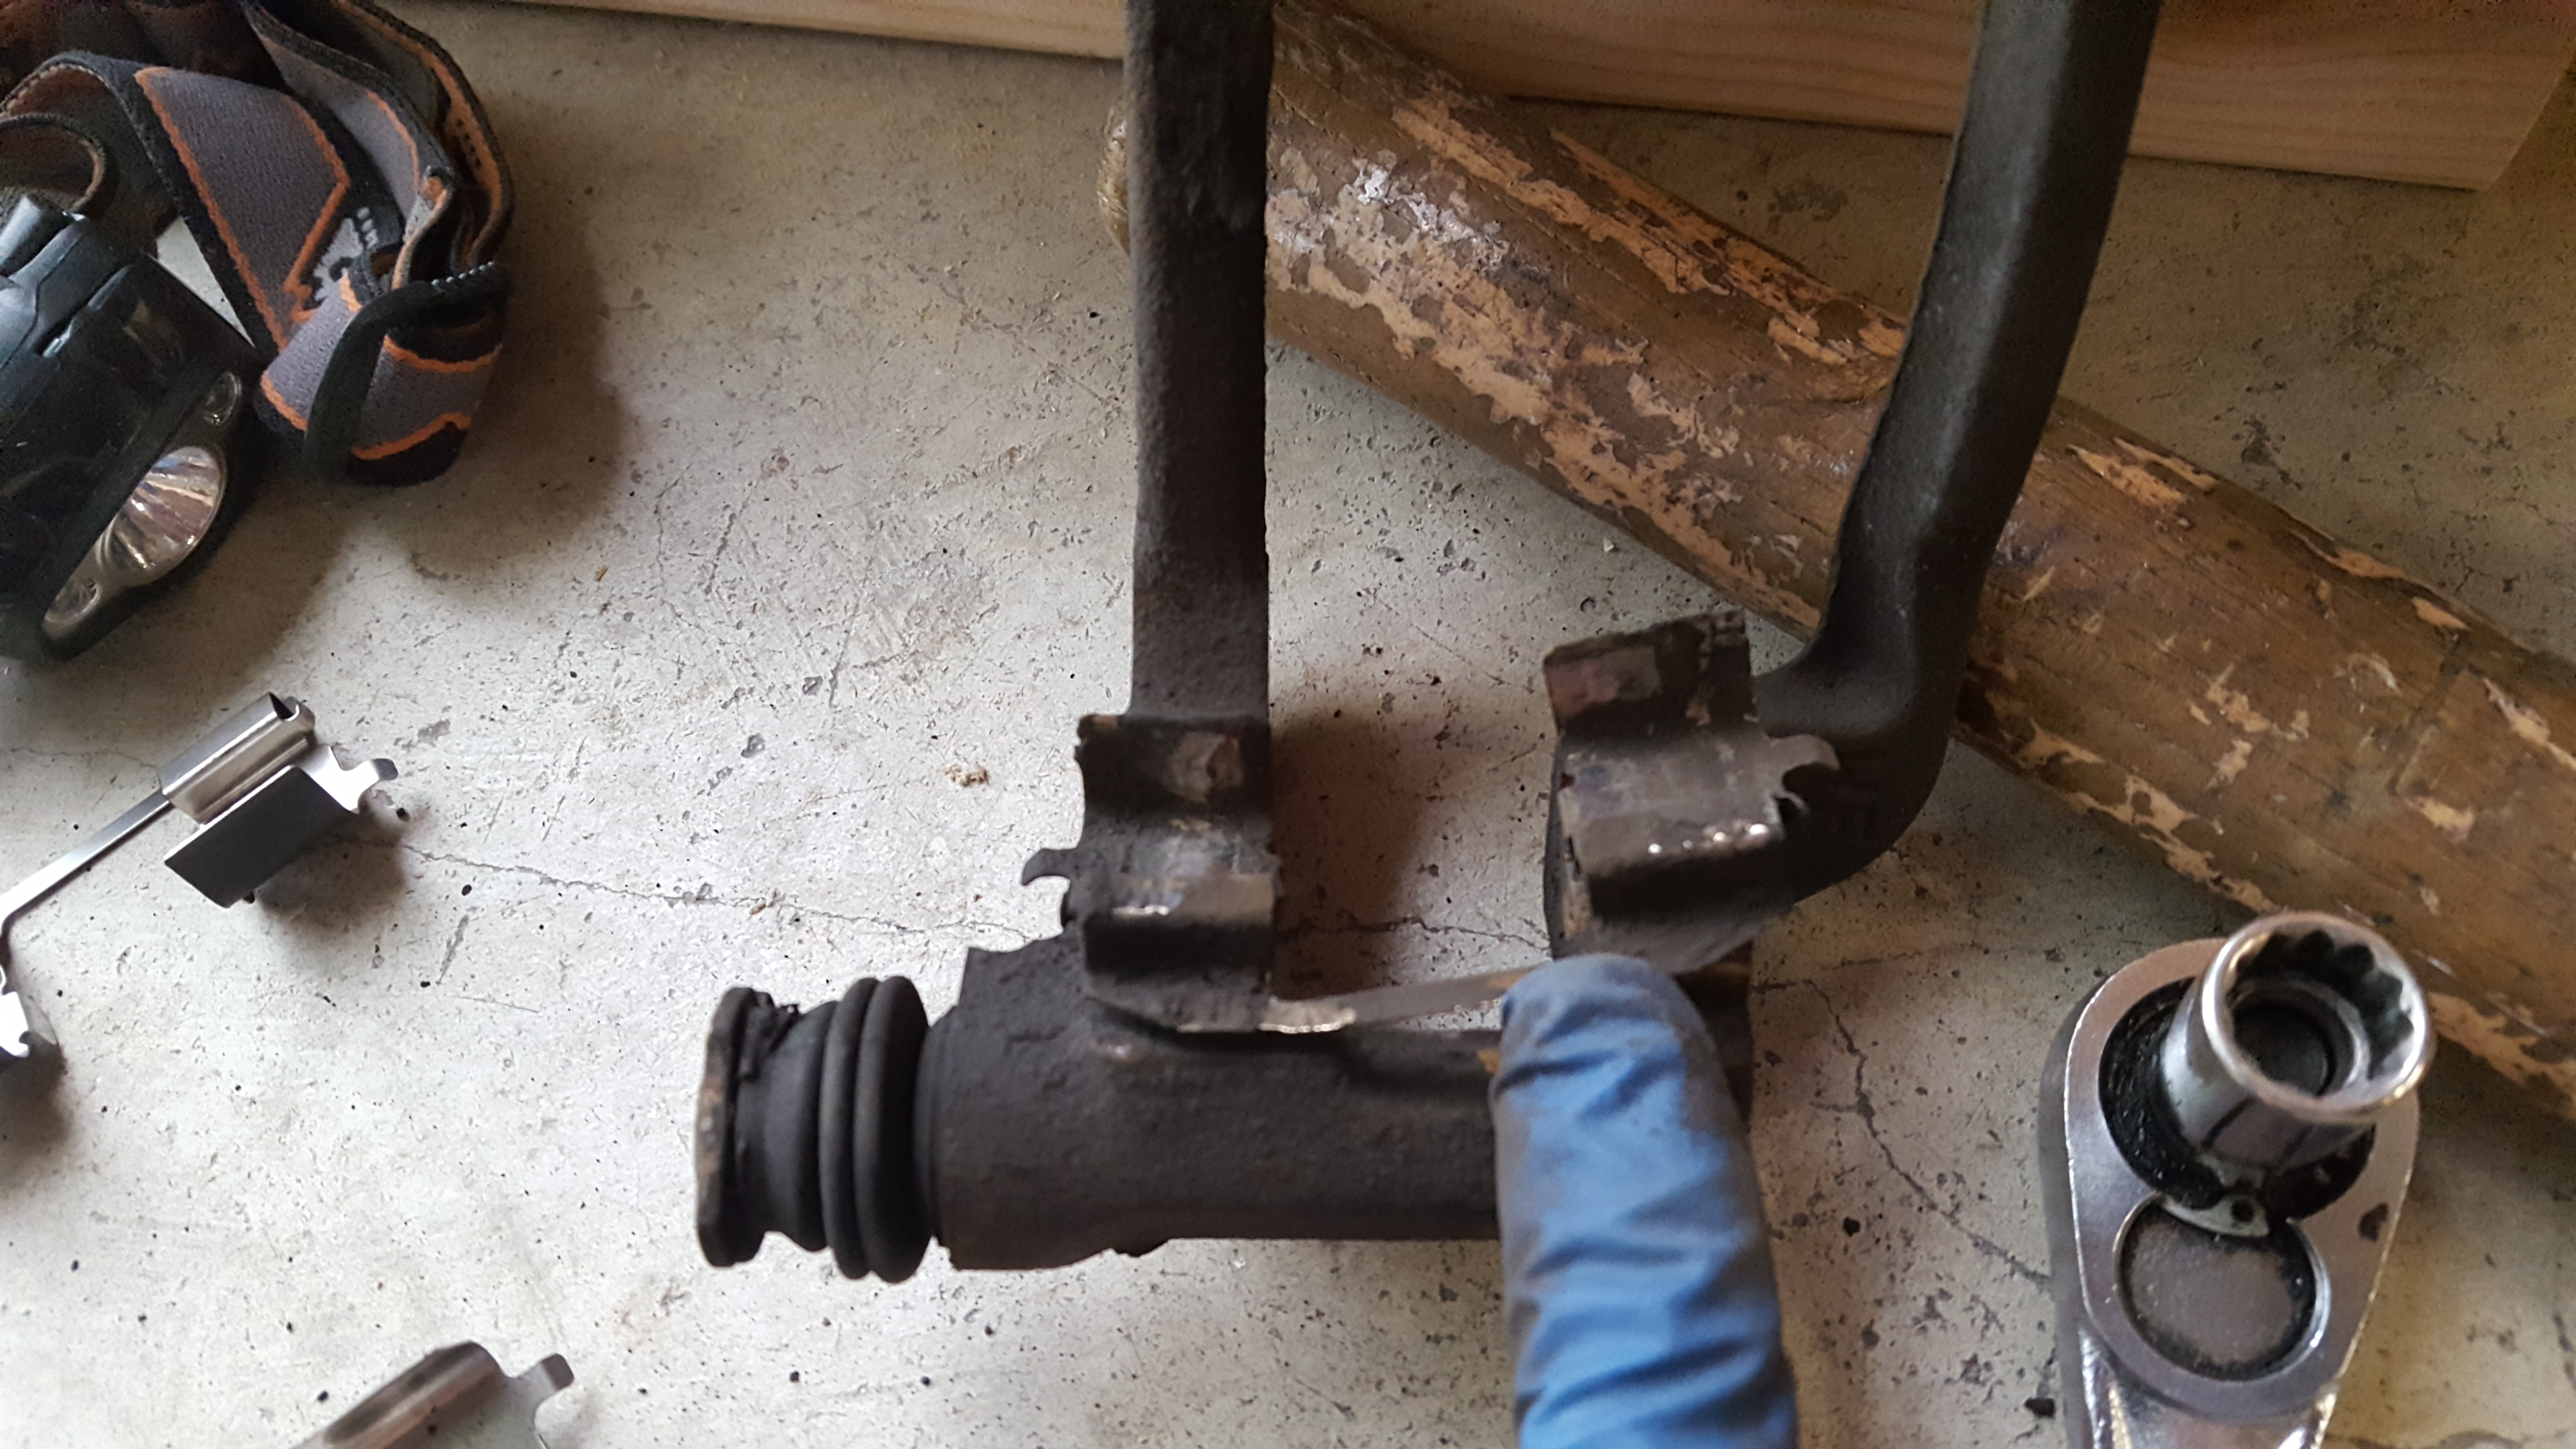
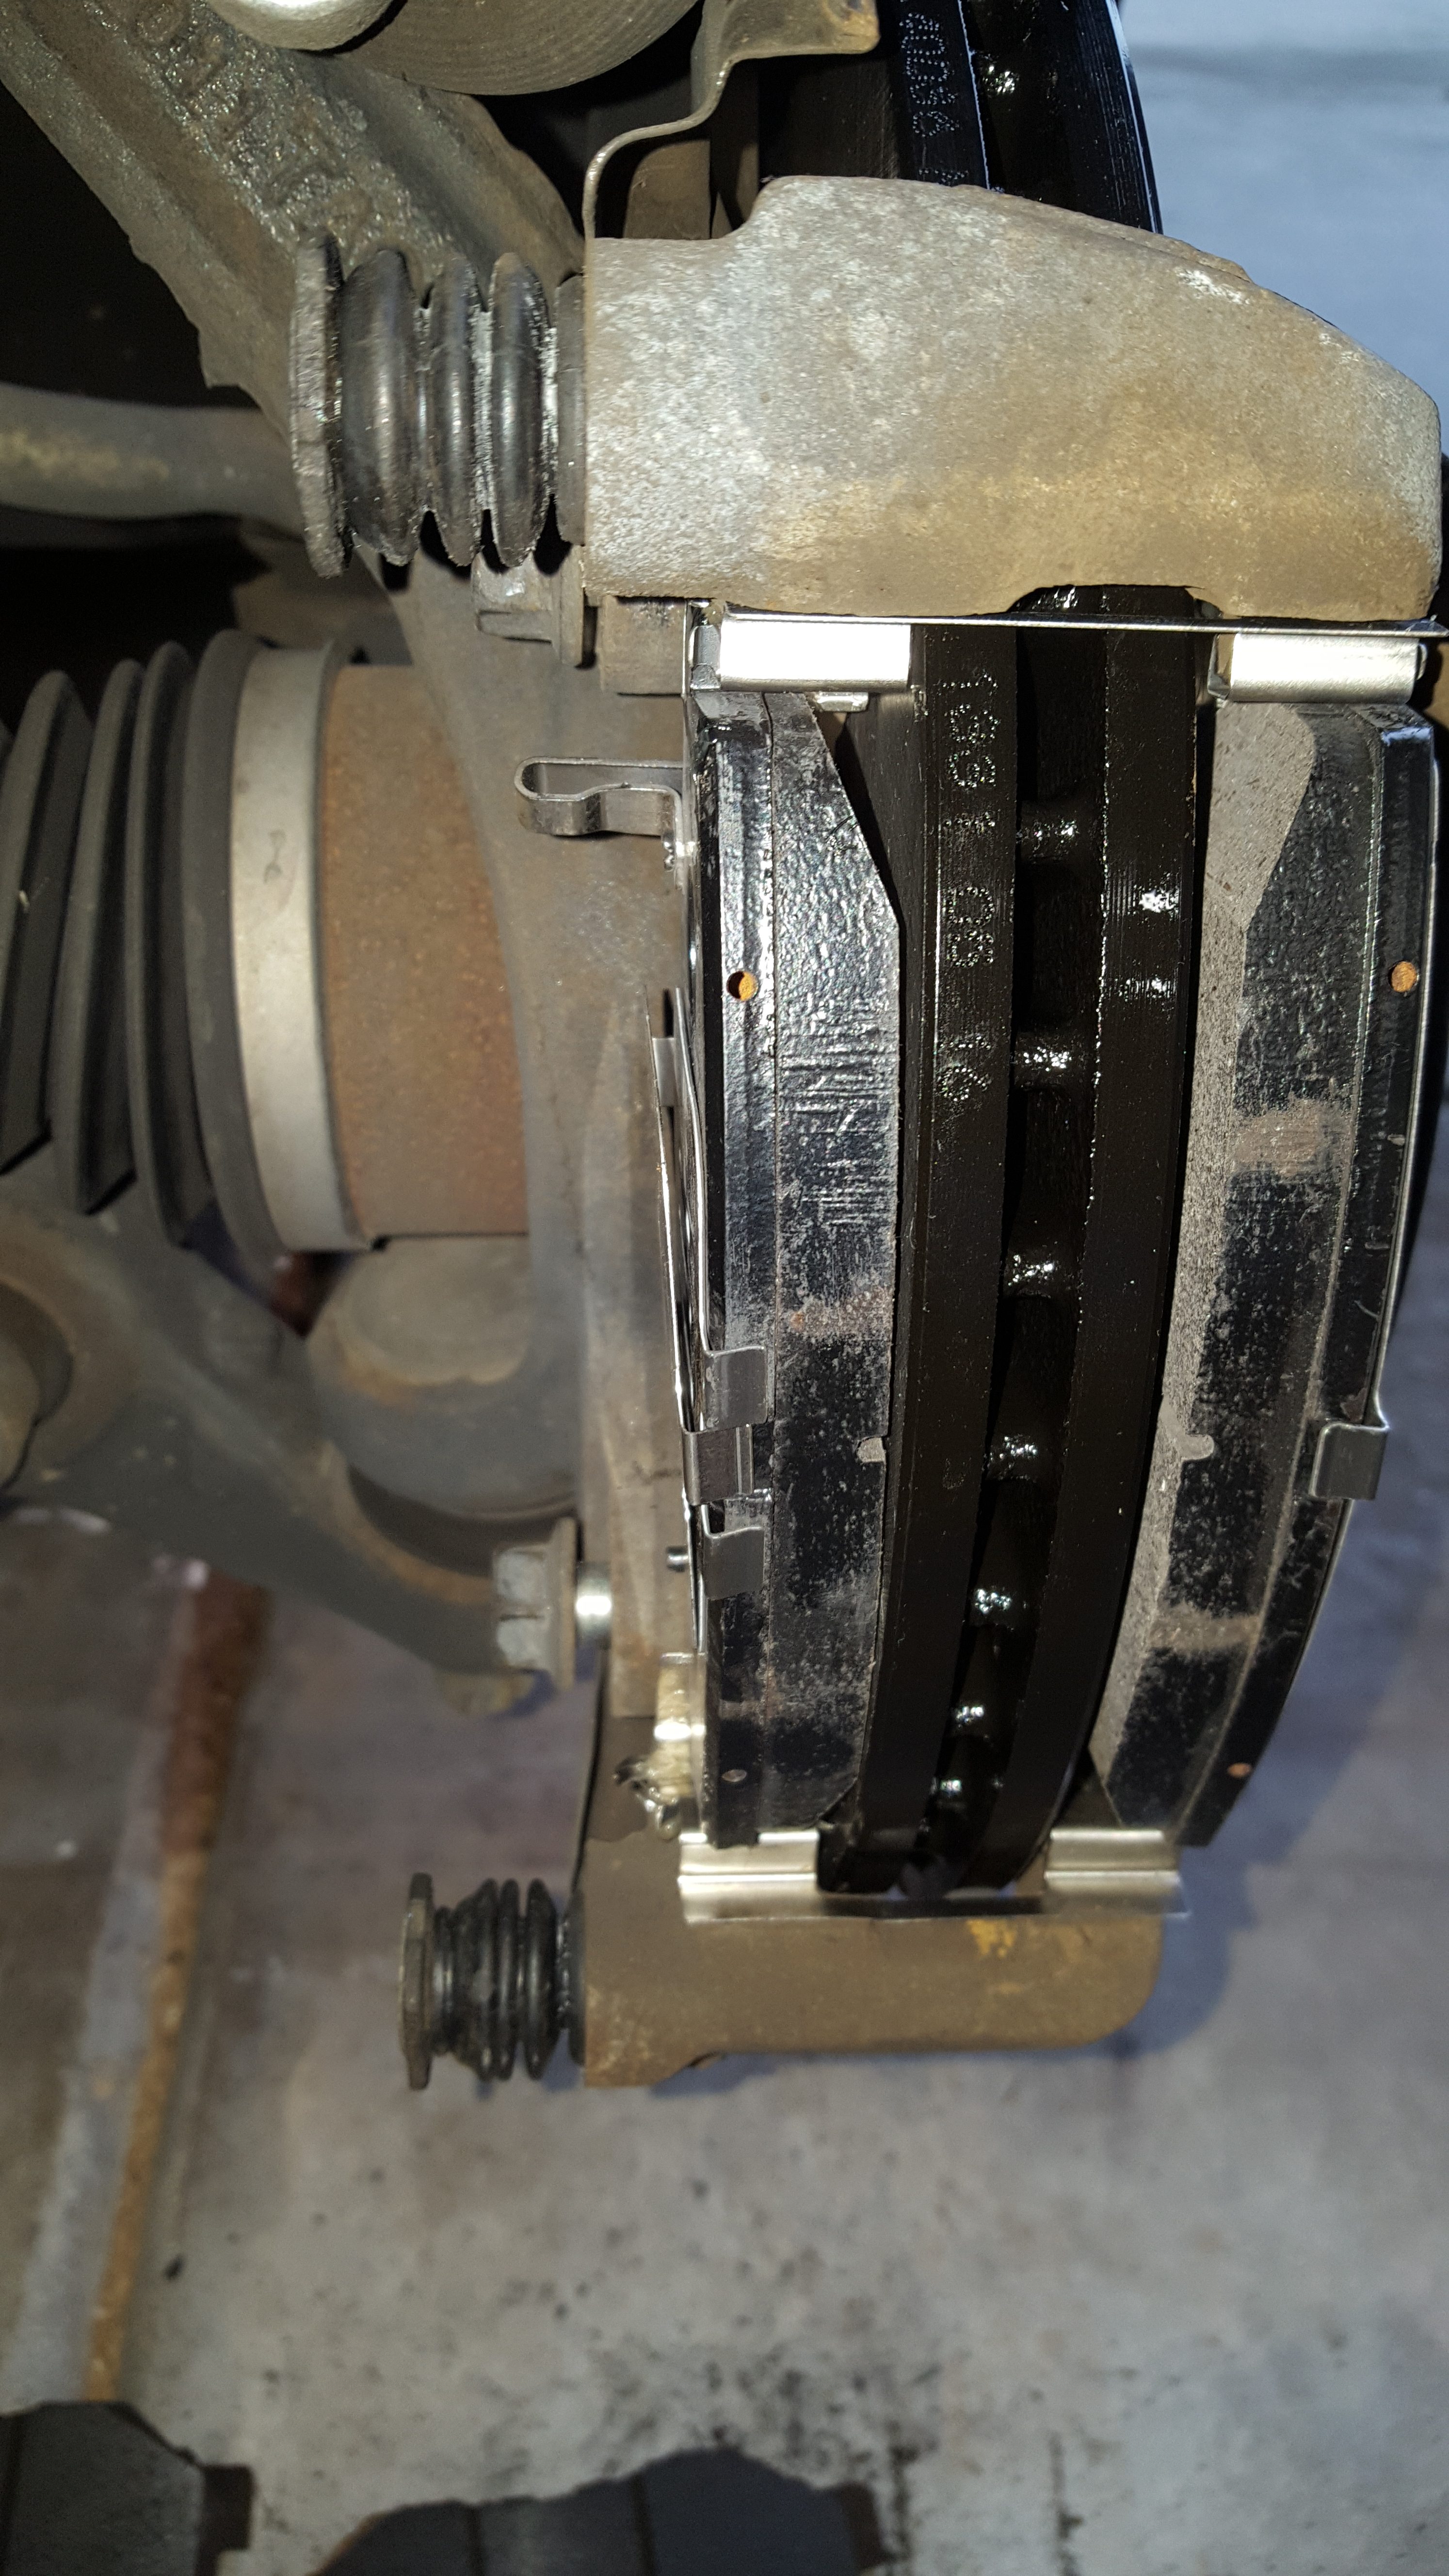
Front Brakes
Block the rear wheels to keep the car from rolling back.
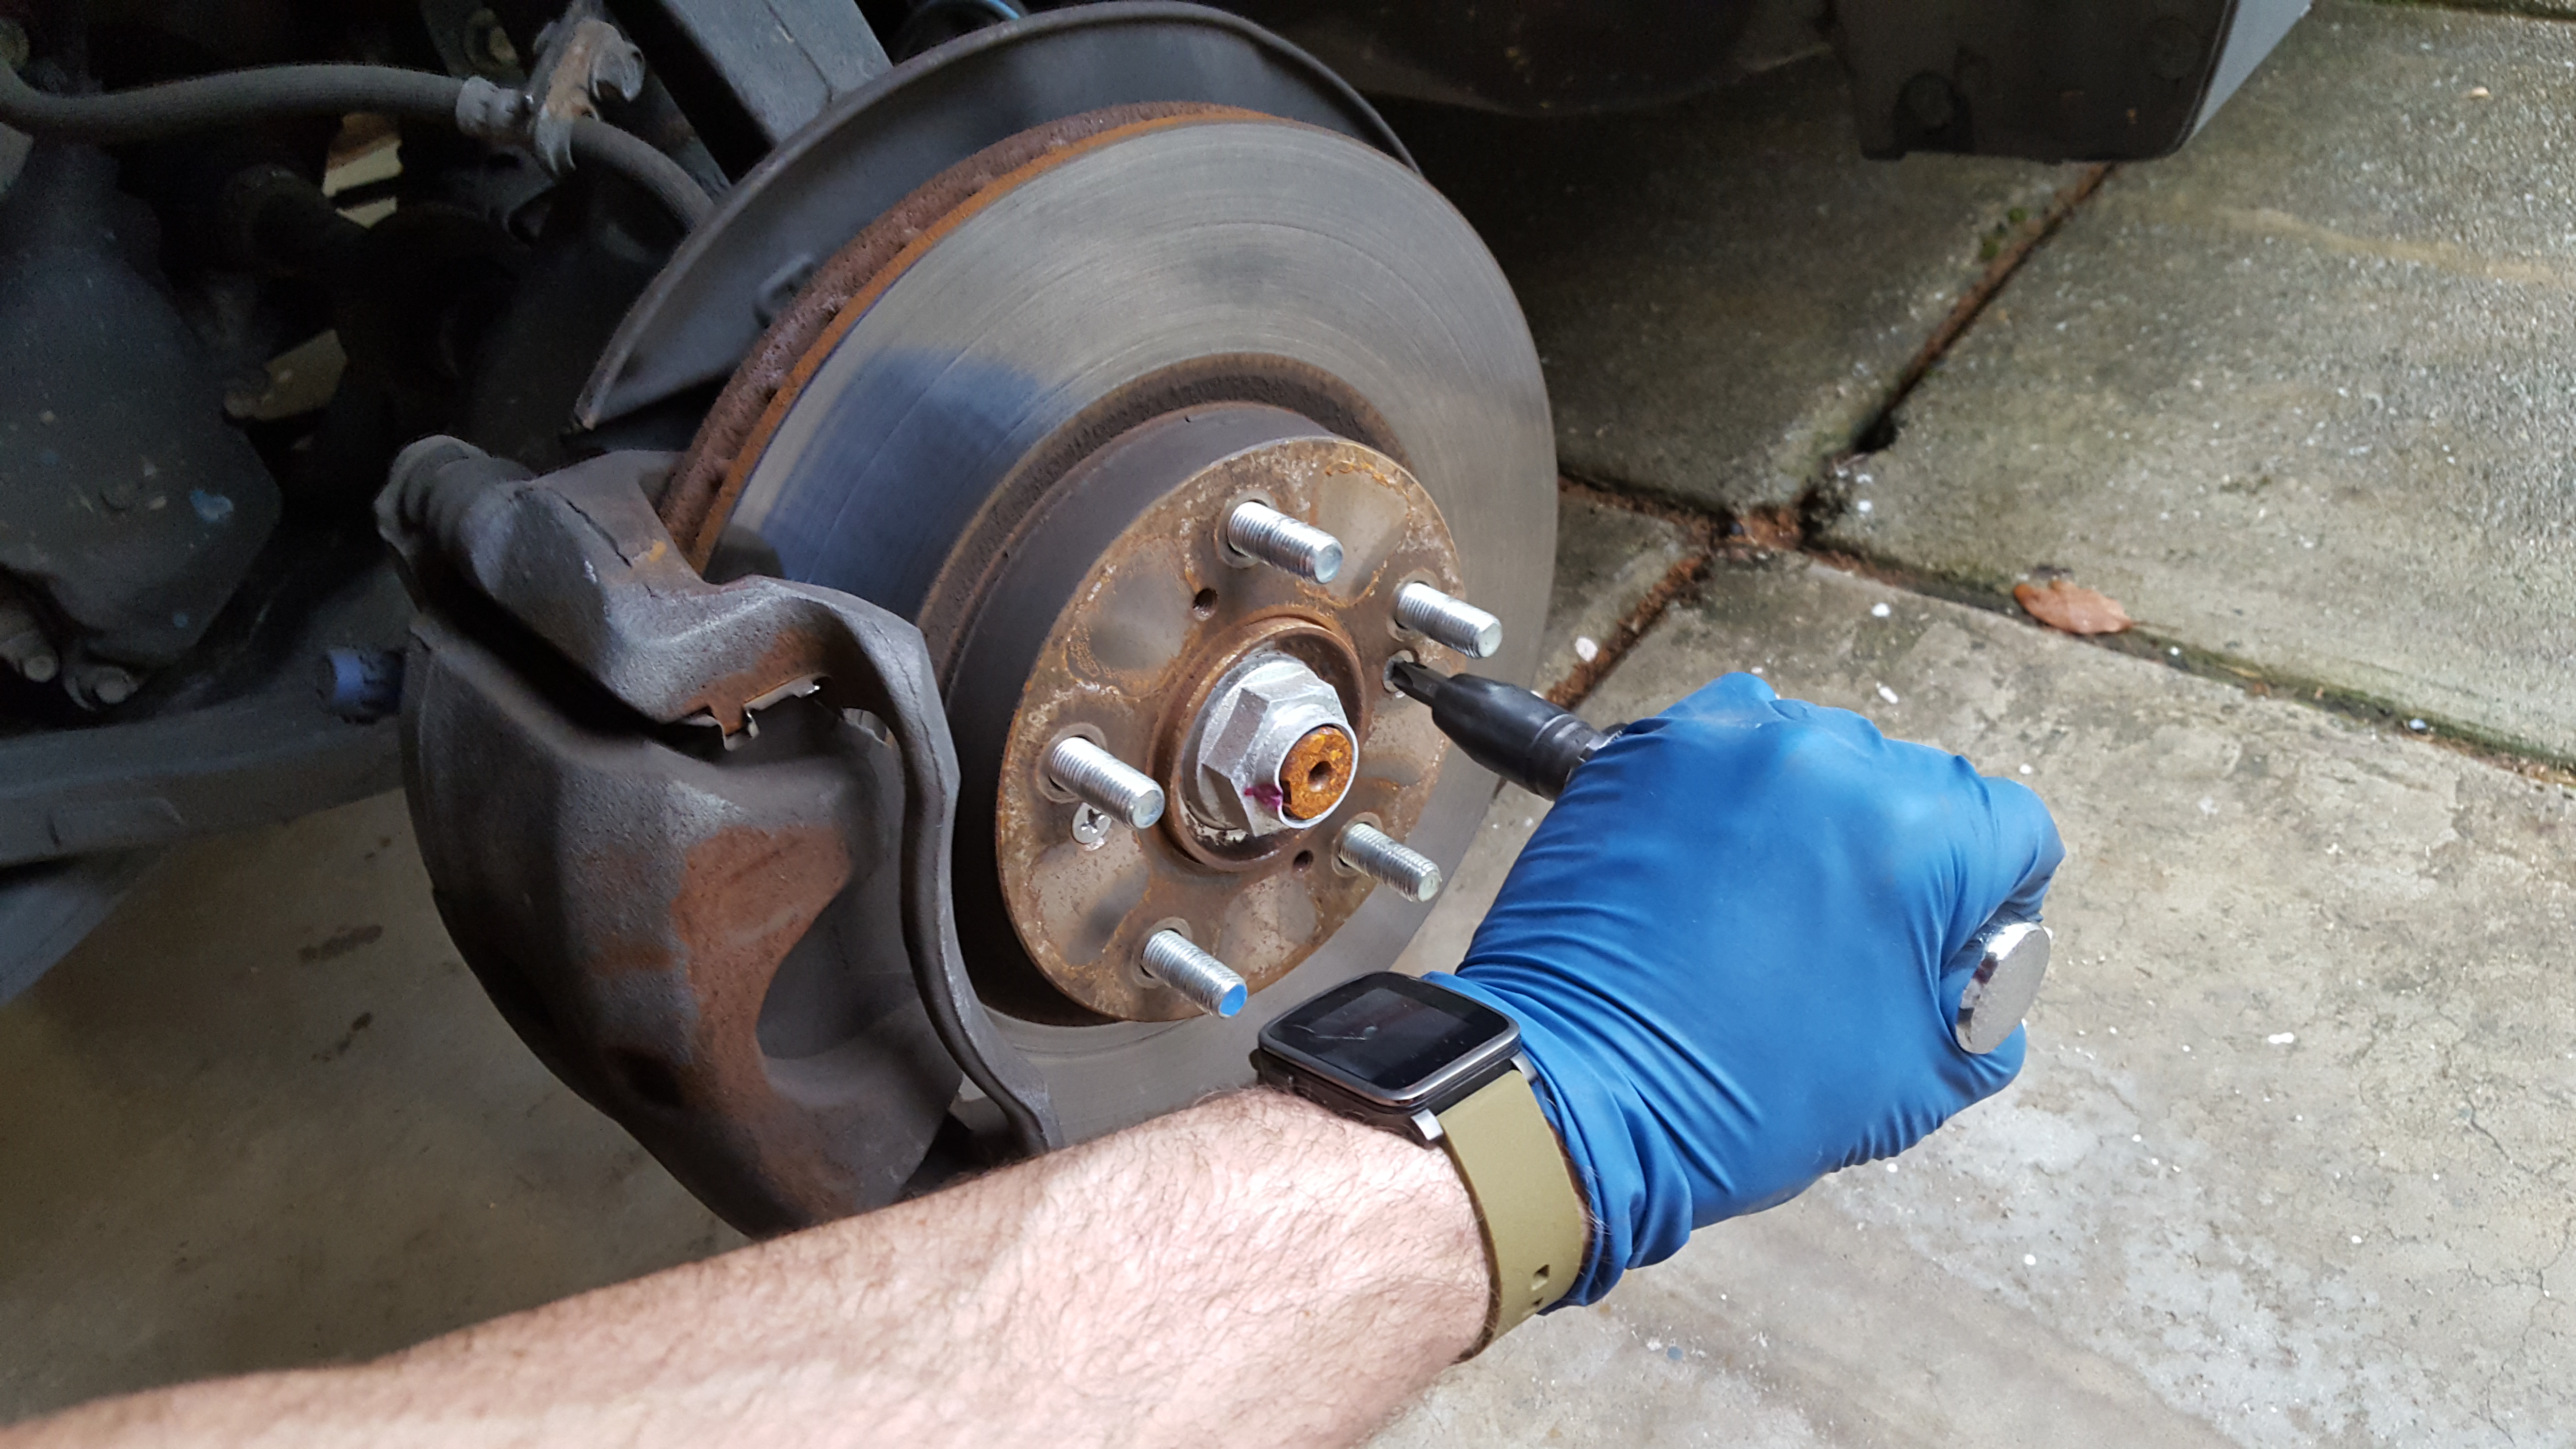
Using a breaker bar or your tire iron, break the nuts free, but don’t remove them.

If you have a floor jack, Honda provides a single jacking point on the front and rear to lift both tires at once. If you don’t, you can use the provided jack on one side at a time


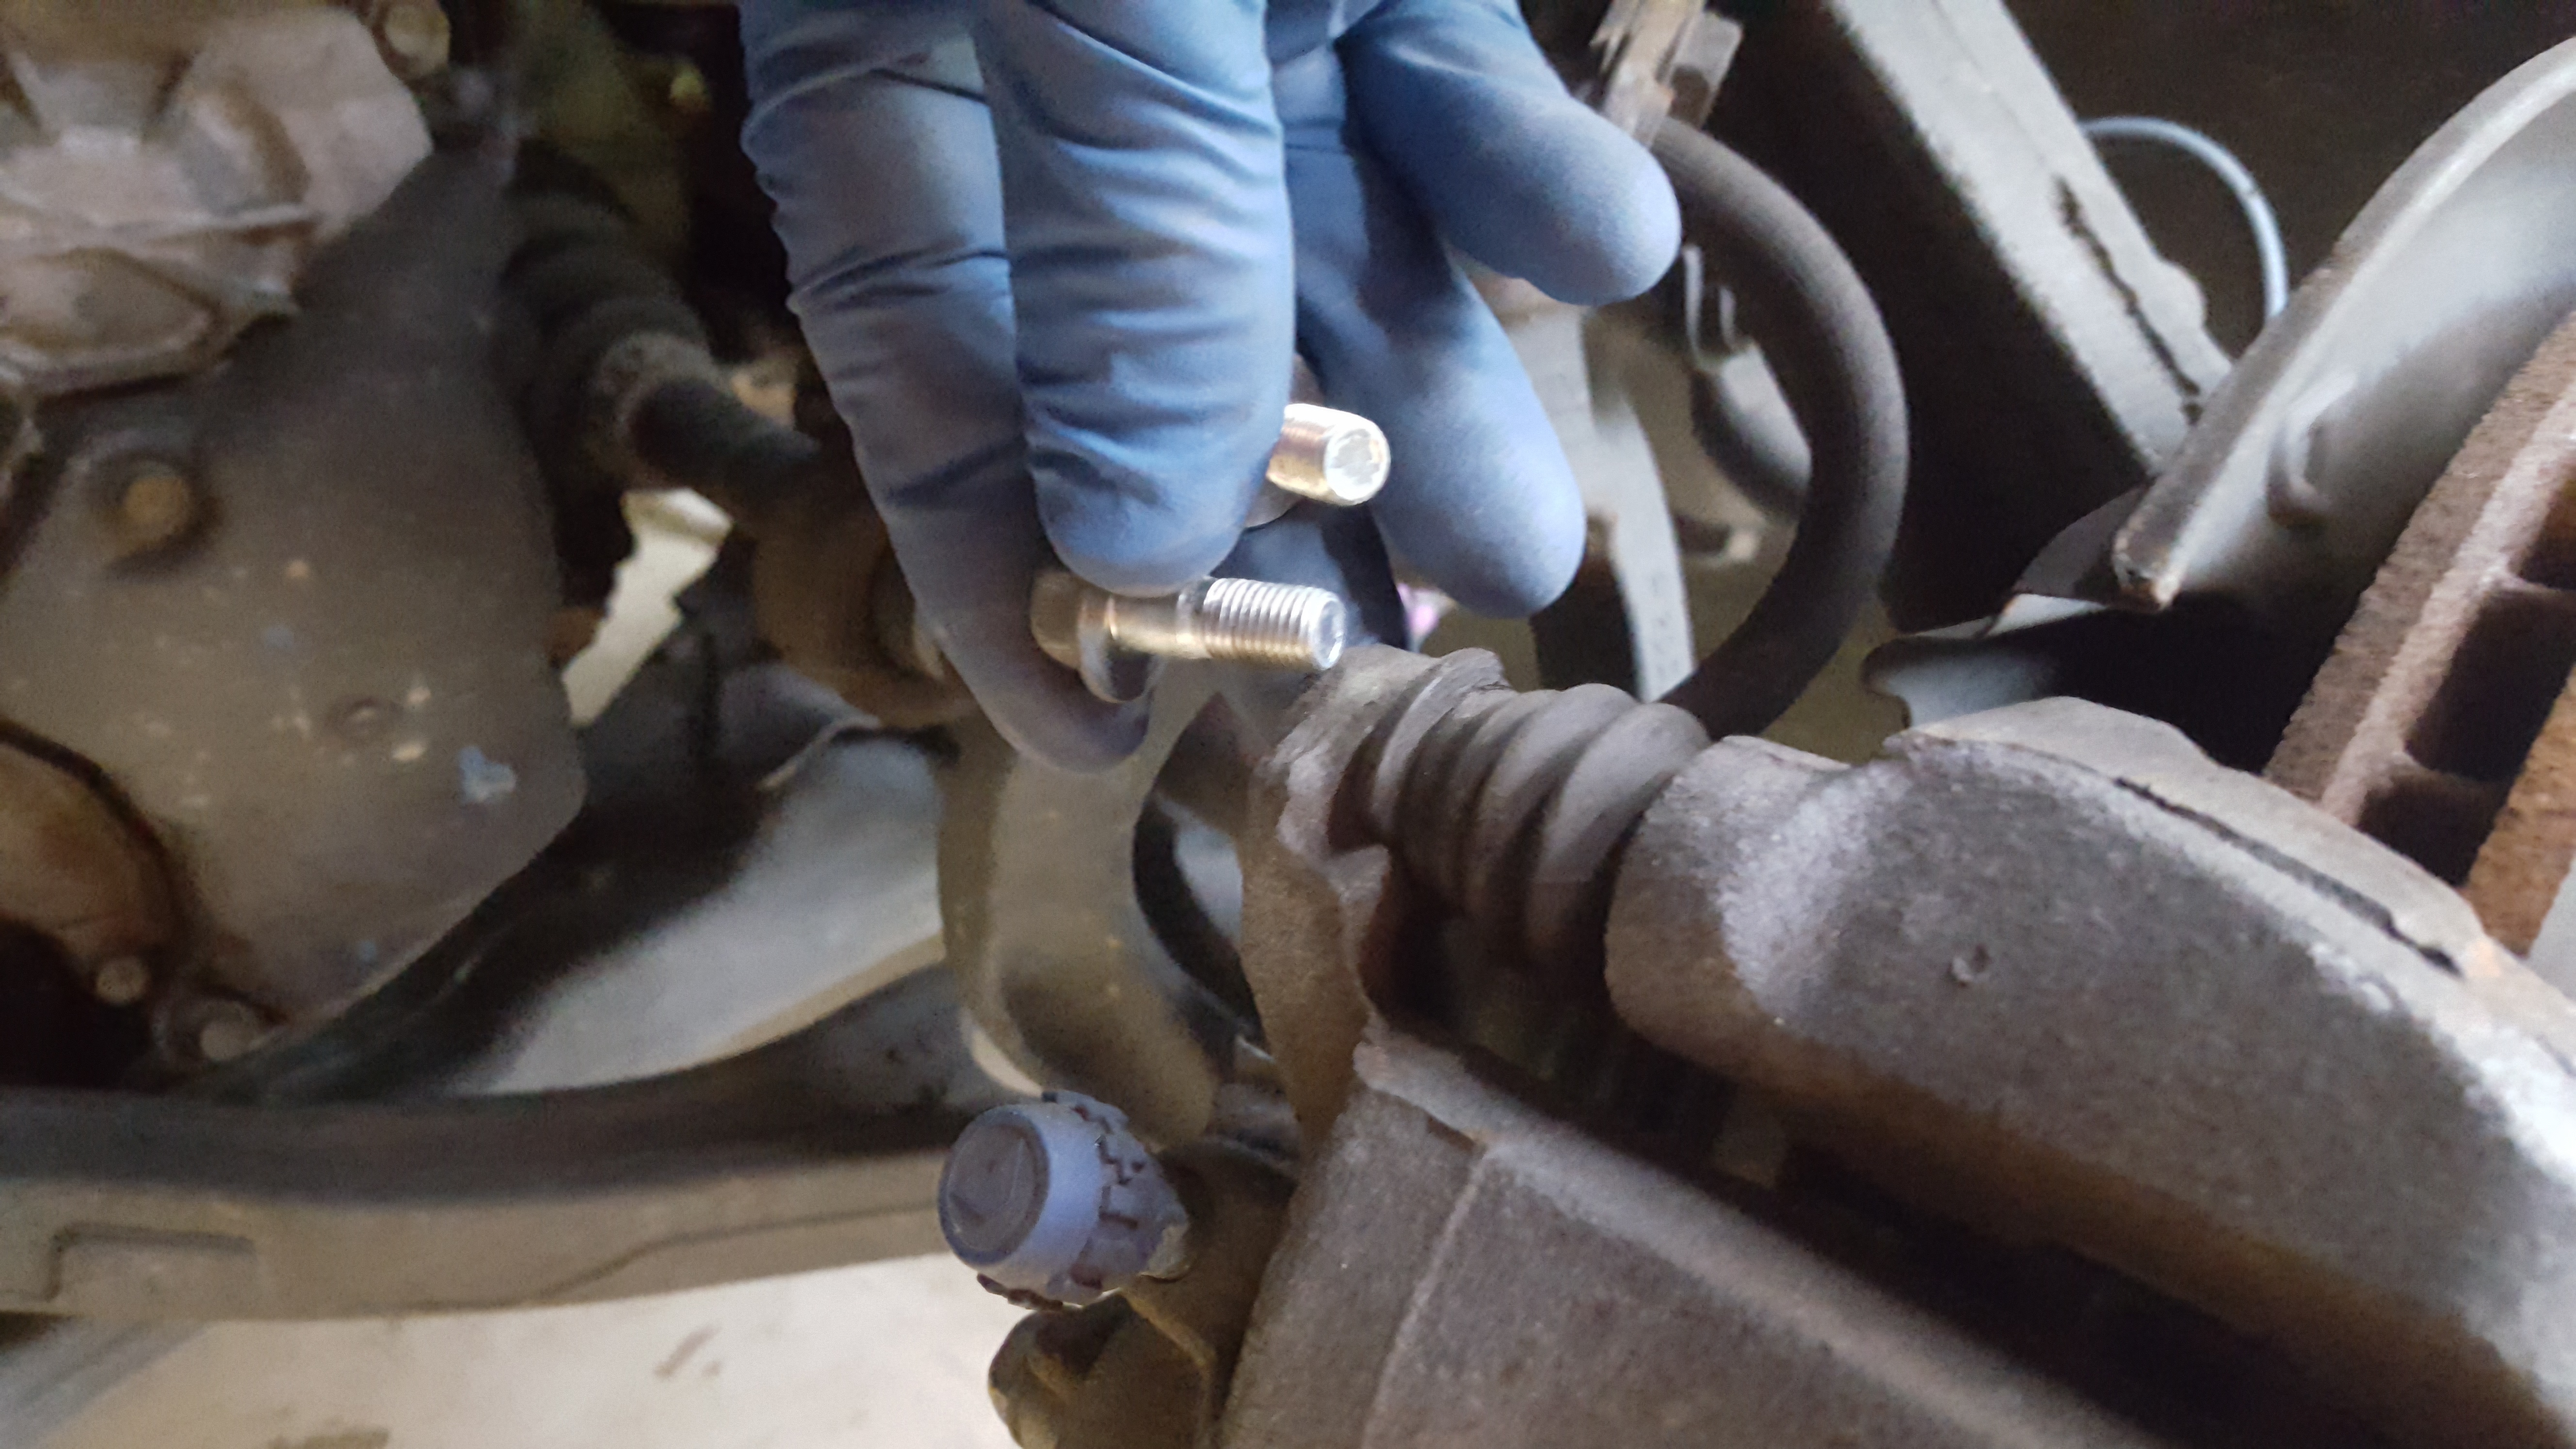


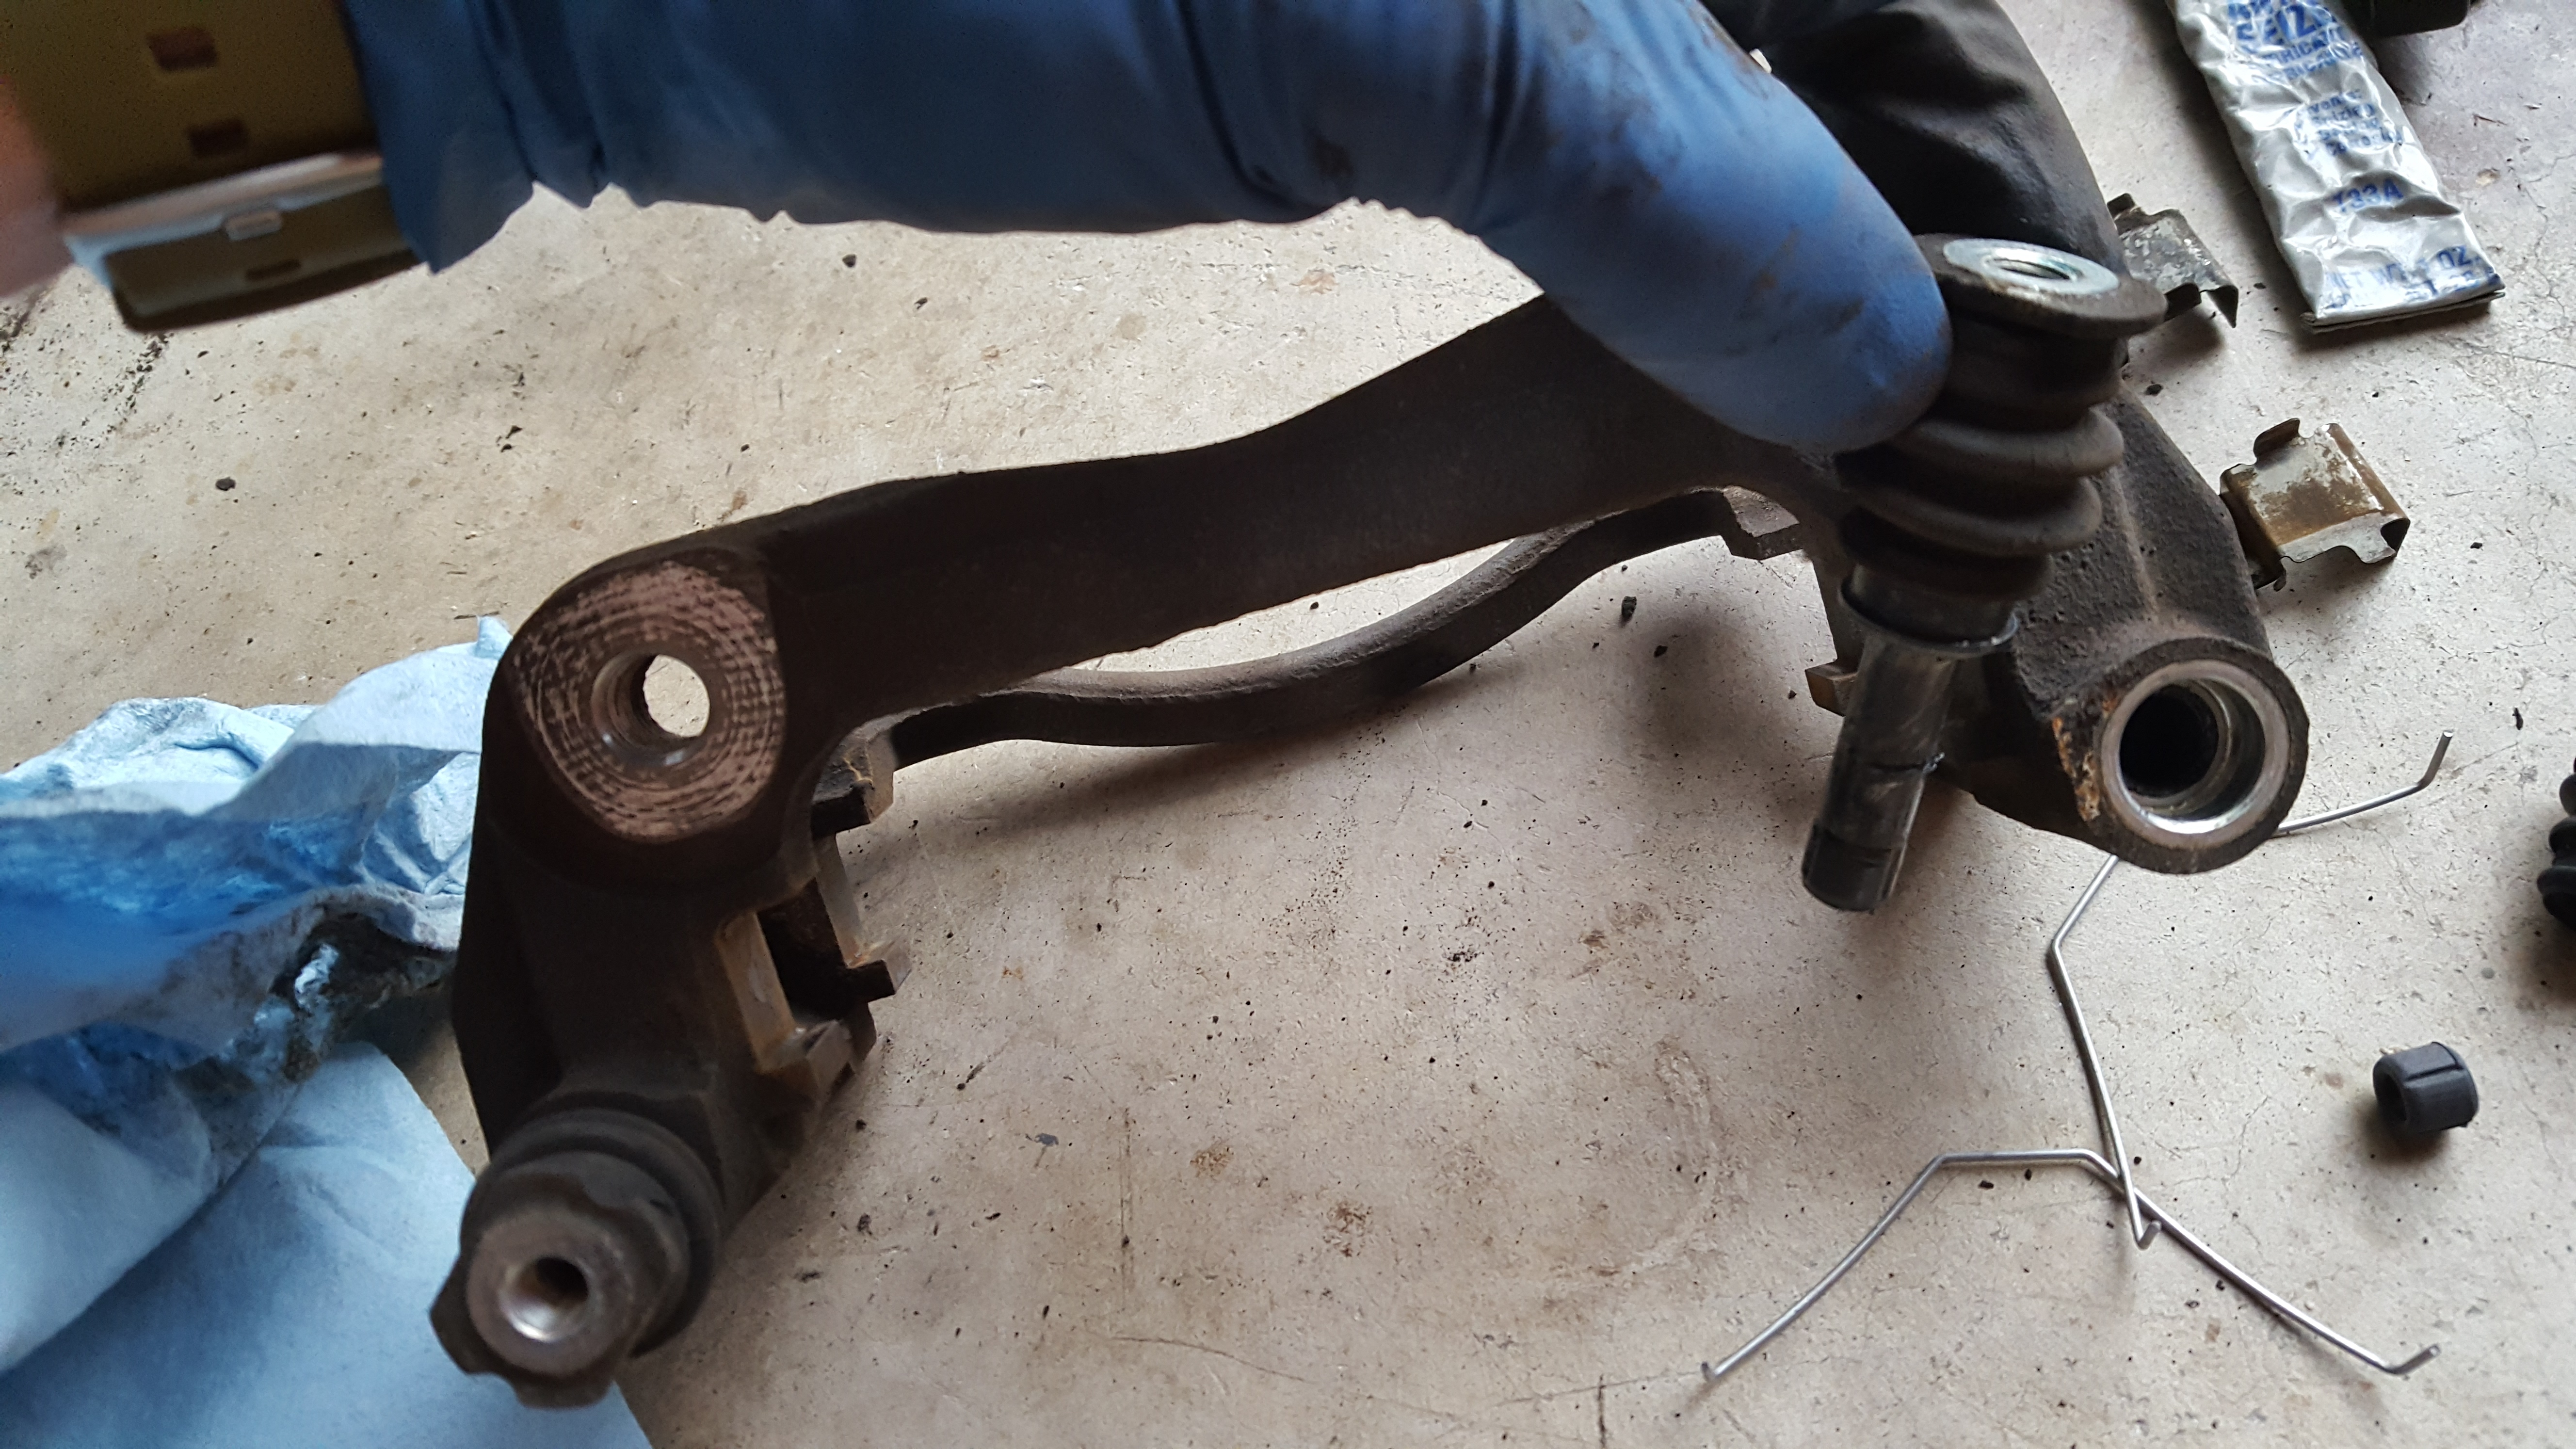


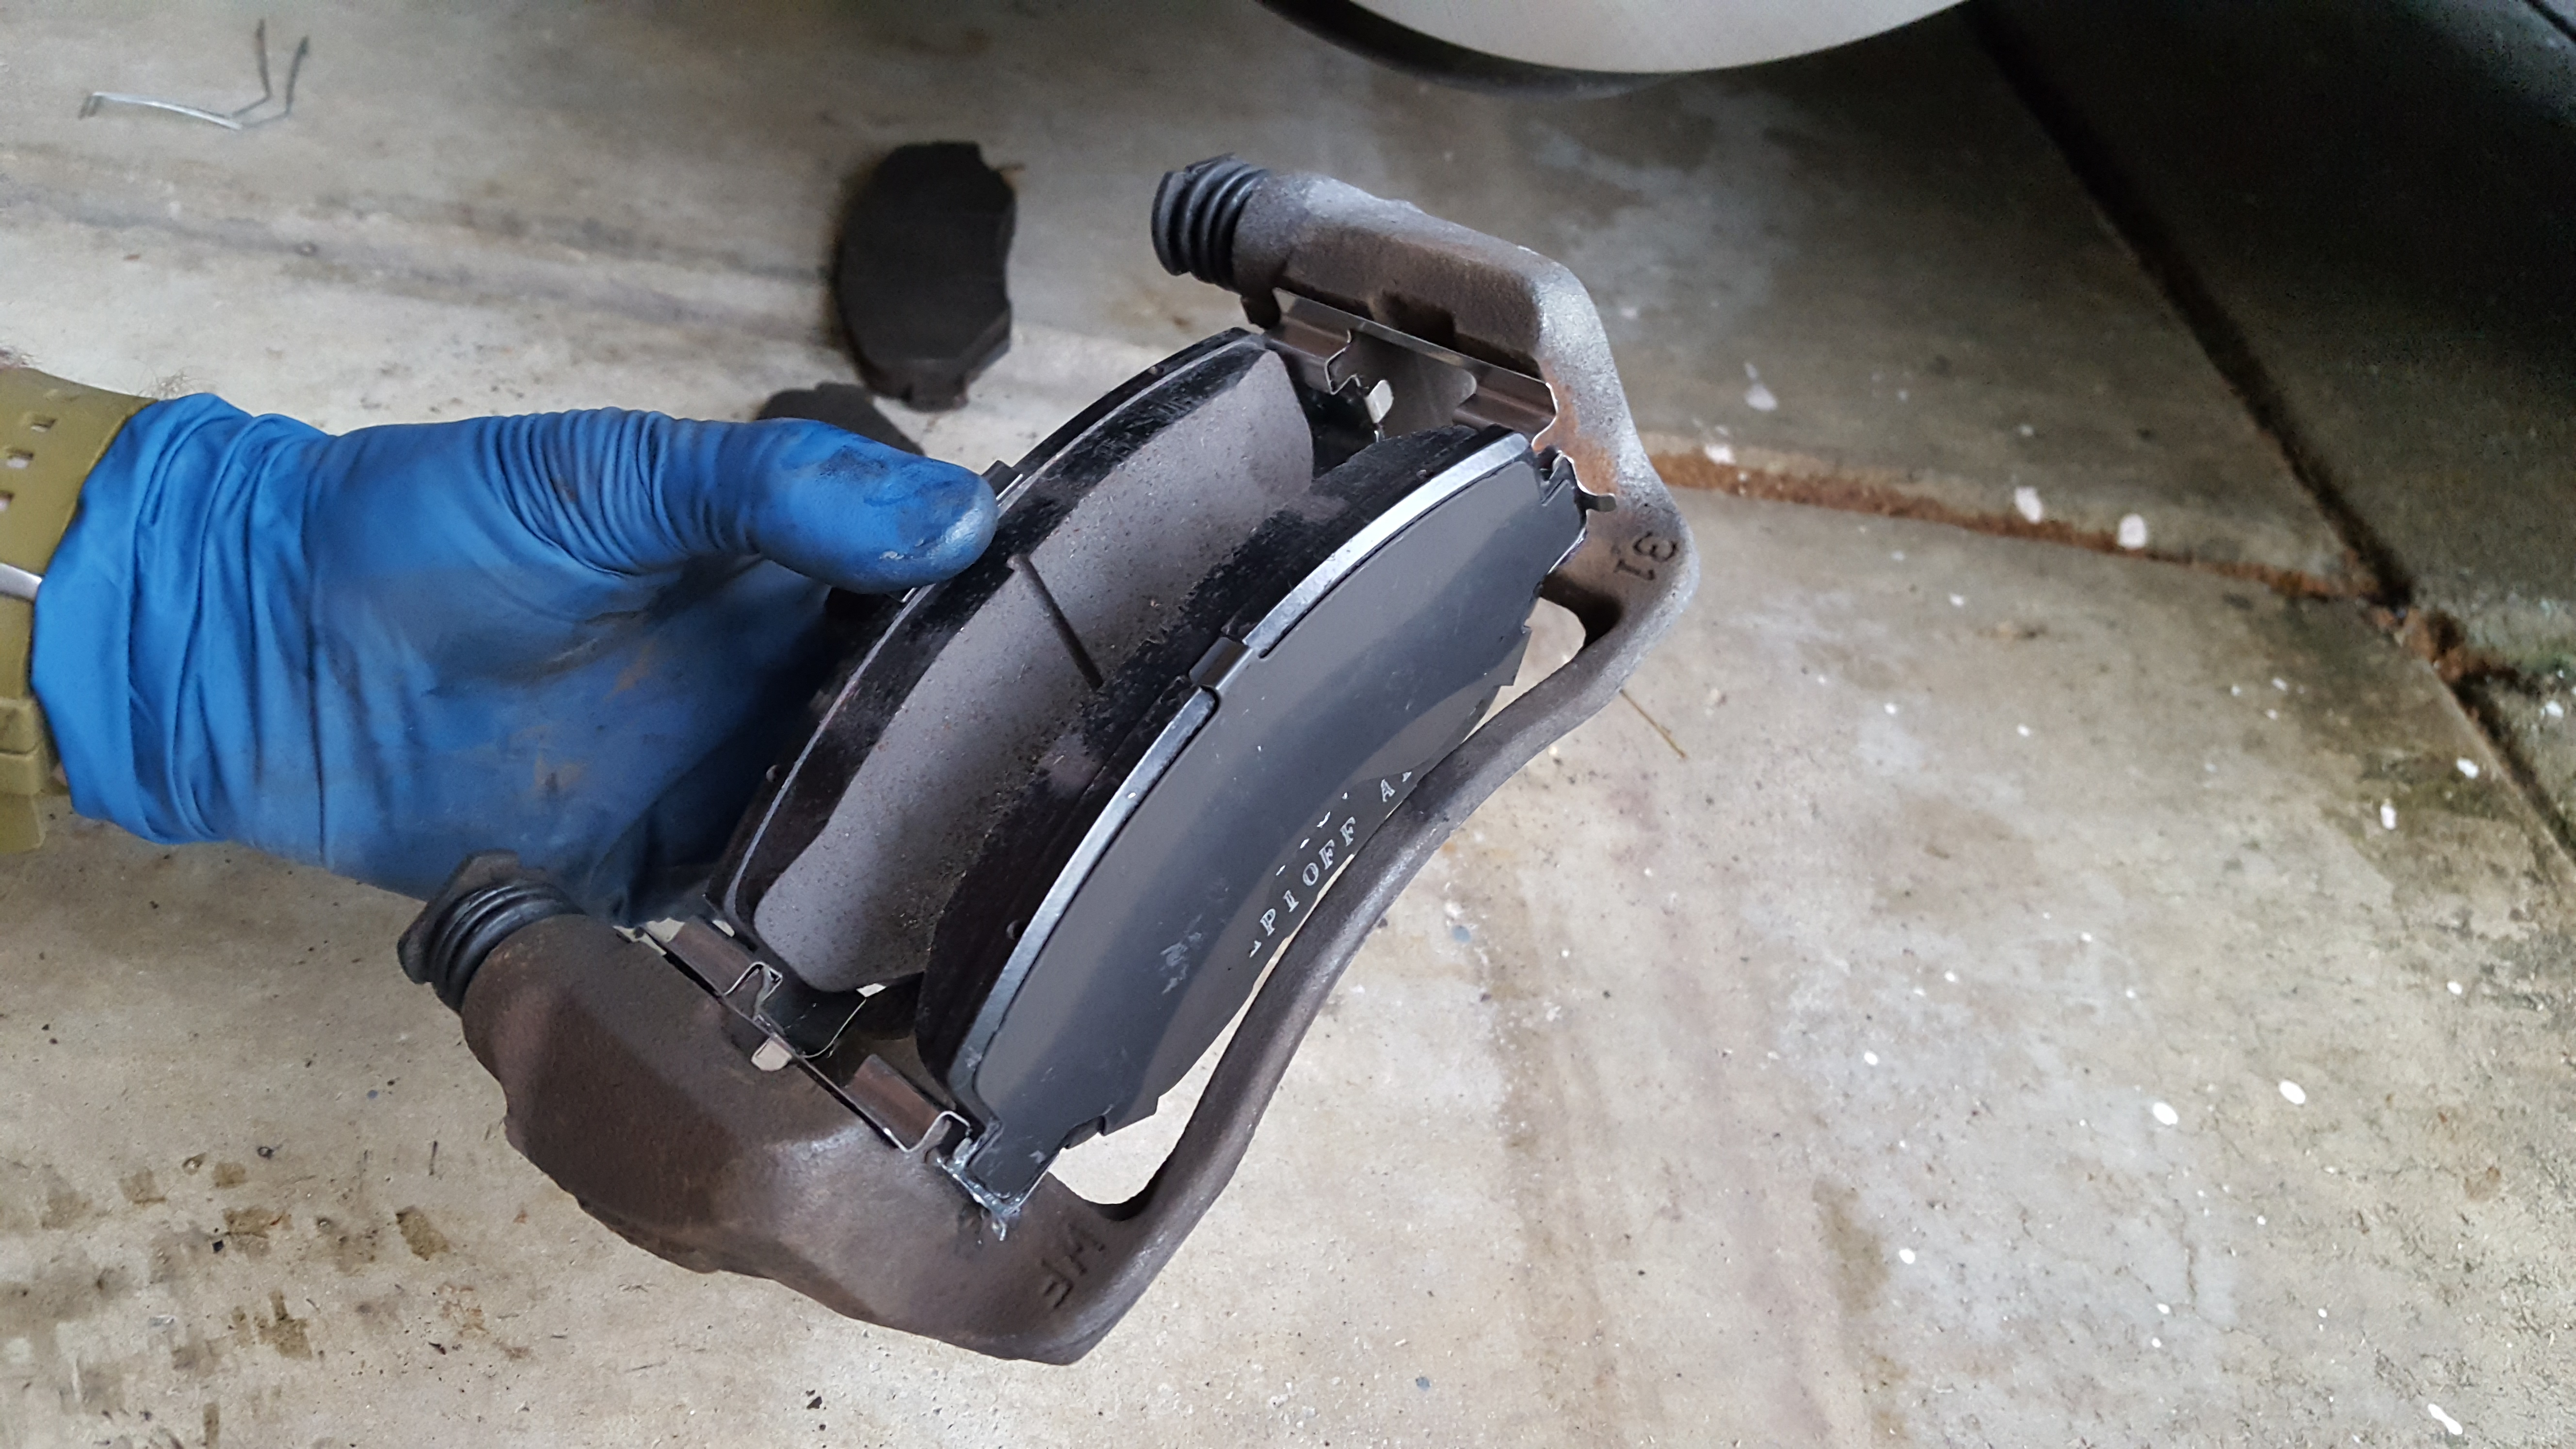

Installation is the reverse of removal from here. Install the caliper and tighten down the bolts. Install the wheel and tighten the lugs. Lower the car and fully snug down the lugs.
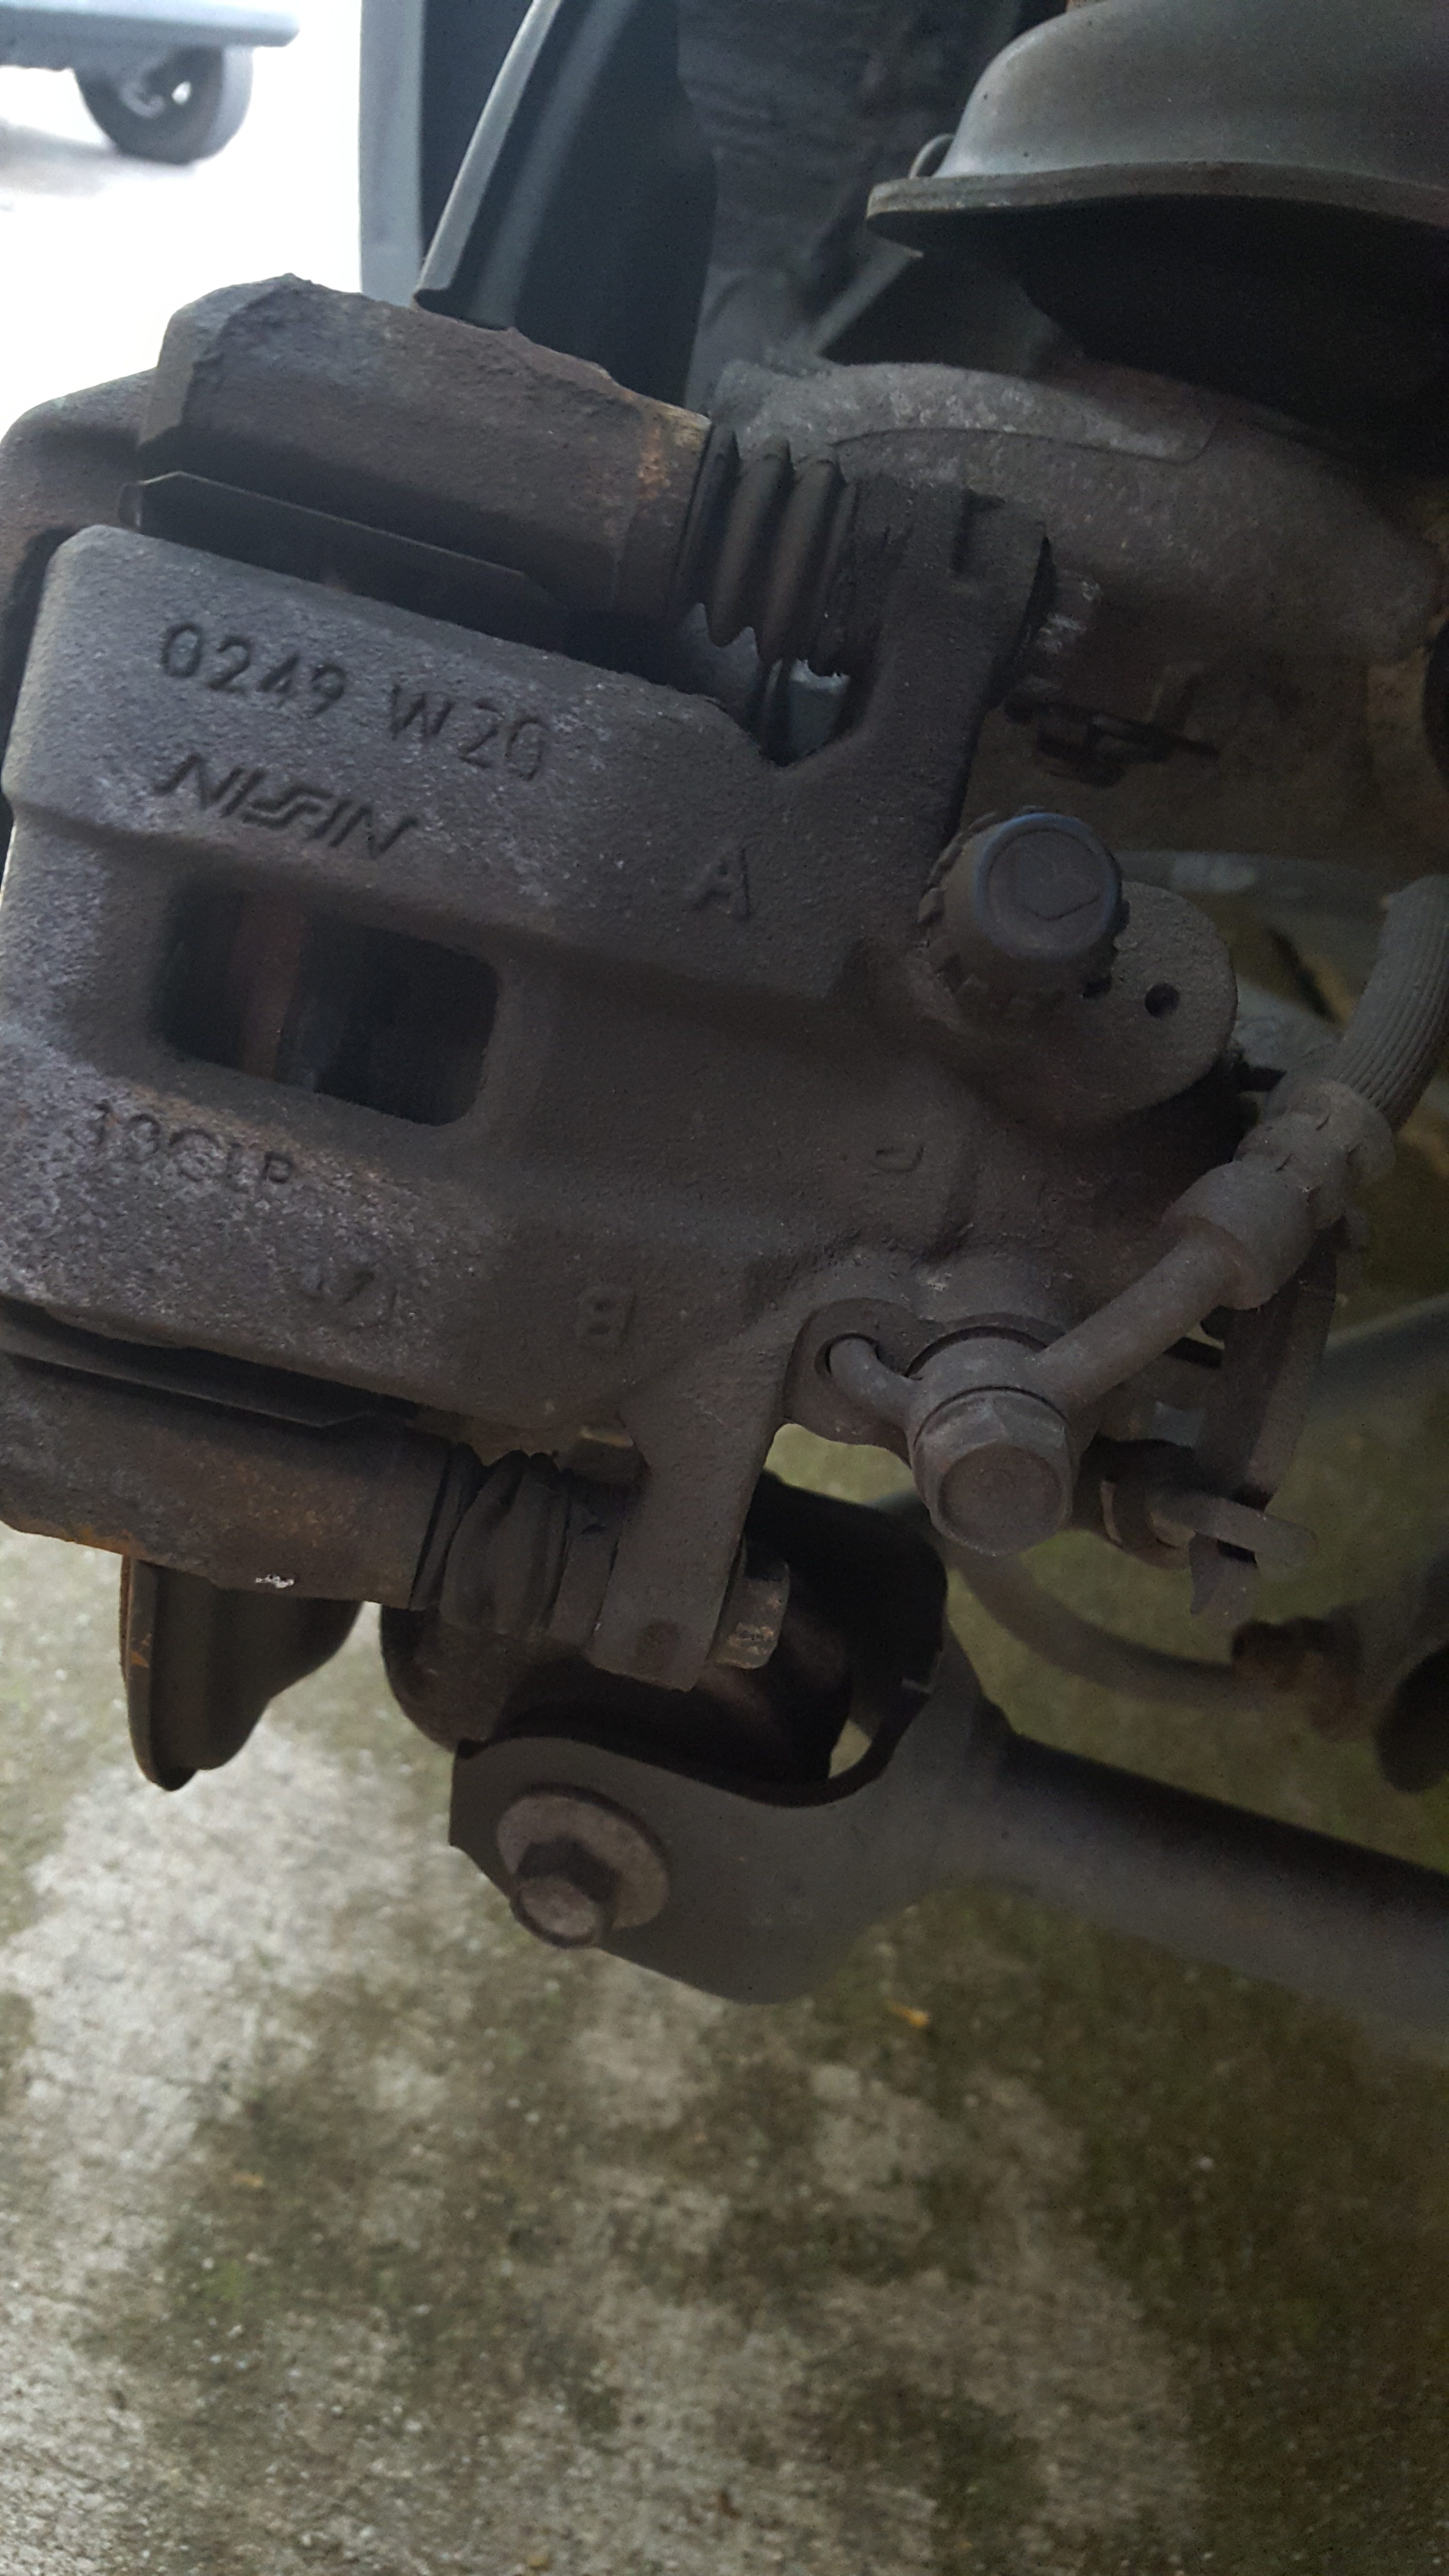
Rear Brakes
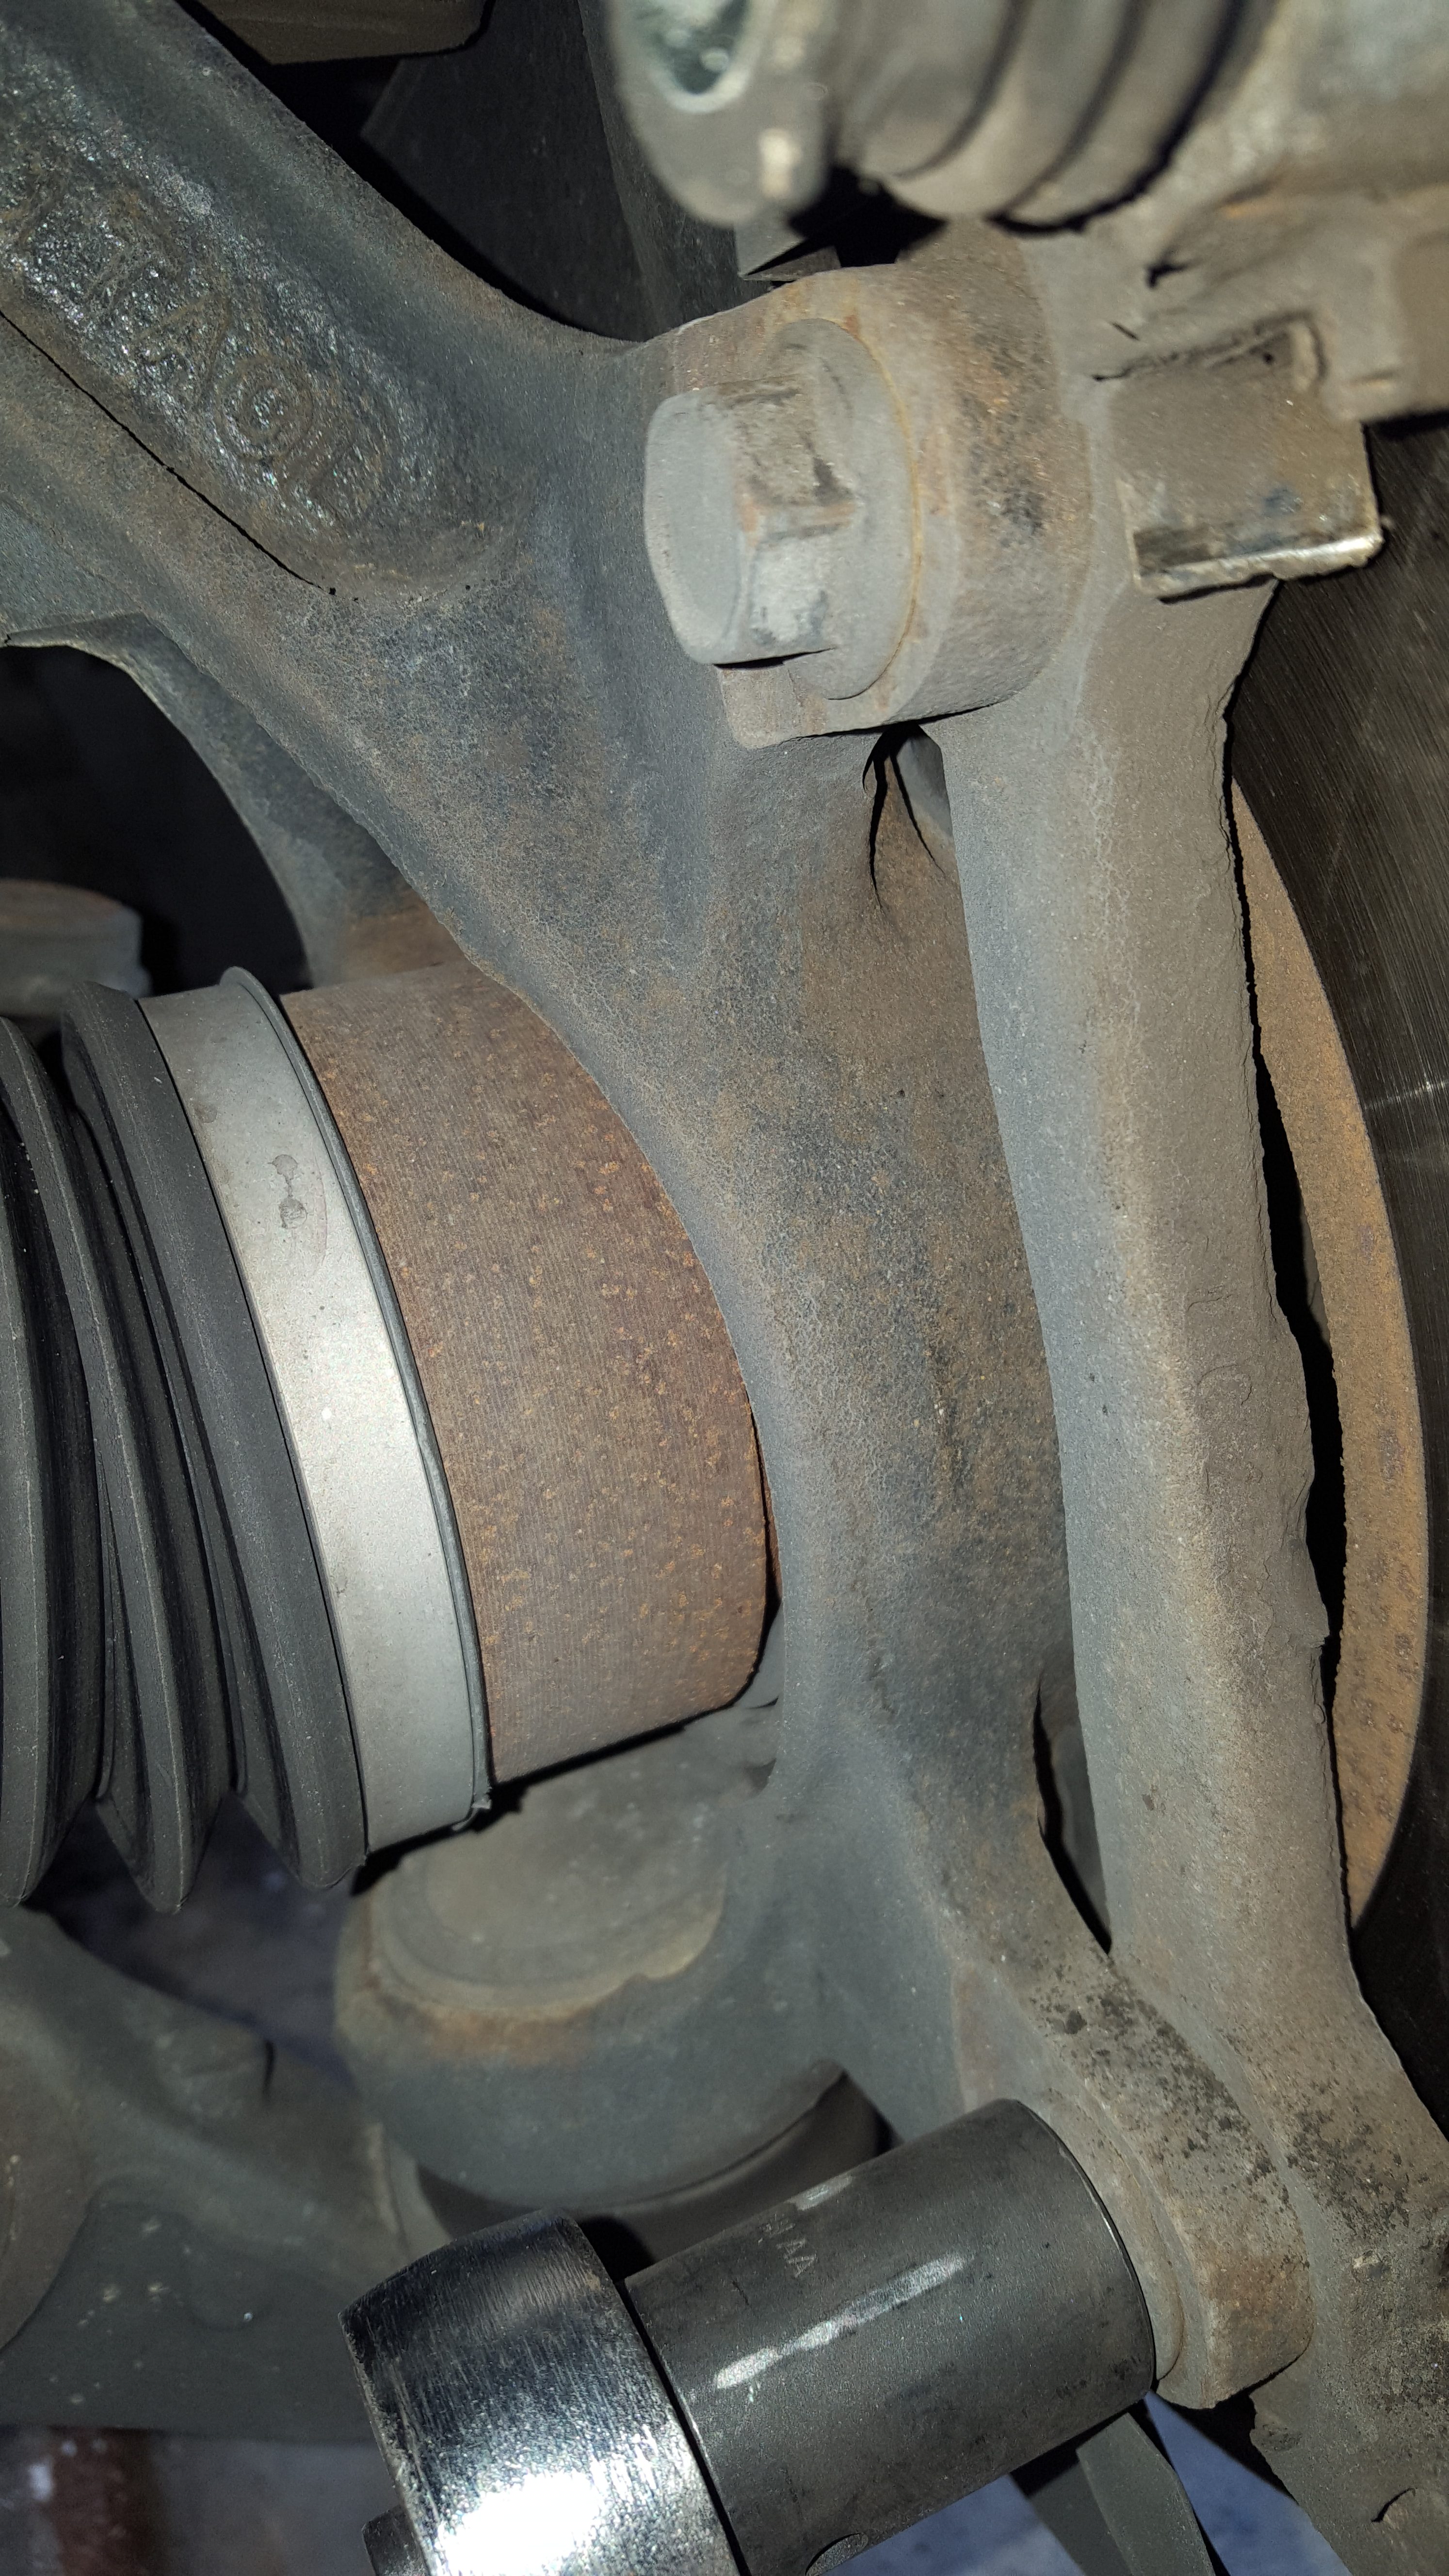
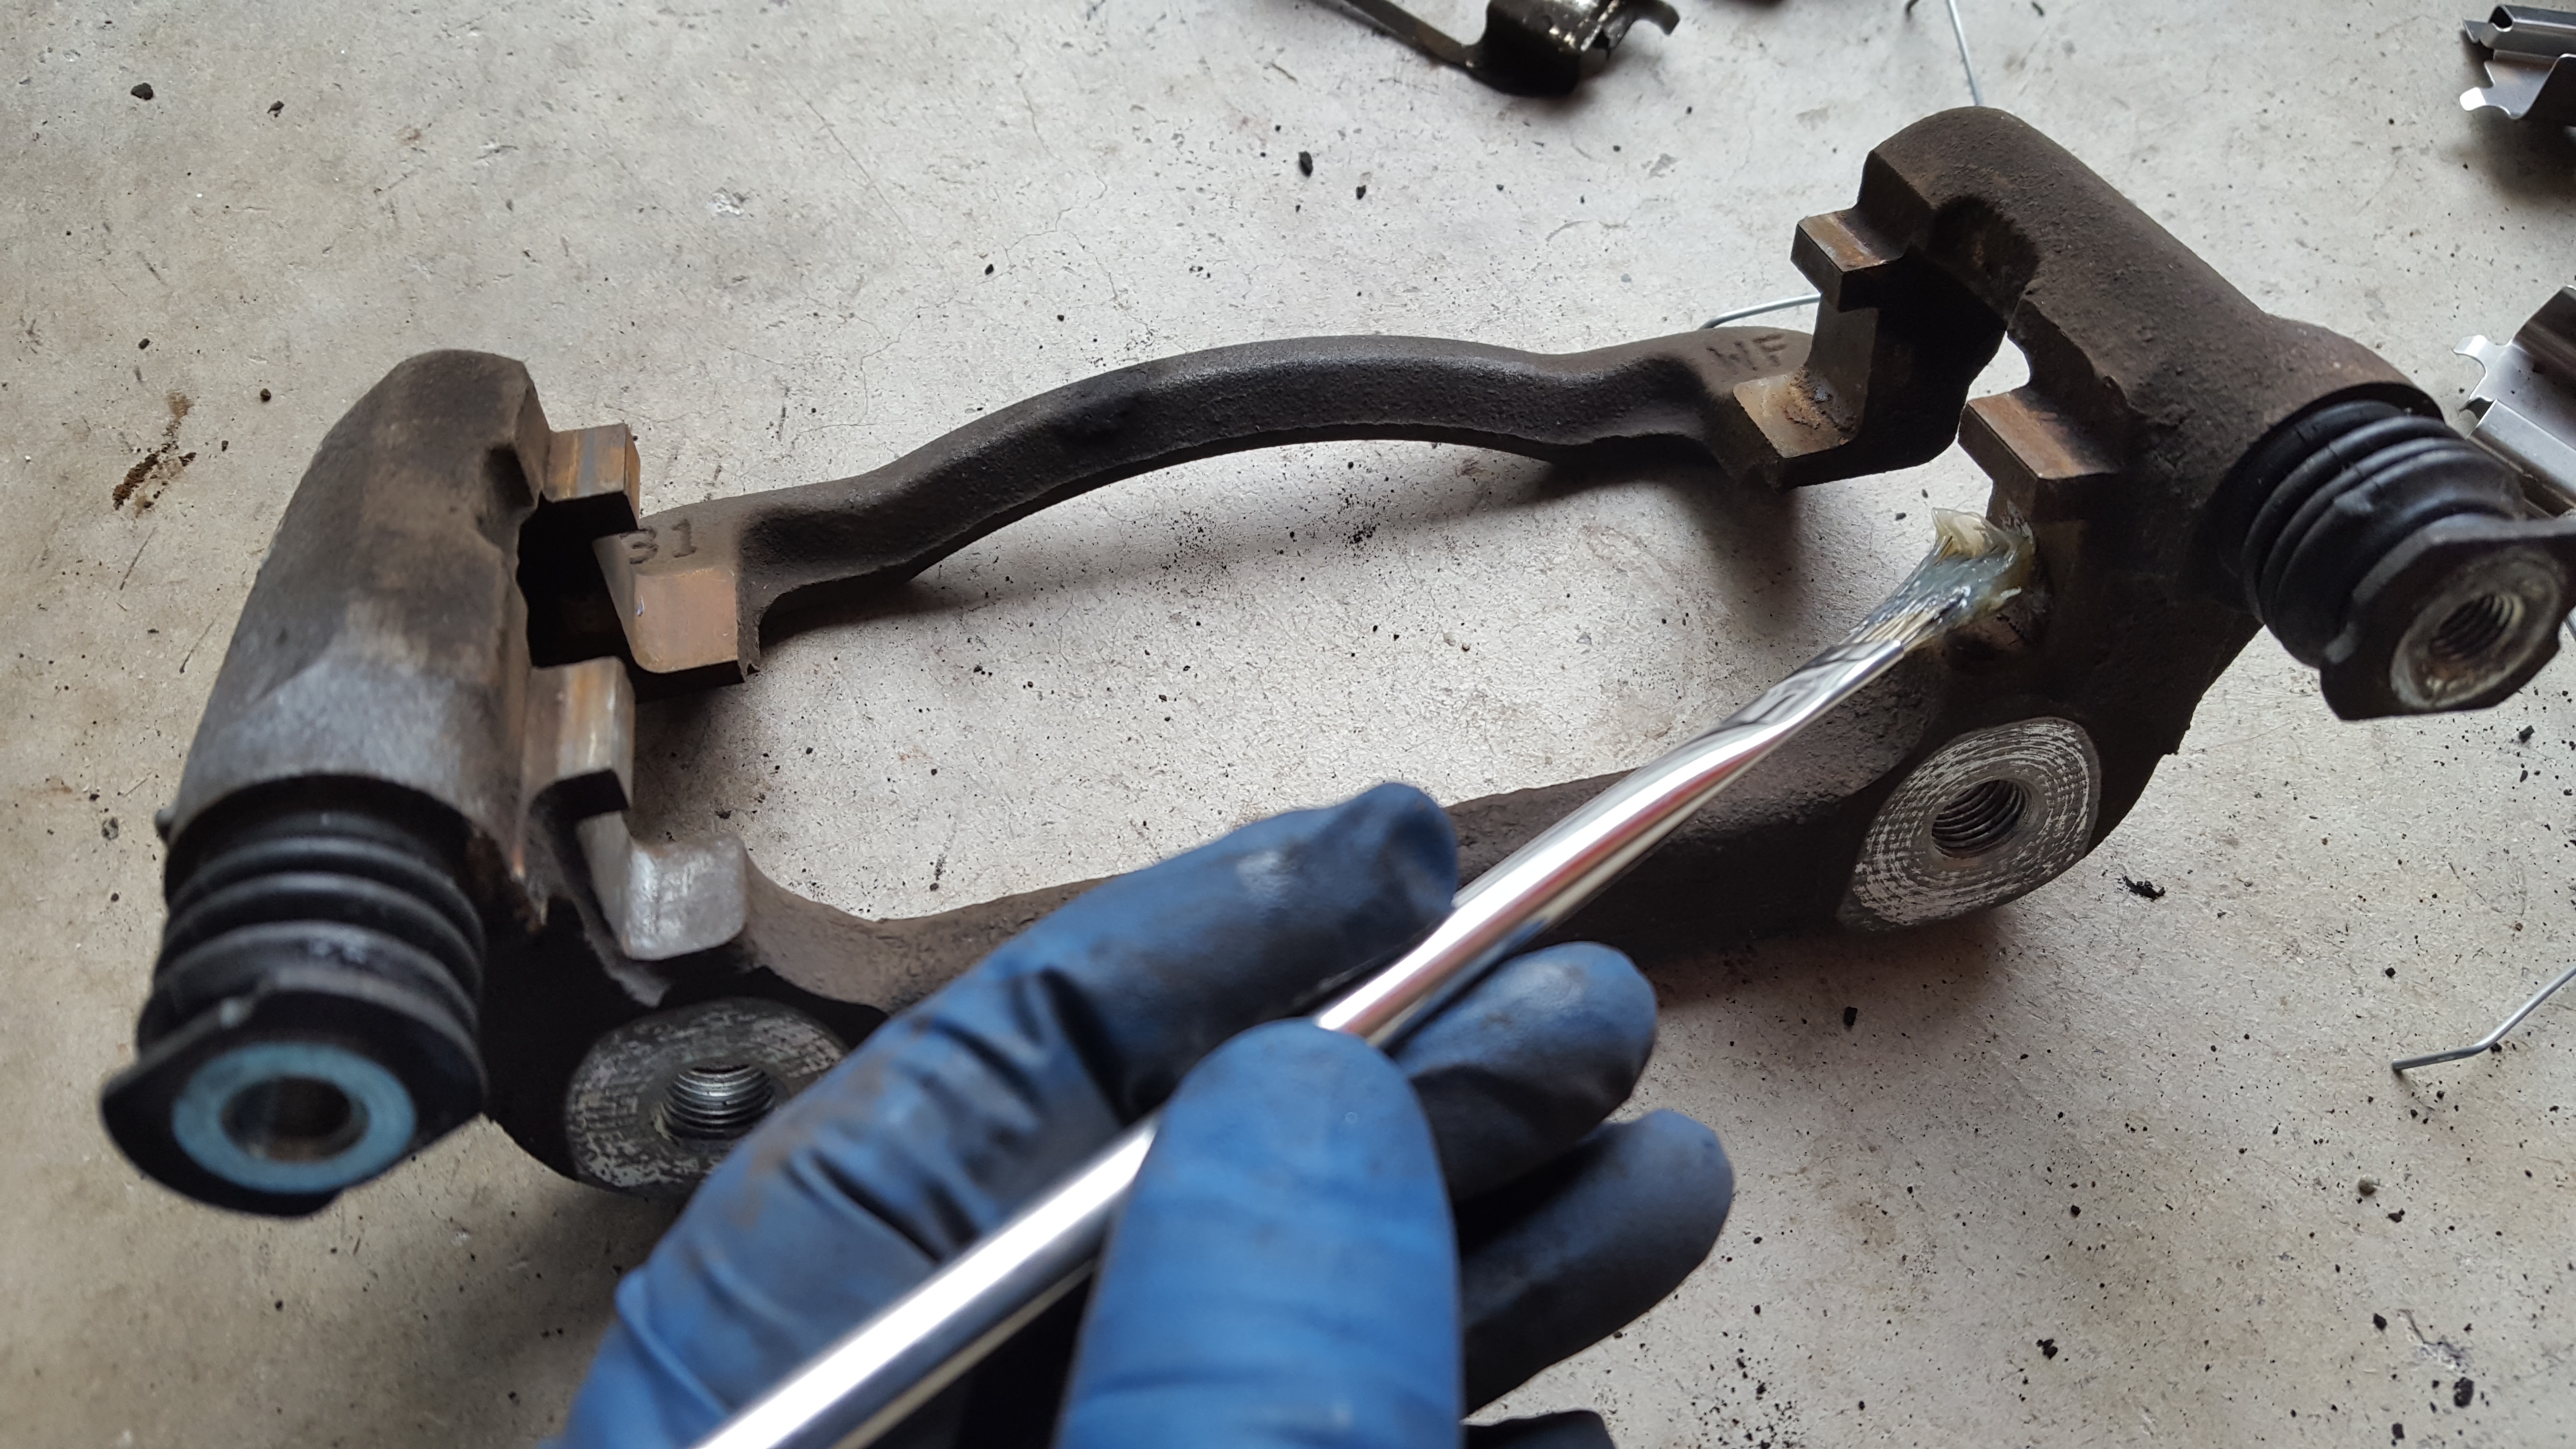
The rear is similar enough to the front to not need specific photos of each step. Instead, I tried to show the significant differences that gave me pause.
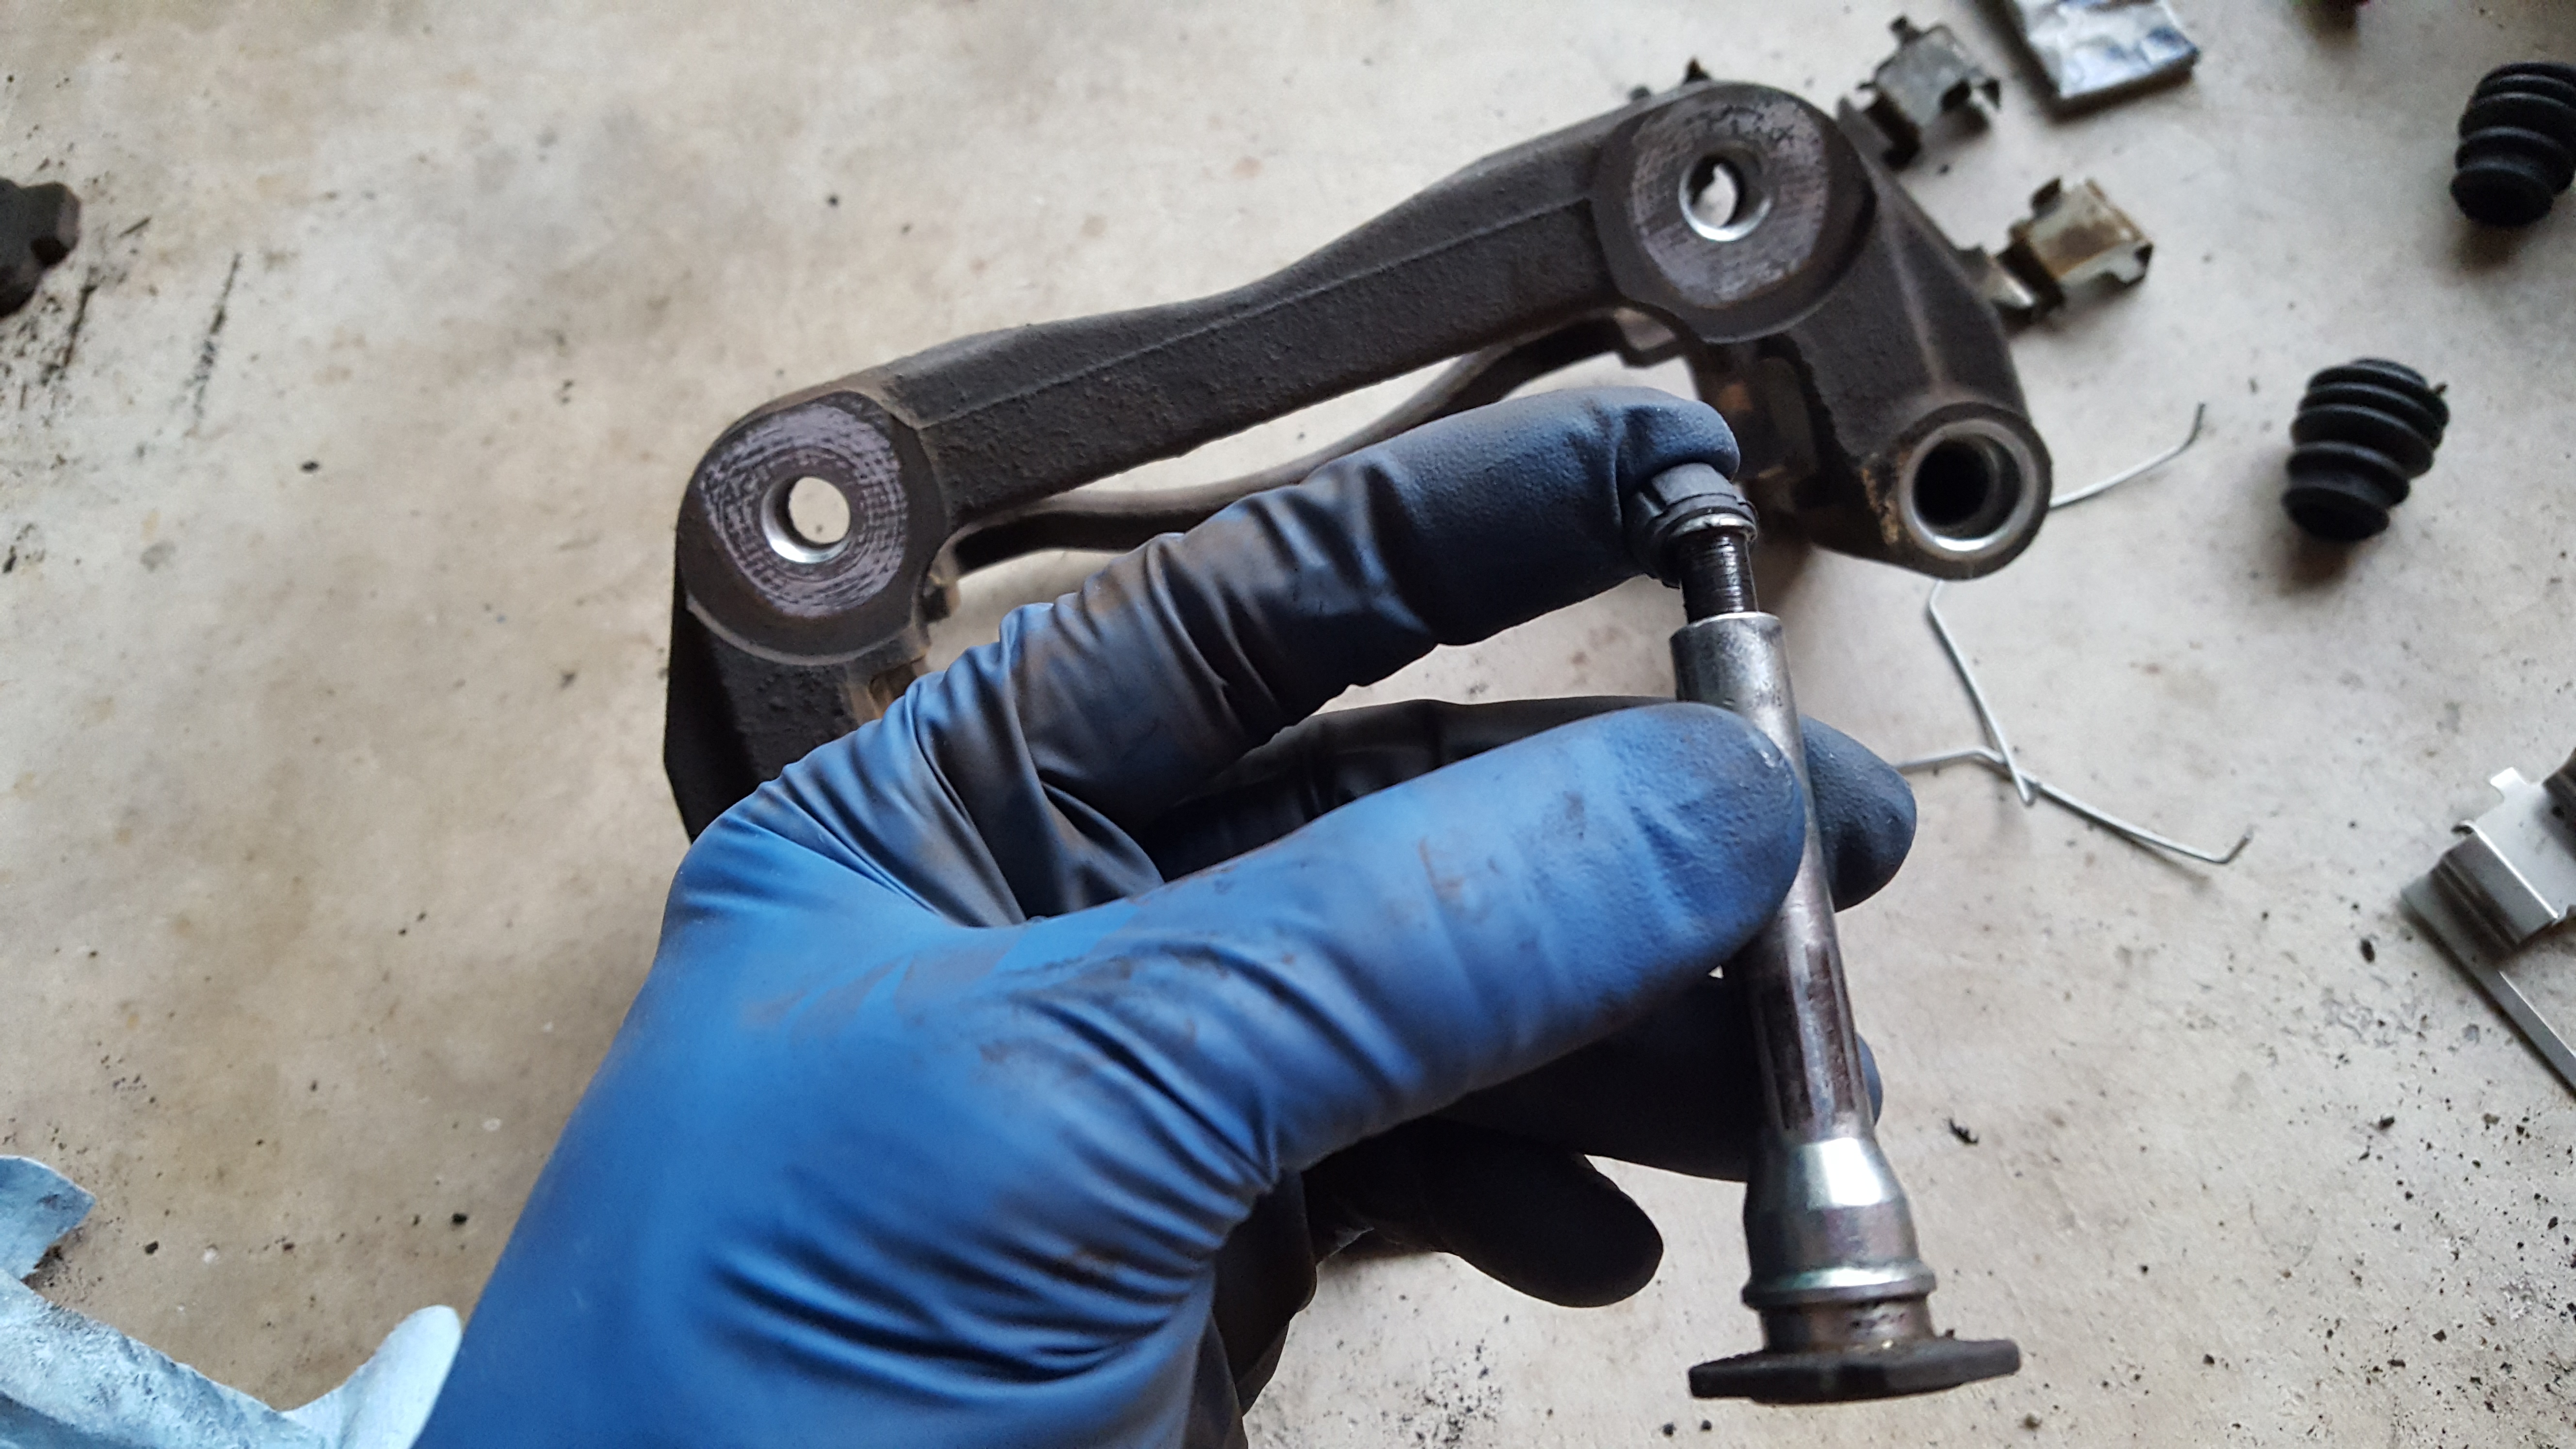
There are two issues that I didn’t get a chance to show: first, the caliper guide pin boots fit better into the caliper mounting bracket first, and then the pin slid into it. I tried to fit it on the pin first like with the front, but it wasn’t able to fit into the bracket since the fit was too tight. No photos since I was covered in grease and a little frustrated at the time!
The second is that instead of prying the caliper piston back in, the rear is screwed in. A pair of needlenose pliers worked well for this and was only hard to turn at the beginning. Apparently, this has something to do with how the emergency brakes work in the rear.


Aftermath
By the last wheel, I was down to about 30 minutes from start to finish. Overall, it was about a three hour job and totally worth it.
Leave a Reply