Making a Reloading Bench for a Hornady Lock-n-Load Press
I first started reloading using an old, rickety workbench. Although it worked, to keep the press from bouncing around and spilling powder, I had to keep a firm grip on the front of it. The best solution was to build a new bench!

Plans
I made a SketchUp model of the bench if you would like to view the plans: Reloading Bench Sketchup Plans
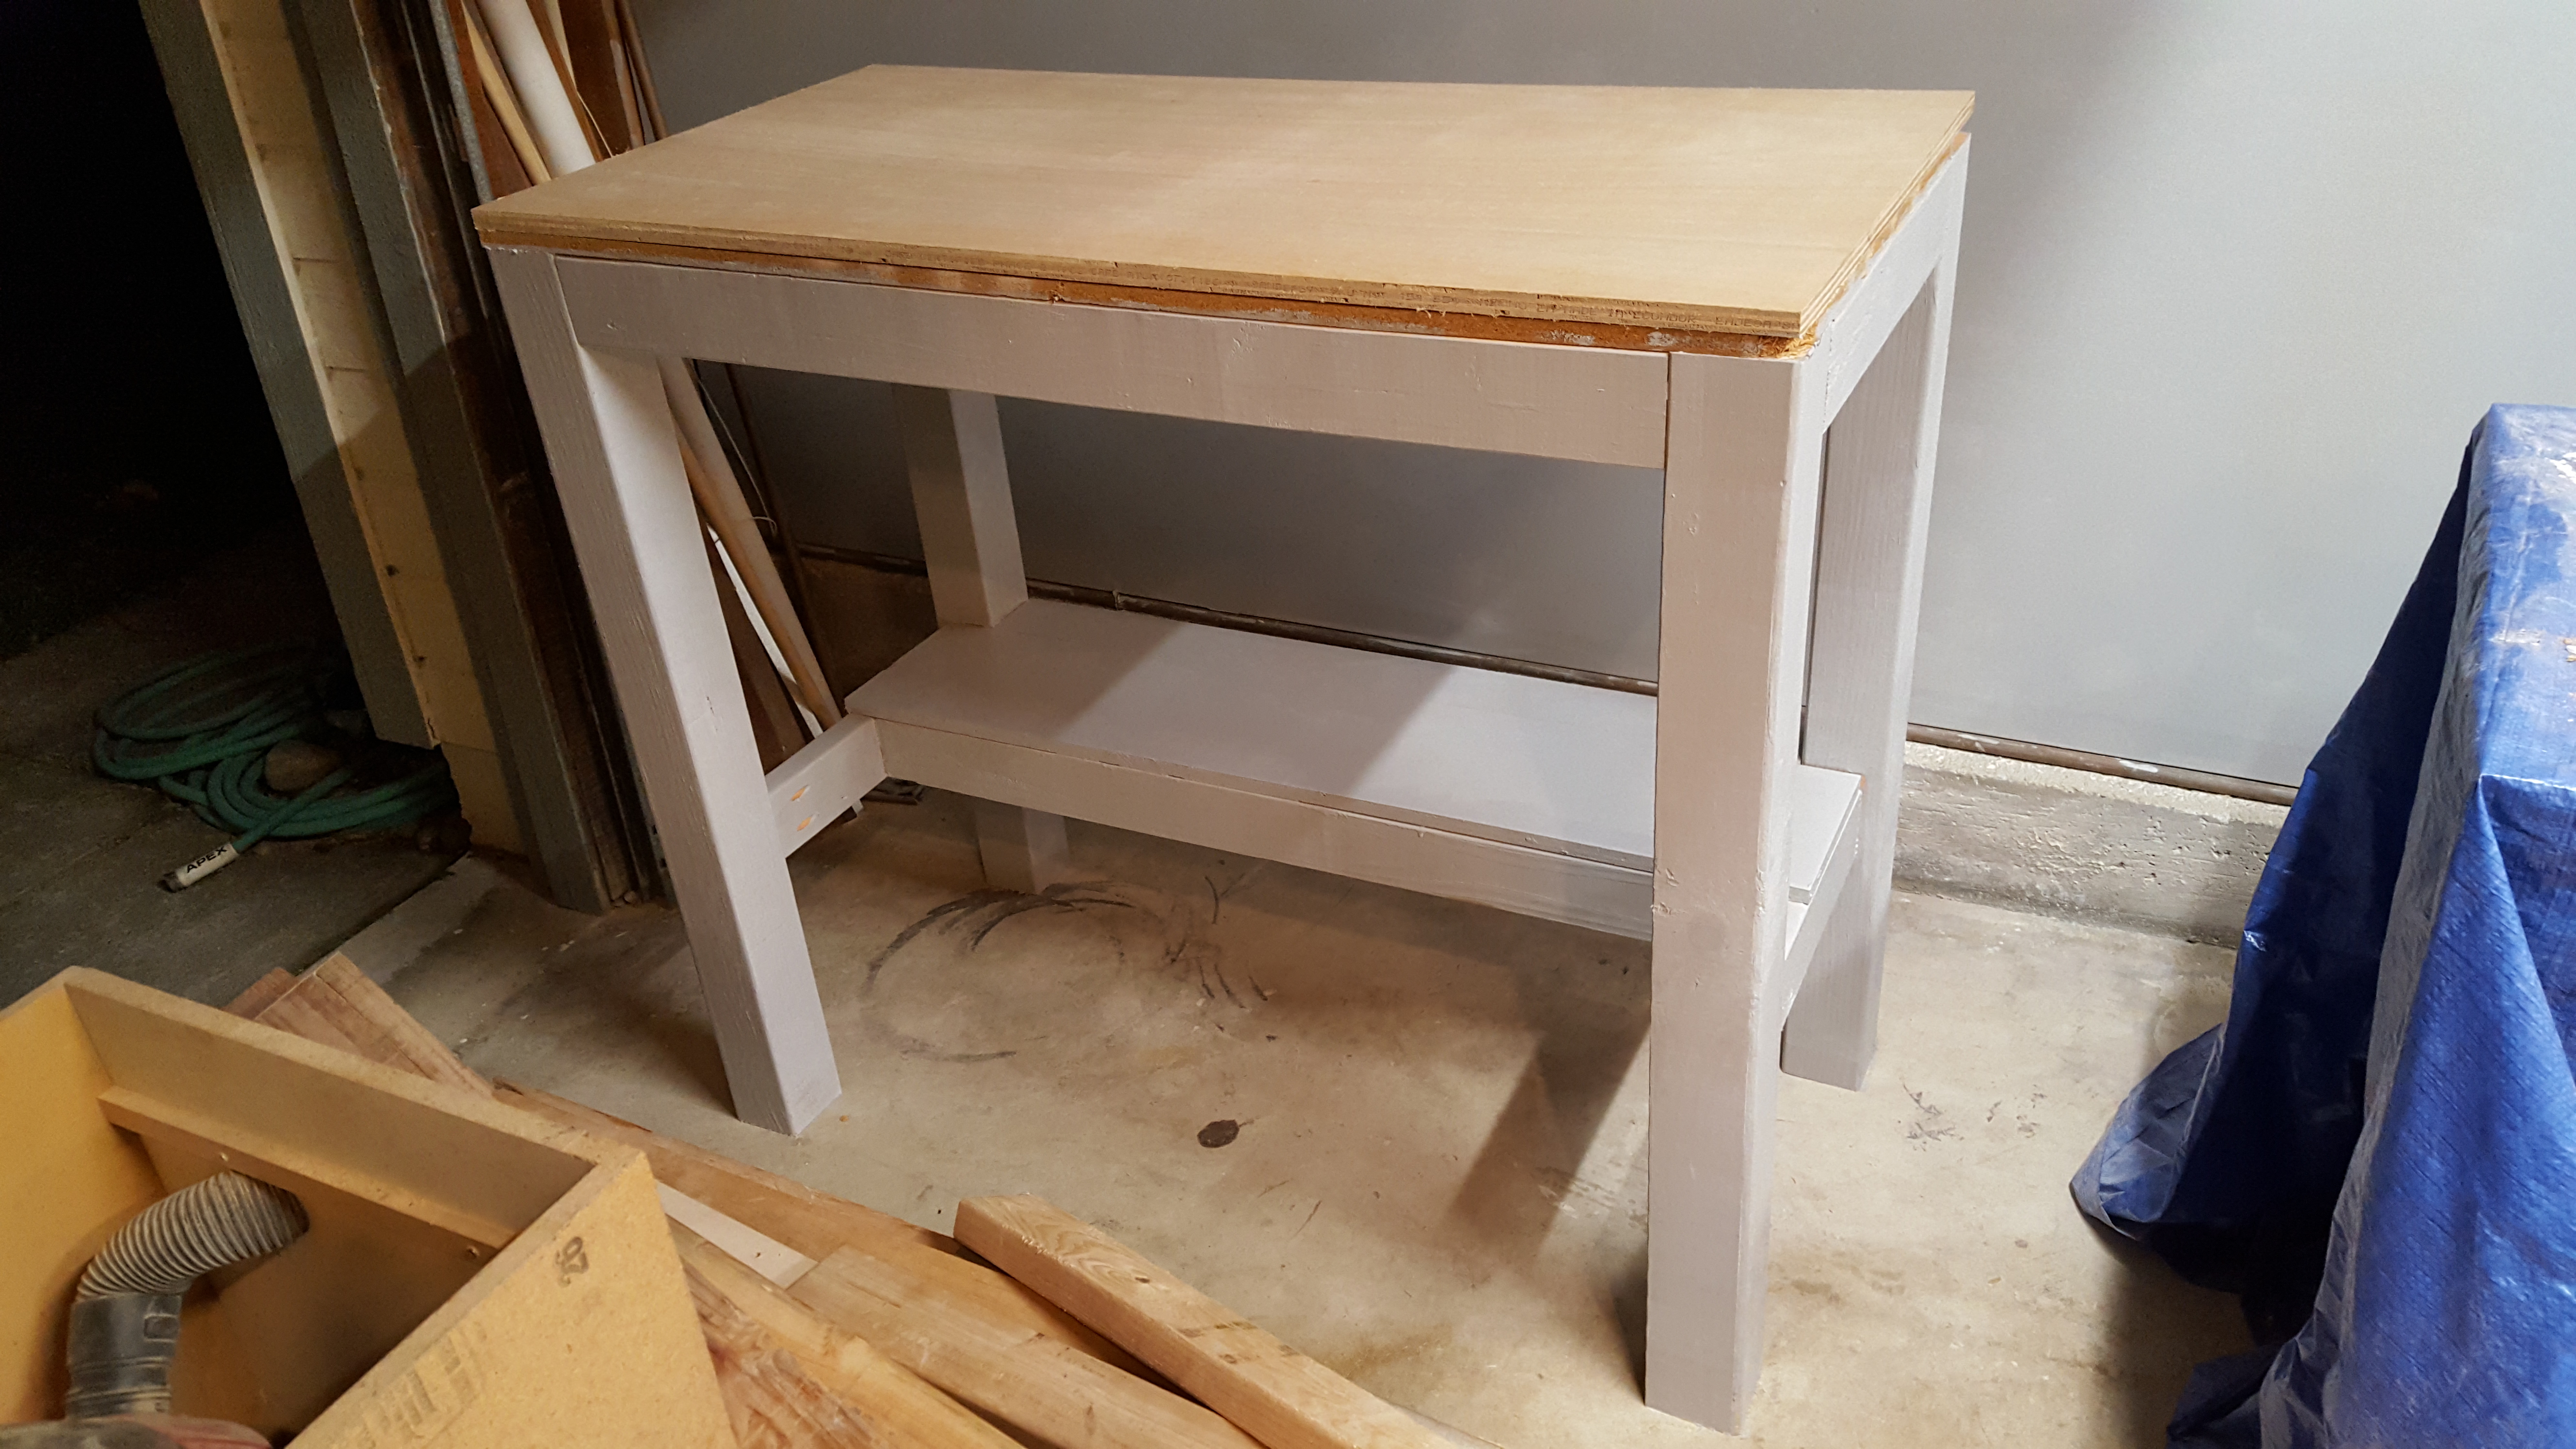
There are lots of different bench styles and I sifted through many before deciding what I wanted. For the height, I chose a top at 43″. This is tall enough for me to work the handle without bending over and I can see the shell plates clearly.

I added a small shelf underneath for storage of items I don’t need to regularly, but kept it from extending all the way to the front so I can use a stool and put my feet underneath comfortably. I only have one press, so I didn’t need a quick changeover system built into the top.

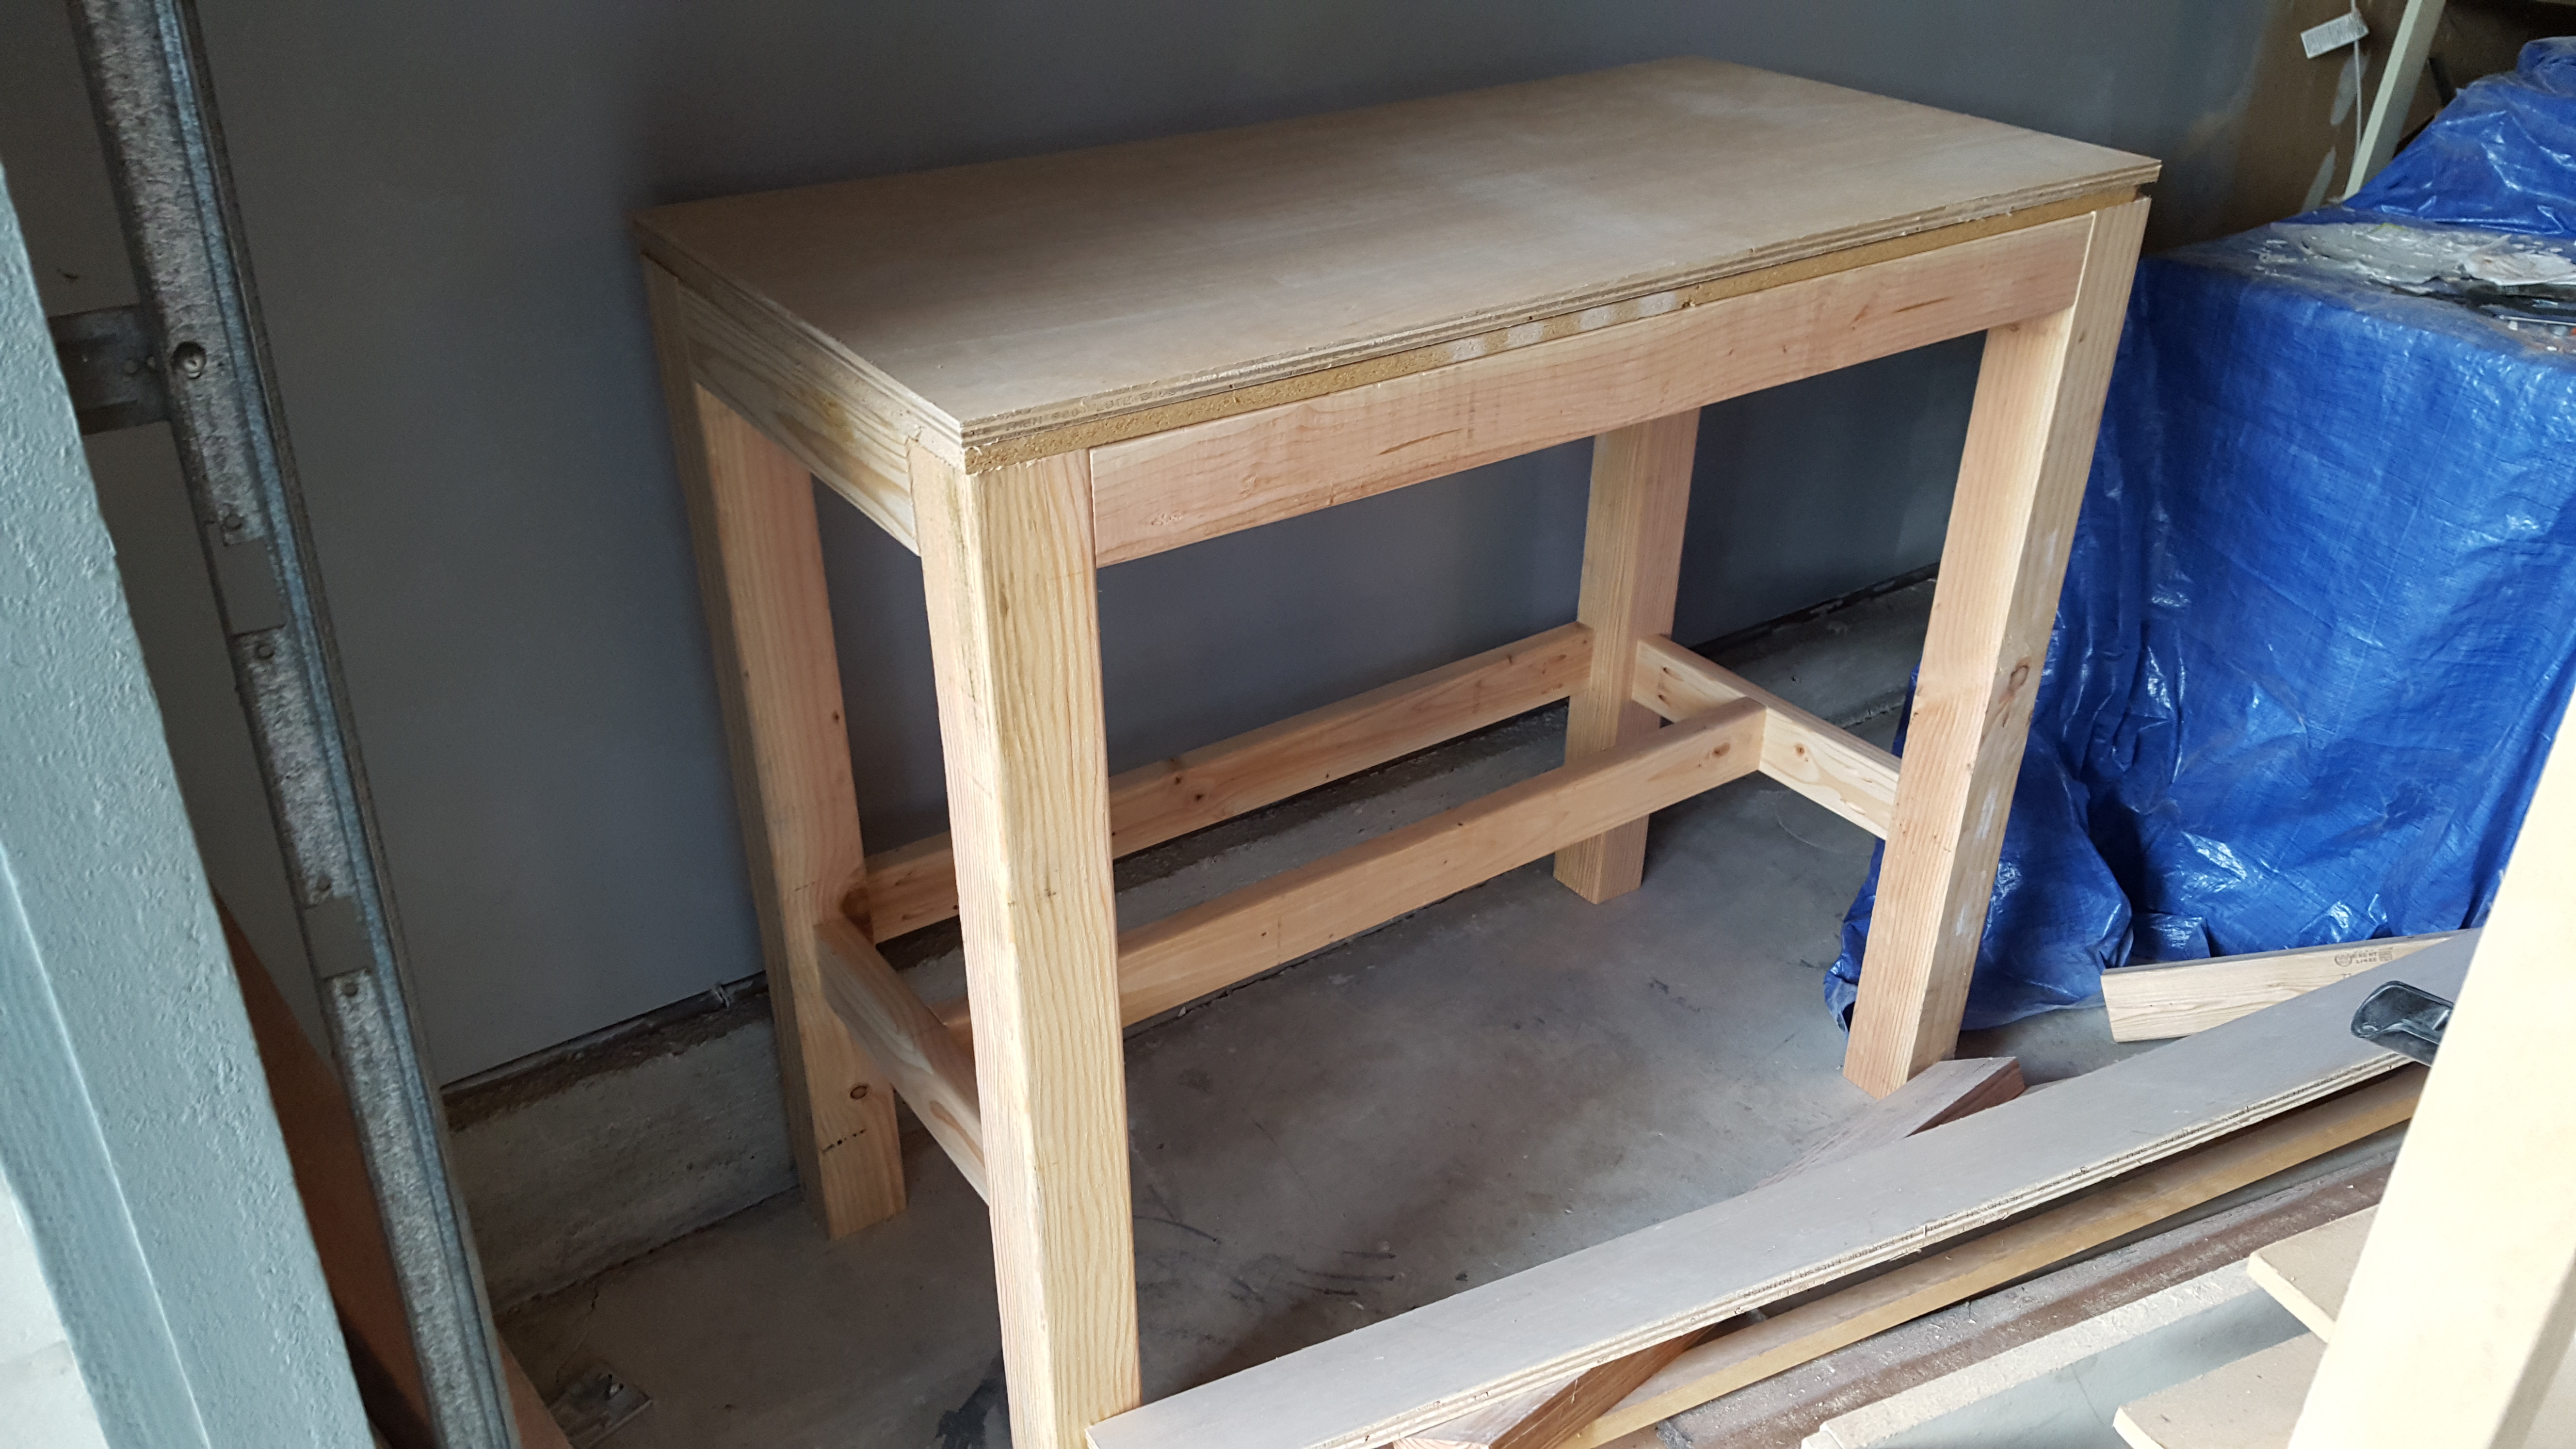
The legs were 4x4s for stability with the rest of the frame being 2x4s and assembled with pocket screws. Pocket screws are fast, easy, and hold plenty strong for this.
The top is in two parts: the first layer is some leftover 5/8″ particle board that had been used as a shelf, and the top is 3/4″ Sande Plywood that I had leftover from another project.

Overall size ended up being 2′ x 4′ (with an extra 3/4″ on each edge for the Cherry edge banding) as that gives me plenty of room for keeping the supplies I need regularly accessible, but not so large that I’m tempted to store many items on it. I tend to use any available space, and I want this bench only used for reloading, so keeping it smaller eliminates the temptation to clutter it.
Sources
Once I had my design needs figured out, I took the best plans I could find and started my own sketches. The two main sources for the frame are Family Handyman and April Wilkerson. For the top, I found a photo from an article on reloading myths that looked good to me:

I also spent a few hours looking at the various benches on Foter.com.

I made a trip to the Home Depot and bought the wood I thought I would need. The final plans call for:
(2) 4x4x8
(5) 2x4x8
(1) 2×4 5/8″ particle board
(1) 2×4 3/4″ plywood
One box (50) of 2 1/2″ Kreg screws
Various other small screws and whatever finishes you want for the top and bench
I think I spend about $40 on this project and used leftover urethane, paint, screws, and plywood.

Building the Frame
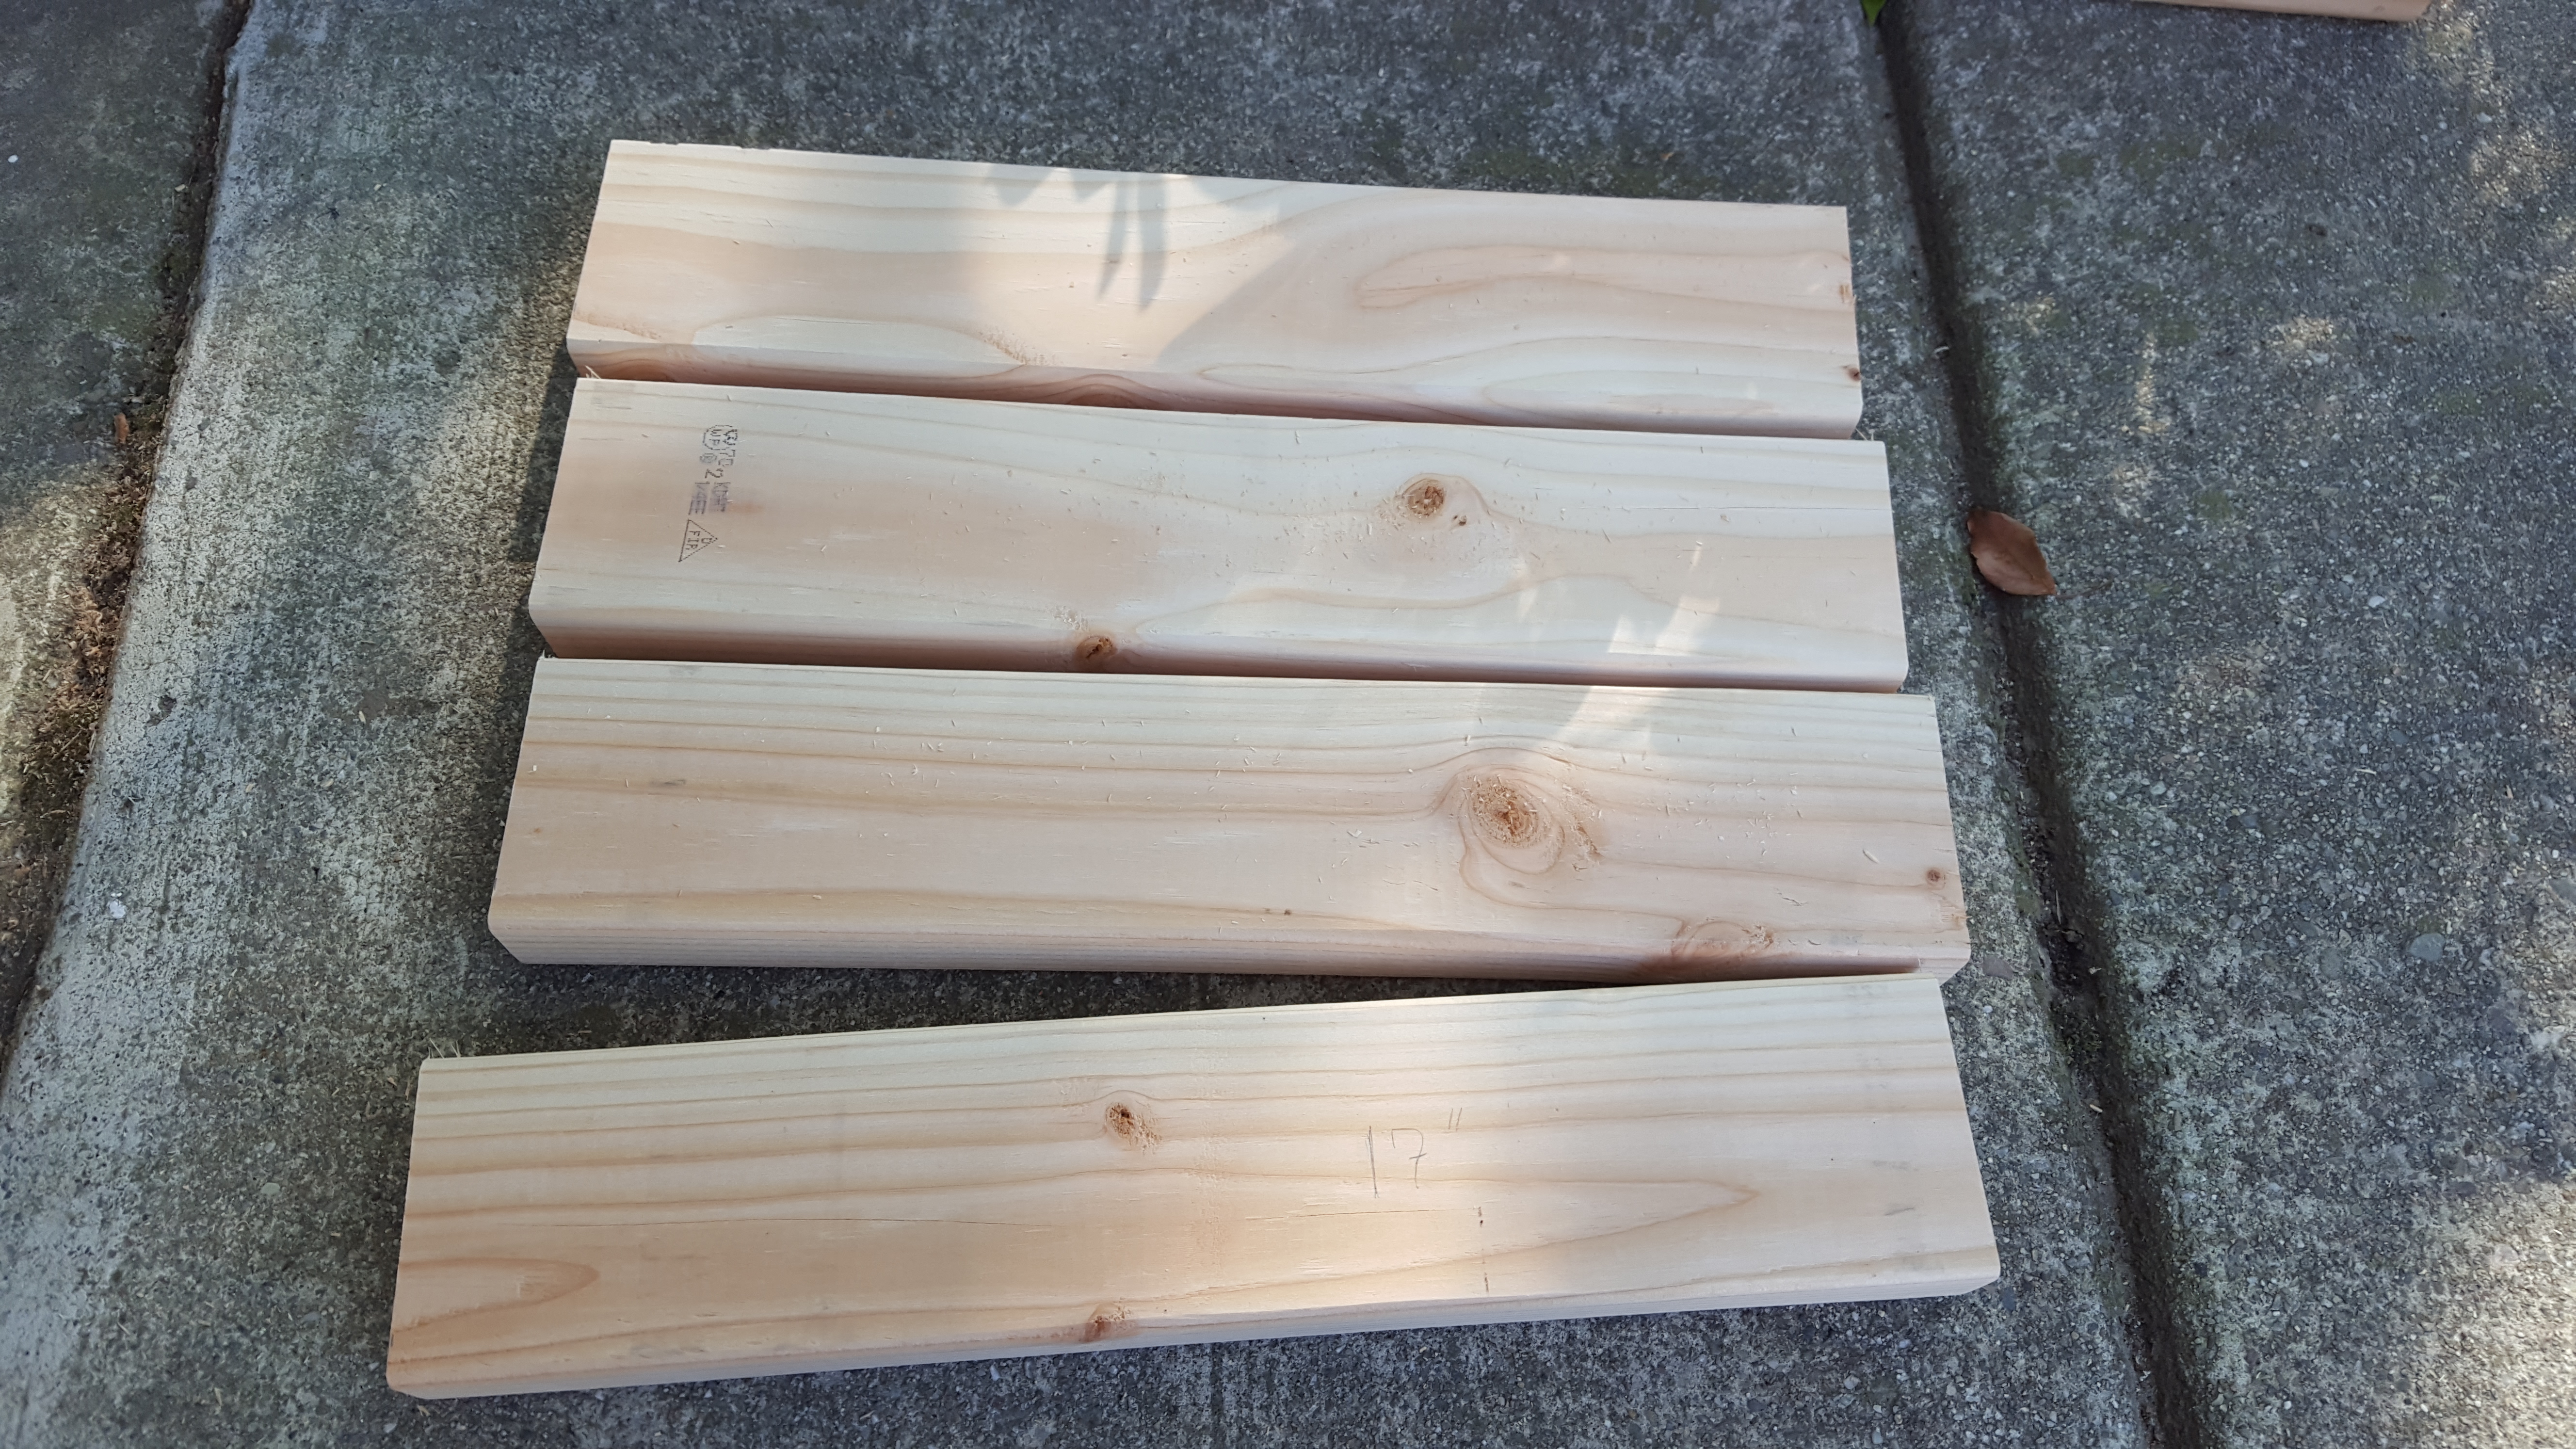
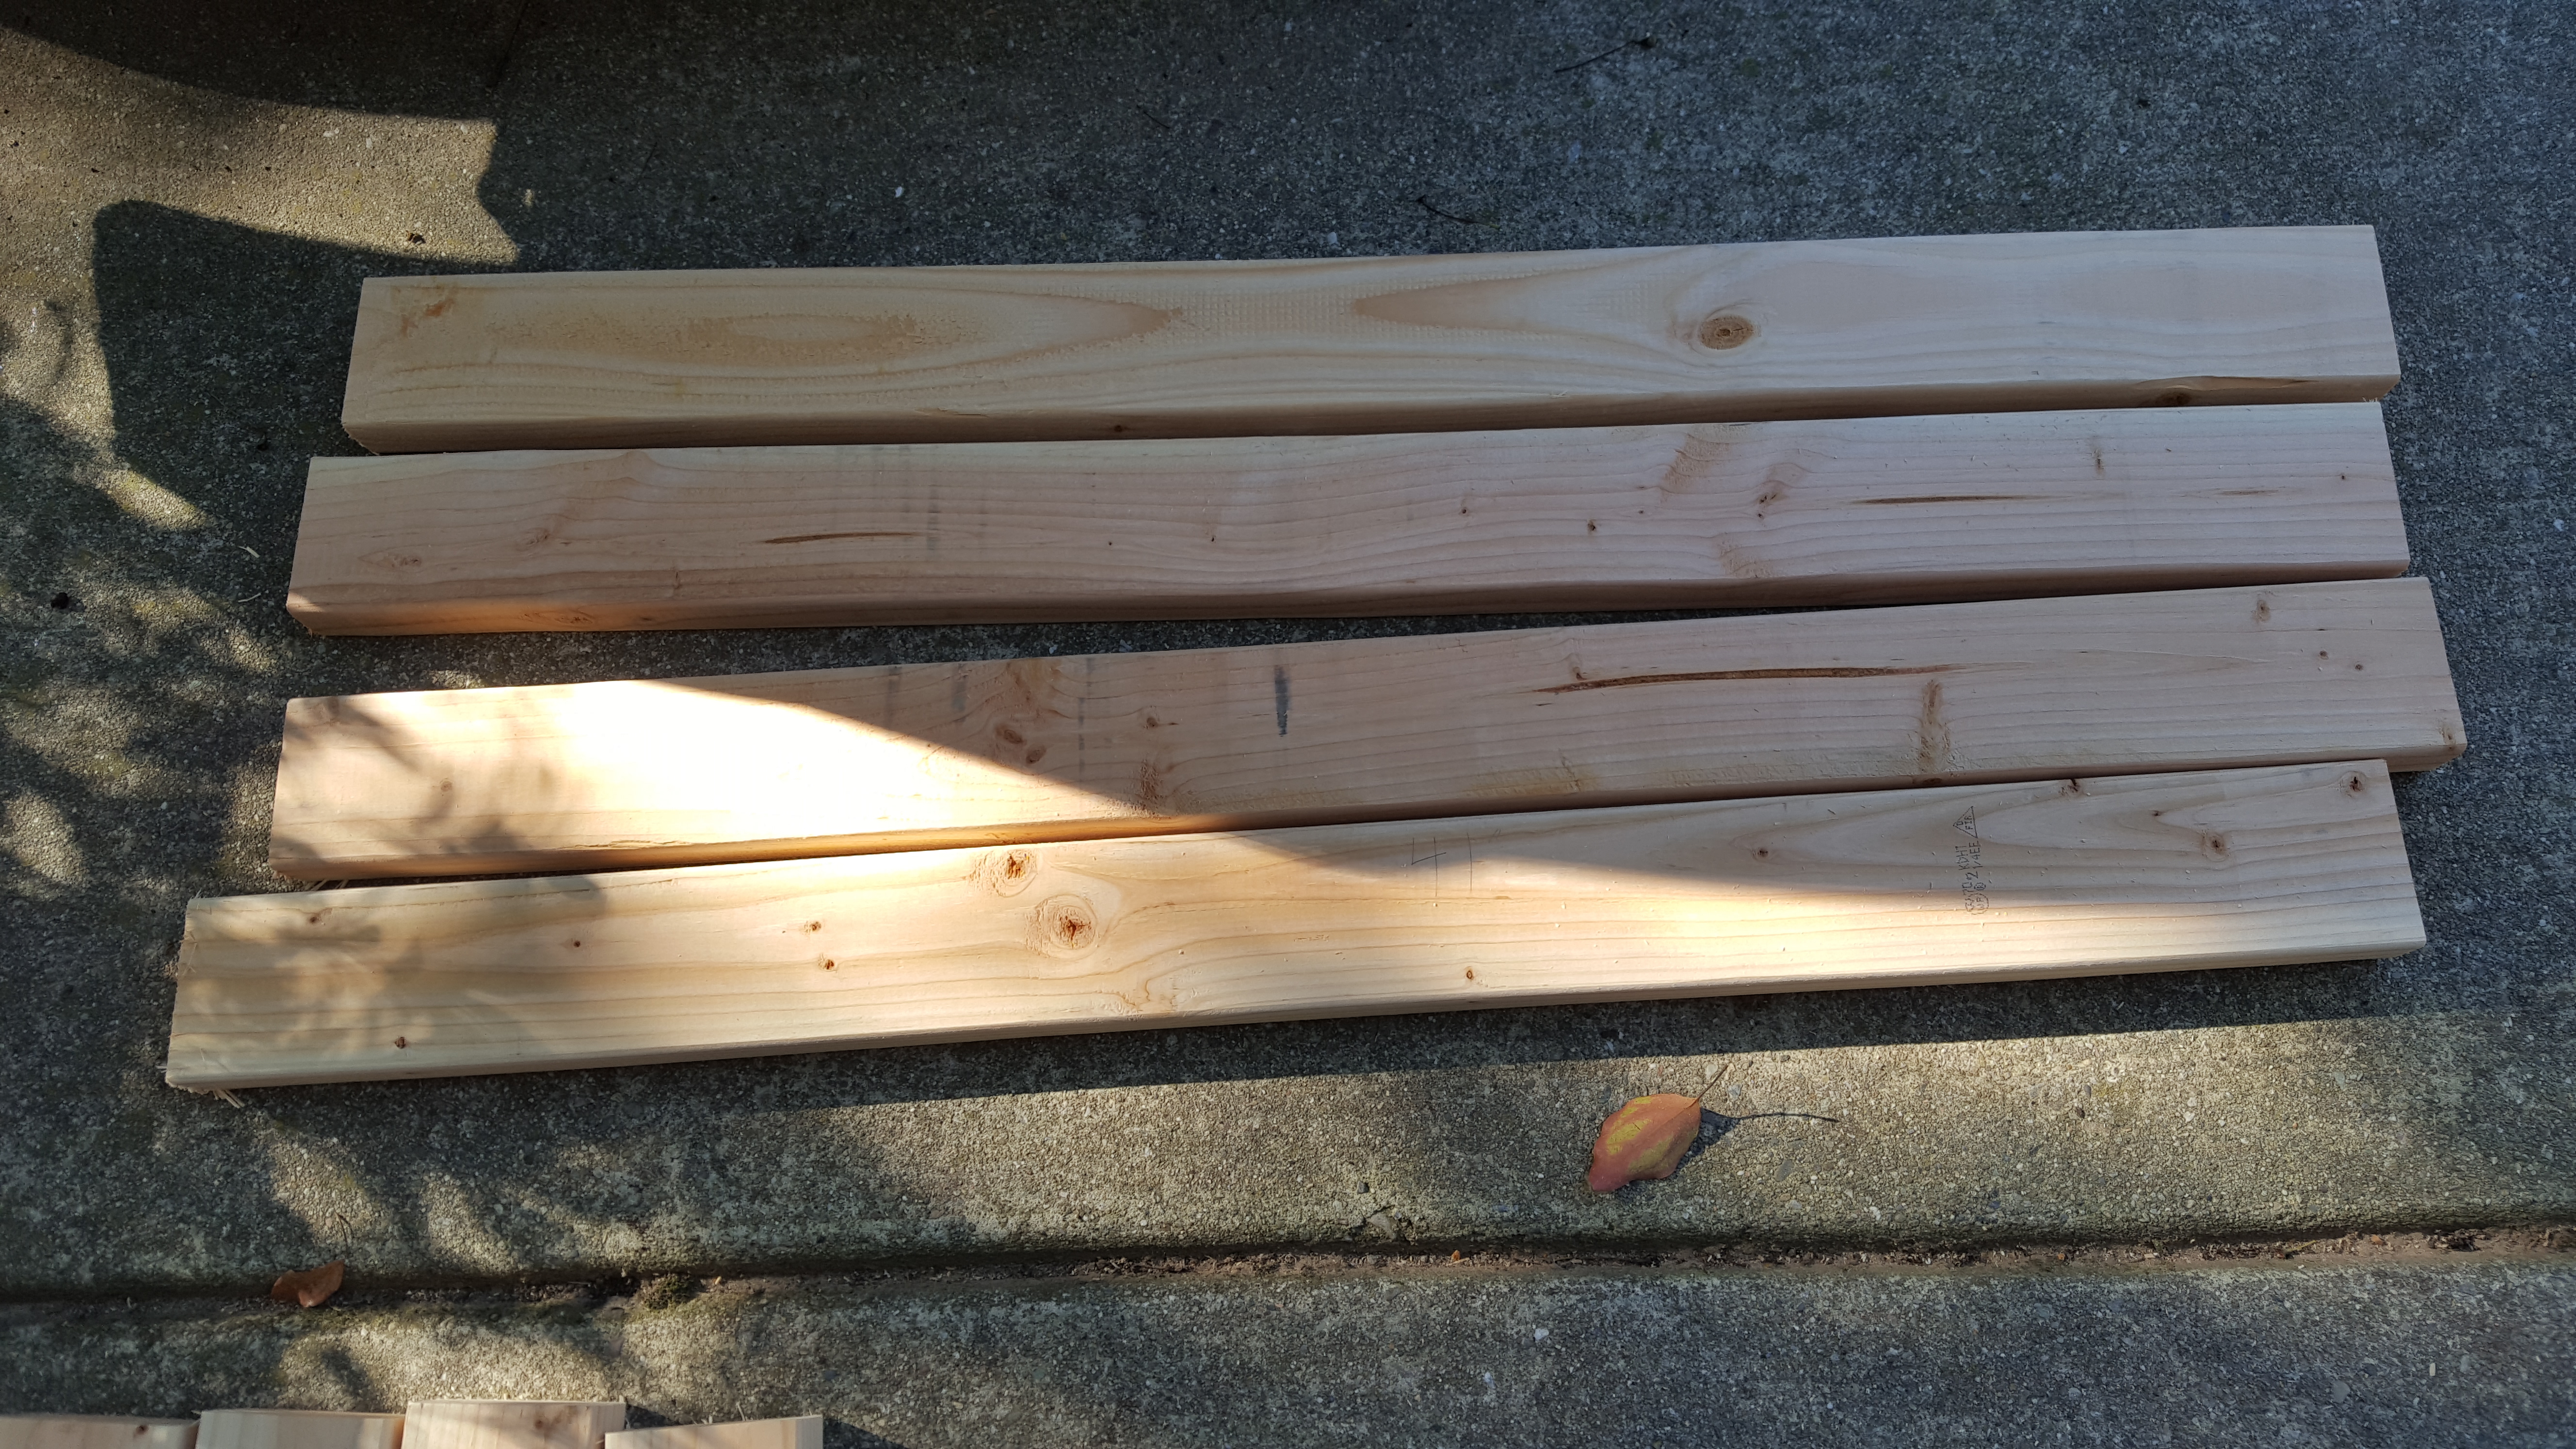
I measured and cut the 4×4 legs at 41 3/4″, the short stretchers and short aprons at 17″, and the long stretchers and long aprons at 41″. I needed four of each to get started.

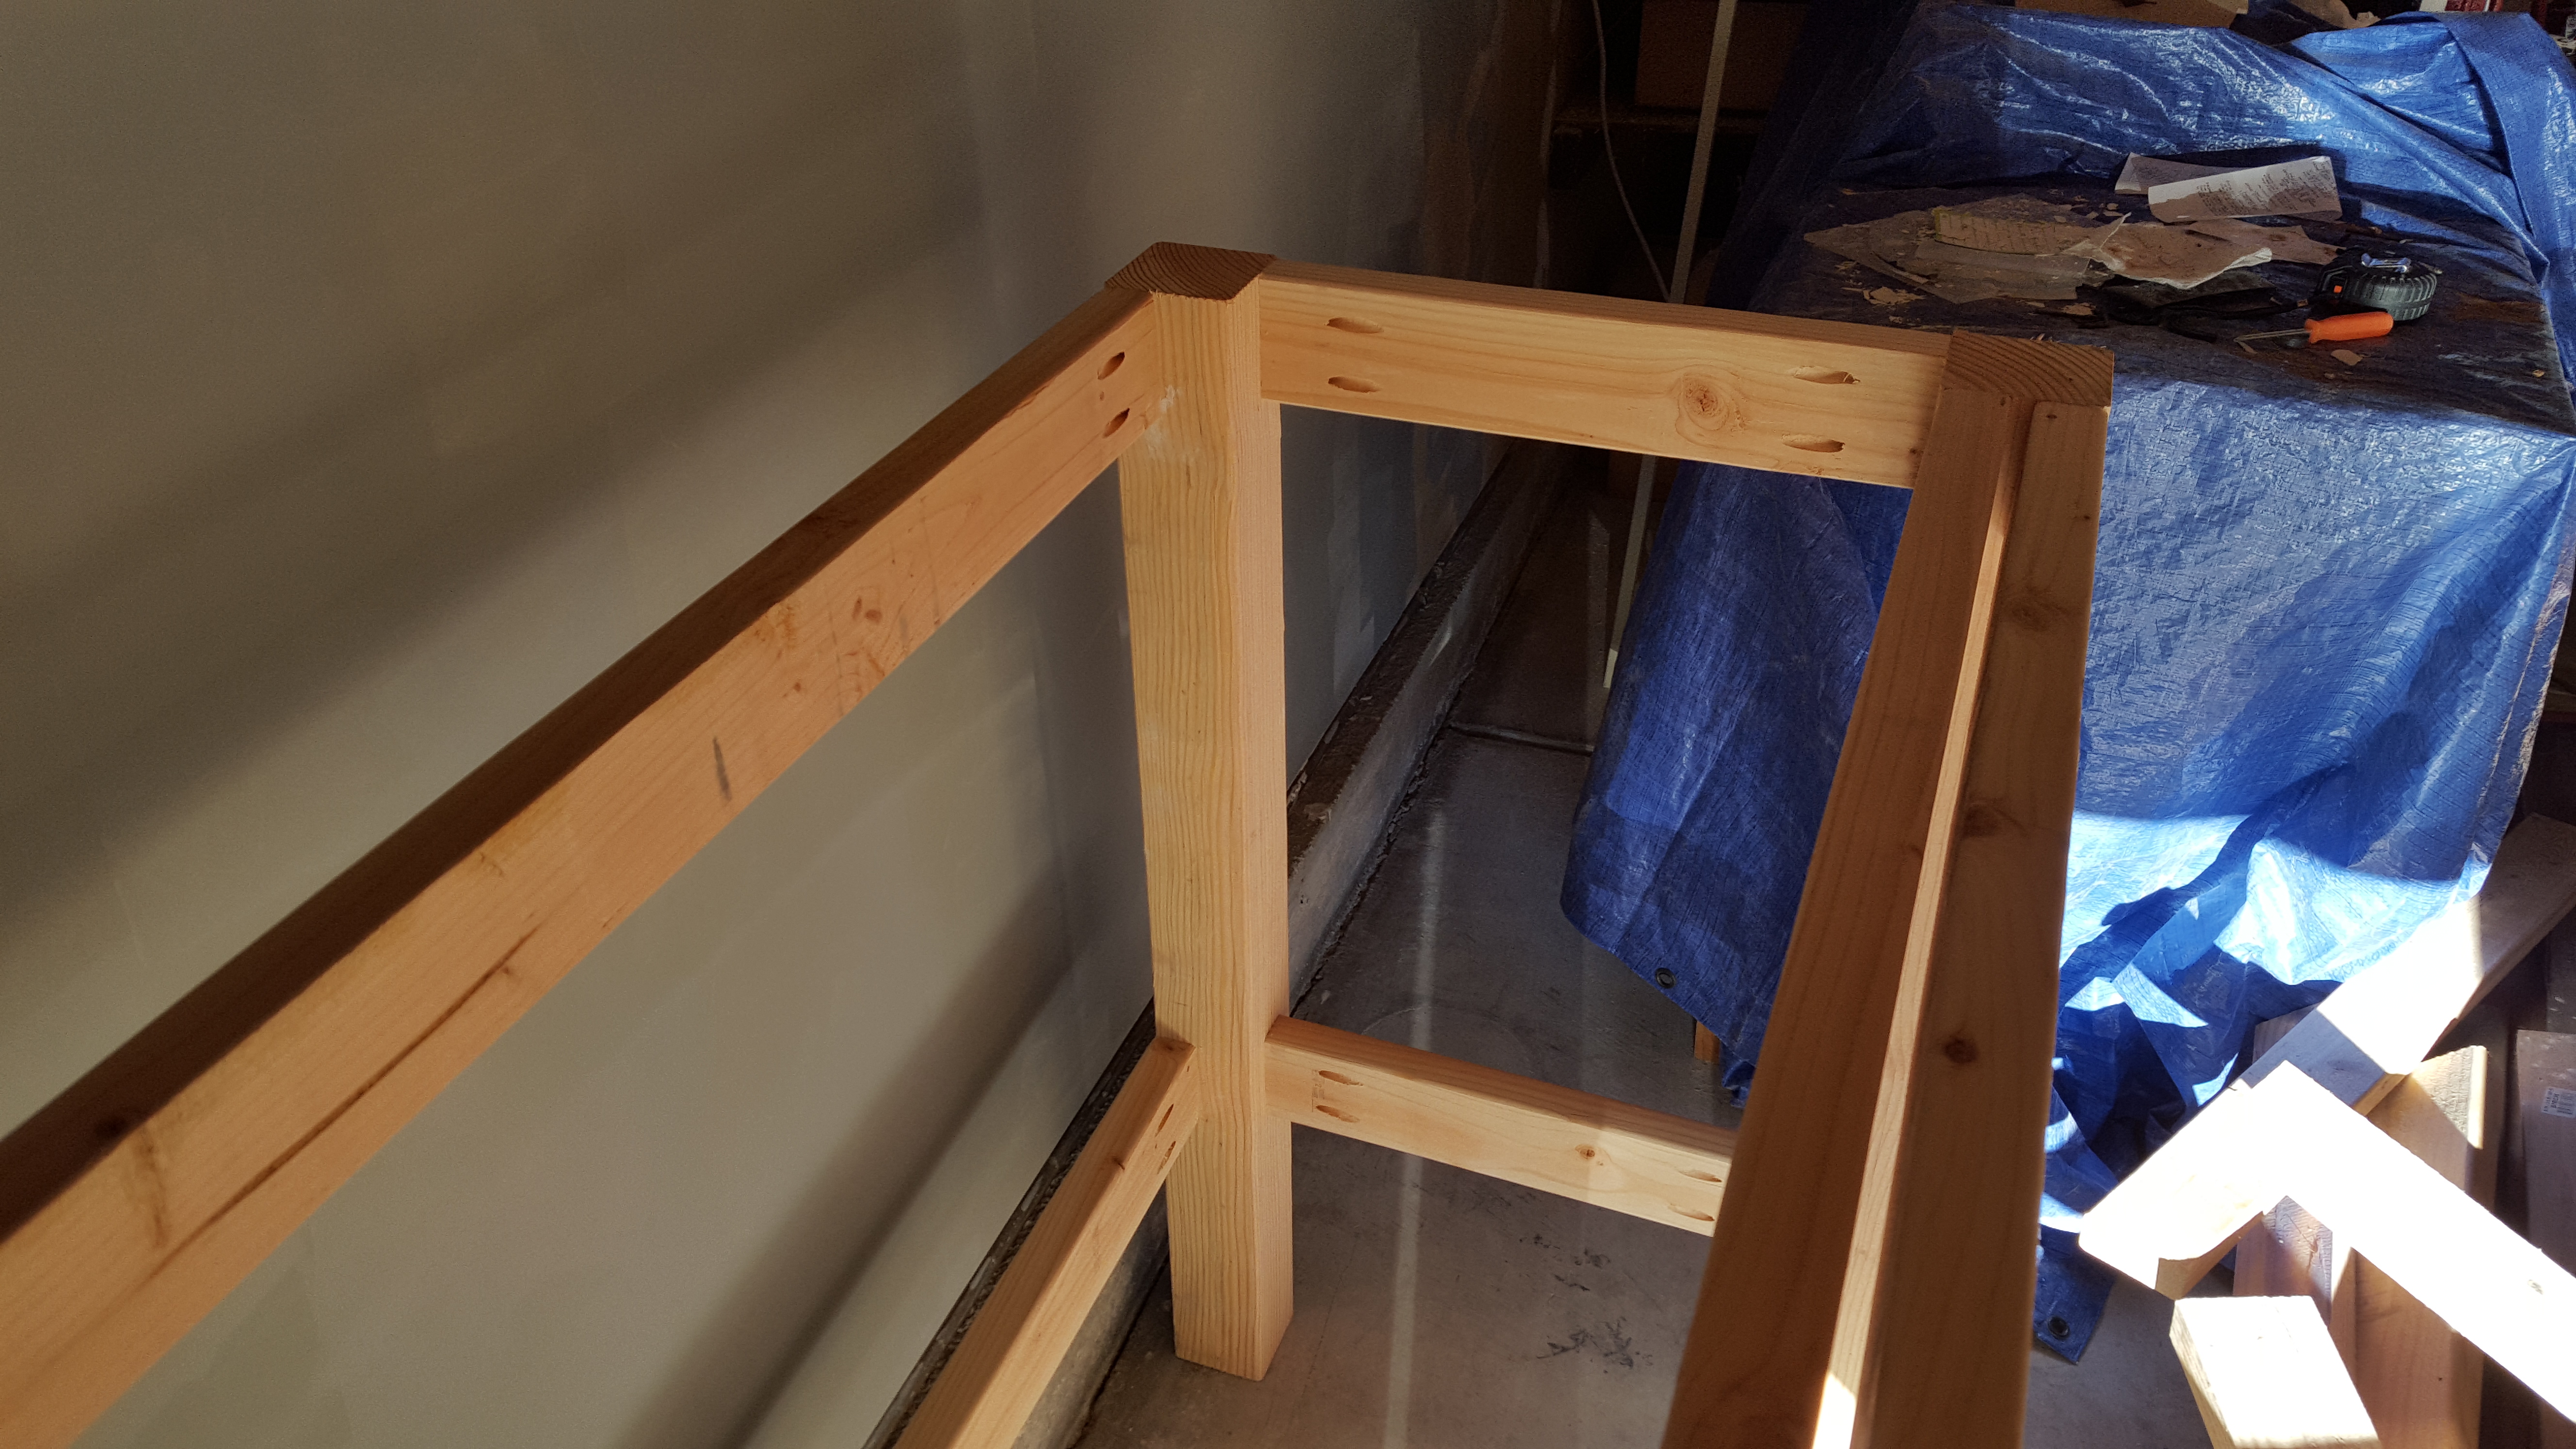
I put two pocket holes on the ends of each stretcher and apron to fit a 2 1/2″ screw and assembled each end first. Then three of the 41″ 2x4s were used for the top, and one for the bottom rear. The front got two doubled up.
The Kreg Mini is a fantastic tool for this and cost ~$20 and is worth every penny. Using the simple jig I made for it with a quick-release clamp really increases how quickly you can use it too.


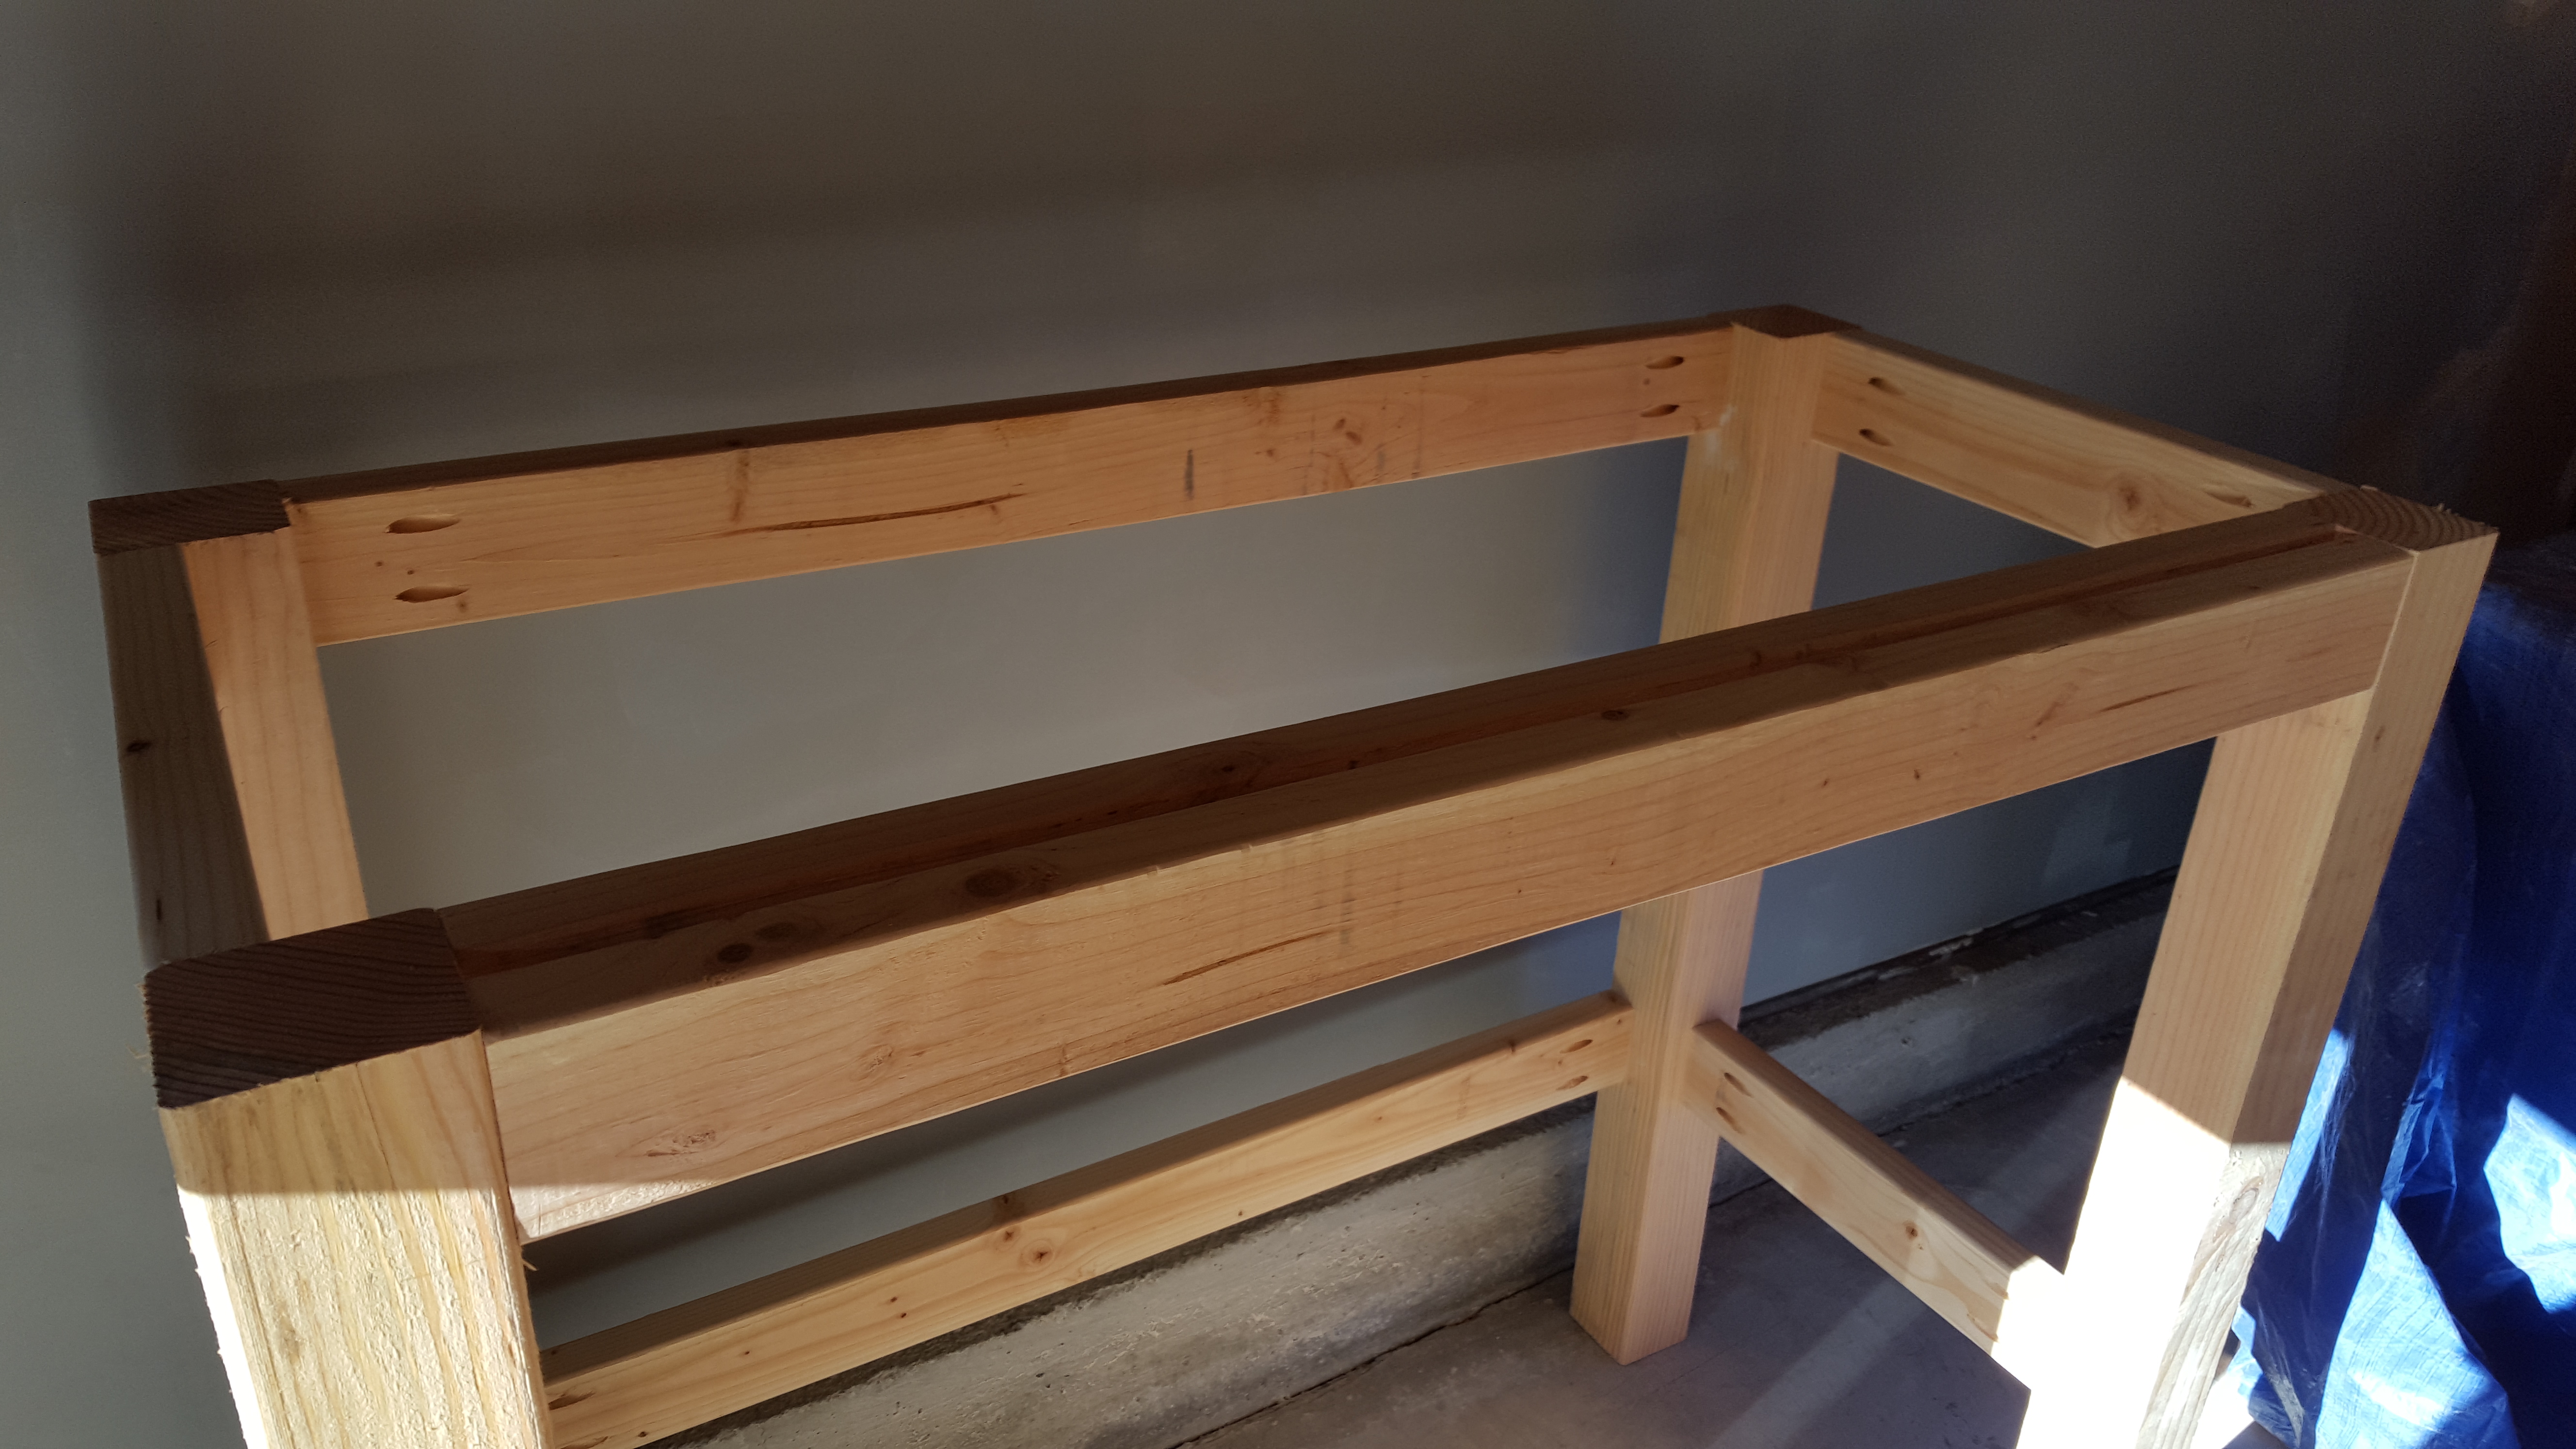
A third 2×4 was cut and screwed into the back of the other front top supports. This one was cut at 45″ so it overlaps the legs and adds even more support where the reloading press will be mounted.
The final stretcher was cut at 43 1/4″ and placed about halfway between the legs. That was mostly personal preference so I can use it as a shelf and still put a stool underneath the front of the bench.


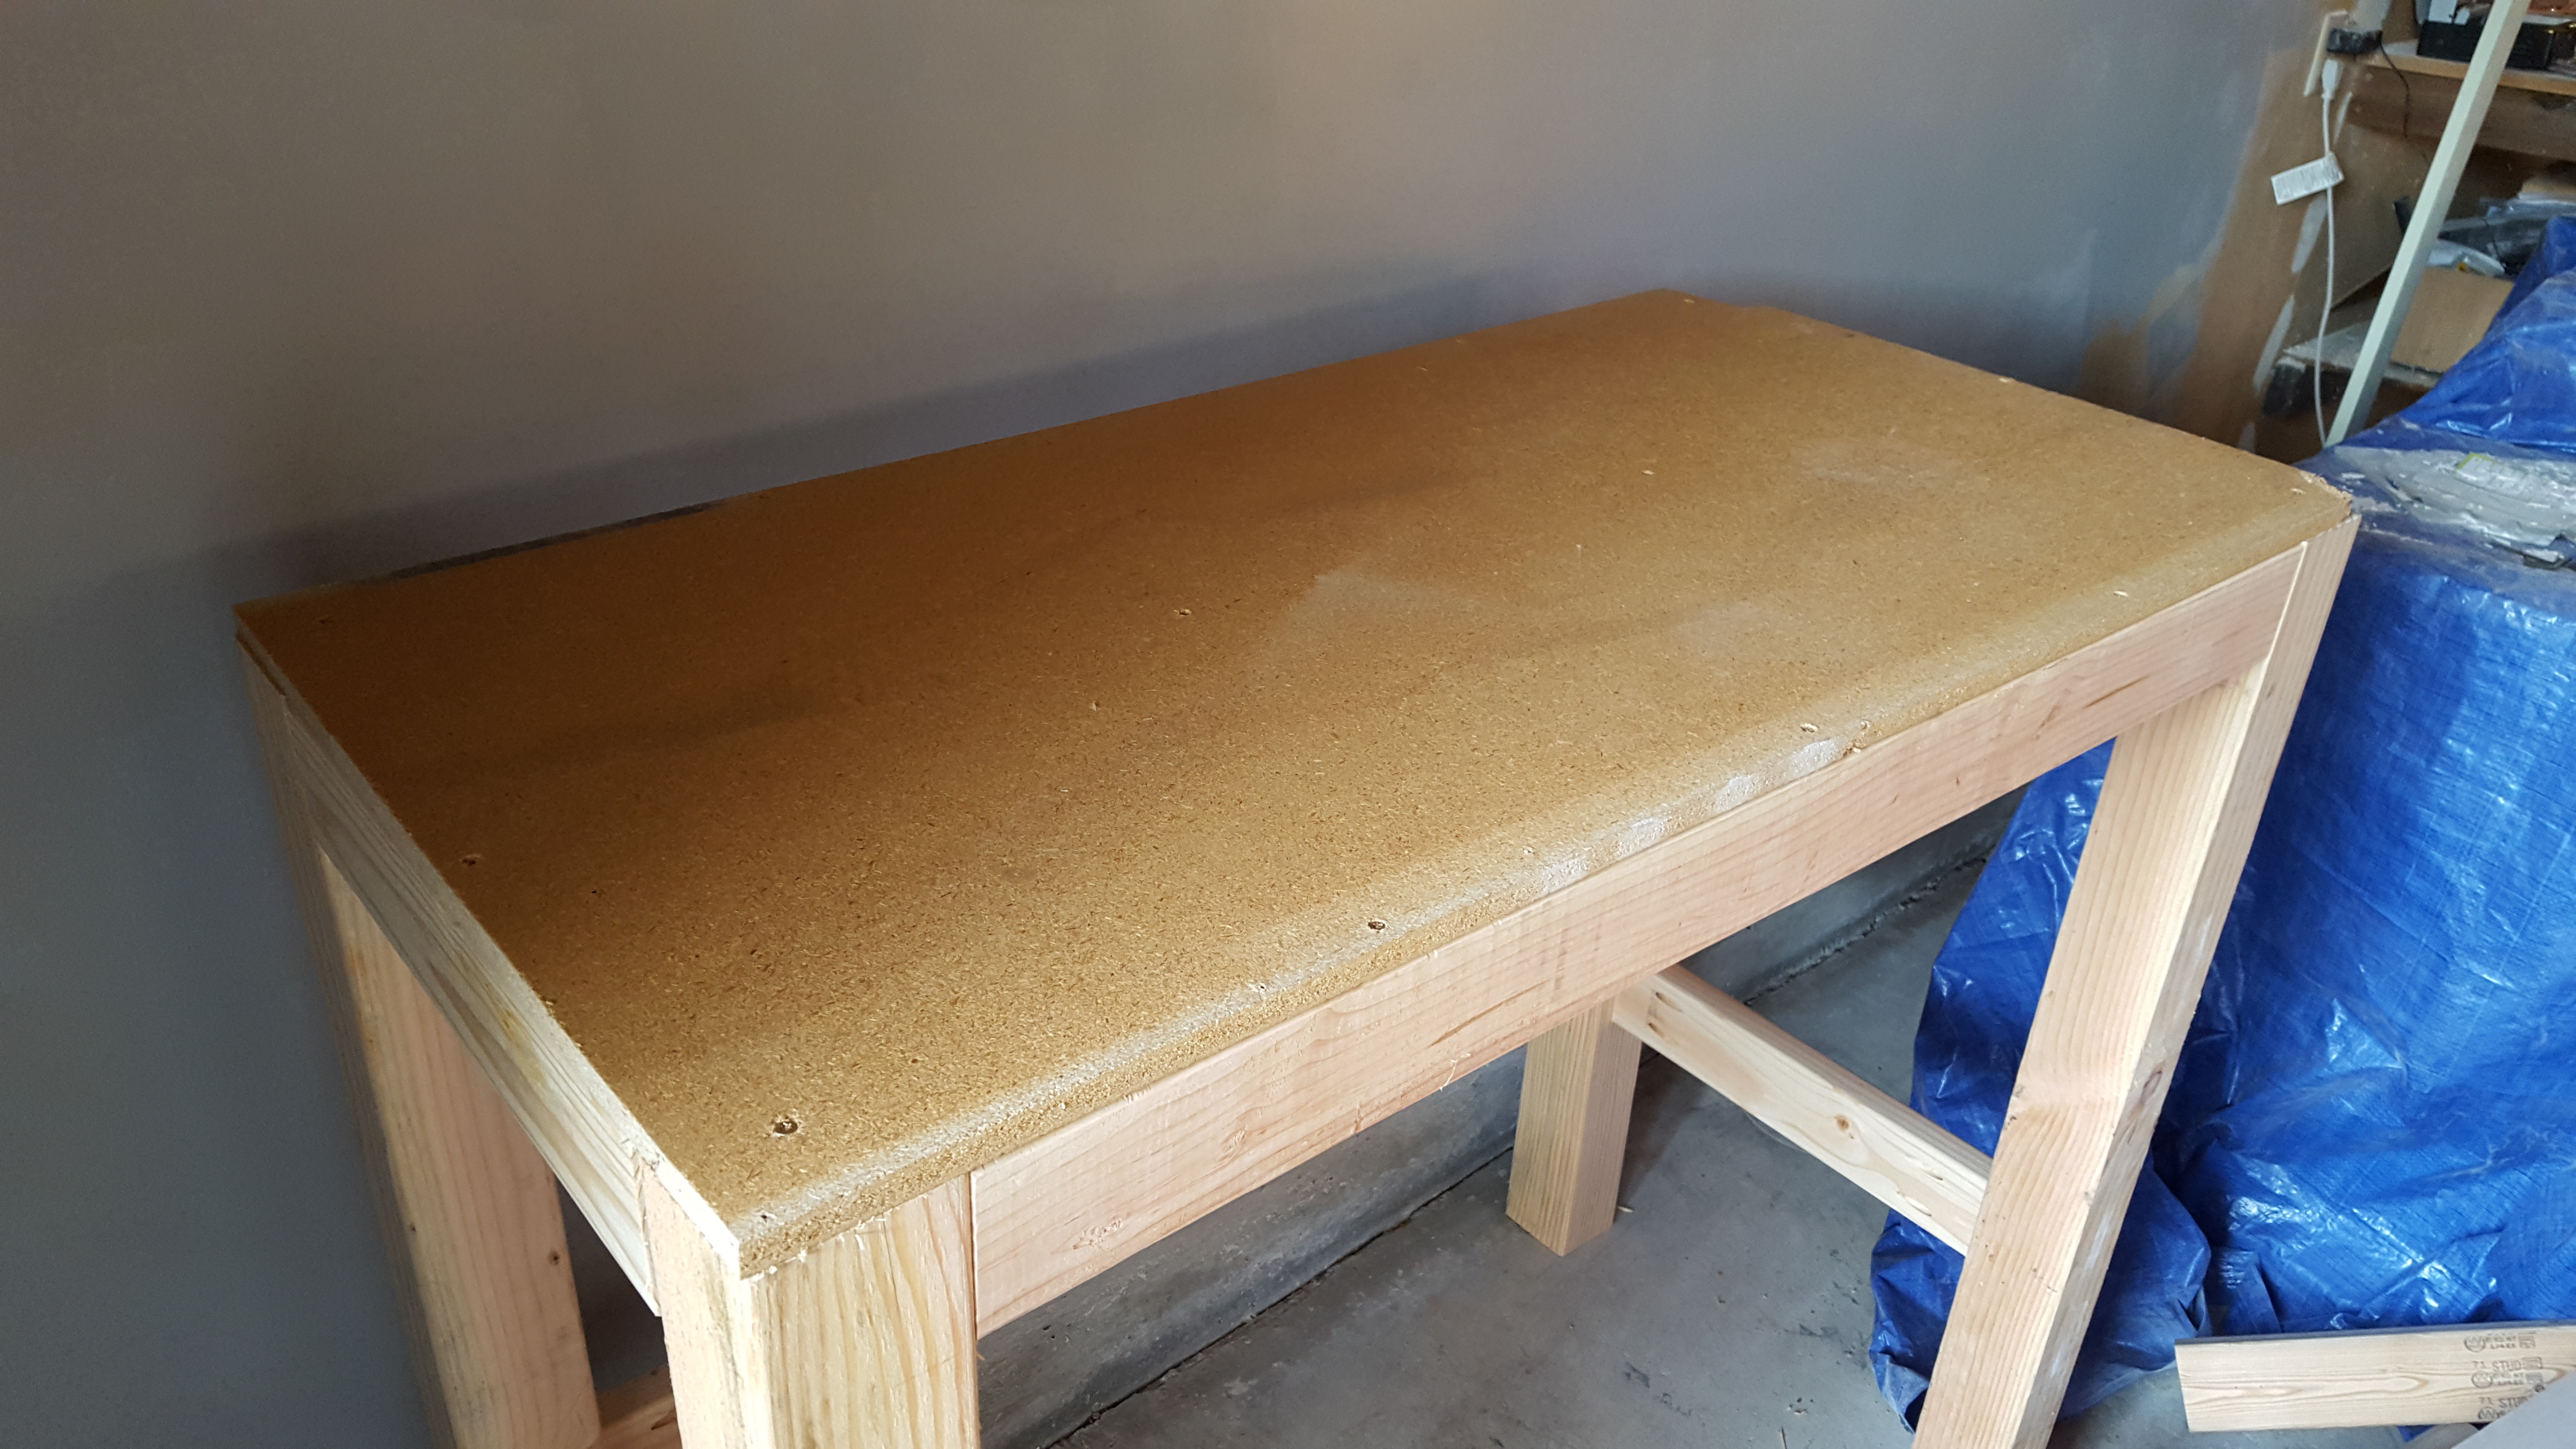
Making the Top
Two supports were cut at 17 1/2″ and spaced evenly in the middle. These should provide enough support in the middle of the bench top.

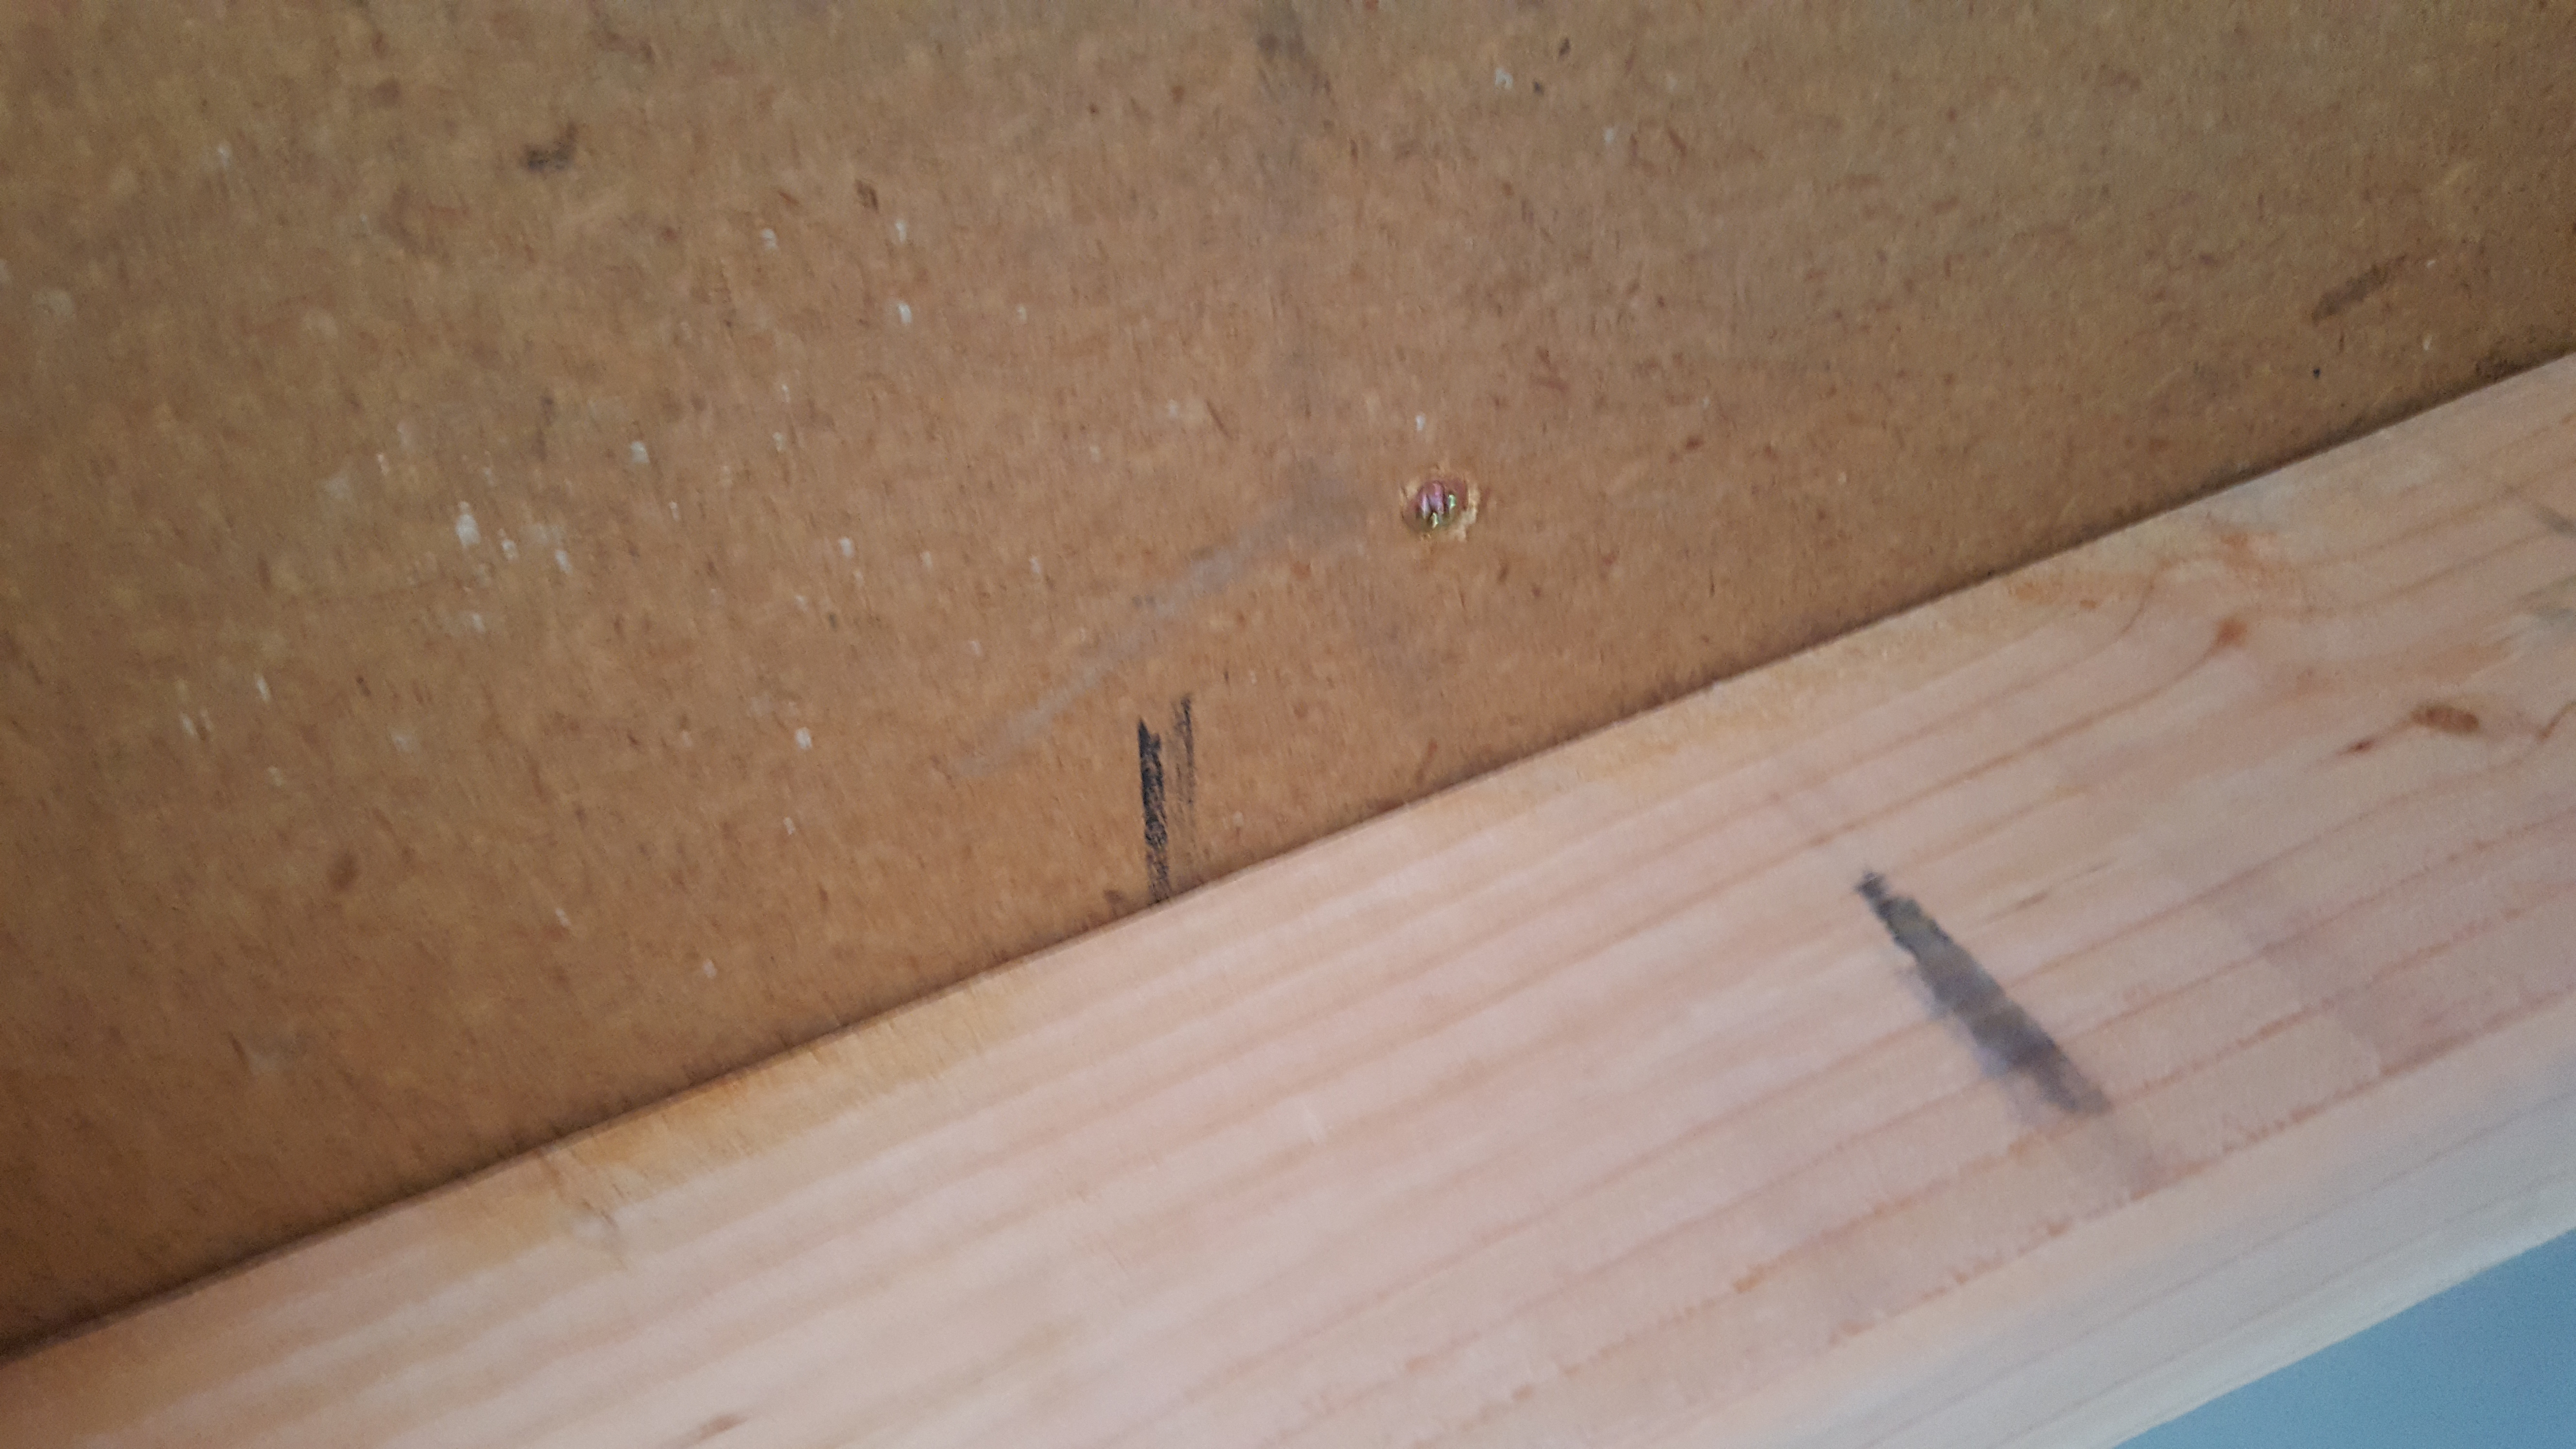
The top was an old piece of 5/8″particle board screwed from the top, covered by a 3/4″ piece of Sande Plywood that was screwed down from underneath for a clean look.
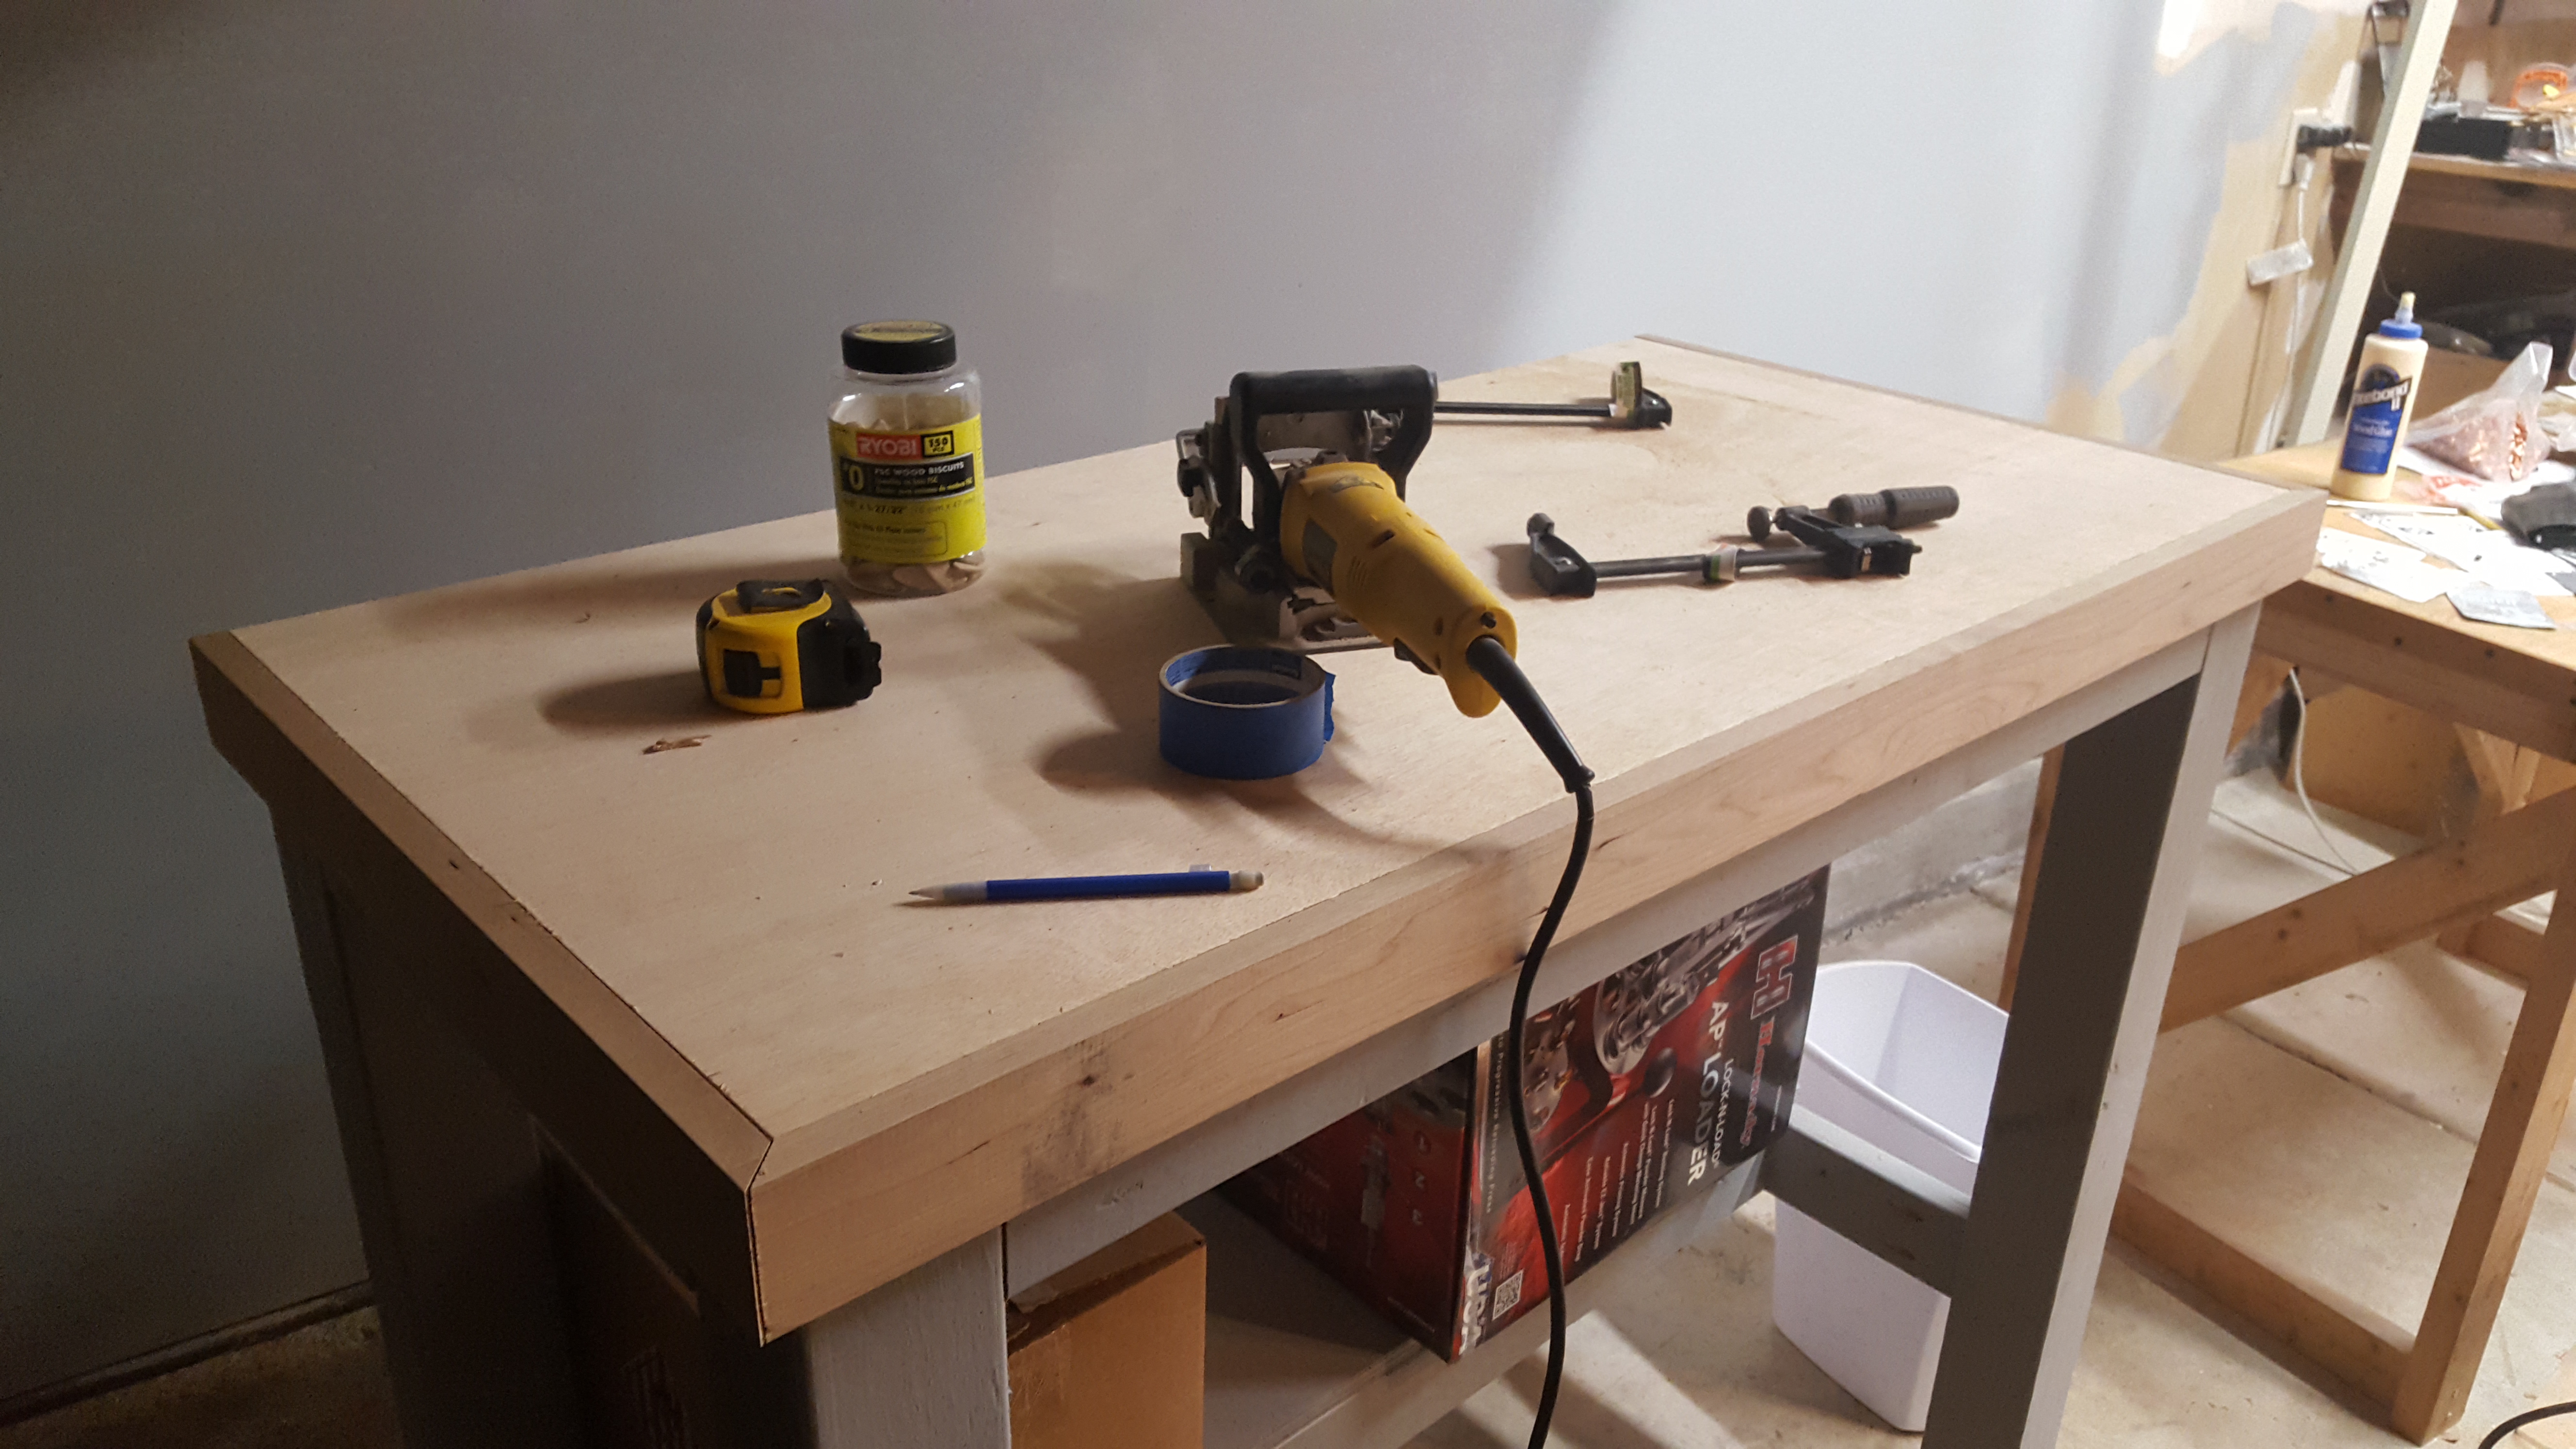
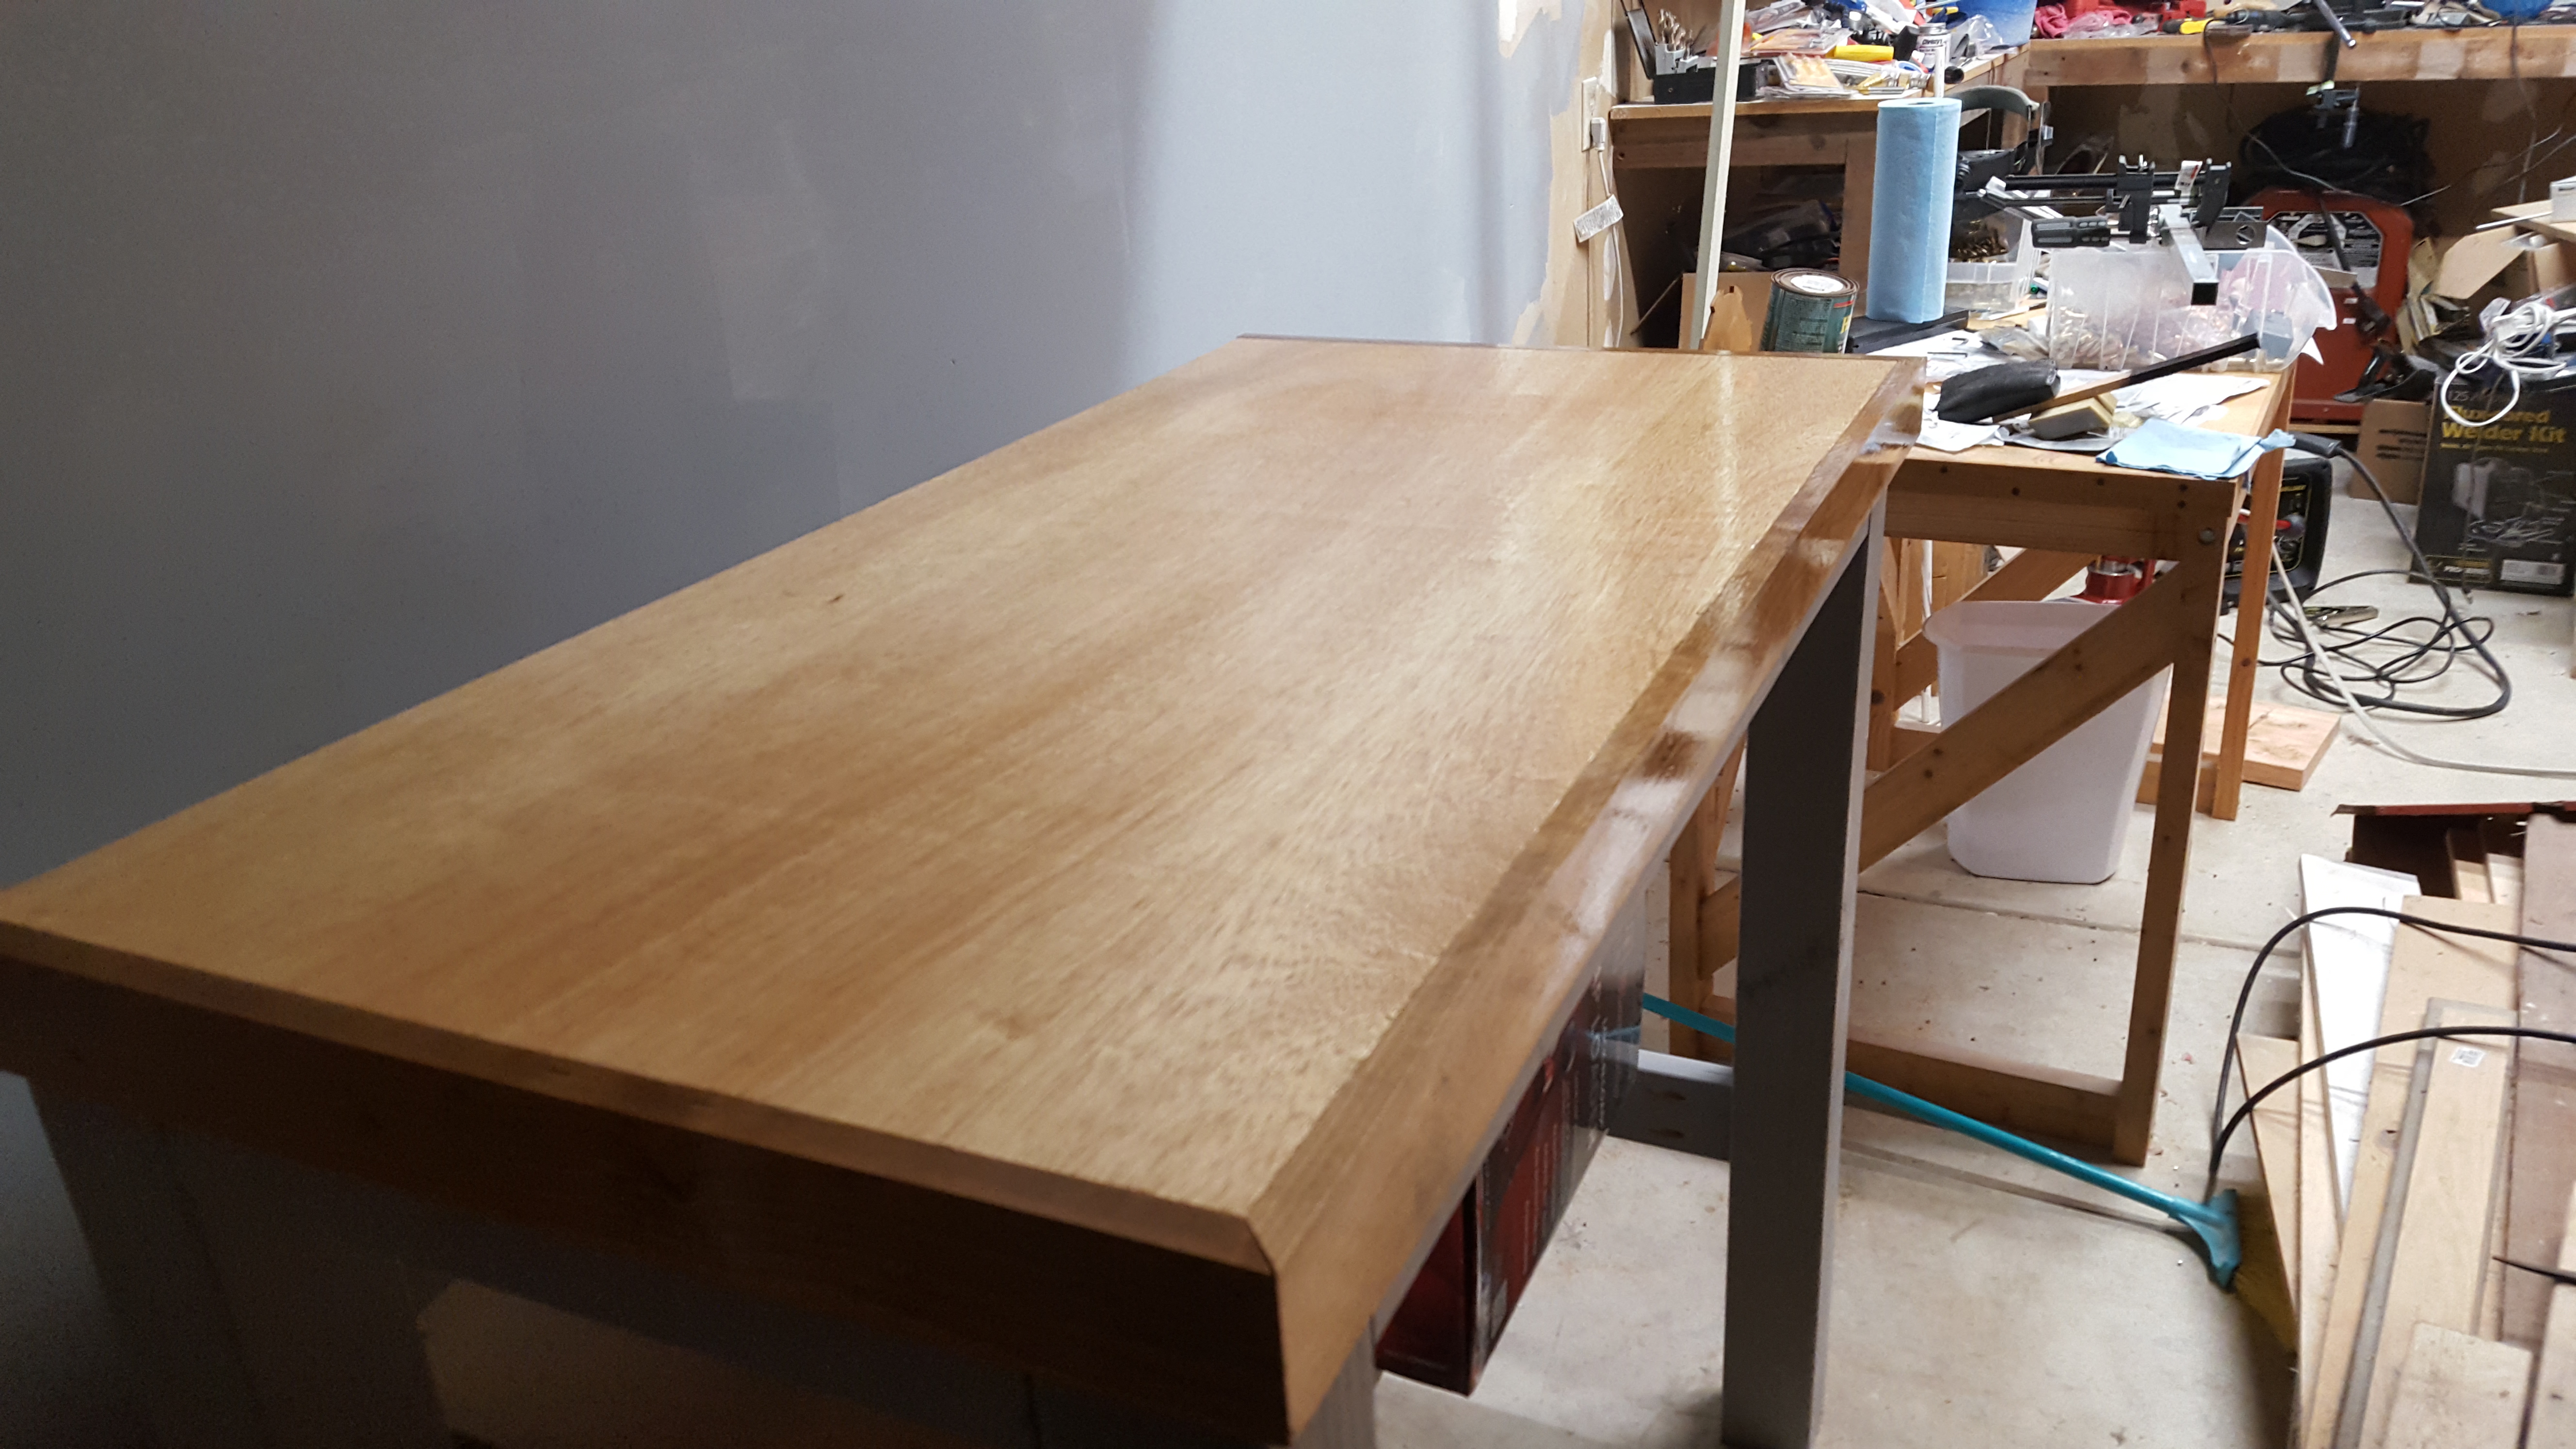
Adding a Cherry Edge
If you don’t mind the exposed plywood edge, you can stop here. I chose to use some 3/4″ x 2 1/2″ Cherry to cover the edge. I thought Cherry would look good, be more durable than Douglas Fir, and was cheaper than Maple.
I measured the length and cut miter joints on the two front corners and left the rear edges flush with the back. Next, I used clamps to do a test fit and after some tweaking, made marks for the biscuit joiner. I used biscuits and glue since they make alignment very easy and are plenty strong. I’ve used screws and glue in the past, but inevitably get low or high spots and the look isn’t as clean.
I did some reading up on how to do this and found these three sites very helpful for my first time:
http://www.routerforums.com/tools-woodworking/43079-using-biscuits-mitered-corners.html
http://www.popularwoodworking.com/projects/aw-extra-52313-plate-joiner-tips-and-techniques
http://staging.wwgoa.tnmarketing.net/using-a-biscuit-joiner/

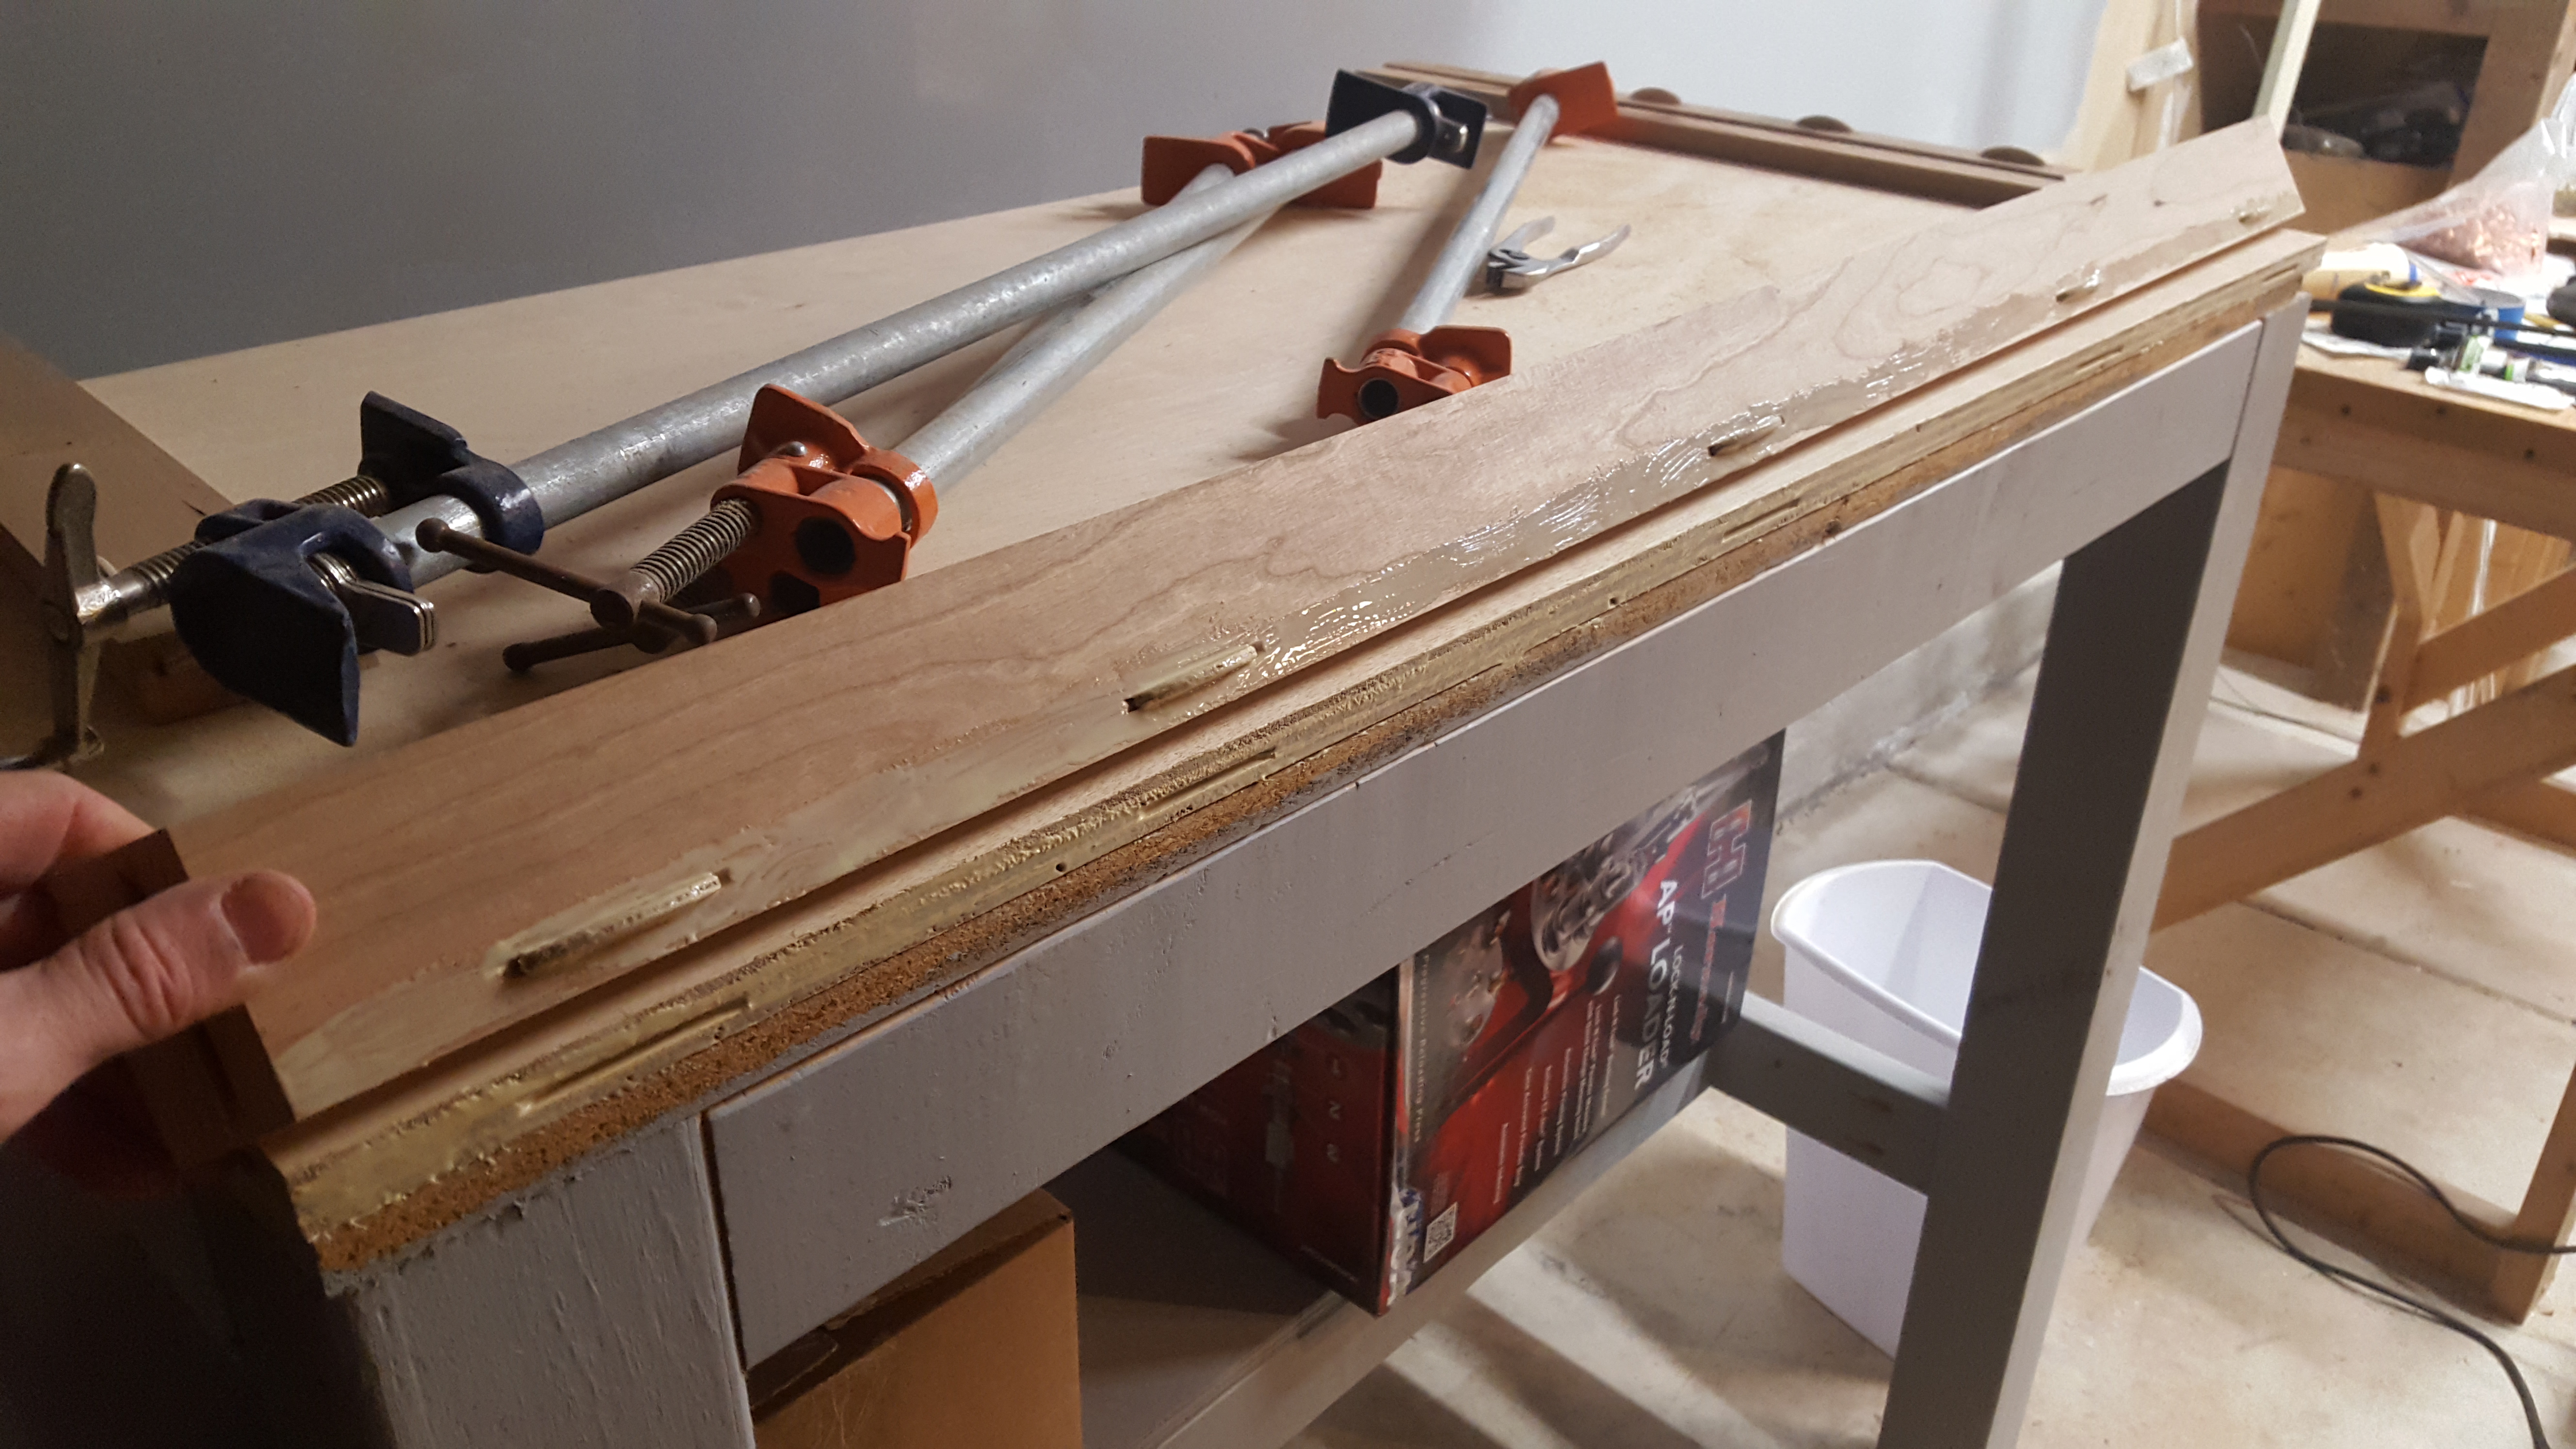
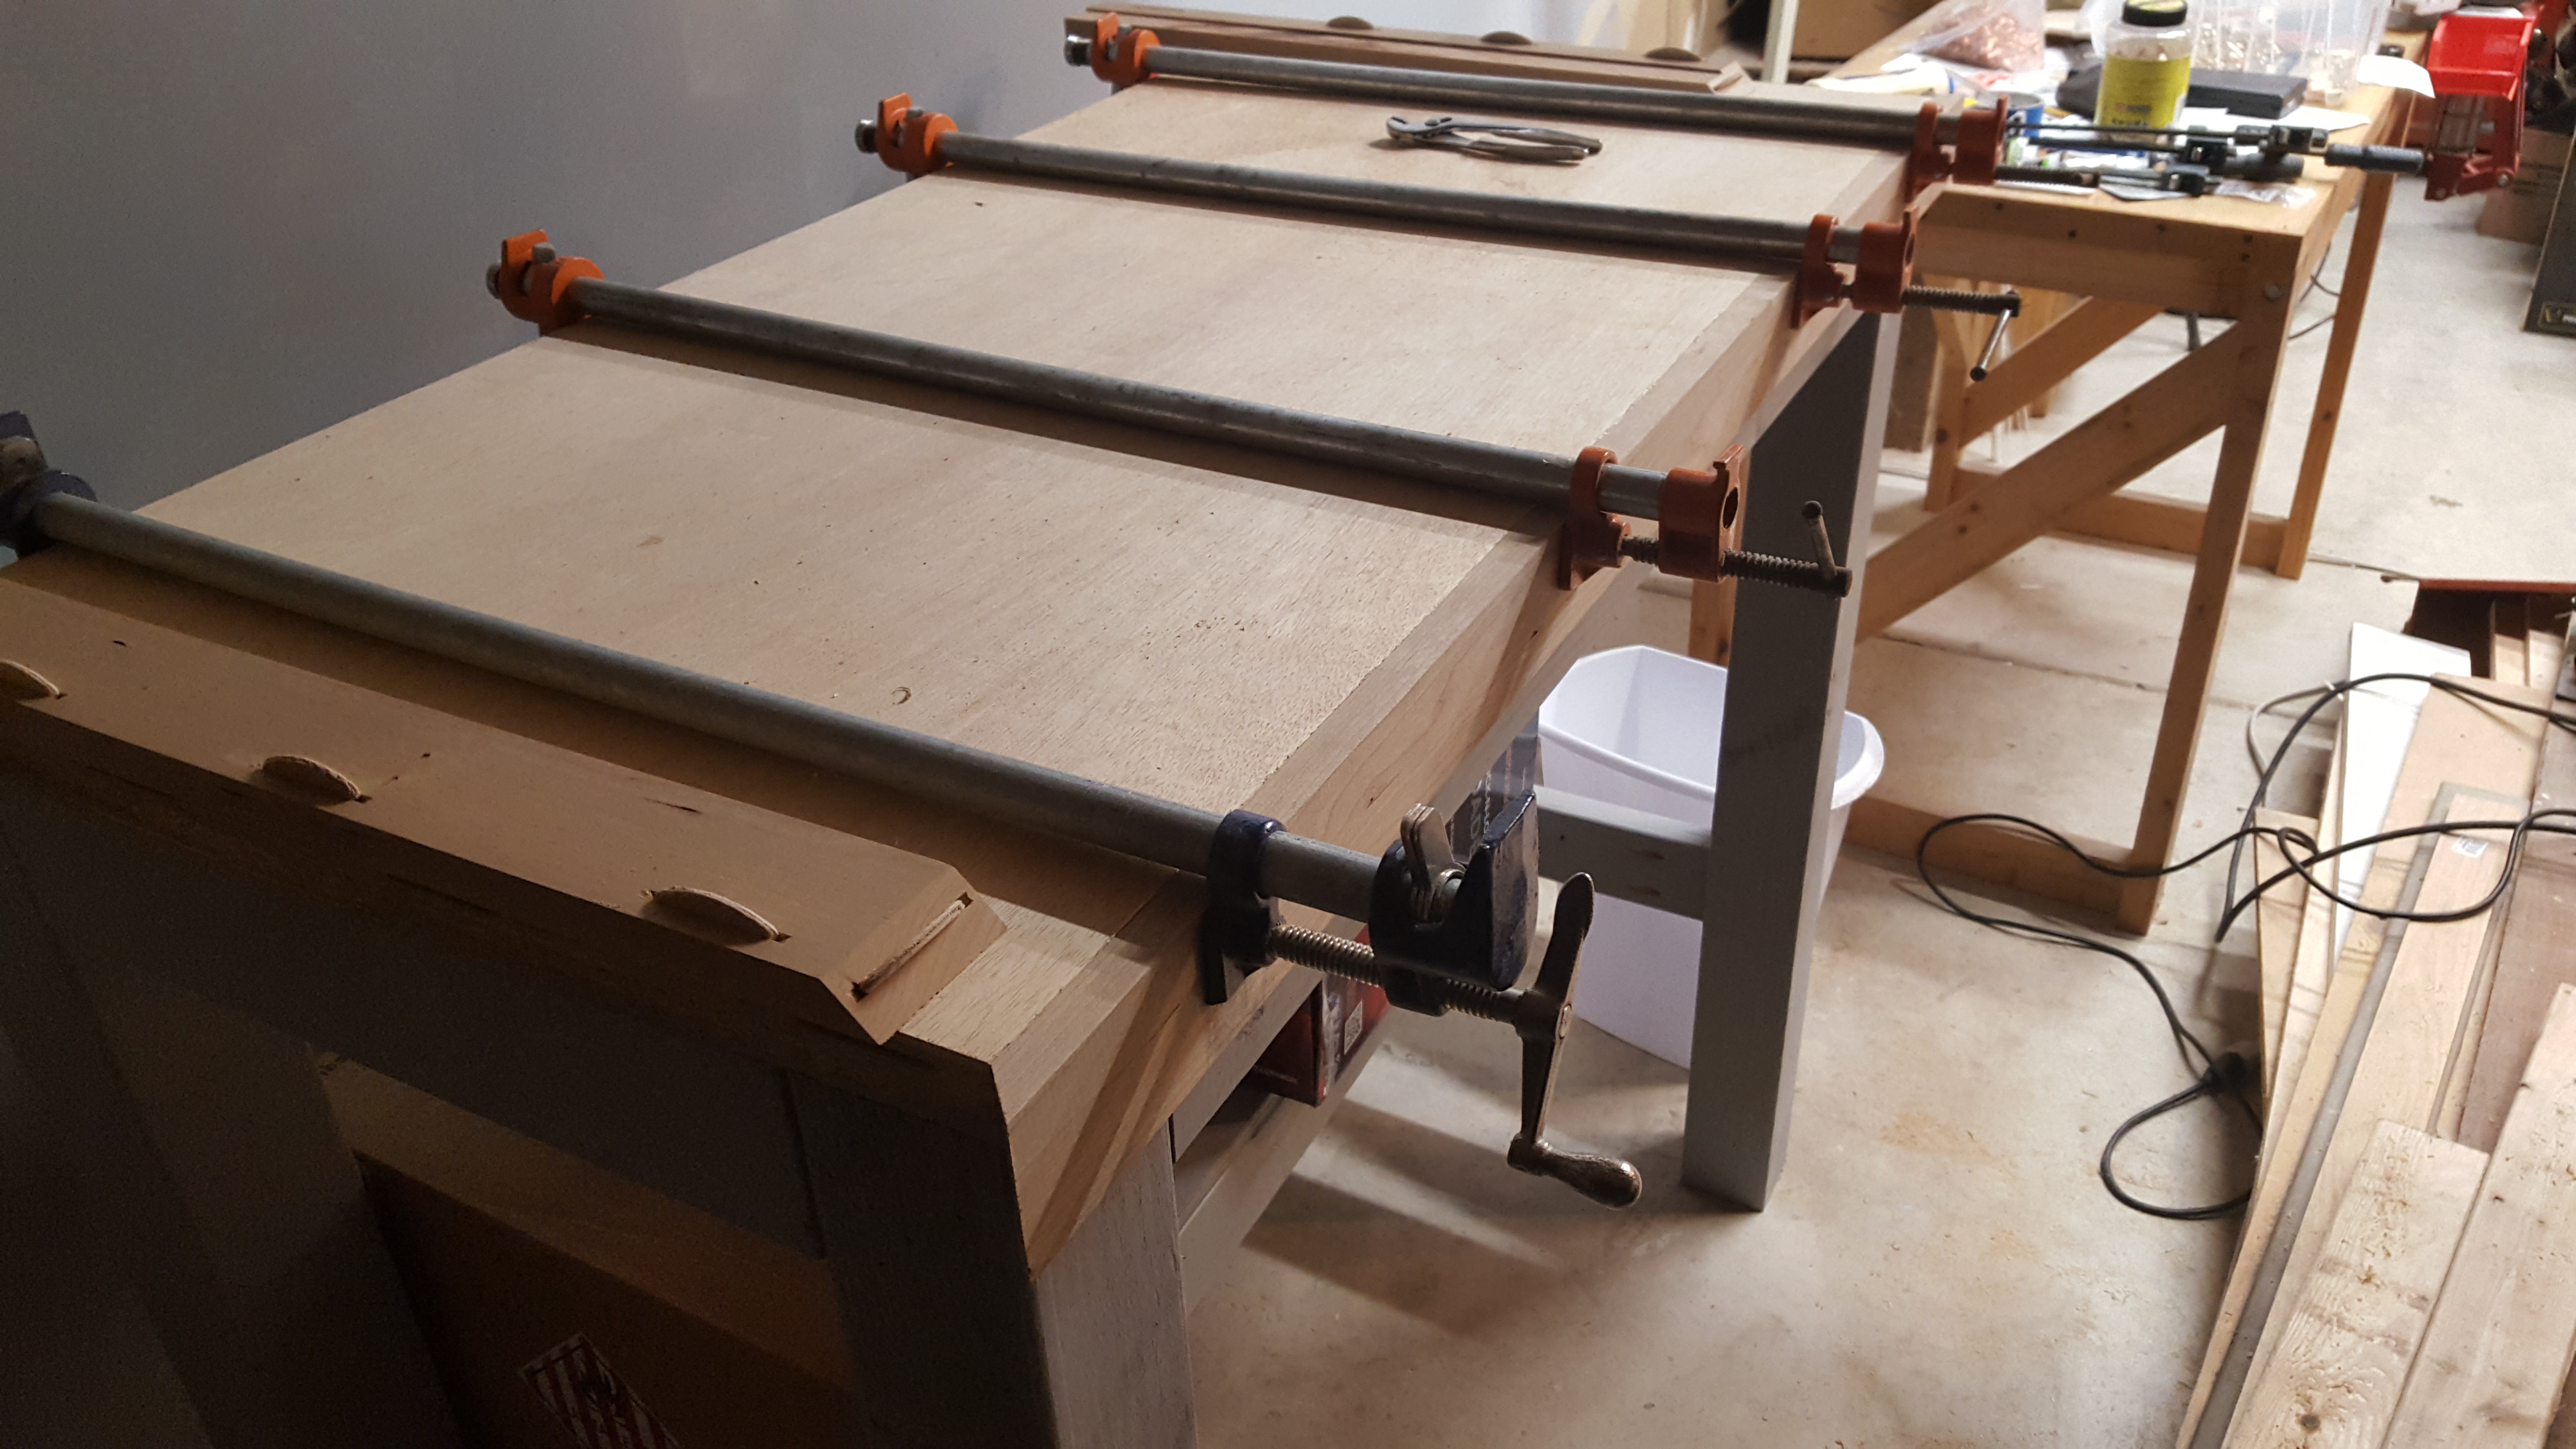
Next, I cut three slots on the sides and five across the front and one for each miter joint.


I then spread glue across the faces, in the slots, and on the biscuits and clamped them in place.

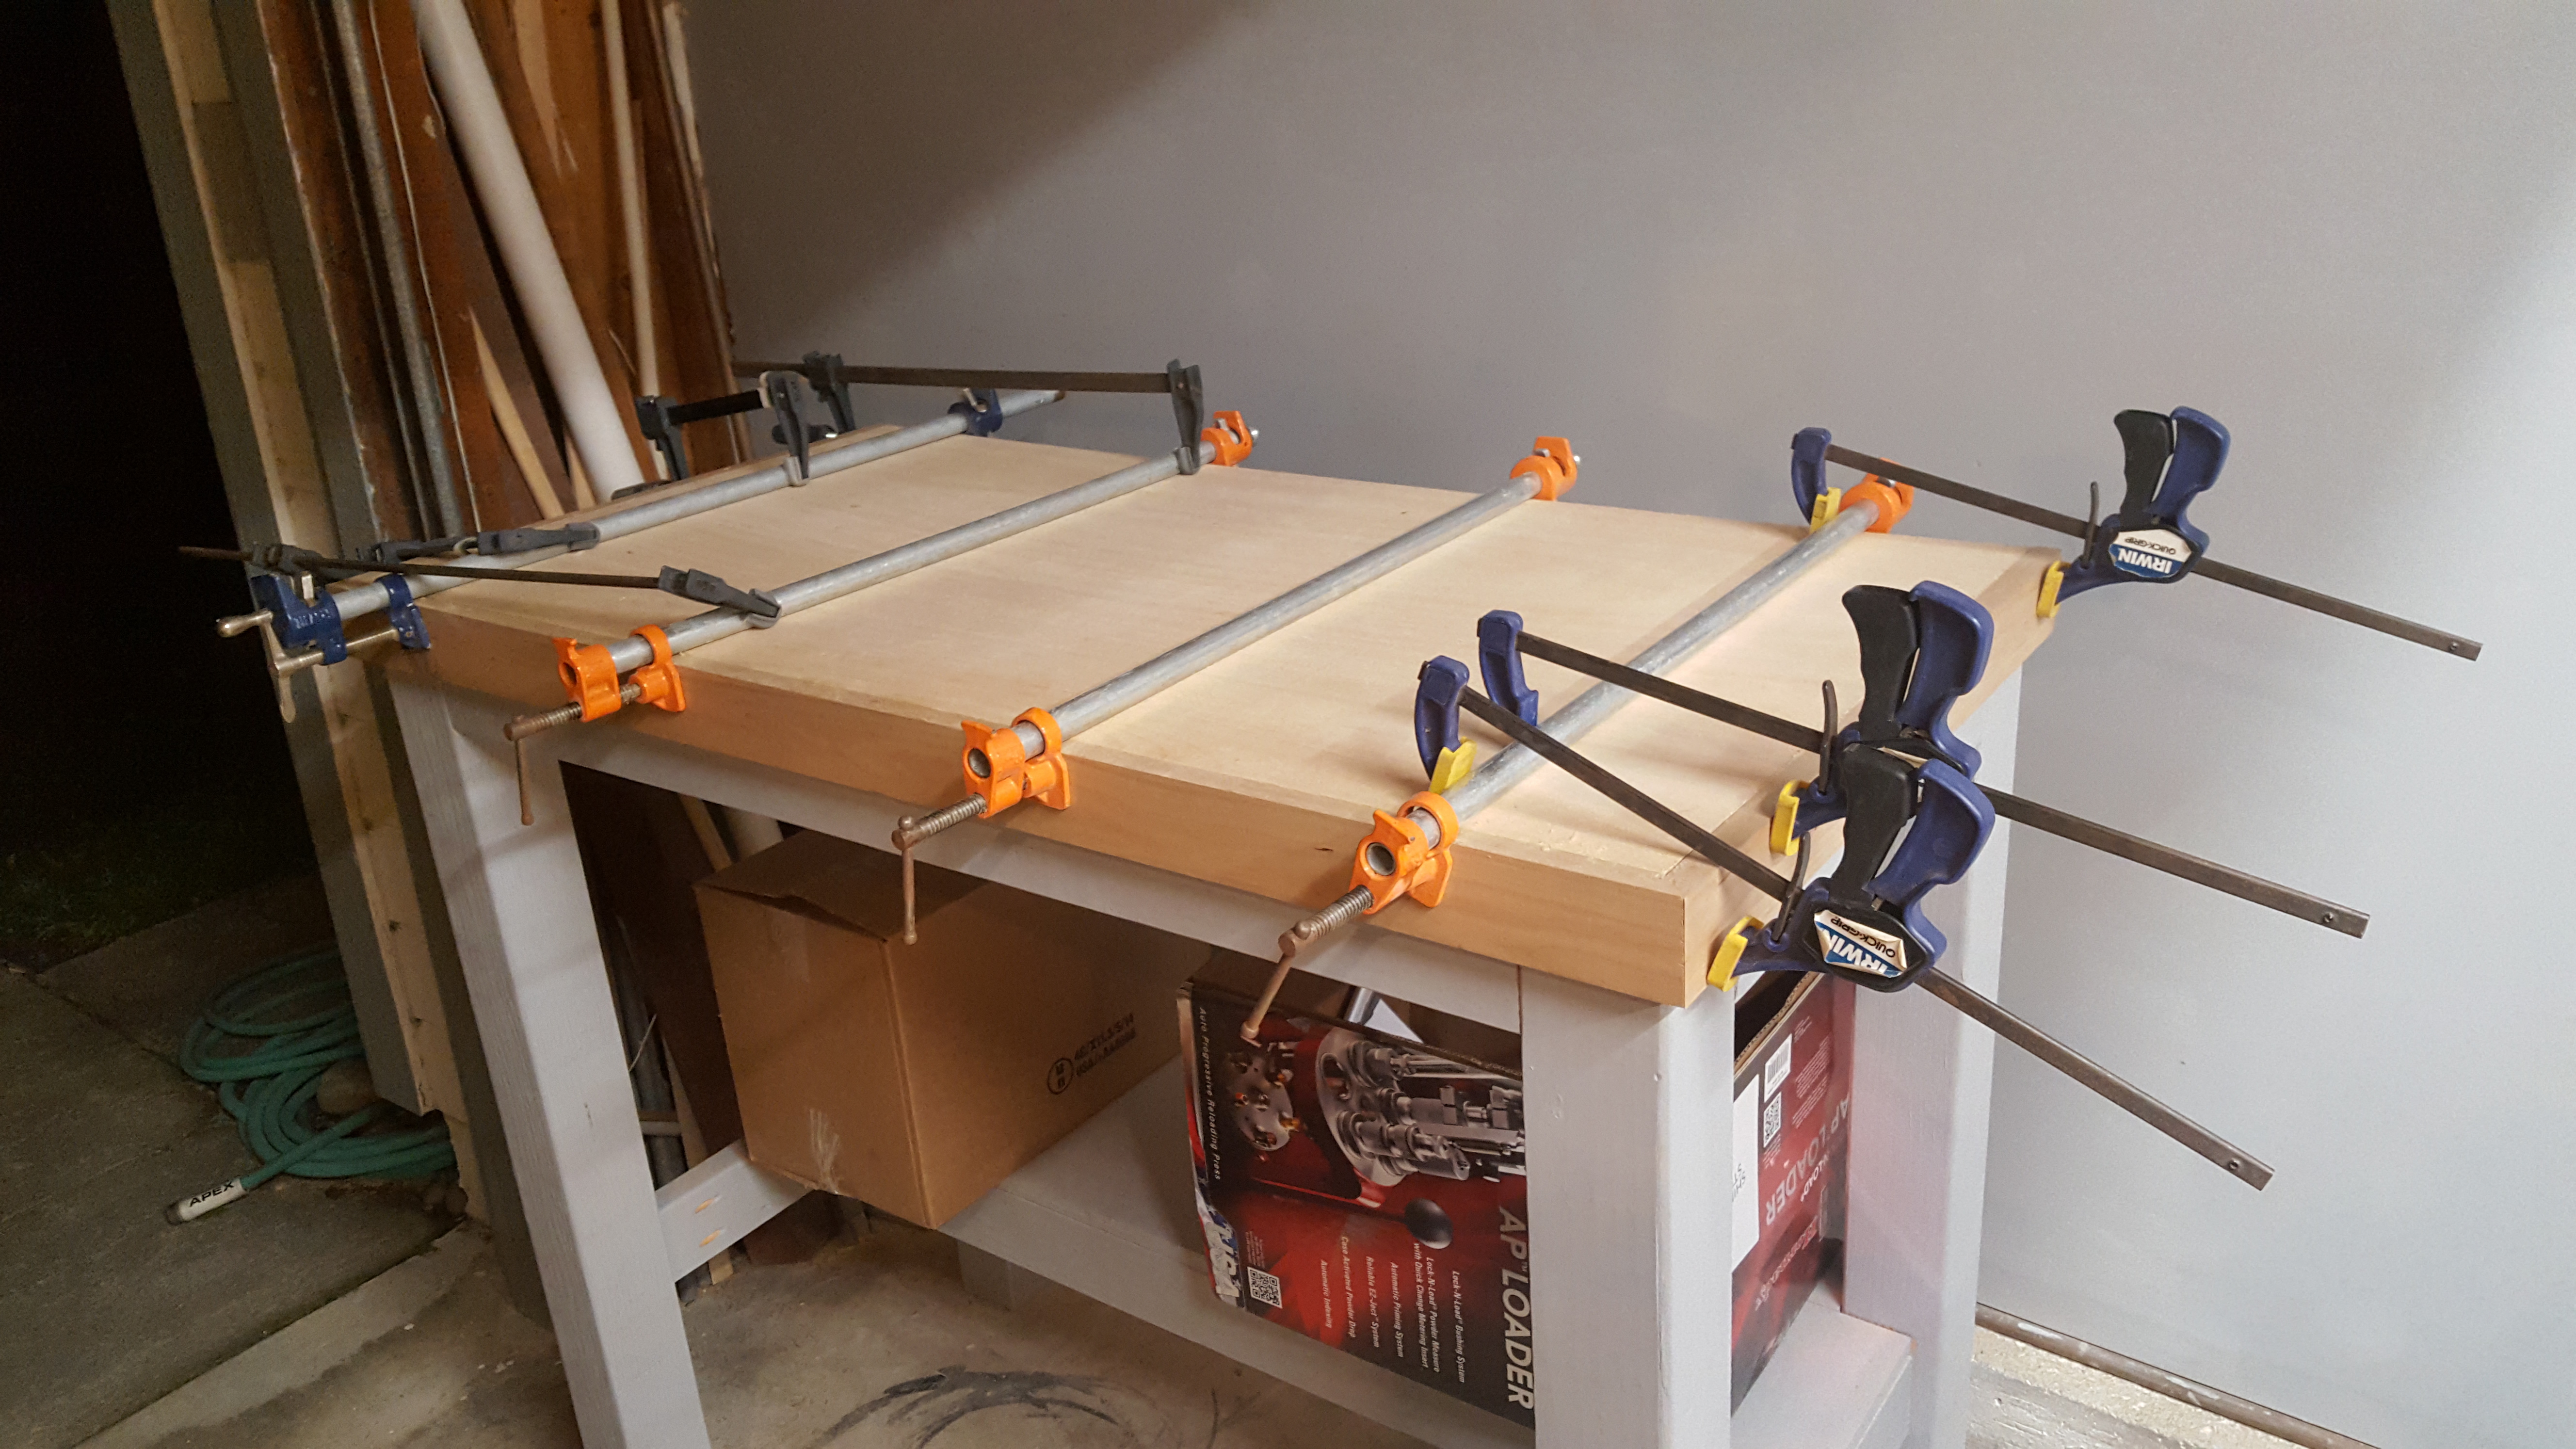
I’m pretty pleased with how it turned out, but there are a few small gaps, especially on the corners, where the top meets the Cherry. If this was a piece of furniture, I would have taken more time, but since it’s essentially a glorified workbench, I am satisfied with the results.
Finish
I just used a gray primer on the bench frame. I might follow this with another coat of paint, but I like the primer look. The top got three coats of Spar Urethane with 320-grit sanding in between and about a day to dry between coats.

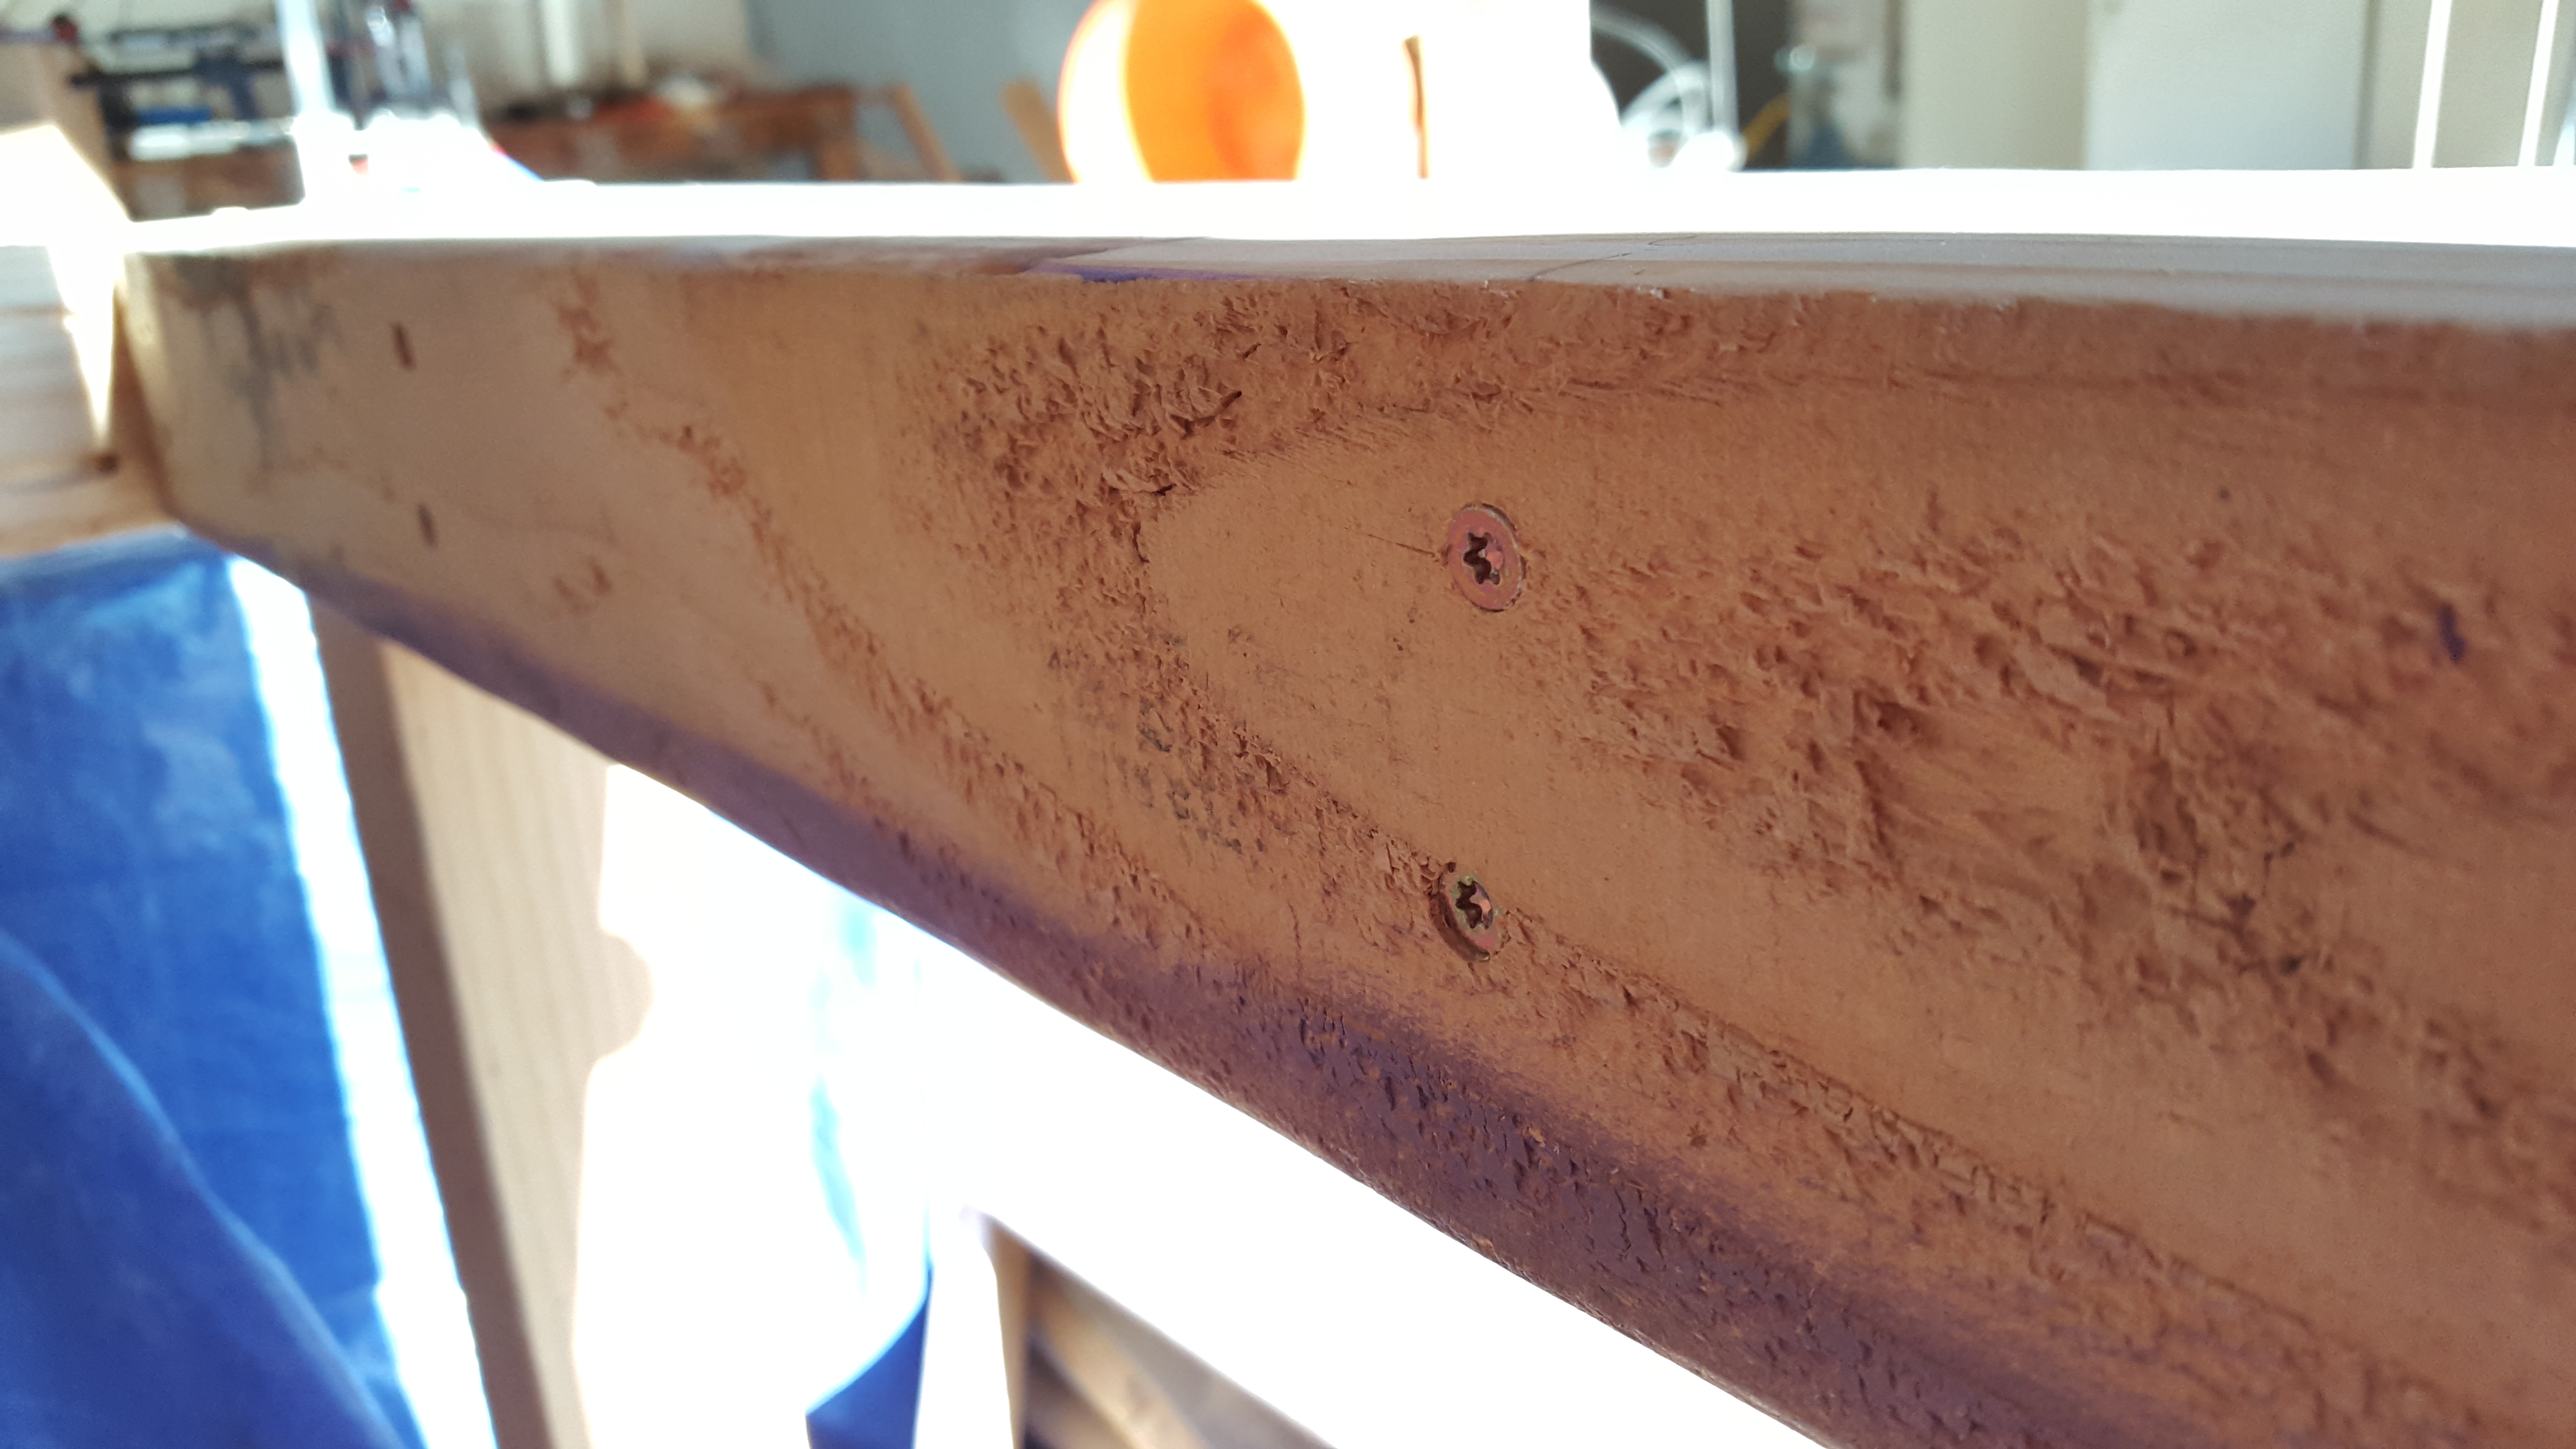
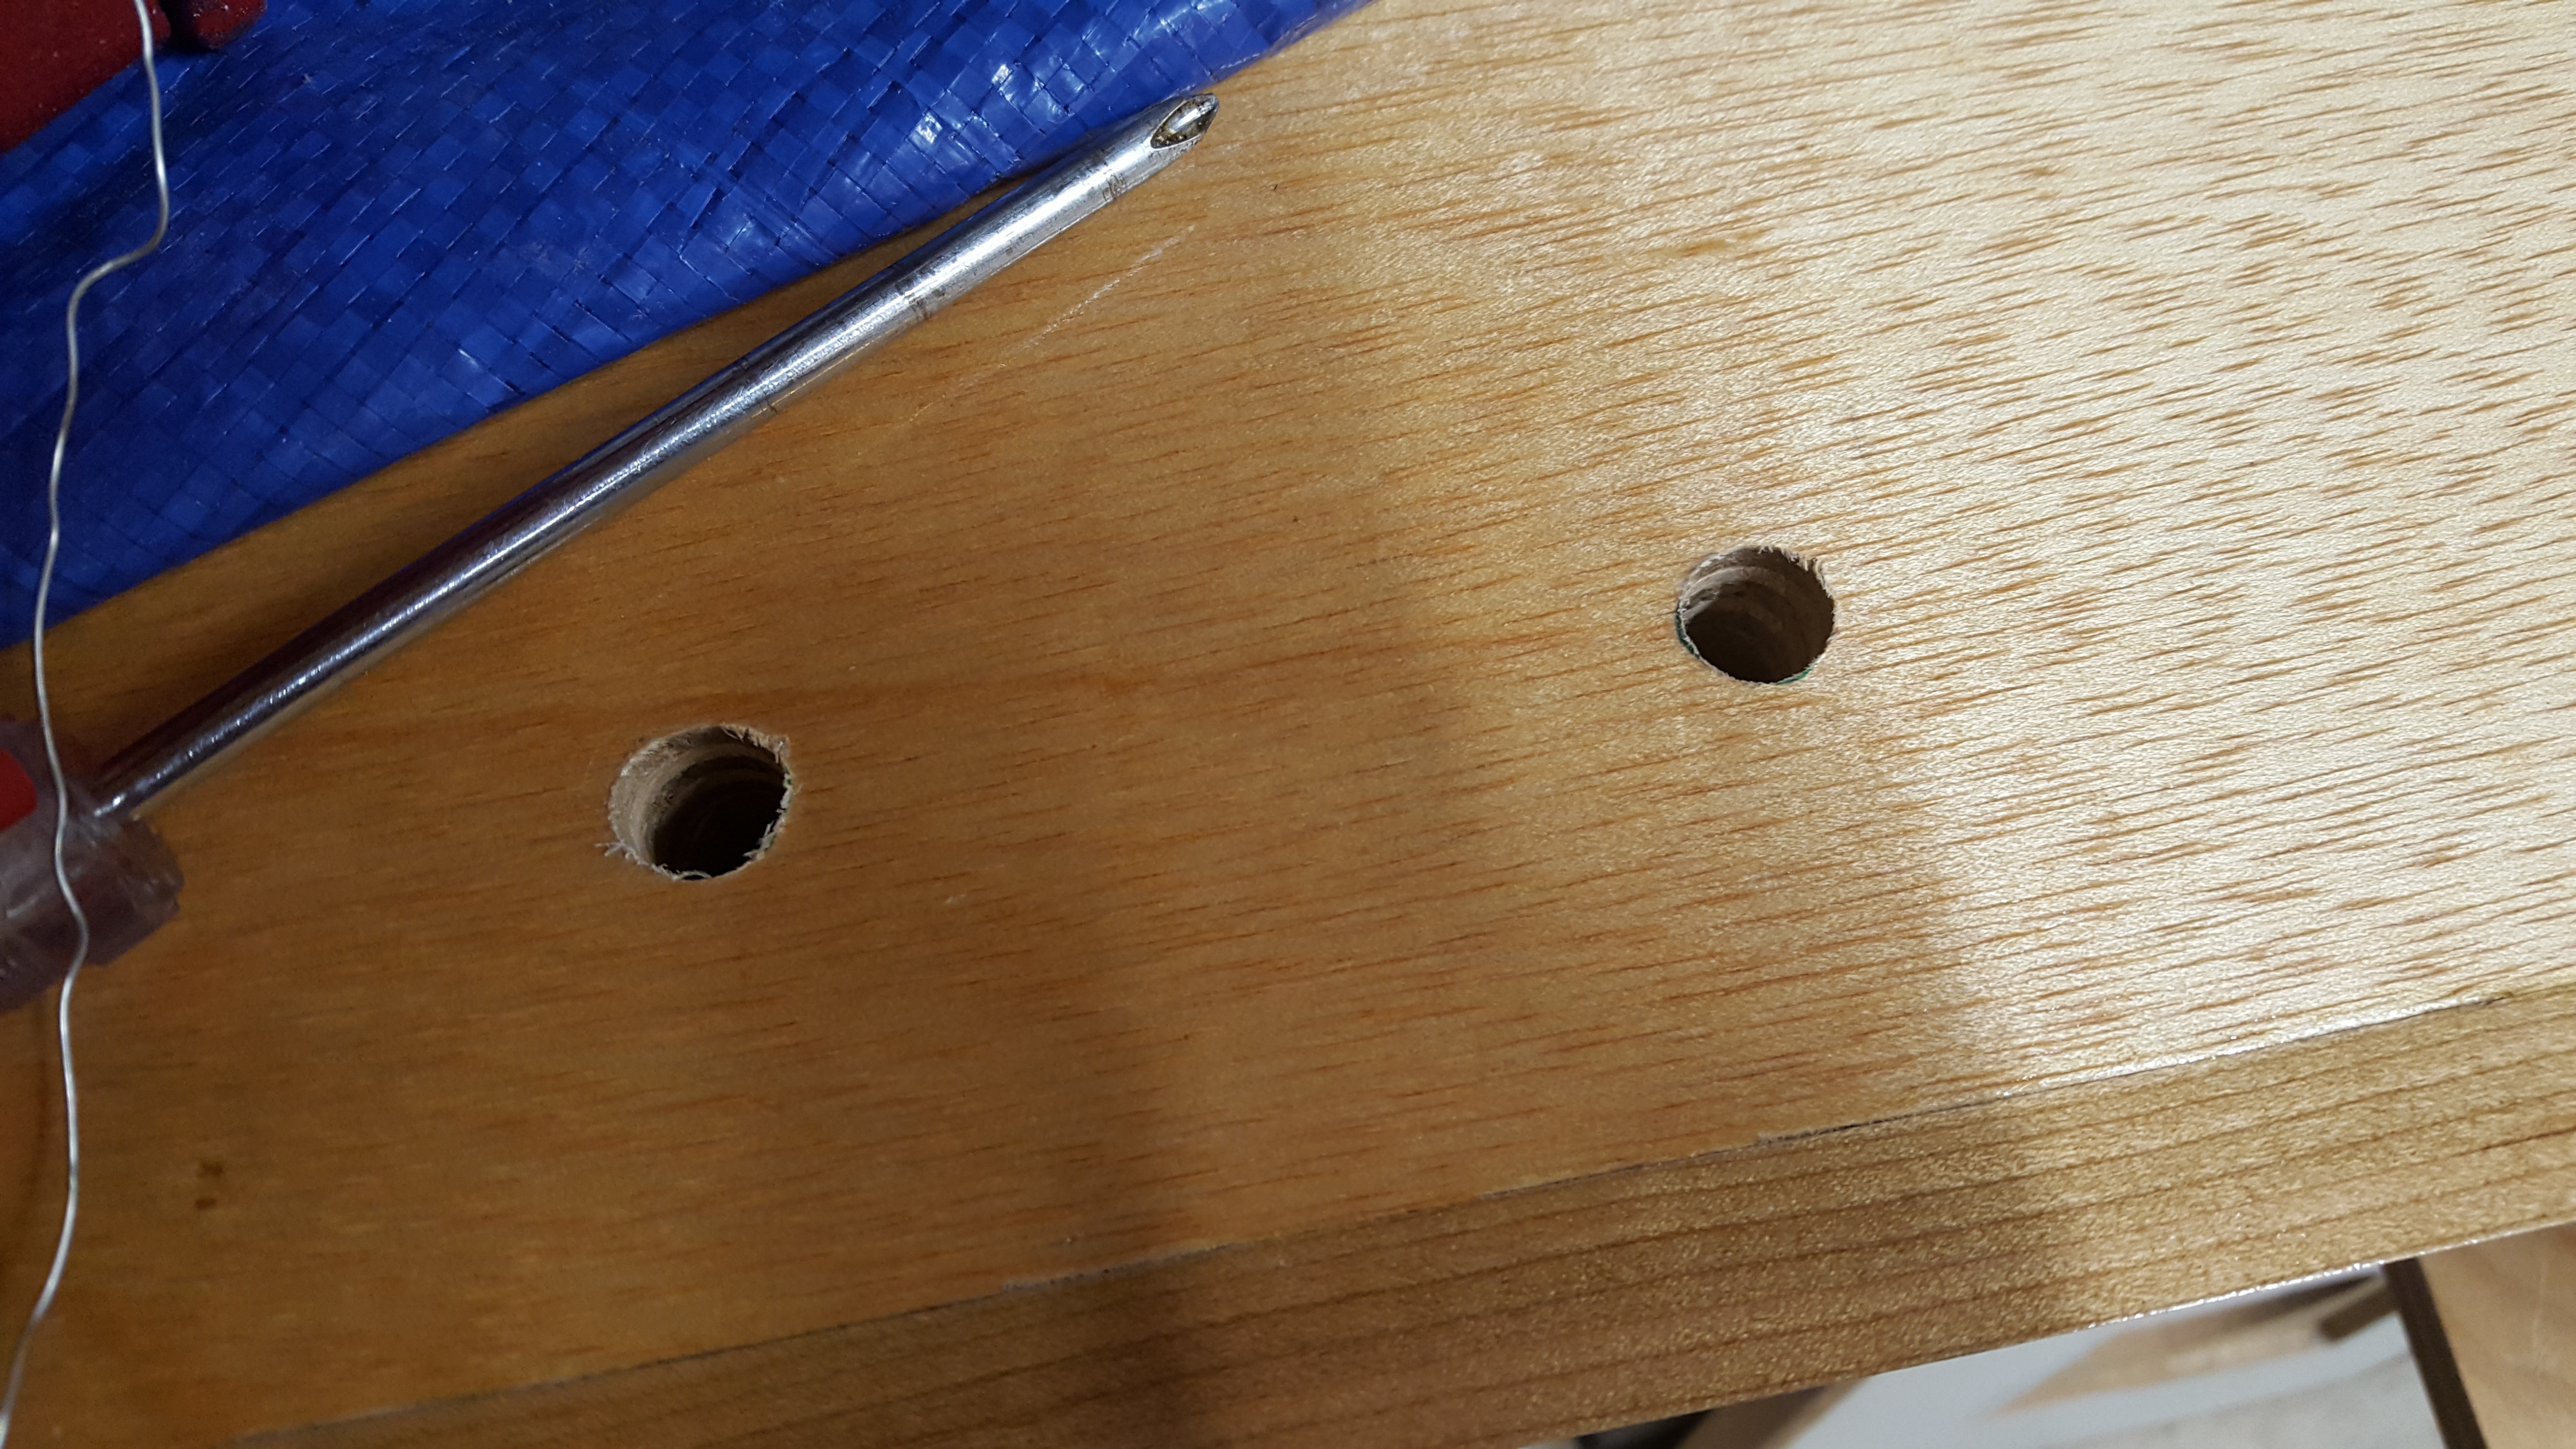
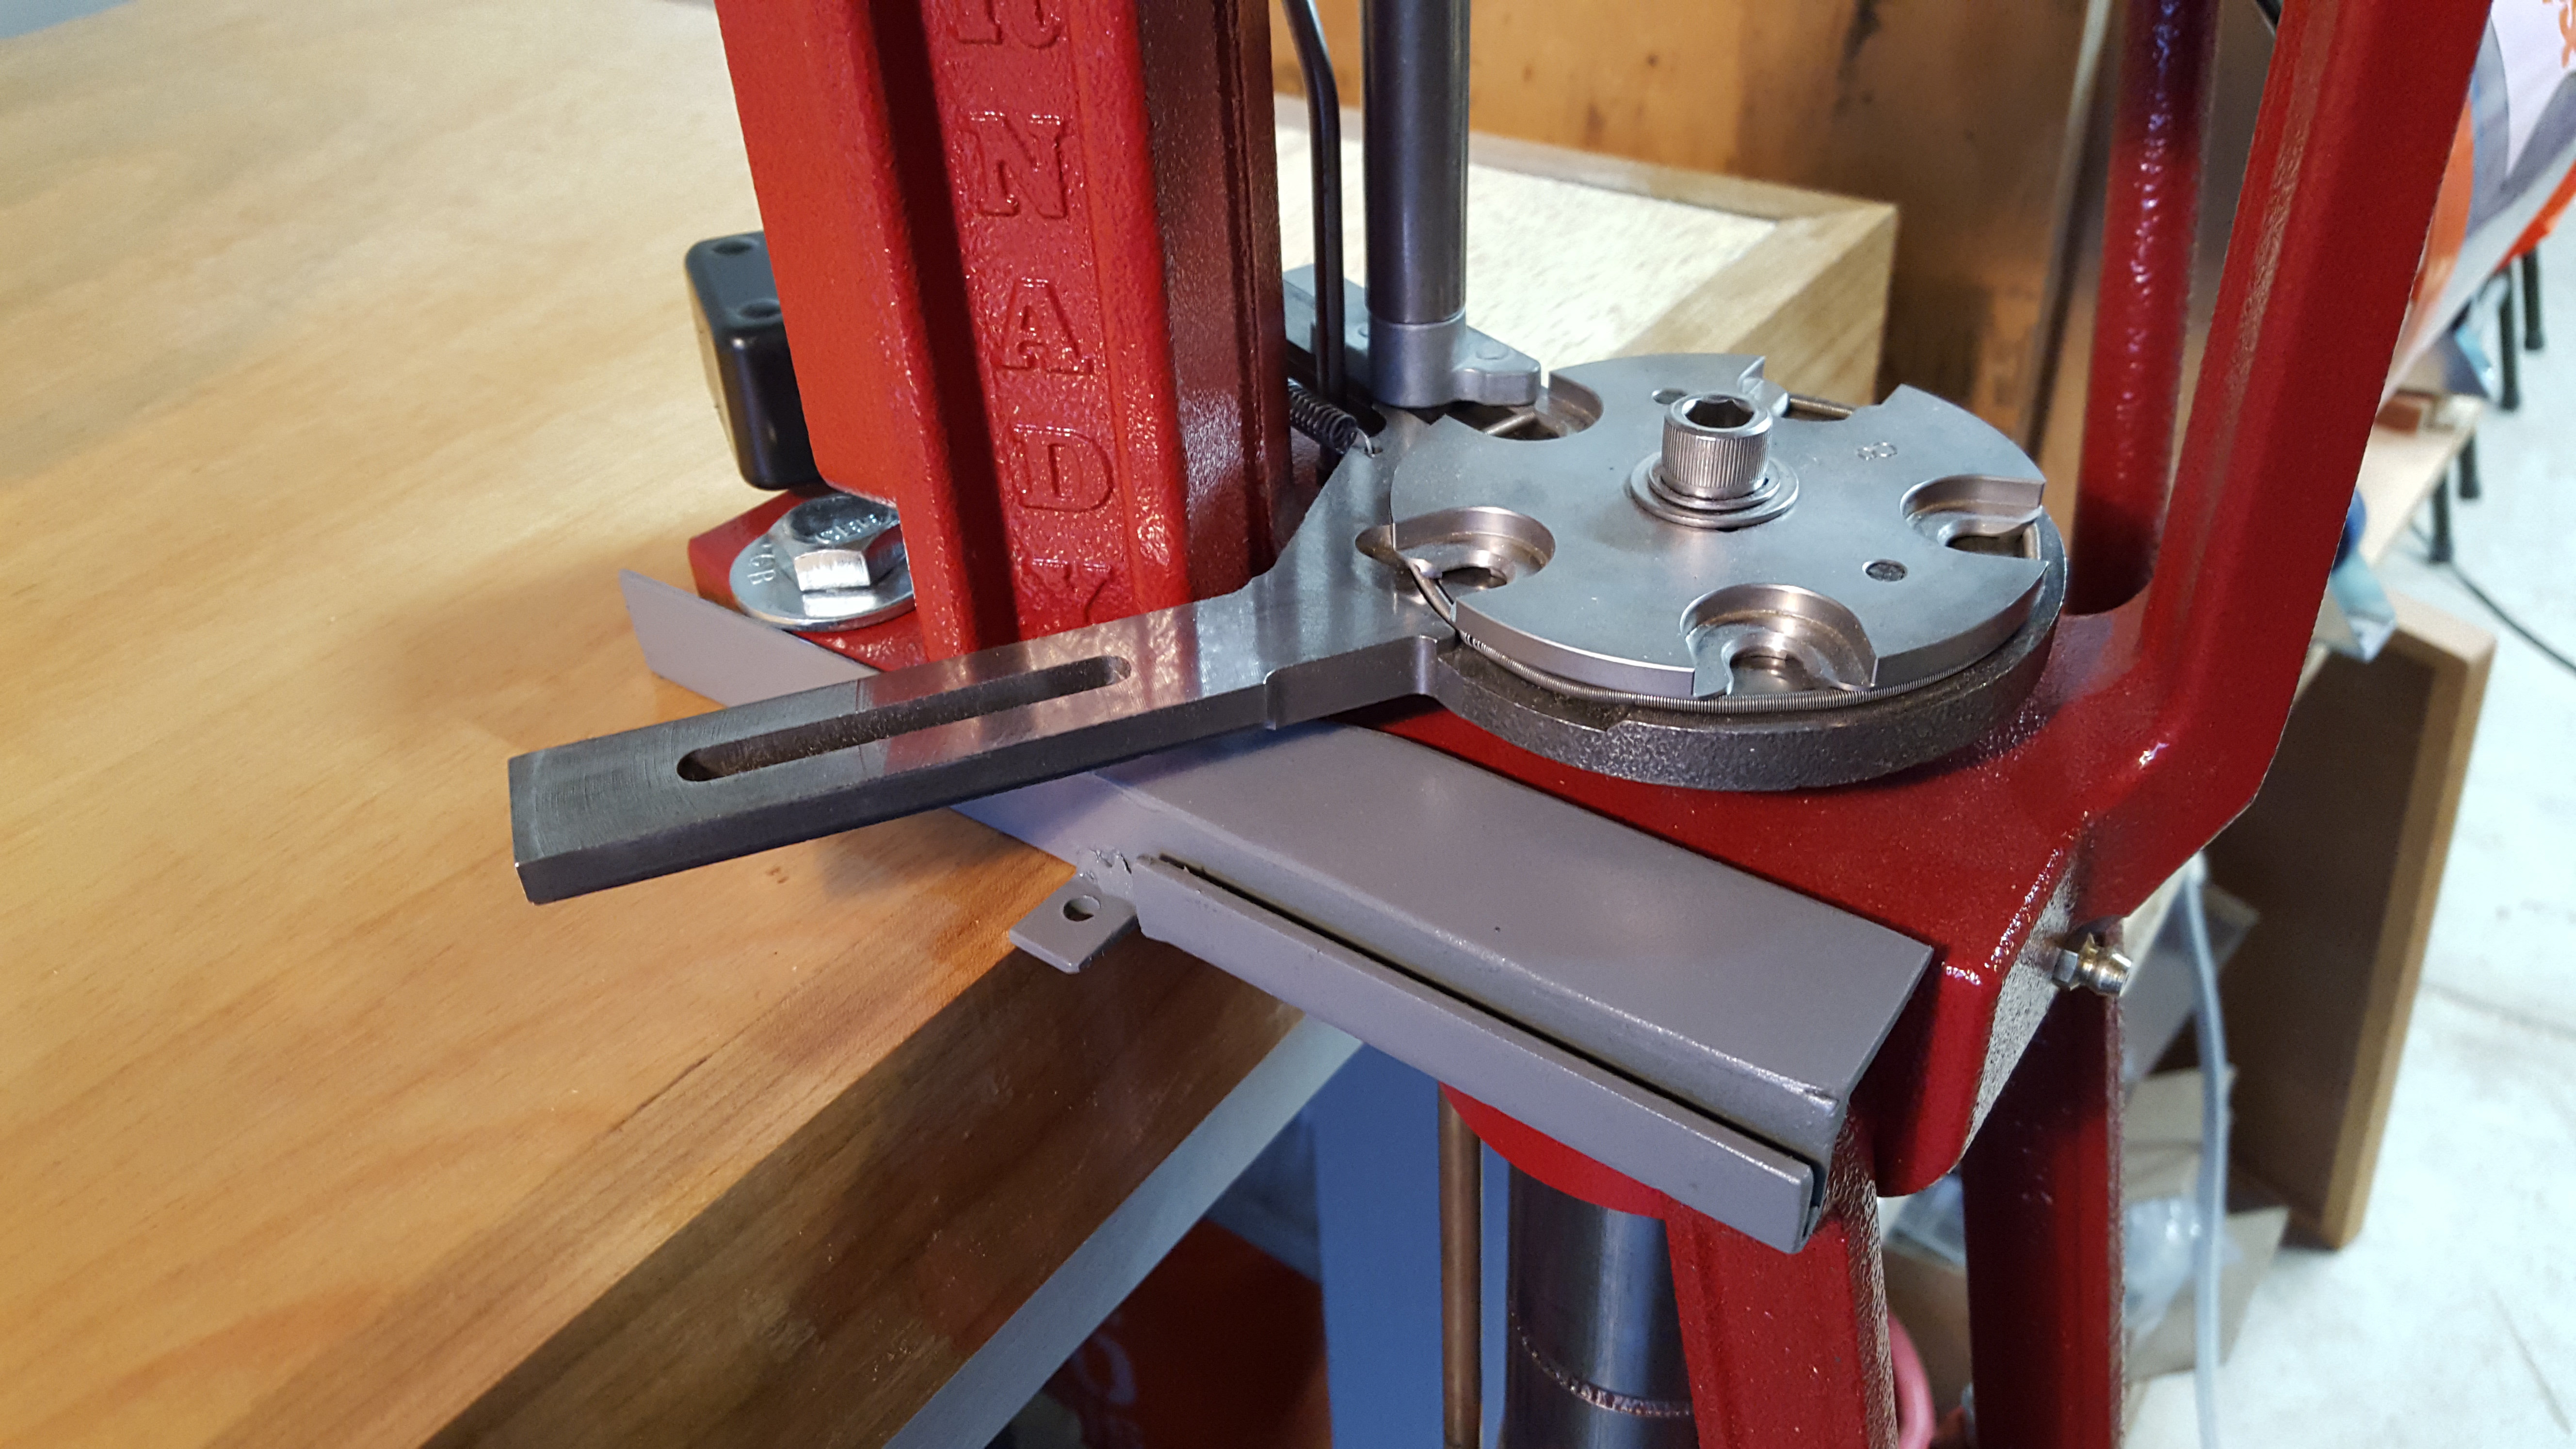
The last thing to do is to ruin the top by drilling some holes for the press to be mounted to. They are 1/2″ and I mounted the press on top of my homemade main bracket that works with the case feeder I am working on.


Hi,
I’m in the process of making my own case feeder, I was just wondering if you have a video that will show me the bottom part working. I saw plenty of video on youtube of other but yours beats them all! You really did a great job! I would really like to reproduce it.
Are you able to do both rifle and pistol caliber ?
While my homemade case feeder works for me, it only works for 9mm pistol cases. There are now a few 3d printed options available that I suggest looking into like: https://github.com/dyspreficks/ShoeboxCaseFeeder and https://www.thingiverse.com/thing:2488944