Rustic Shelves and Brackets
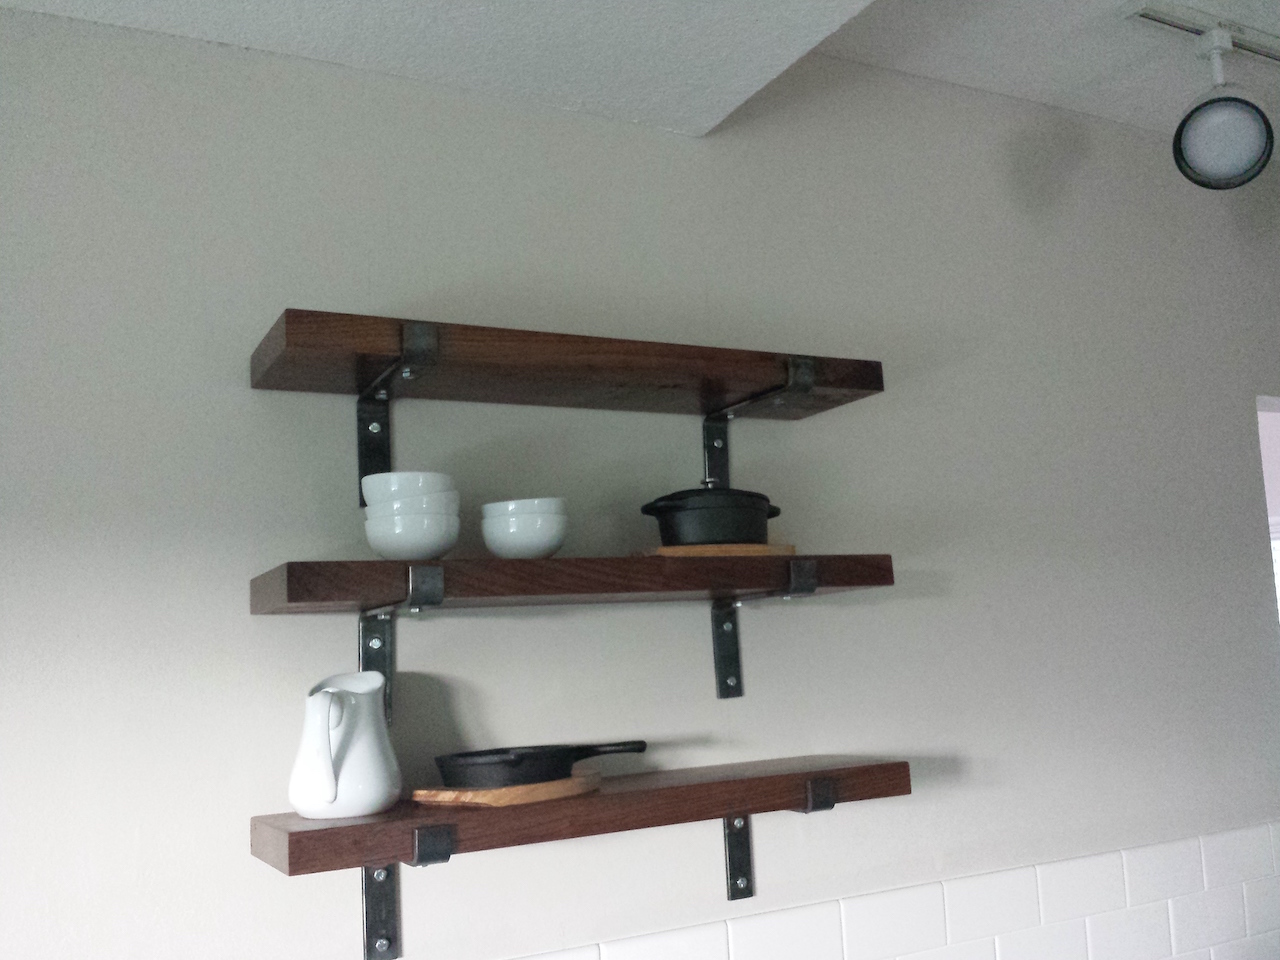
![]() To fill in a section of wall in our kitchen, my wife found a set of brackets from a company called Cascade Iron Co. After several weeks of intermittent work, they look pretty good!
To fill in a section of wall in our kitchen, my wife found a set of brackets from a company called Cascade Iron Co. After several weeks of intermittent work, they look pretty good!

Purchase List
- 6/4 Walnut 7″ x 9′ to make 3 sets of shelves (with a little left over for a 4th)
- 1″ x 1/4″ x 6′ for 3 sets of brackets
- 12 1/4″ x 2″ lag bolts for the wall
- 12 1/4″ x 3/4″ lag bolts for the shelves
Brackets
Not wanting to pay for something that I think I can make, I purchased some 1″ x 1/4″ flat bar from Home Depot and a 6/4 piece of walnut from MacBeath Hardwood.
For the first set I used an oxyacetylene torch to heat each bend and make the bend with a bench vise:

Then I used a plasma torch to get the starter holes in the right spot:
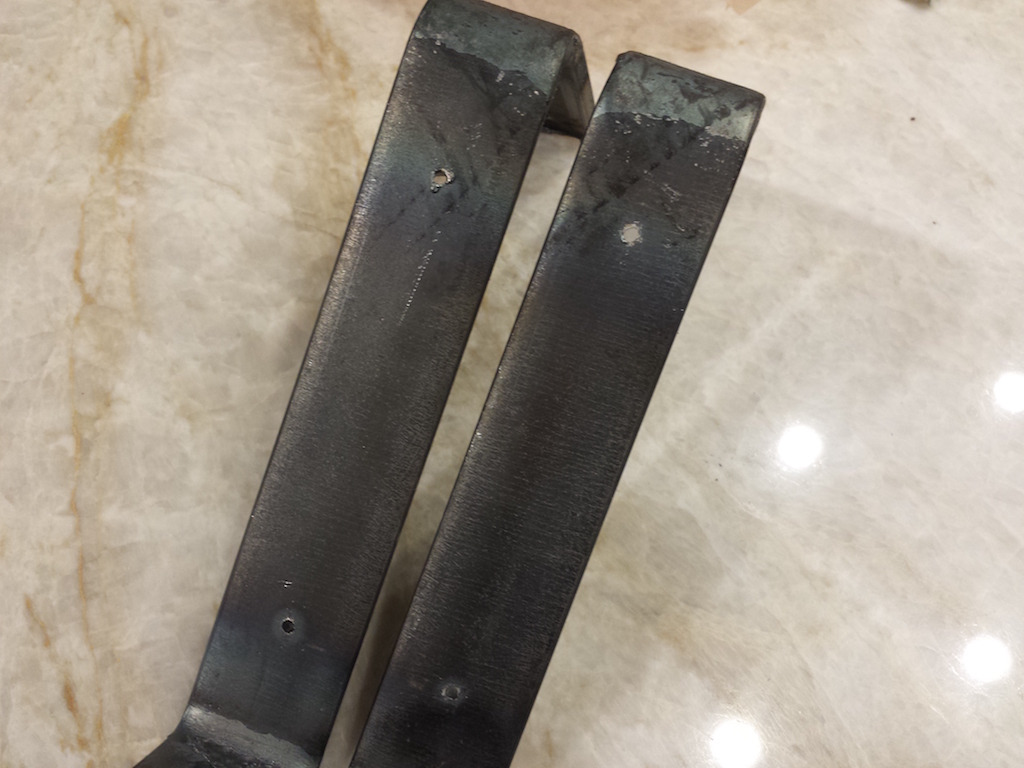
And finally drilled those holes out a little larger than the lags (no photos, but I think you can figure it out). I found that making them a little lose was better so I could fine tune them on the wall.
For the next four sets I didn’t have access to the Acetylene torch so I used a MAP PRO/Oxygen setup. It achieved the same thing, but slower and I used three of the small Oxygen bottles getting it done.
To mount them, I used 1/4″ x 2″ lag bolts for the wall and 1/4″ x 3/4″ lag bolts for the shelves. All holes were predrilled to avoid splitting.
Walnut Shelves
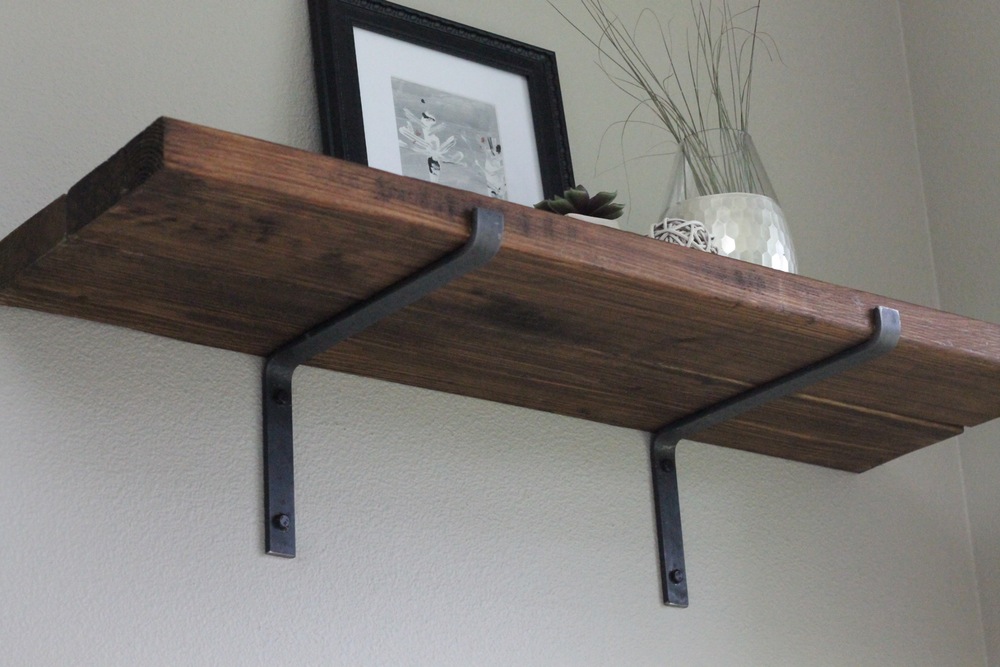
For the shelves, the website shows a construction grade 2×6, but the Walnut seemed fancier and worth the cost. The 6/4 piece I found was about 7″ wide and 9′ long: just enough to make three shelves. I wanted it to be somewhat “rustic” looking and keep some of the rough edge it came with:

The board had one fairly straight edge, so I ripped it to just oversize on the table saw using that edge and then flipped it and made it all the way square. I wanted mostly sharp edges and only sanded the top three exposed edges and the flat surfaces down to 80 grit:


I then used some wipe on polyurethane and followed the directions: wipe it on, let it dry for a few hours, lightly sand with 320 grit, remove the dust, and repeat. Four coats looks pretty good without covering the character of the wood too much.

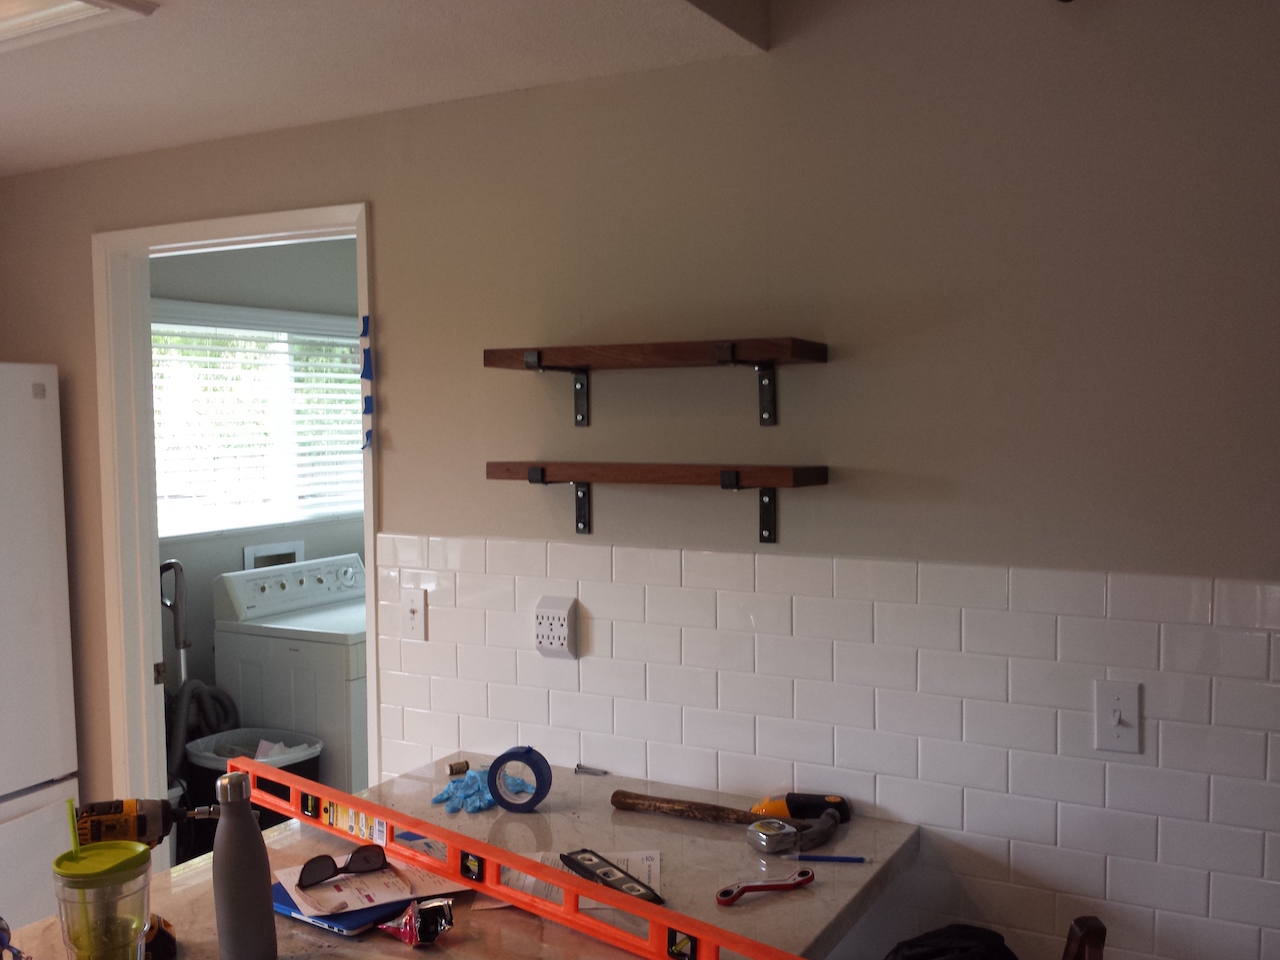
Mounting the Shelves
Putting the shelves up required some thought: the top of the tile was level so I measured up 3/4″, placed the first set of brackets to mark the holes, predrilled, and screwed them in.


I repeated for the next two sets of brackets:


Leave a Reply