Organizing BLF Keys on VVX Expansion Modules in FreePBX
I set up a FreePBX server for my school and most of it went smoothly. We have almost 50 Polycom phones and Endpoint Manager made it very easy to assign the phones to the right extensions and put the right BLFs and speed dials on them. The one issue that I ran into is that I put a Color Expansion Module on our receptionist’s phone, added all the extensions for our school in the right order in Endpoint Manager, left spaces between some BLFs to make it easier to find the right extensions quickly, and updated the phone. To my surprise the BLFs were all on the phone and Expansion Module but they weren’t spaced correctly and were mashed together starting with the phone and then spilling over onto the Expansion Module.

I did some research and found out that Polycom has a way to space out the Line Keys, but Endpoint Manager doesn’t have that functionality added. My solution was to make a separate config file with the correct order and spacing per Polycom’s directions and write a Bash script to insert it into the receptionist phone’s features.cfg file. Although it does work, any changes to the order or spacing must be done by hand and Endpoint Manager will overwrite the changes when it rebuilds the config. To overcome that, I made a cron job to run the Bash script every five minutes and since it is only one phone, making edits to the config by hand isn’t too tedious.
Sources:
Polycom Community: Confusion with VVX line keys
FreePBX Community: Polycom Color Expansion Module not populating
How to remove the DND softkey on Polycom phones
Crosstalk Solutions has a writeup on automating Polycom phone directories. Although they are different subjects, I used much of their structure for my solution below:
FreePBX Polycom Directory Automation
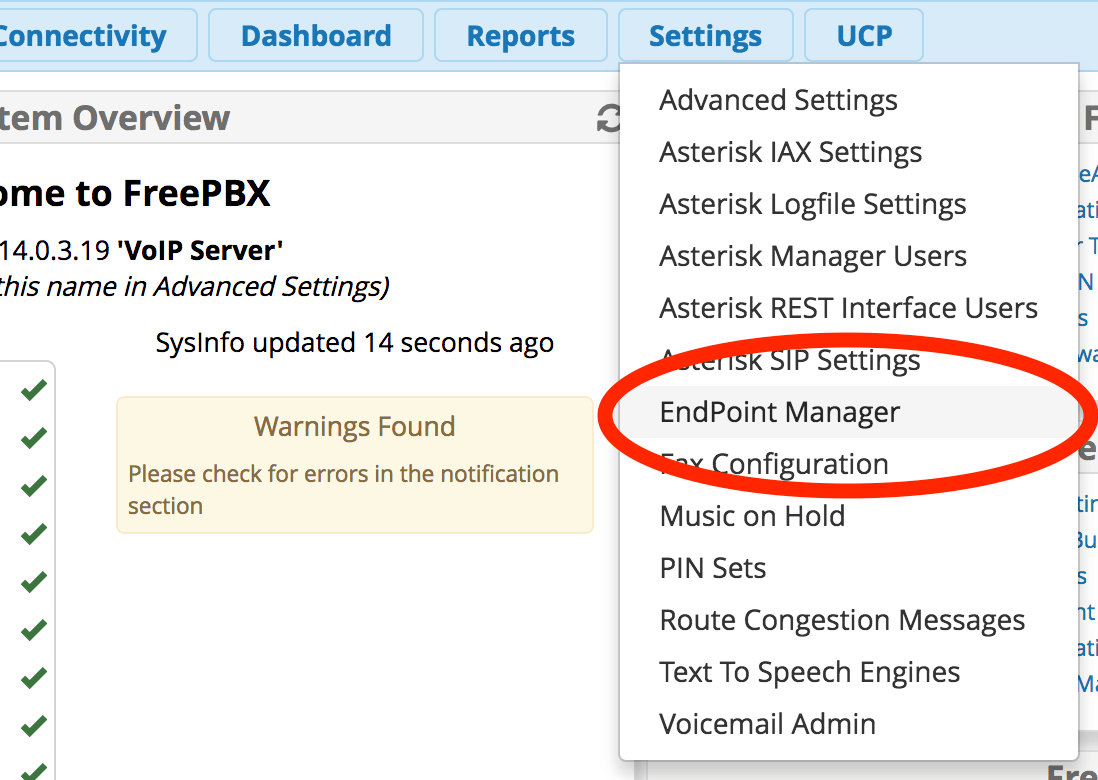
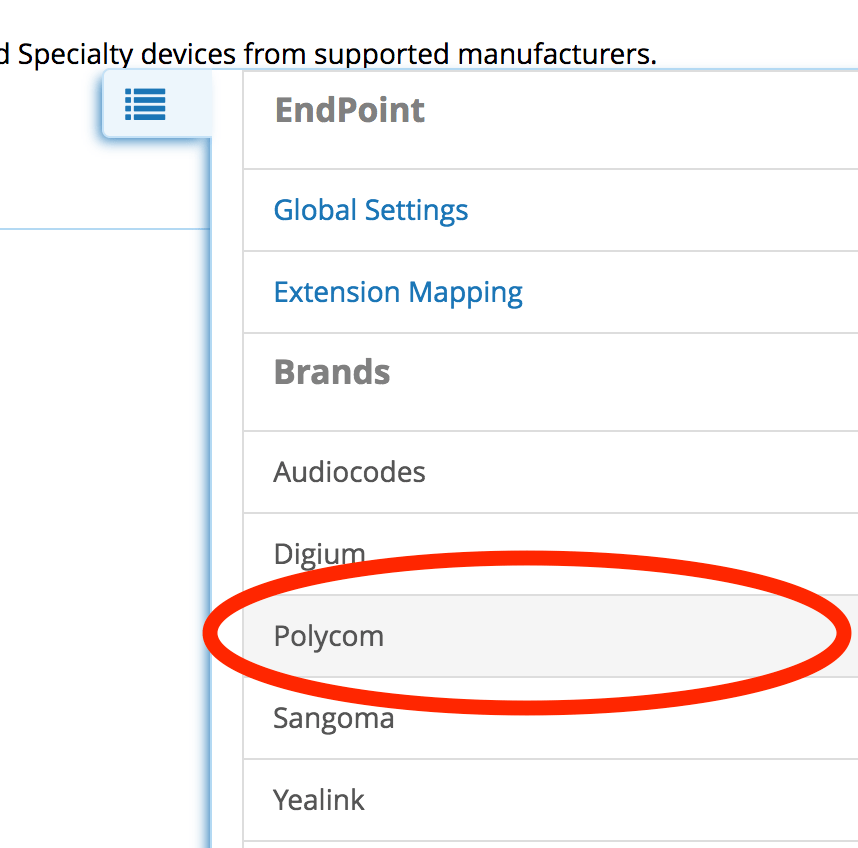
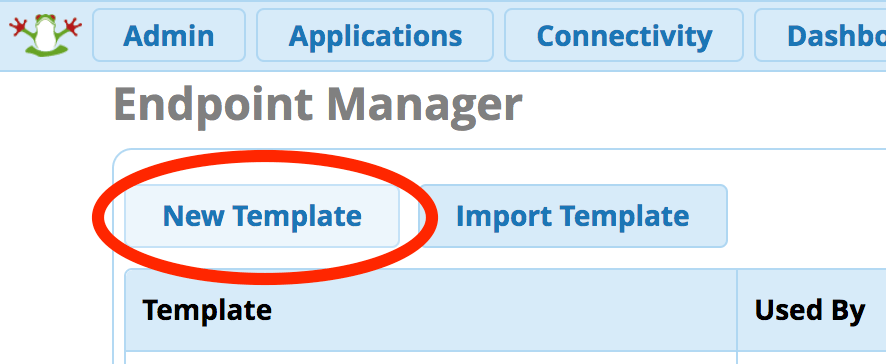
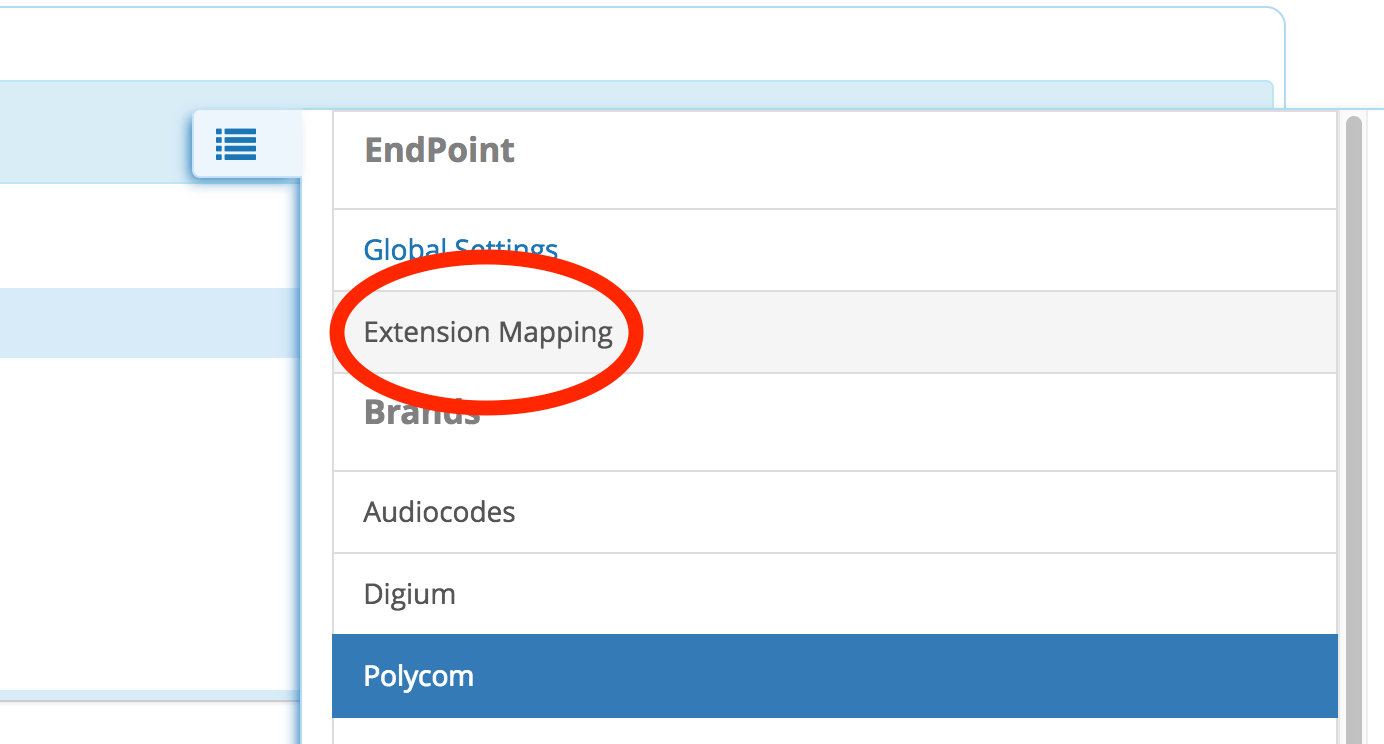
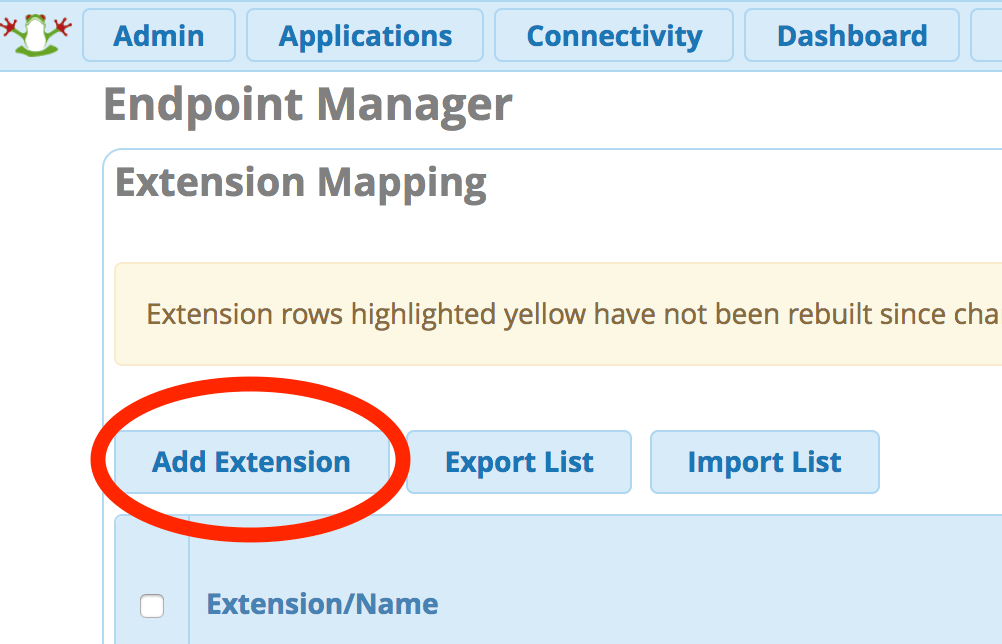
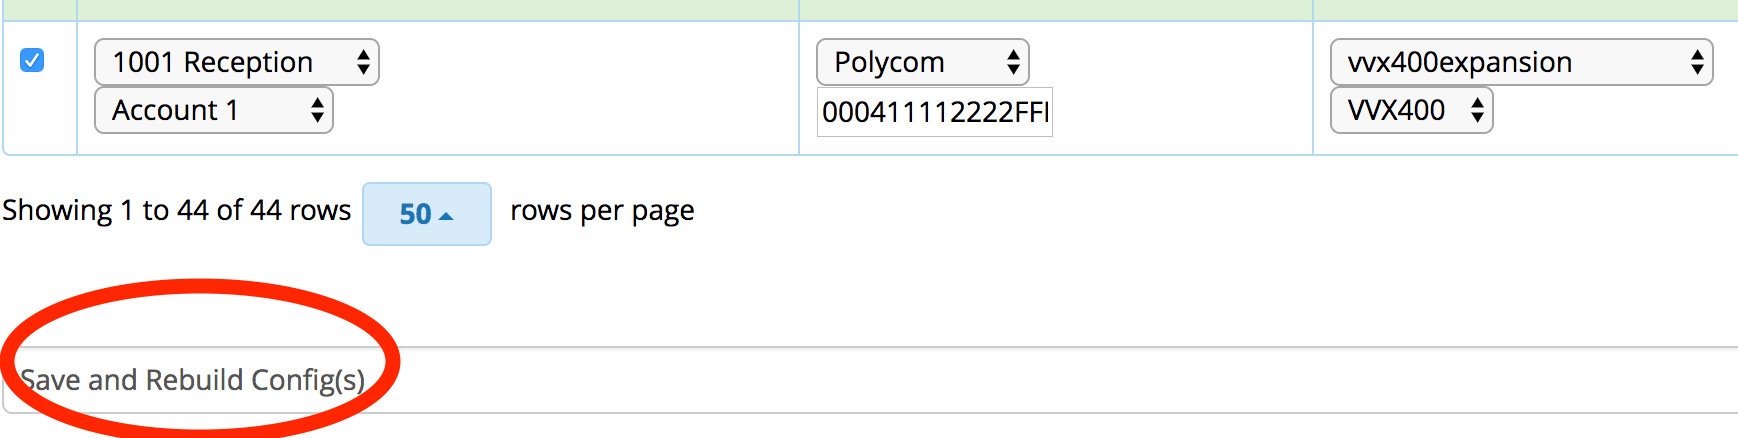
Setting up the Endpoint Manager
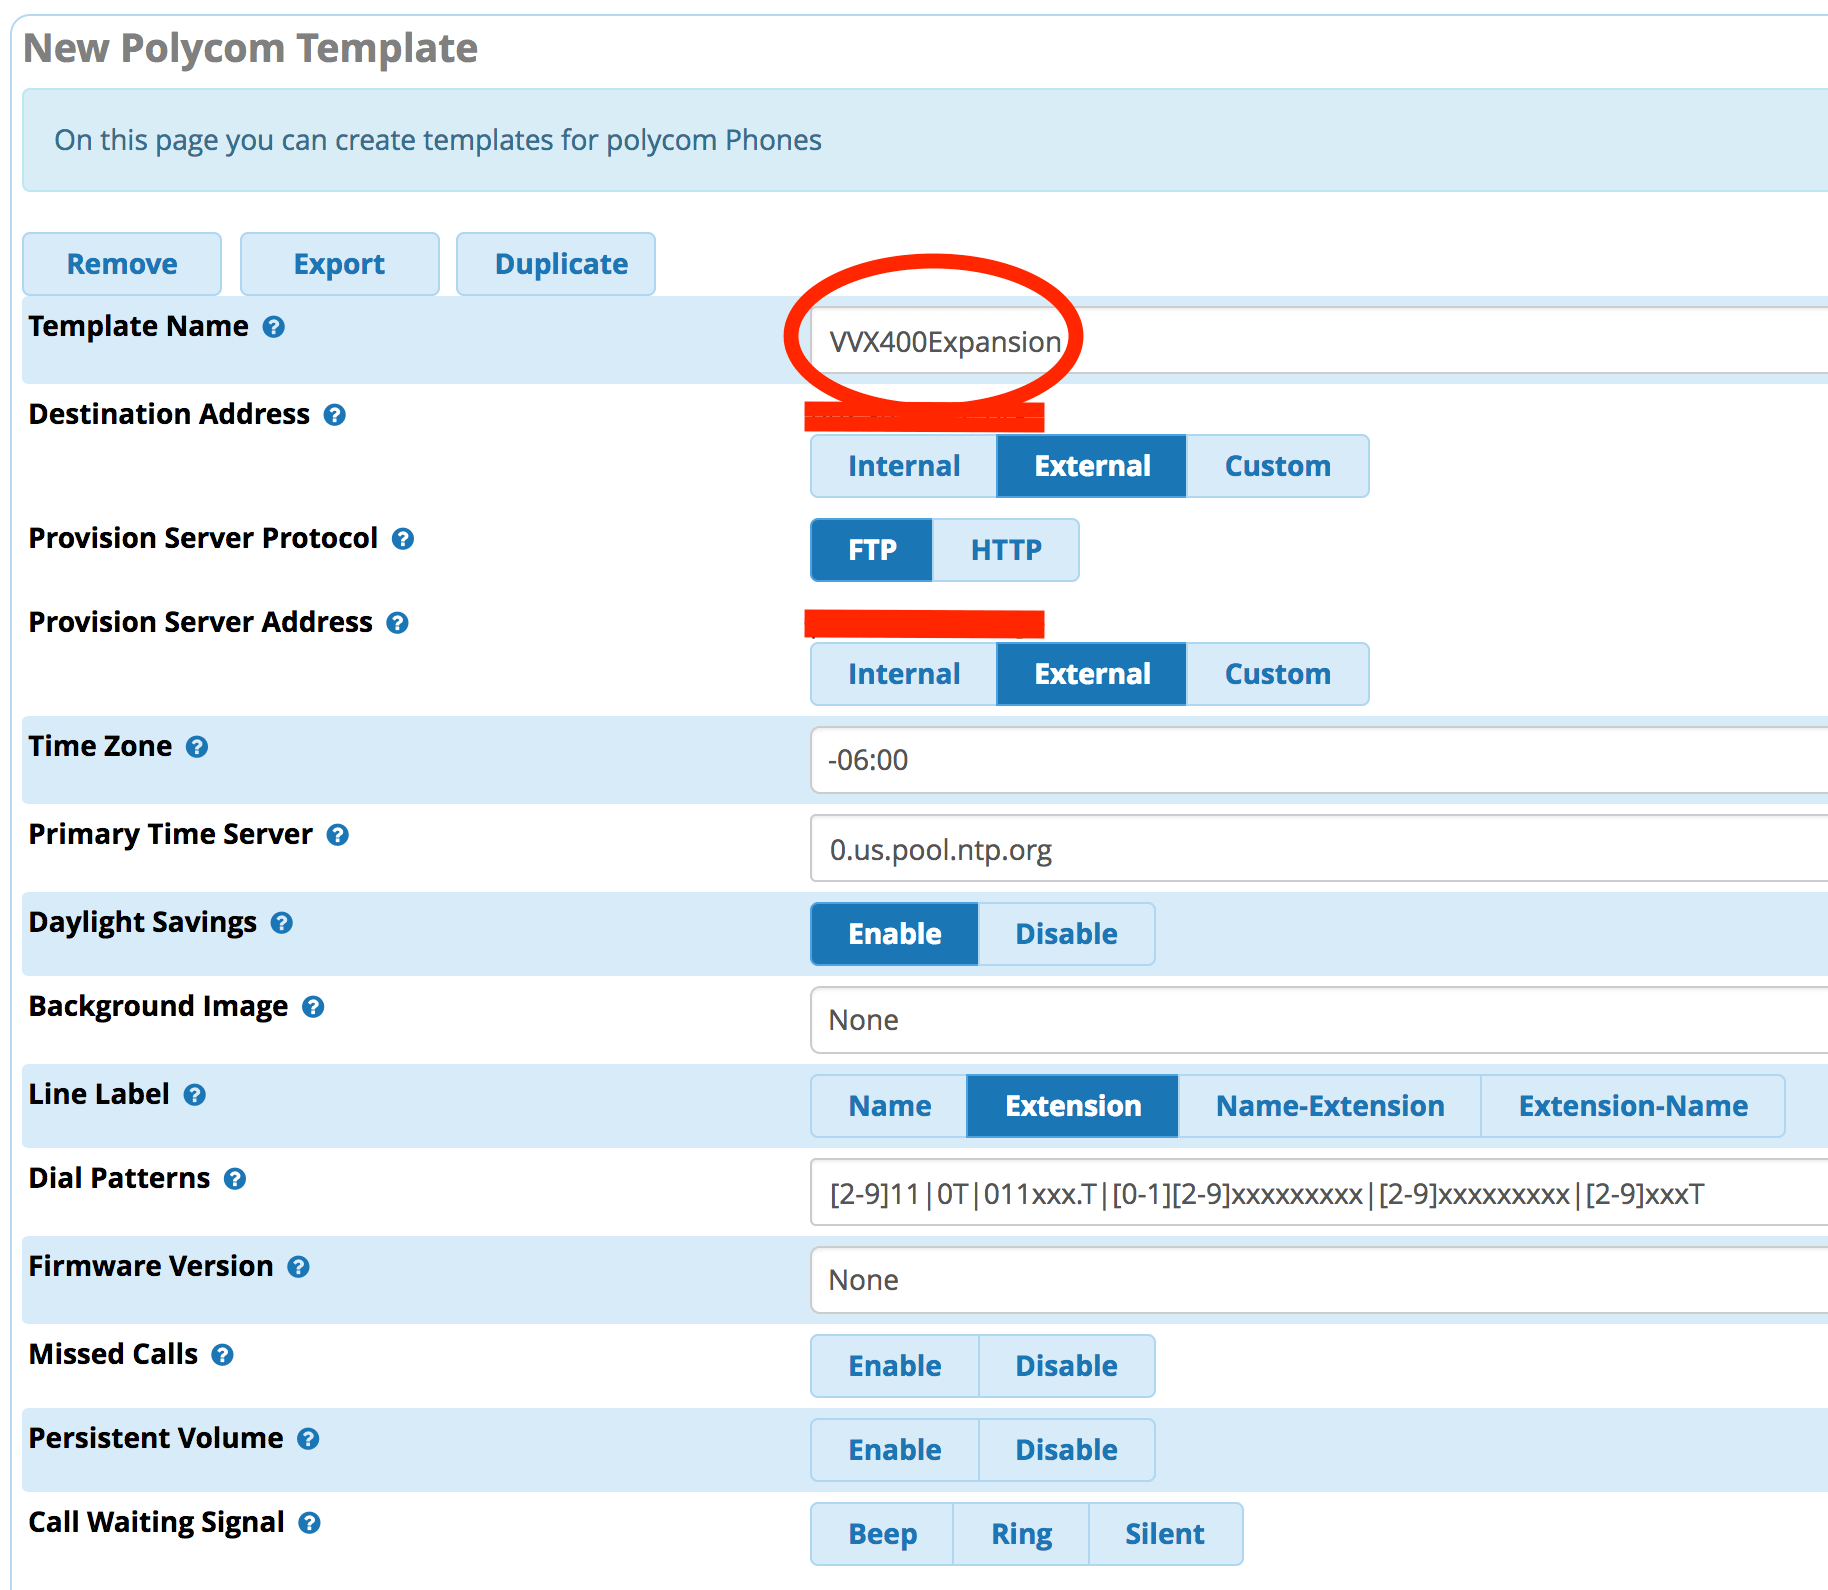
These are the steps needed to use Endpoint Manager to add your template with the Color Expansion Modules. I am using a VVX400 and Color Expansion Module but the procedure should be similar across Polycom phones.
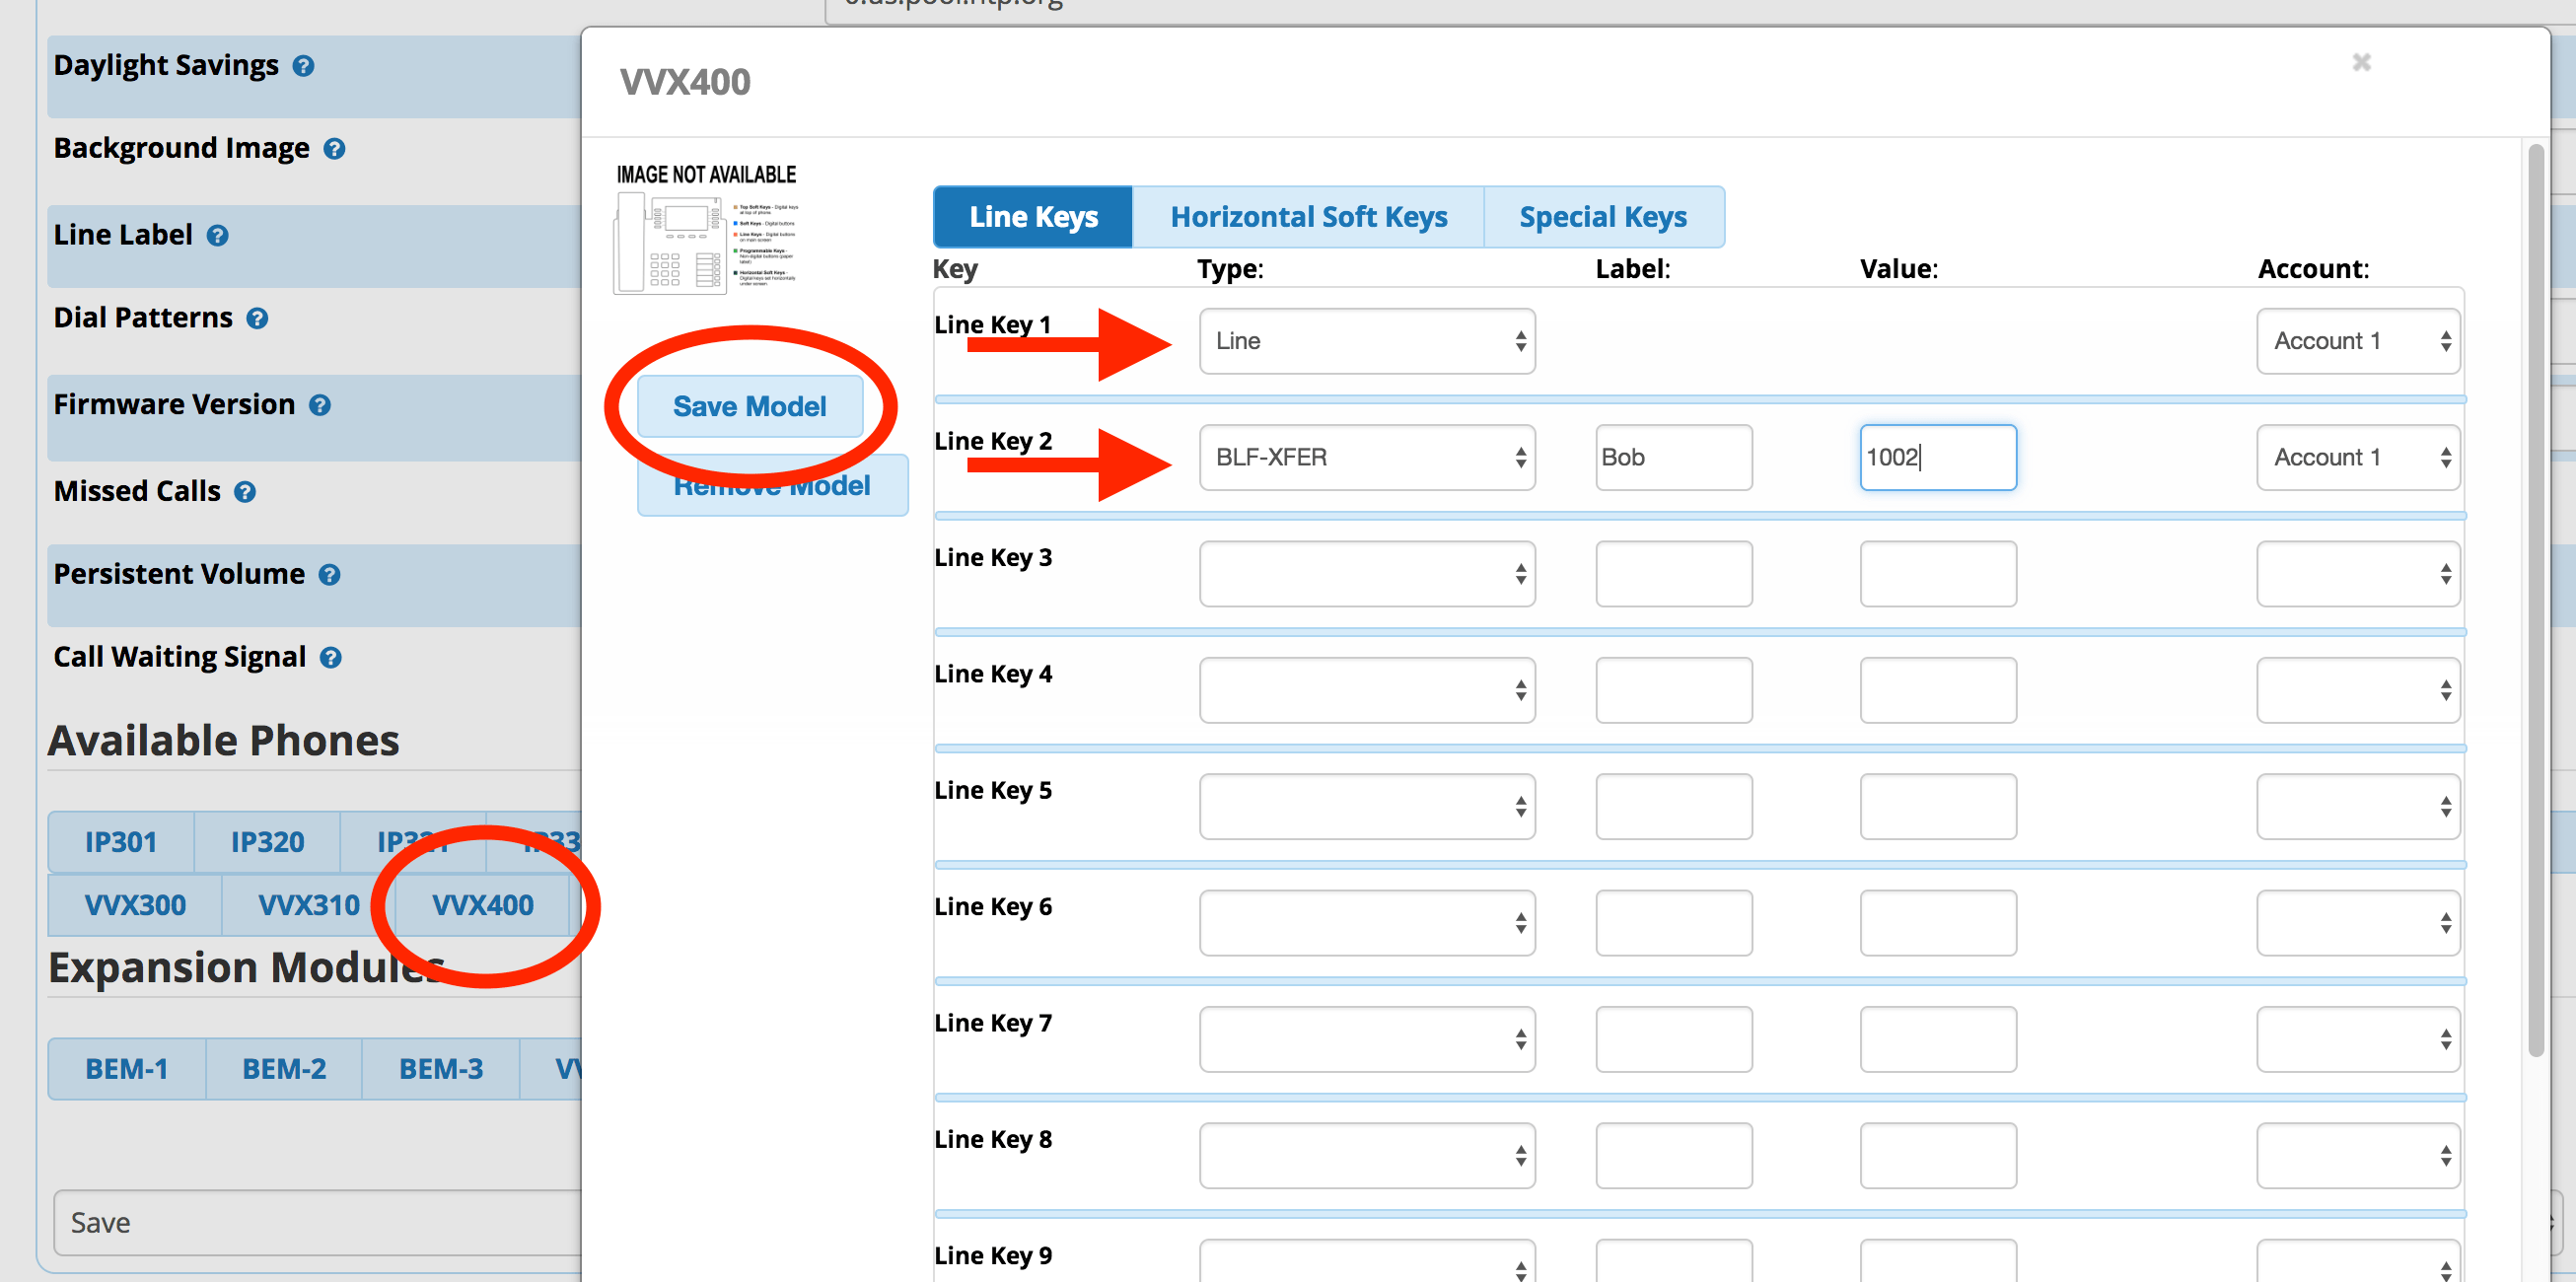


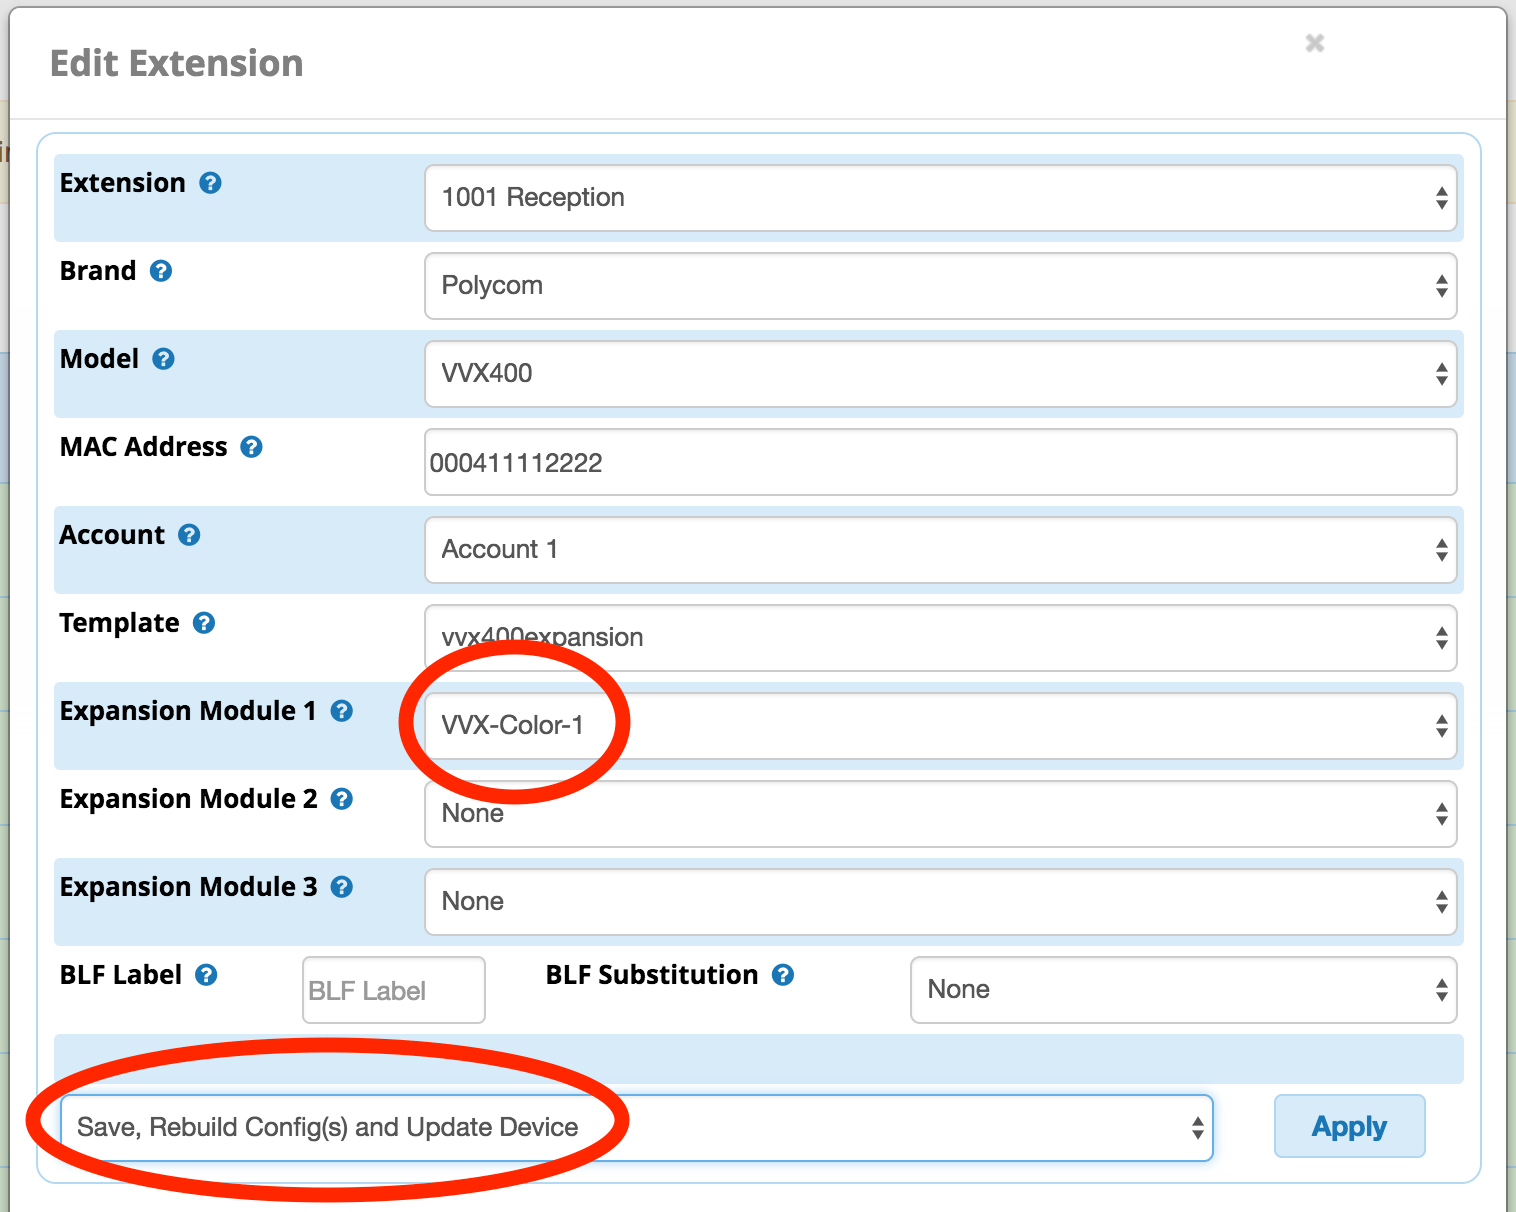
Assuming your phone and environment are setup correctly, the phone with the MAC you inputted will reboot and display the Line Keys you added to the phone and expansion module.
Organizing the Line Keys
Now that the phone is working and you have the line keys you want, let’s get them to appear in the right order. SSH into your FreePBX server and navigate to the /tftpboot directory where the templates live (note that I am logged in as root on this server. You may need to use sudo if you are not in the root account):
cd /tftpboot
Let’s see what our generated template looks like:
cat 000411112222-features.cfg
# Created on 2018/10/06 14:11:46 #Configuration automatically generated via the EndPoint Module #DO NOT HAND MODIFY THIS FILE! <?xml version="1.0" encoding="UTF-8" standalone="yes"?> &amp;lt;!-- Generated features.cfg Configuration File --&amp;gt; &amp;lt;polycomConfig xmlns:xsi="http://www.w3.org/2001/XMLSchema-instance" xsi:noNamespaceSchemaLocation="polycomConfig.xsd"&amp;gt; &amp;lt;acd acd.reg="1" acd.stateAtSignIn="1" acd.1.unavailreason.active="0" acd.1.unavailreason.codeName="" acd.1.unavailreason.codeValue="" acd.2.unavailreason.active="0" acd.2.unavailreason.codeName="" acd.2.unavailreason.codeValue="" &amp;gt; &amp;lt;/acd&amp;gt; &amp;lt;attendant attendant.reg="1" attendant.ringType="ringer1" attendant.uri="" attendant.resourceList.1.address="" attendant.resourceList.1.label="" attendant.resourceList.1.type="line" attendant.resourceList.2.address="sip:1002@pbx.********" attendant.resourceList.2.label="Bob" attendant.resourceList.2.type="automata" attendant.resourceList.3.address="" attendant.resourceList.3.label="" attendant.resourceList.3.type="" attendant.resourceList.4.address="" attendant.resourceList.4.label="" attendant.resourceList.4.type="" attendant.resourceList.5.address="" attendant.resourceList.5.label="" attendant.resourceList.5.type="" attendant.resourceList.6.address="" attendant.resourceList.6.label="" attendant.resourceList.6.type="" attendant.resourceList.7.address="" attendant.resourceList.7.label="" attendant.resourceList.7.type="" attendant.resourceList.8.address="" attendant.resourceList.8.label="" attendant.resourceList.8.type="" attendant.resourceList.9.address="" attendant.resourceList.9.label="" attendant.resourceList.9.type="" attendant.resourceList.10.address="" attendant.resourceList.10.label="" attendant.resourceList.10.type="" attendant.resourceList.11.address="" attendant.resourceList.11.label="" attendant.resourceList.11.type="" attendant.resourceList.12.address="" attendant.resourceList.12.label="" attendant.resourceList.12.type="" attendant.resourceList.7.address="" attendant.resourceList.7.label="" attendant.resourceList.7.type="" attendant.resourceList.8.address="" attendant.resourceList.8.label="" attendant.resourceList.8.type="" attendant.resourceList.9.address="" attendant.resourceList.9.label="" attendant.resourceList.9.type="" attendant.resourceList.10.address="" attendant.resourceList.10.label="" attendant.resourceList.10.type="" attendant.resourceList.11.address="" attendant.resourceList.11.label="" attendant.resourceList.11.type="" attendant.resourceList.12.address="" attendant.resourceList.12.label="" attendant.resourceList.12.type="" attendant.resourceList.13.address="sip:Moe@pbx.********" attendant.resourceList.13.label="1003" attendant.resourceList.13.type="automata" attendant.resourceList.14.address="sip:Larry@pbx.********" attendant.resourceList.14.label="1004" attendant.resourceList.14.type="automata" attendant.resourceList.15.address="sip:Curly@pbx.********" attendant.resourceList.15.label="1005" attendant.resourceList.15.type="automata" attendant.resourceList.16.address="" attendant.resourceList.16.label="" attendant.resourceList.16.type="" ...You can see that line 1 has our line key and lines 2, 13, 14, and 15 have our BLF keys. The problem is that Polycom automatically starts on the first open spot on the phone and puts all them in order, filling the first five line keys of the phone and not using the expansion module at all.
To create the order you want your expansion to be in we are going to manually make a new file with the order we want the keys to be in and write a script that checks if the 000411112222-features.cfg file has the order. If it doesn’t see the lines we’re looking for, it will insert them for us. Whenever FreePBX rebuilds the configs and updates the phone, it will overwrite our changes so we want to run a cron job to execute the script and insert the proper line key configuration only if it is missing.
nano expansion-order.cfg.backupCopy and paste this code and make any changes you need for your situation. lineKey.1 – lineKey.12 are for the 12 buttons on the VVX400. lineKey.13 – line.Key.40 and for the first page of the Color Expansion Module and each of the three pages also has 28 buttons.
&amp;lt;example lineKey.reassignment.enabled="1" lineKey.1.category="Line" lineKey.1.index="1" lineKey.13.category="BLF" lineKey.14.category="BLF" lineKey.15.category="BLF" /&amp;gt;What this does is make the first line key on the phone your normal line key. Then it moves the next three available options from the config file to the first three buttons on the expansion and makes then BLFs.
Now we need to make the script file:
nano /usr/local/sbin/polycom-expansion-order.sh#!/bin/bash ## Original Author: Nathan Darnell ## Created: August 3, 2018 ## Checks an Endpoint Manager configuration file for a specific tag ## and inserts a file to reorder the Expansion if not found ################################################################## ## CONFIGURE ################################################################## DIR="/tftpboot" ## Folder where all the files are located INSERTFILE="expansion-order.cfg.backup" ## Name of file to insert into configuration file MACFILE="000411112222-features.cfg" ## Name of configuration file to edit SEARCHTAG='lineKey.reassignment.enabled="1"' ## Tag to search for in the configuration file to see if it needs inserting ################################################################## ## /CONFIGURE ################################################################## ################################################################## ## PROGRAM START ################################################################## ## Begin the program by checking for the INSERTFILE if [ ! -f $DIR/$INSERTFILE ]; then exit 0 fi ## Check for the MACFILE if [ ! -f $DIR/$MACFILE ]; then exit 0 fi ## Check if XML tag 'SEARCHTAG' is in MACFILE to see if we need to rebuild if [[ $(grep -c "$SEARCHTAG" "$DIR"/"$MACFILE") -ne 0 ]]; then exit 0 else sed -i.bak "/&amp;lt;\/efk&amp;gt;/ r $DIR/$INSERTFILE" "$DIR/$MACFILE" fi ################################################################## ## PROGRAM END ##################################################################Make this script executable:
chmod +x /usr/local/sbin/polycom-expansion-order.shAnd run it as the asterisk user to see if it works:
runuser -l asterisk -c '/usr/local/sbin/polycom-expansion-order.sh'This should show you that the code has been inserted into the file:
cat 000411112222-features.cfg | grep lineKey.Finally, we can make this a cron job and have it run automatically for us:
nano /etc/crontabTo run every five minutes add this line to the bottom of the file:
*/5 * * * * asterisk /usr/local/sbin/polycom-expansion-order.shControl-X and “y’ to exit and save and you should be able to rebuild your FreePBX config file for this phone and within five minutes have your correct line key order added back into it.
Leave a Reply