5 Gallon Bucket Thien Baffle Dust Collector
My original dust collector was just an old shop vacuum. The filter clogged regularly so I made a cyclone separator out of sheet metal and some old buckets. This worked well enough except I didn’t engineer the lid for the cyclone well enough and it tended to pop off, that and its nearly 4′ overall height made it lee than ideal.
I decided to switch over to a Thien Baffle-style separator for a smaller footprint and lower vertical height.

Inspirations
The overall look is modeled after Woodgears.ca design of a bucket on the bottom for collection, another bucket cut down with the baffle and a lid around the open base, and a lid on top.
https://woodgears.ca/dust_collector/separator.html
https://woodgears.ca/dust_collector/cyclone.html
Materials
- (2) 5-gallon buckets $6.36
- Snap-on lid for buckets $1.68
- 3/4″ plywood for the lid – Free scraps
- 1/2″ plywood for the side inlet – Free scraps
- Various vacuum attaching pipes – Free scraps
- Screws – Free scraps
- Silicone to seal – Free scraps
Upper Bucket
I cut the bottom off the upper bucket on the table saw. I traced the now-open bottom onto the lid and cut out the middle. Since the bucket has a taper to it, pressure just holds it in place a few inches down.
I made a few cuts into the outer flange of the lid. These lids are usually a pain to remove and the cuts make it easier to lift the edge and pull the two buckets apart.
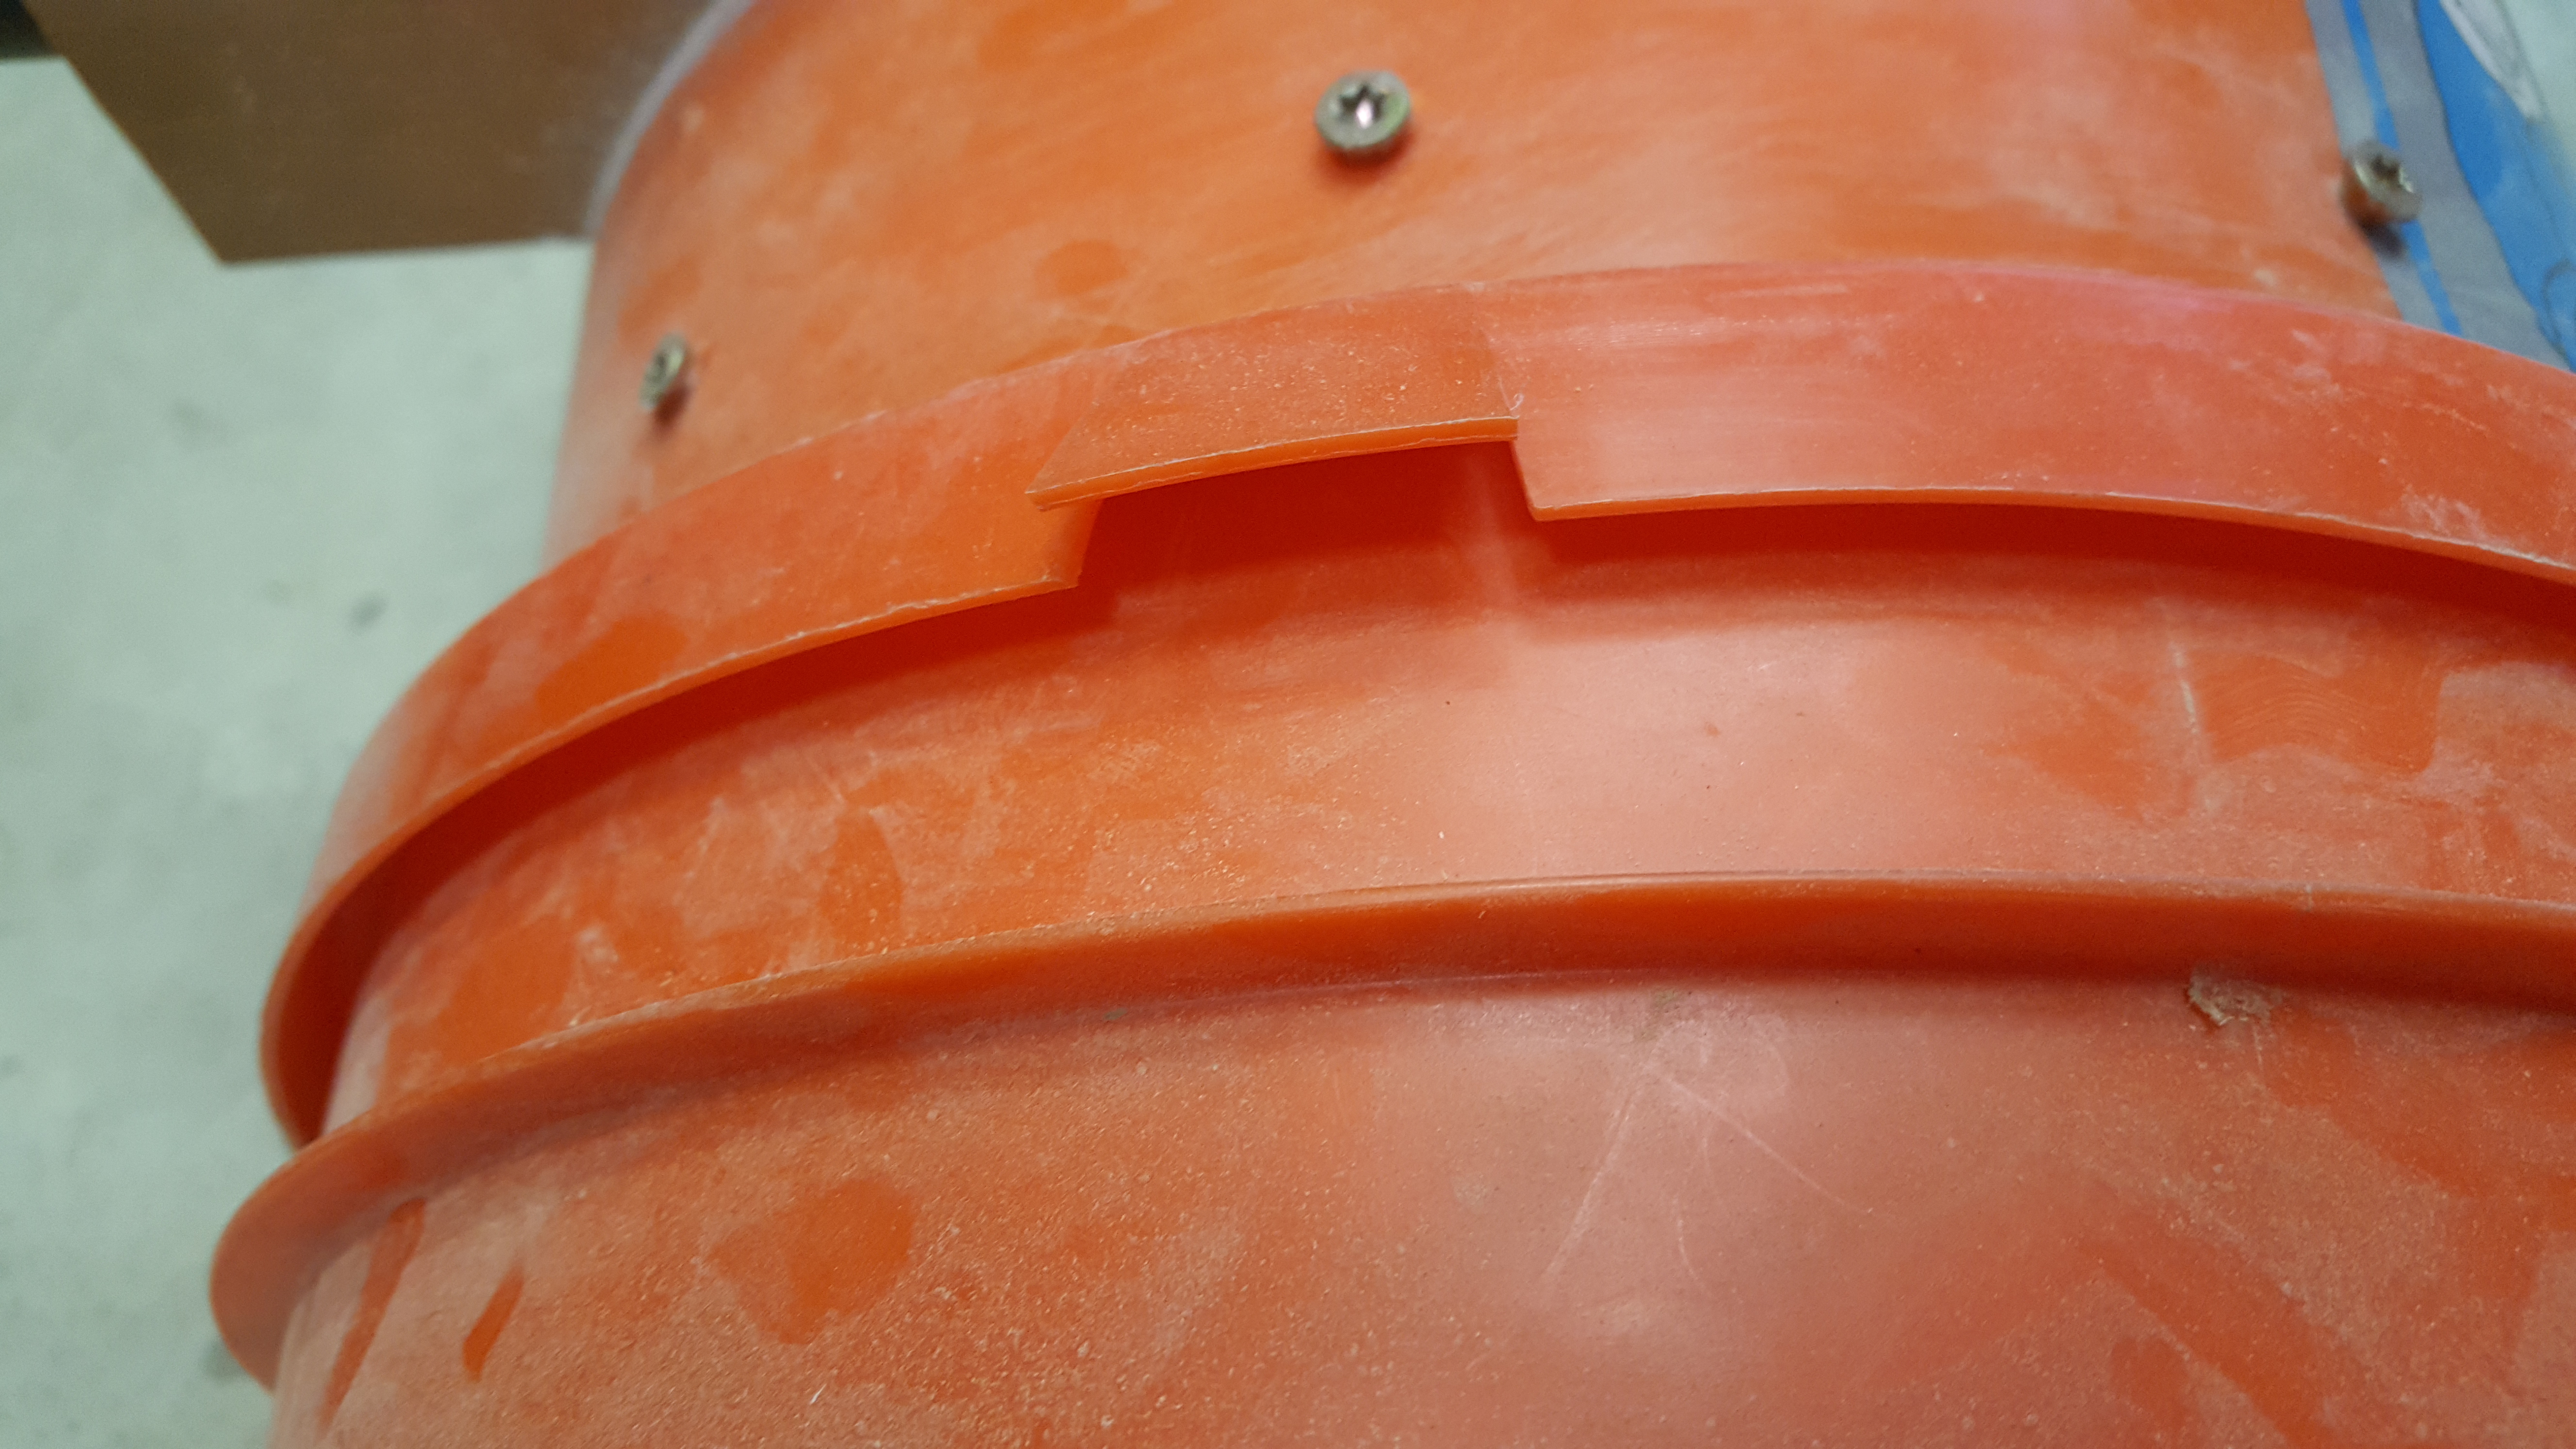
Thien Baffle
I cut a circle out of 3/4″ plywood the circumference of the upper bucket about three inches down from the top. Next, I marked another circle one inch in from the edge around 3/4 of the circle and cut it out.
The baffle is about 4 inches below the top and screwed in from the side.
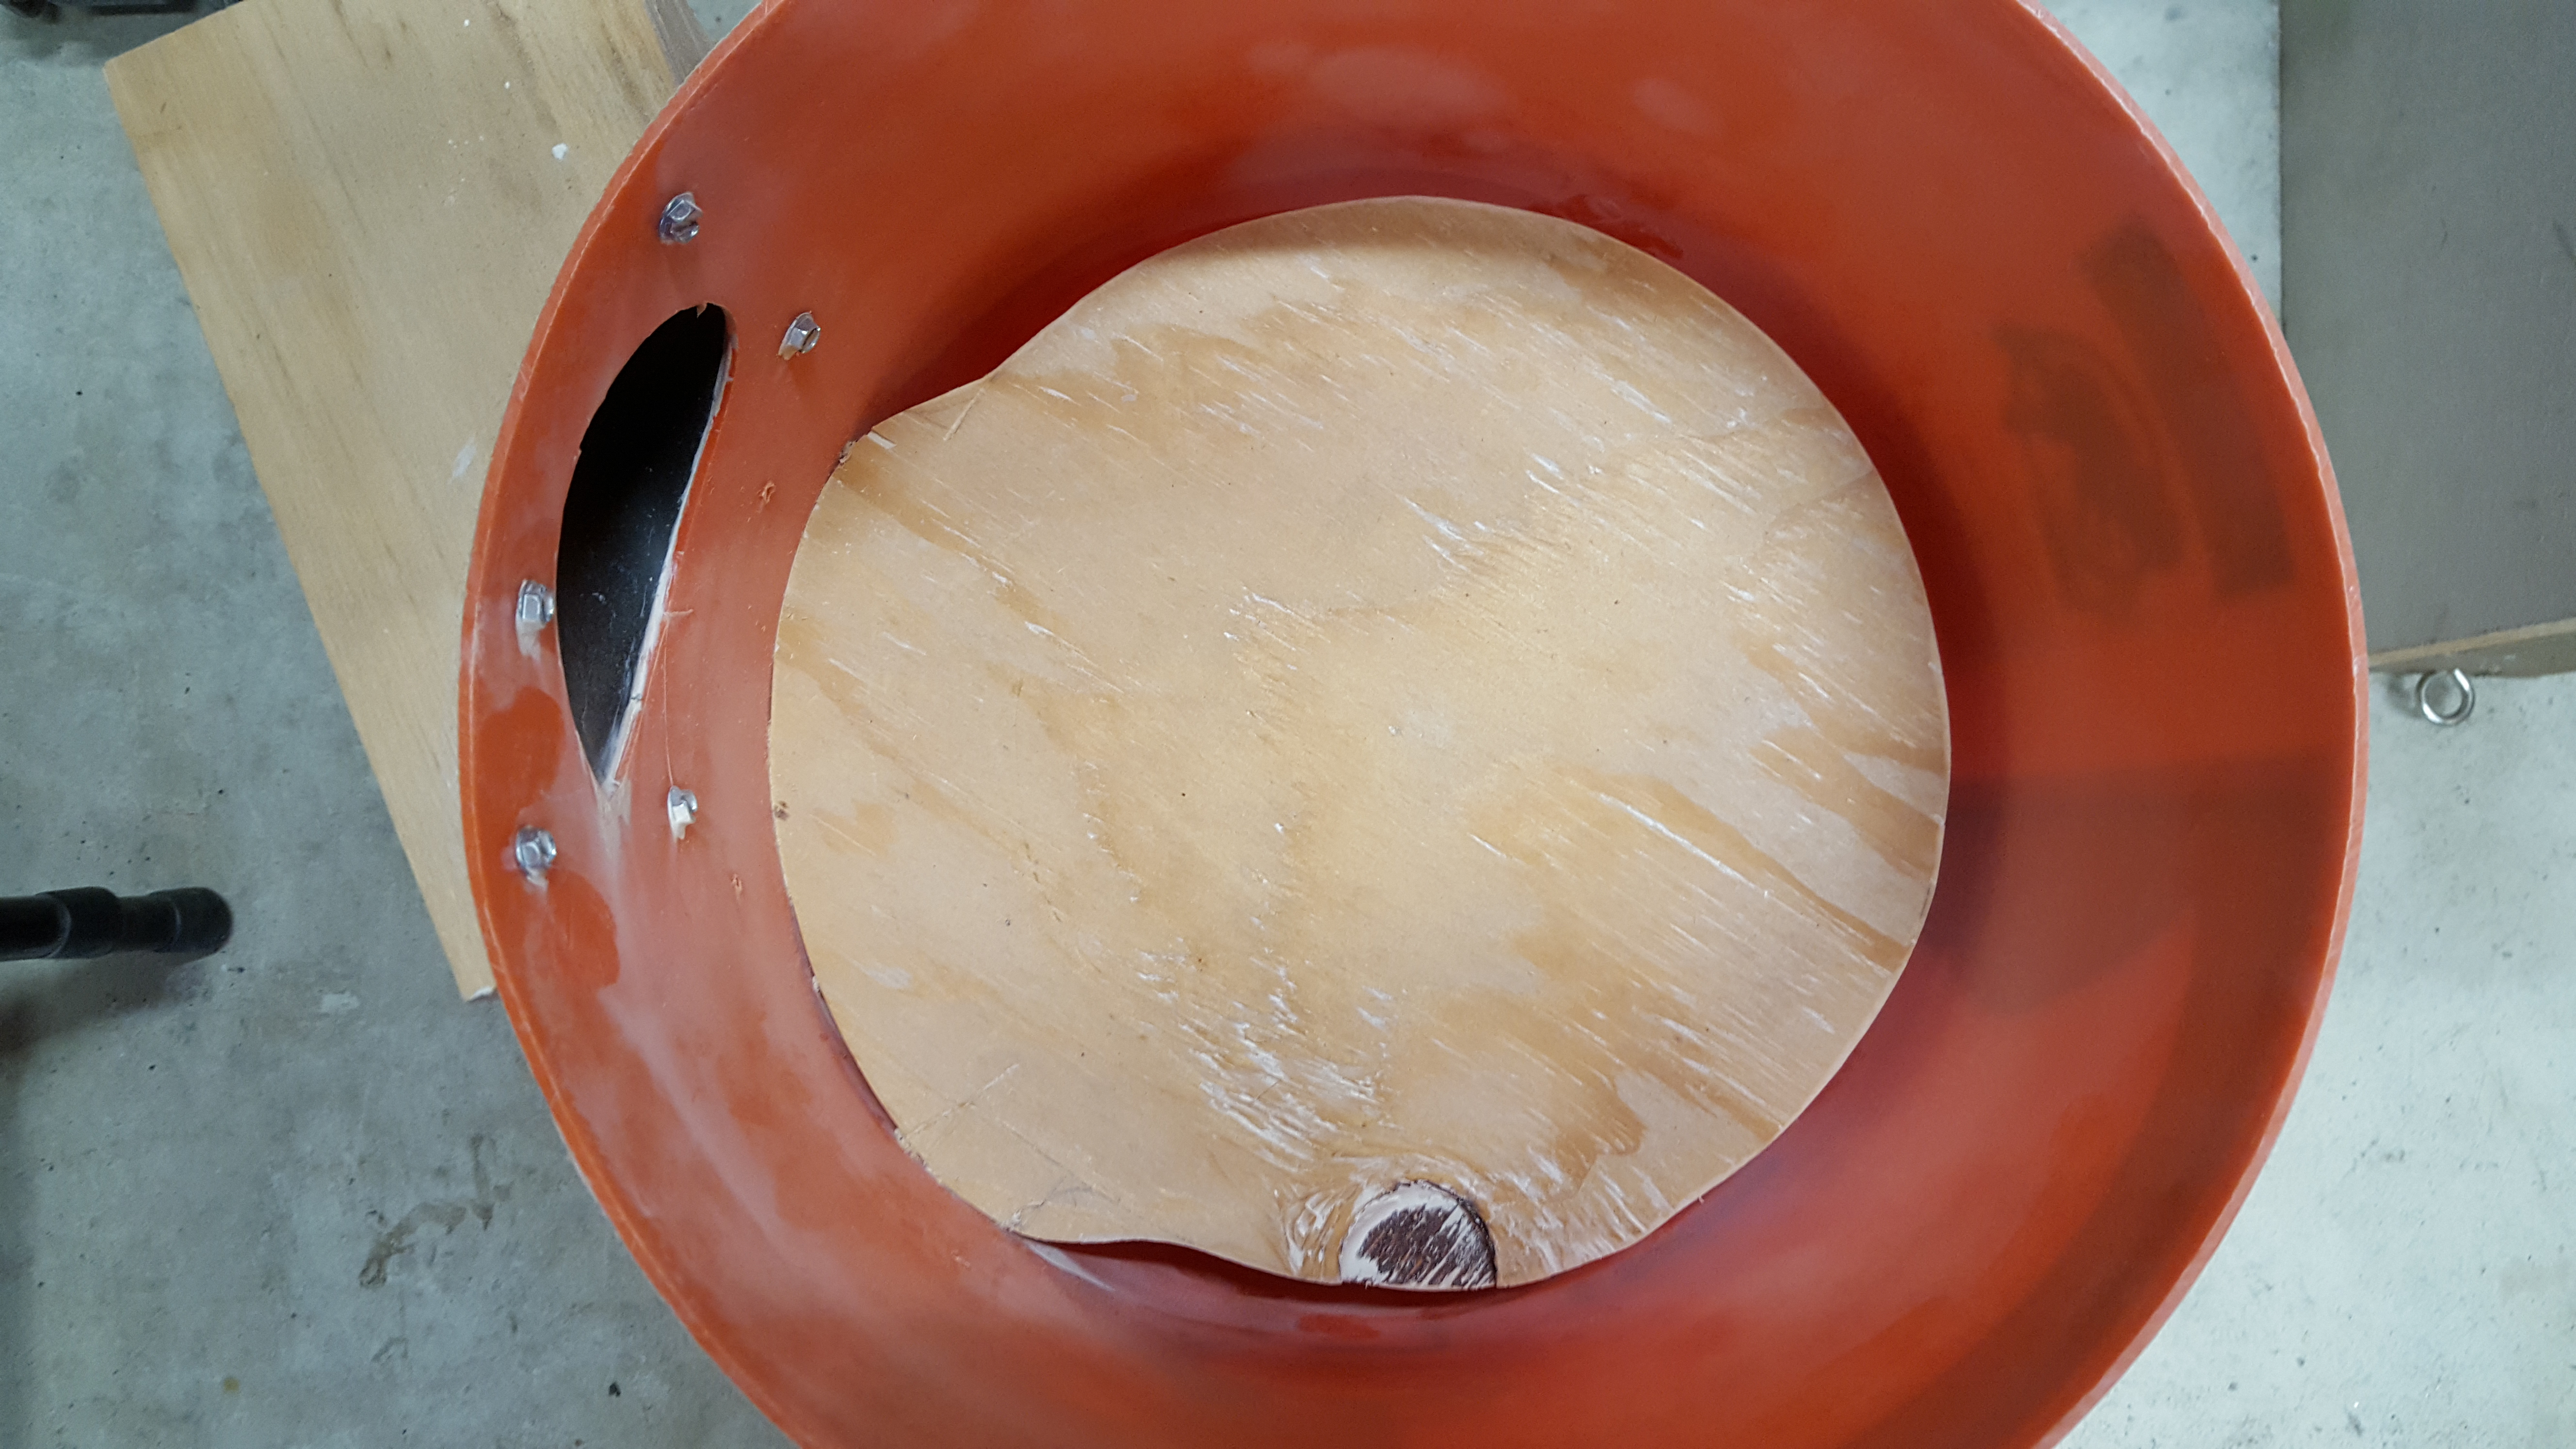
Inlet Design
The inlet is a piece of pipe trimmed with a bandsaw to make it flush with the bucket. The shape was traced onto the bucket and the hole was cut out.
For the support, I made a tube with 1/2″ plywood and traced the curve of the bucket and cut it out. That got screwed from the inside and a little silicone applied to seal it up.


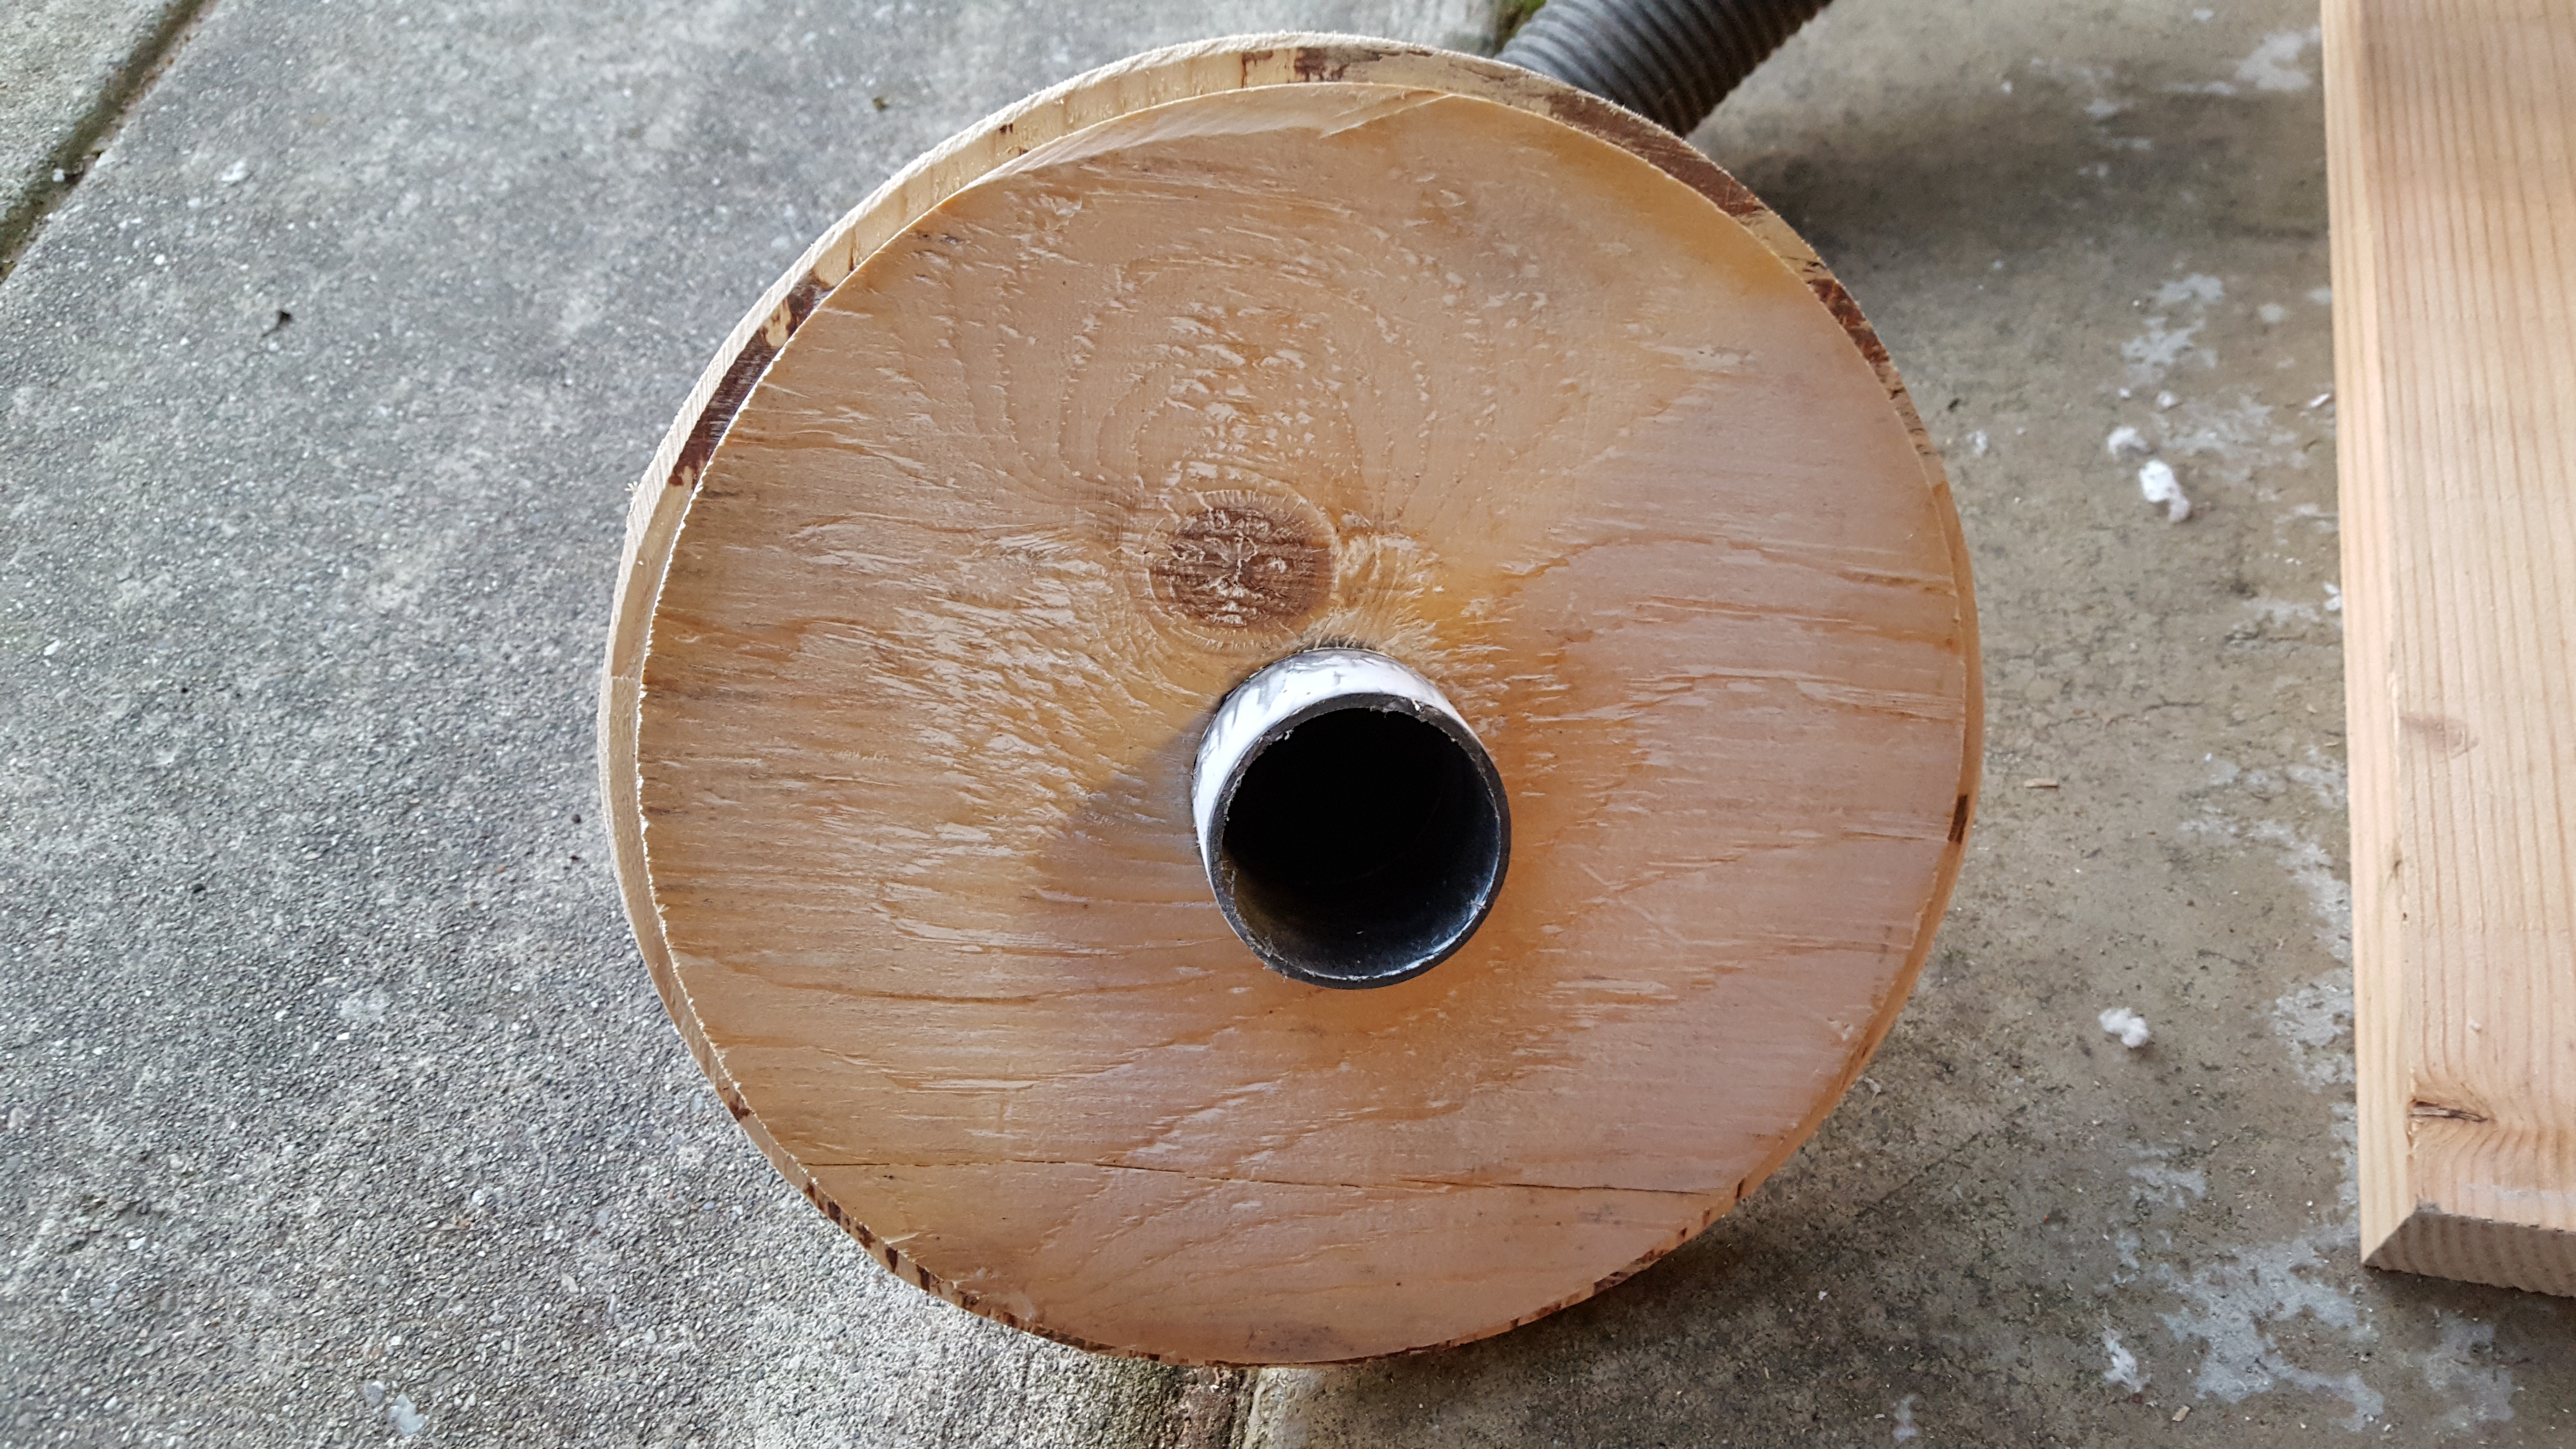
Top Lid
The lid is simply a 3/4″ piece of plywood cut into a circle on the table saw with a slight lip cut into the bottom that snugly fits inside the upper bucket.
Then a hole was cut into the top for the vacuum pipe. The pipe was pressed in and sealed with some silicone.
Testing
I connected it to the shop vacuum and tried it out. Unfortunately, on my first try I had the inlet and outlet hoses reversed and was getting the dust on the top of the baffle and in the shop vac. Once I realised the mistake, I switched them to the correct order and it worked great.
Both lids are only held on with friction and eventually I will probably switch to another method that holds a little more securely.
Although this isn’t a particularly attractive finished project, it works quite well and the cost is very reasonable.

Leave a Reply