DIY Brass Wet Tumbler
To save around $100, I tried to make a wet brass tumbler myself. I might take another stab at a direct drive model in the future, but the belt drive works well enough for now.
Wiring
A friend sent me a video of a wet tumbler he wanted to make a few months ago. He never got around to building it himself, but he did keep the 1/3 HP dryer motor he had set aside for the build. The motor had a wiring harness with six wires coming off it. After a little searching I found a Reddit post explaining which wires are live, neutral, and ground, and I soldered an old extension cord onto them. In the future I might wire a switch inline, but just unplugging the cord works fine for now.


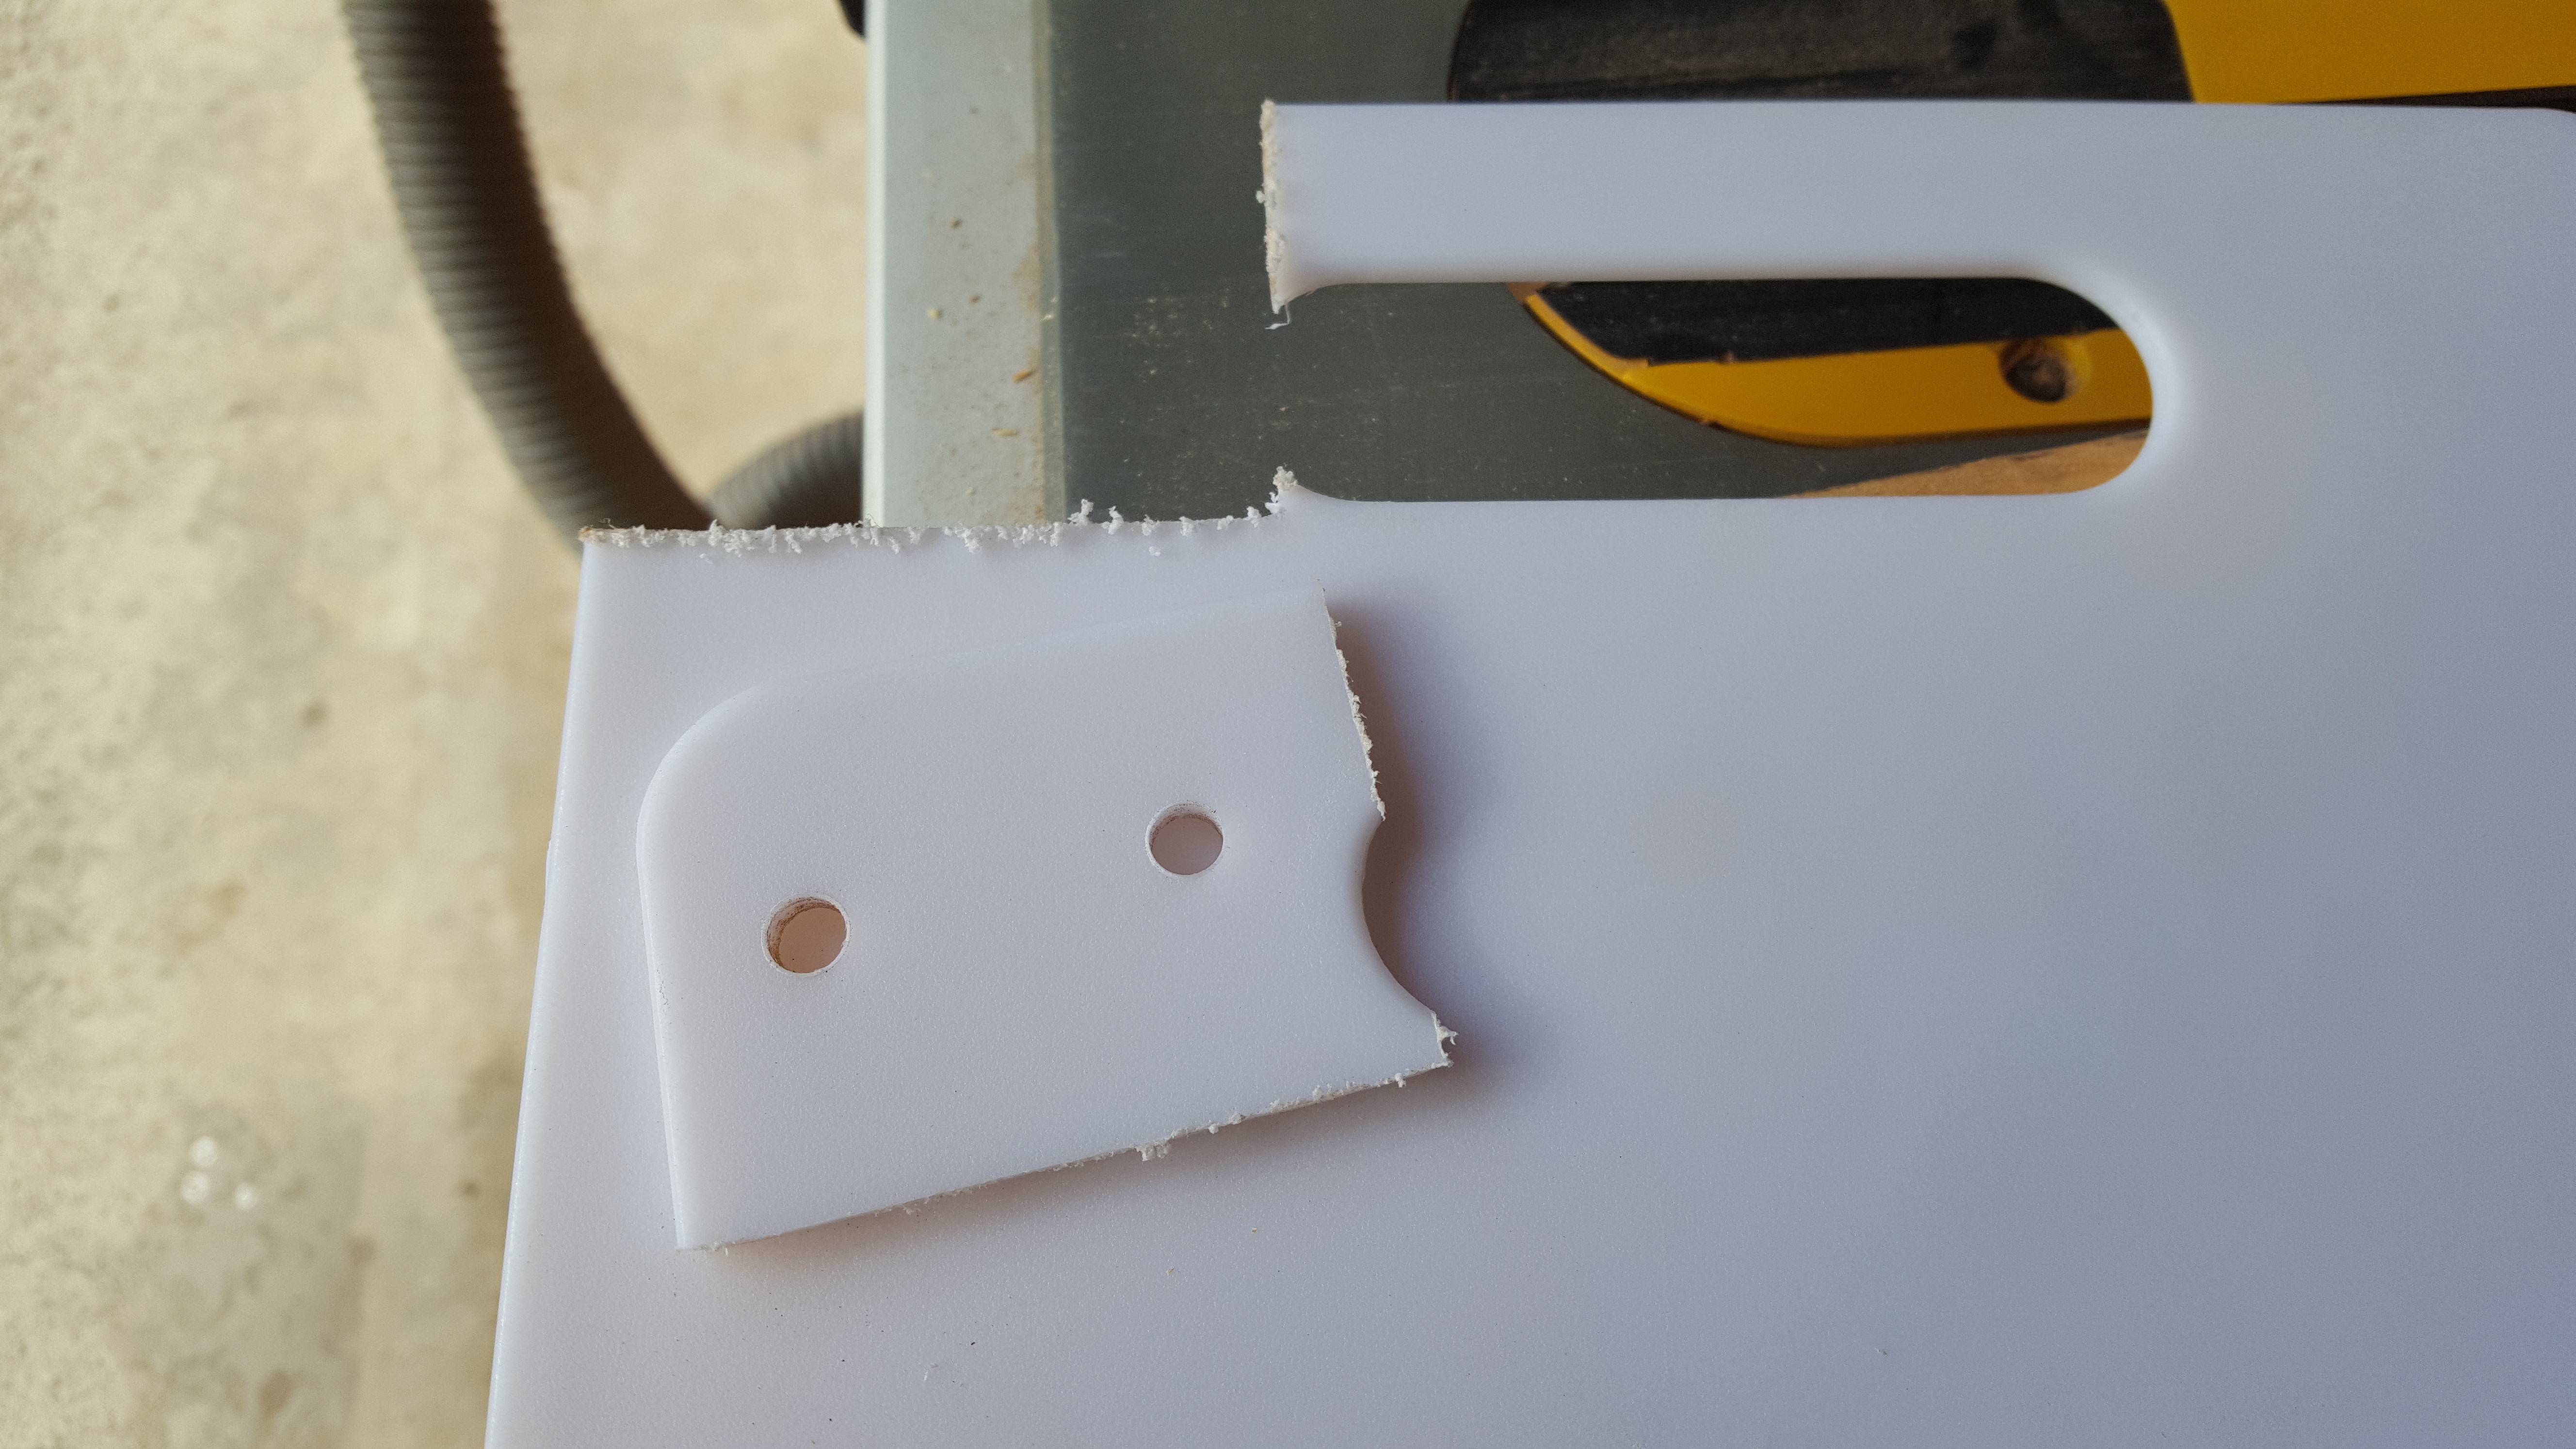
Frame
Using 3/4 plywood I screwed two supports into a plywood base. A single 3′ long 1/4″ zinc covered steel rod was cut in half and two sets of matching holes were screwed into the supports for it. I made those holes larger than needed and cut some small strips out of a plastic cutting board with 1/4″ holes as bearings, and screwed them over the holes.

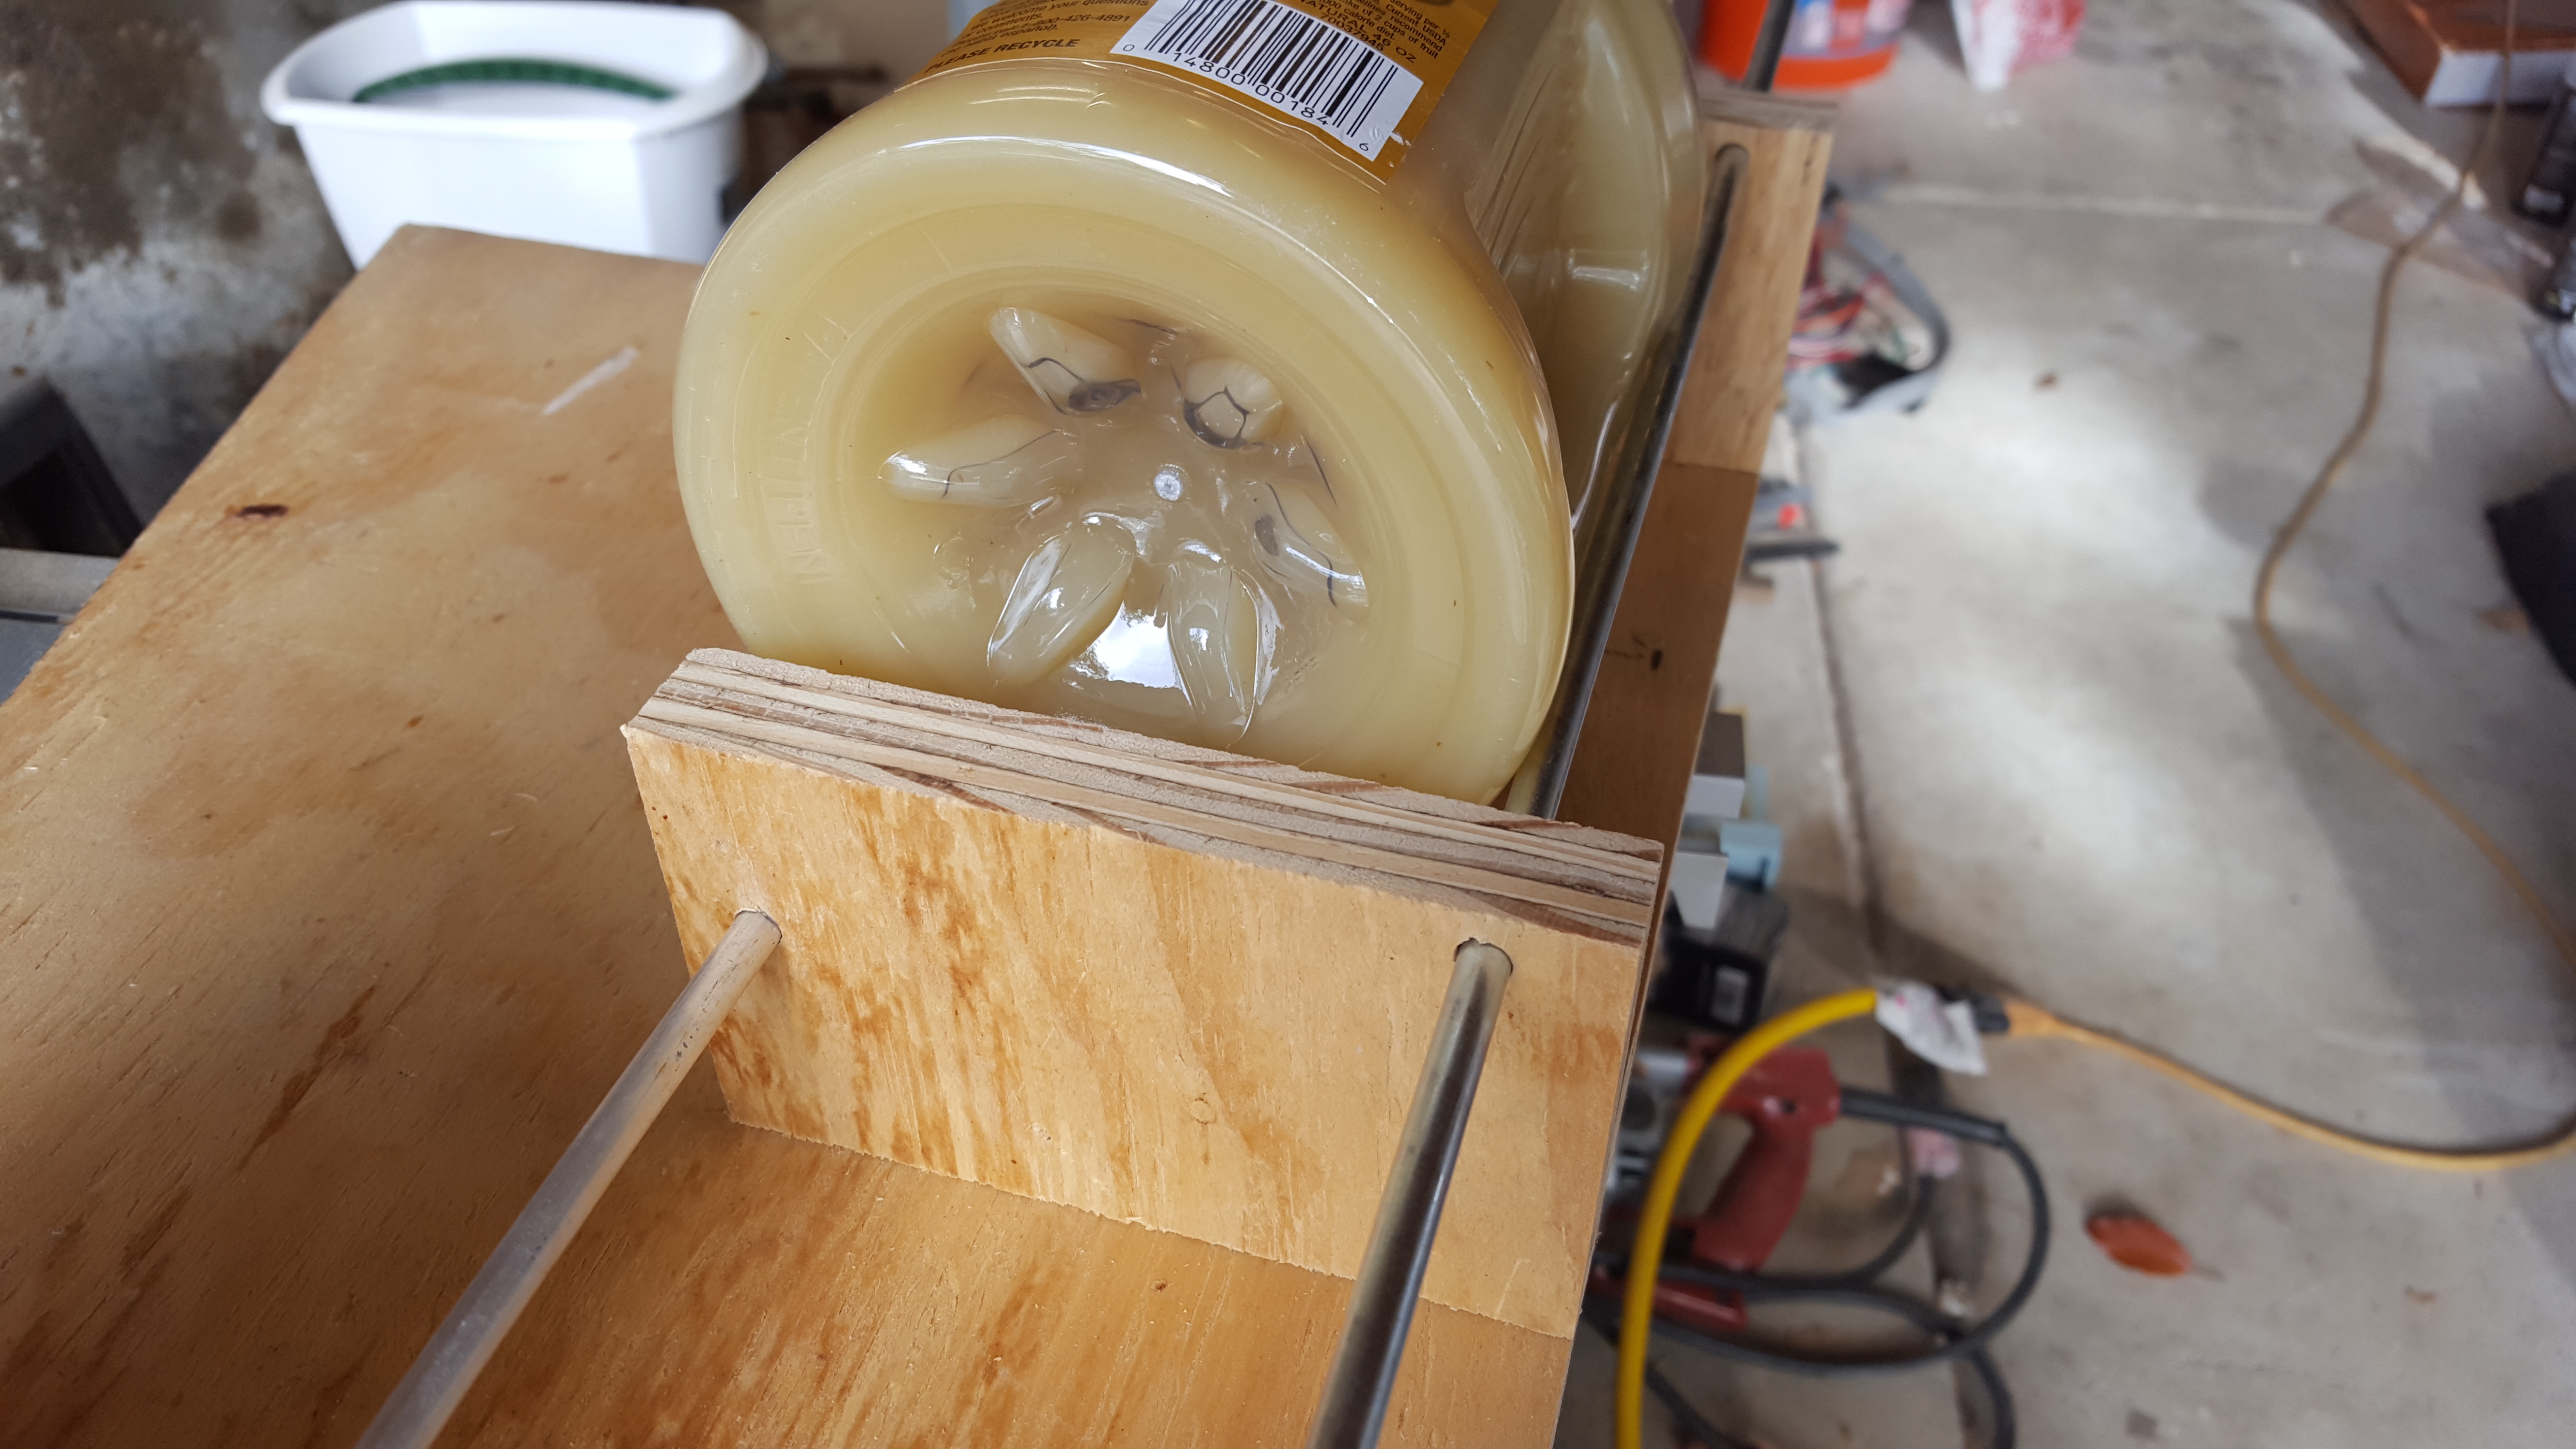
Rods and Pulley
The rods spun freely on their plastic bearings and I drilled a 1/4″ hole in the center of the ABS pipe cap to use as the pulley. For extra support I also drilled a 1/4″ hole in a piece of plywood and glued that onto the cap. This plywood support got a hole drilled in the side and through the steel rod so I could insert a screw and hold all three pieces together. With a fully loaded apple sauce container, turning the ABS pulley didn’t do anything except spin the rod underneath it since the zinc plating was so slick. I tried wrapping some rubber splicing tape around the rod, and that did work, but only for an hour or so. After that, the tape began to wear off so I tried silicone tape and that seems to hold up much better.


Drive
The washer came with a 3′ long drive belt and since I didn’t have anything else, I clamped the motor to a table and ran the belt around the ABS pulley with the tumbler on the ground. A shorter belt will be nice in the future so I can mount the motor right next to the tumbler.
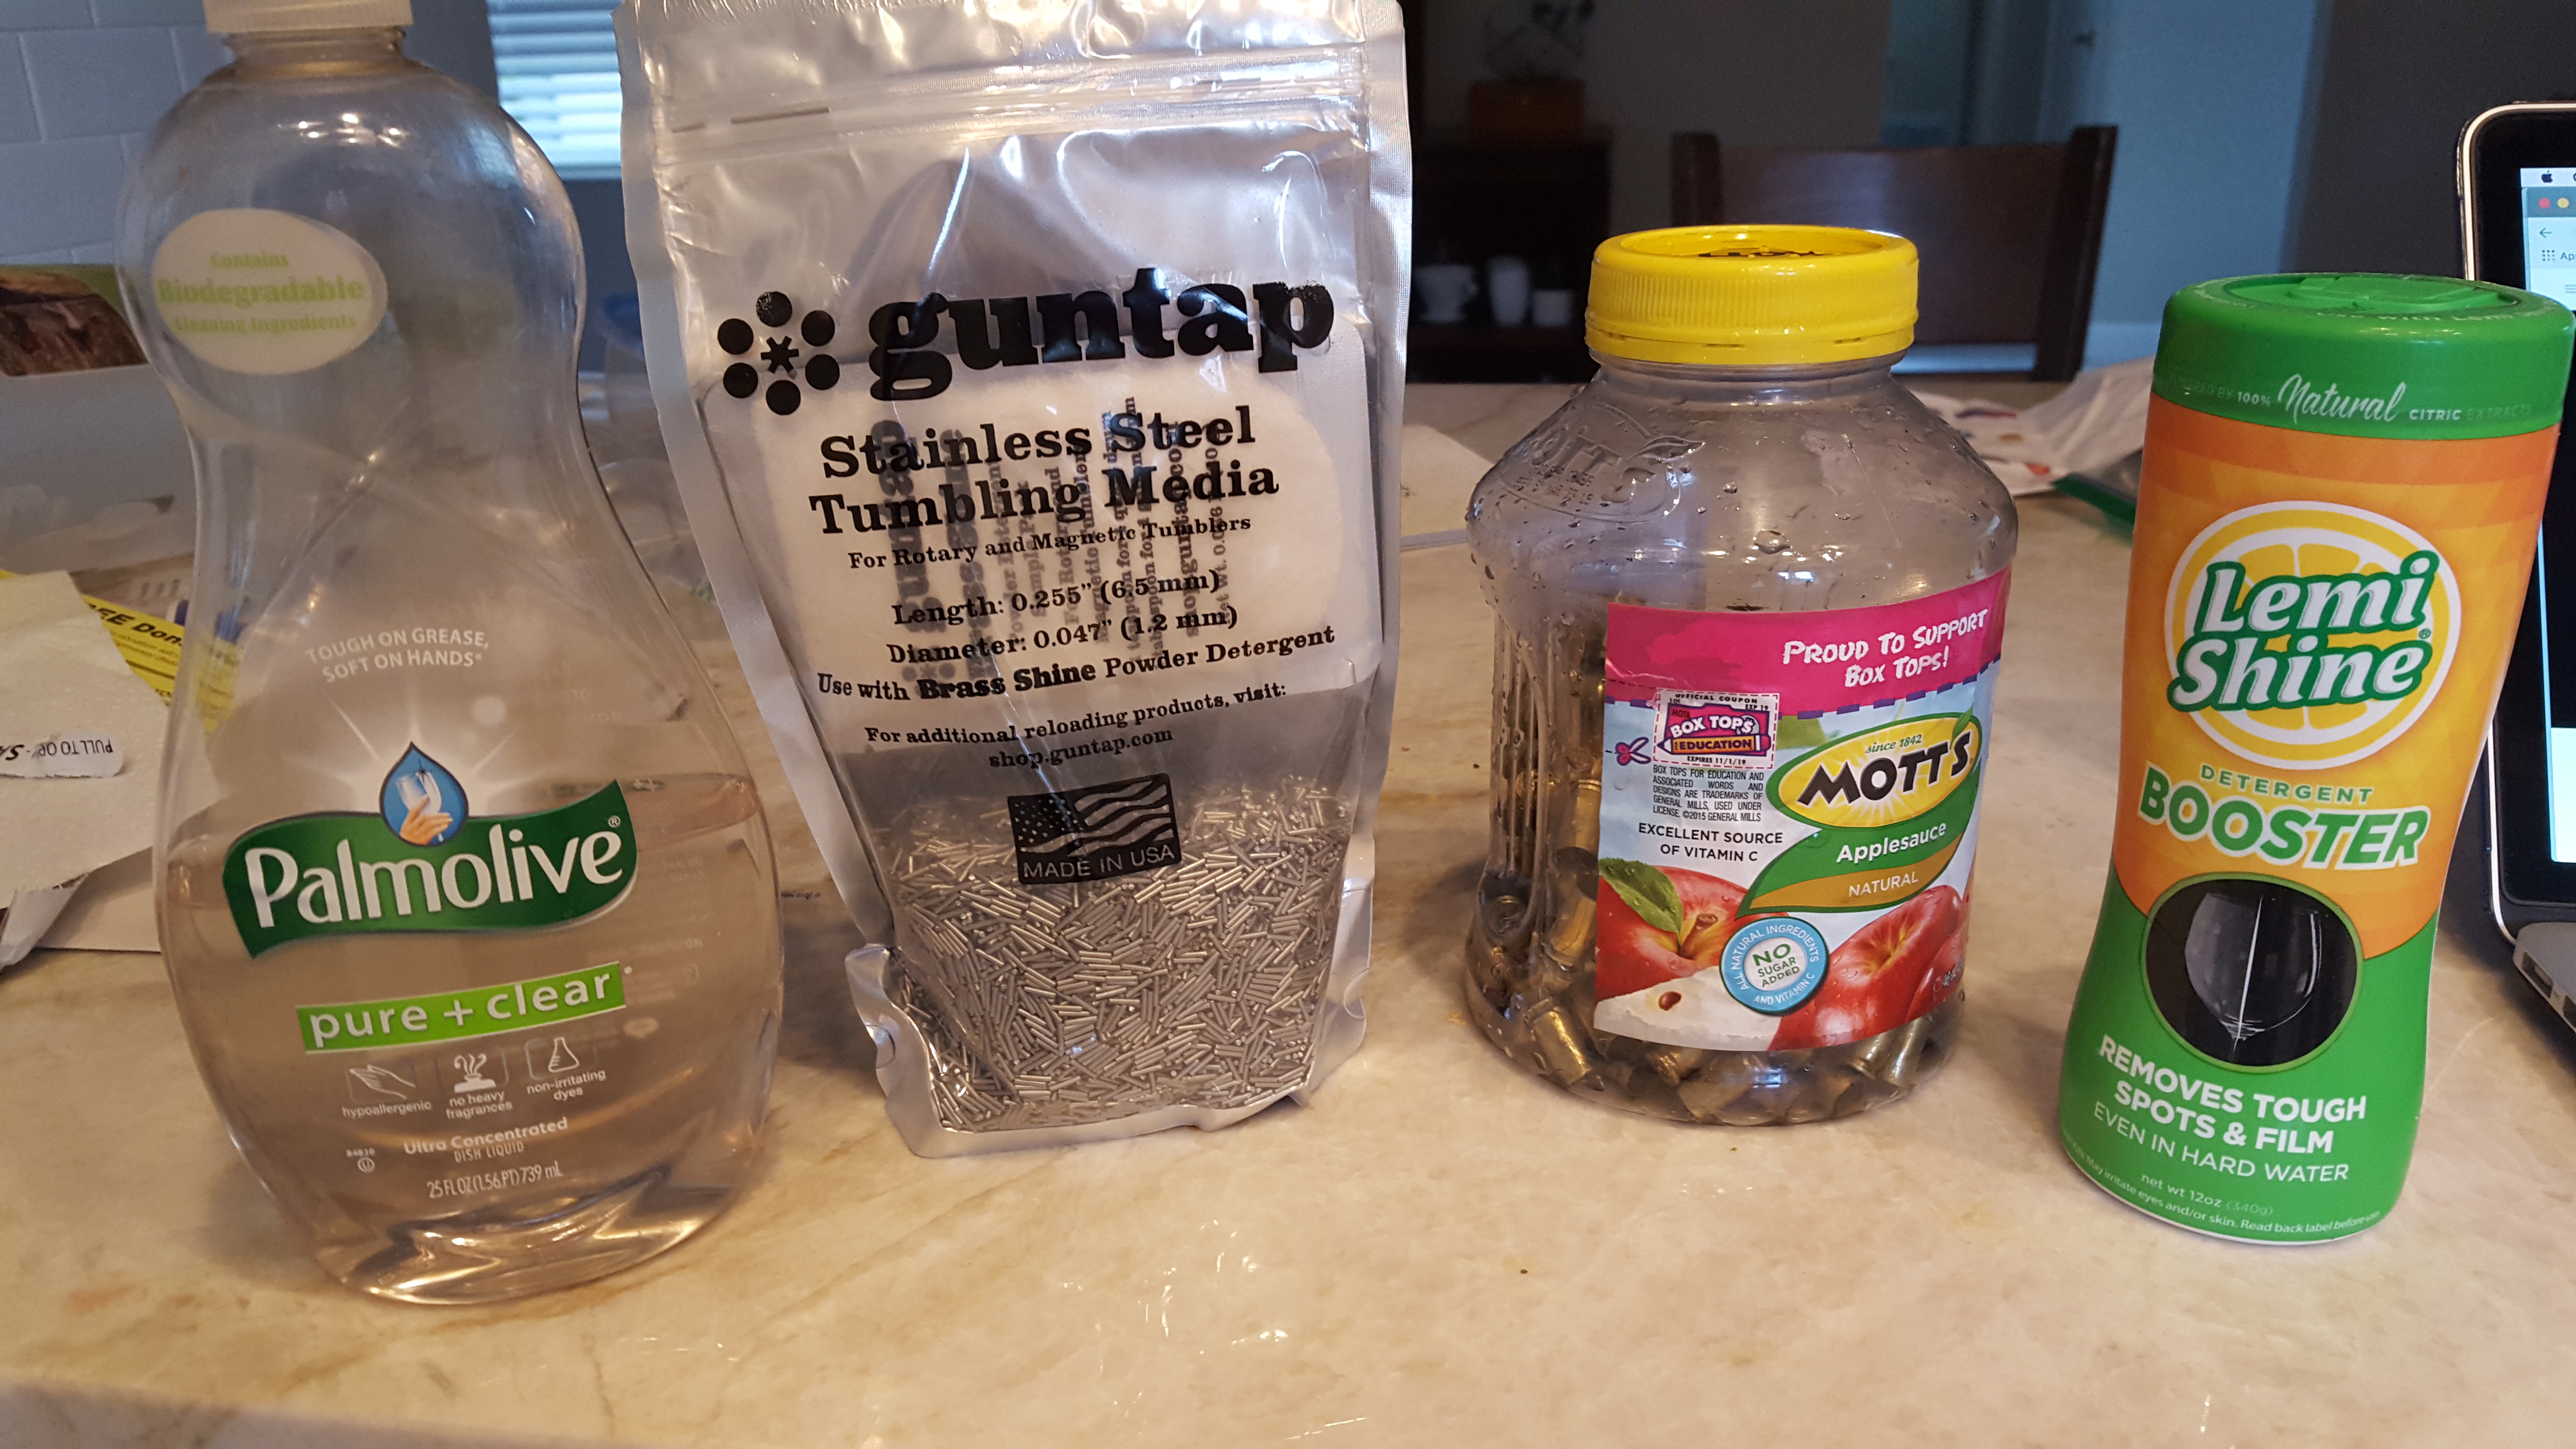
Testing
I moved the apple sauce to another container and rinsed it out (bonus: eating apple sauce while working!). Then I put 200 pieces of dirty brass, 1/4 teaspoon of Lemi Shine, once squirt of dish soap, 1/2 cup of stainless steel media, and covered it all with water. I threw it on the tumbler and let it go for about an hour. Besides the rubber splicing tape wearing off, the main drive shaft also worked its way towards the side that the pulley is on. I’ll need to make some kind of keeper for the shaft to hold it in place without binding somehow.

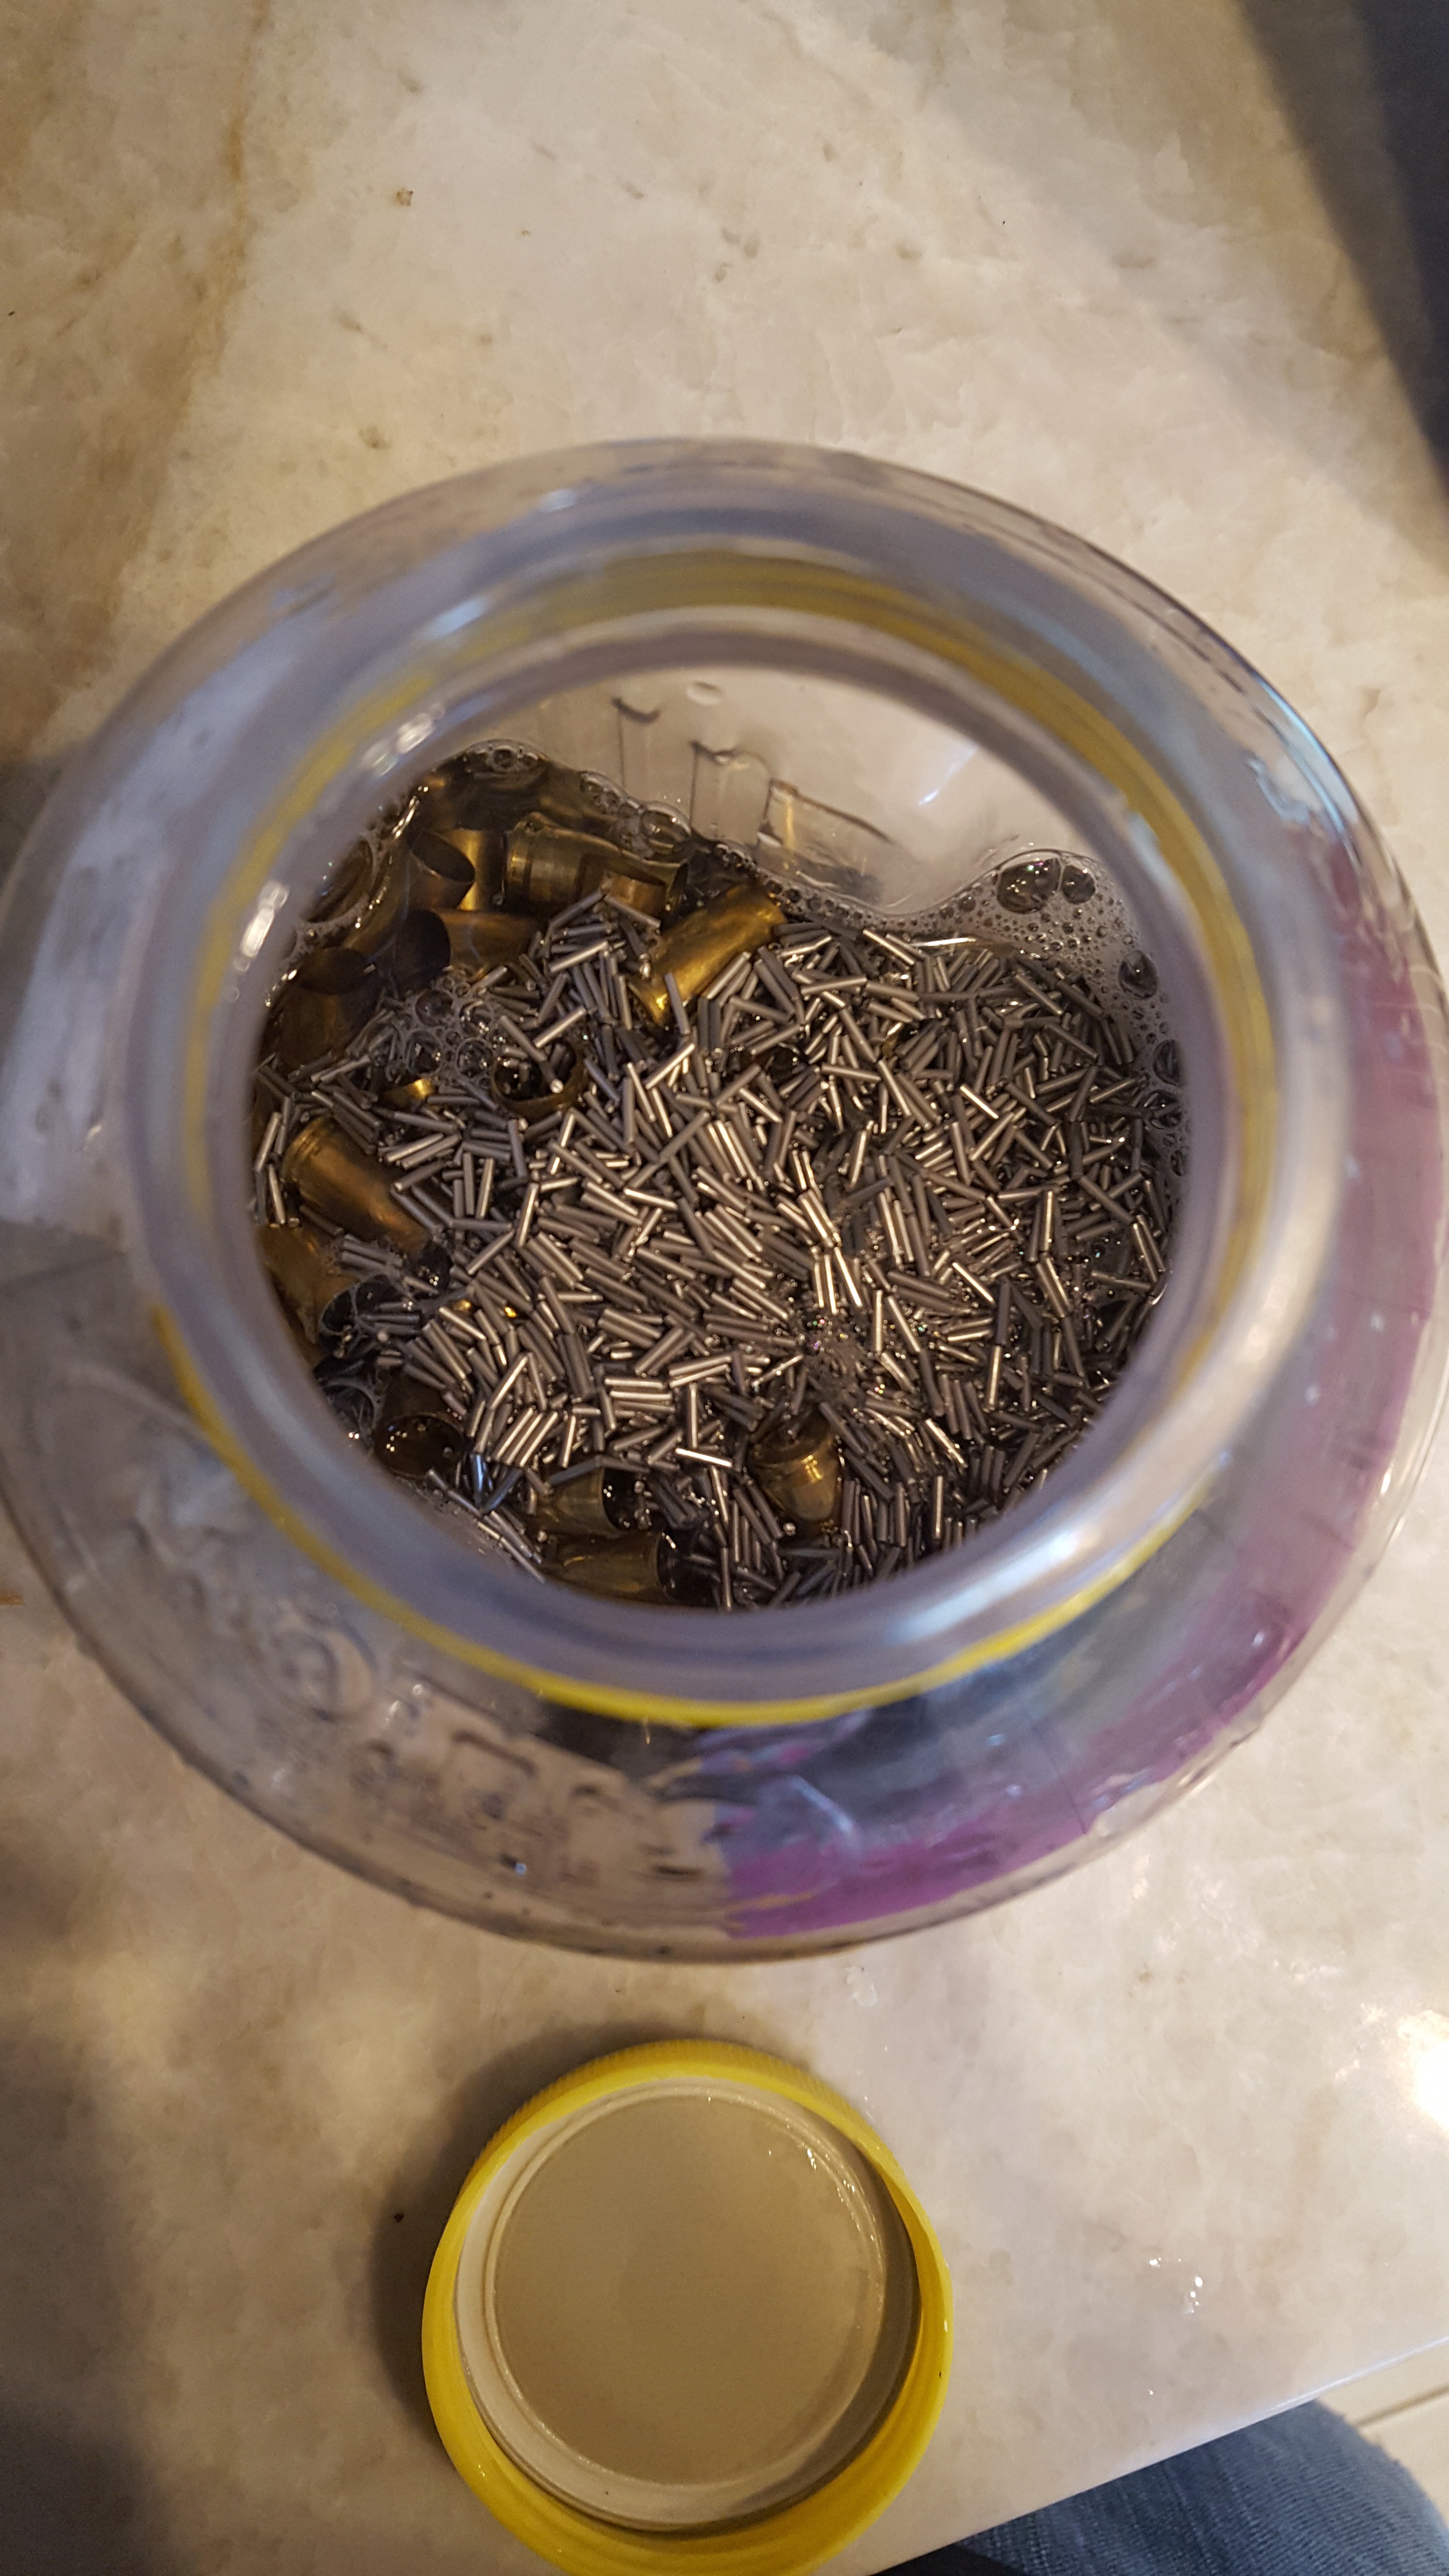

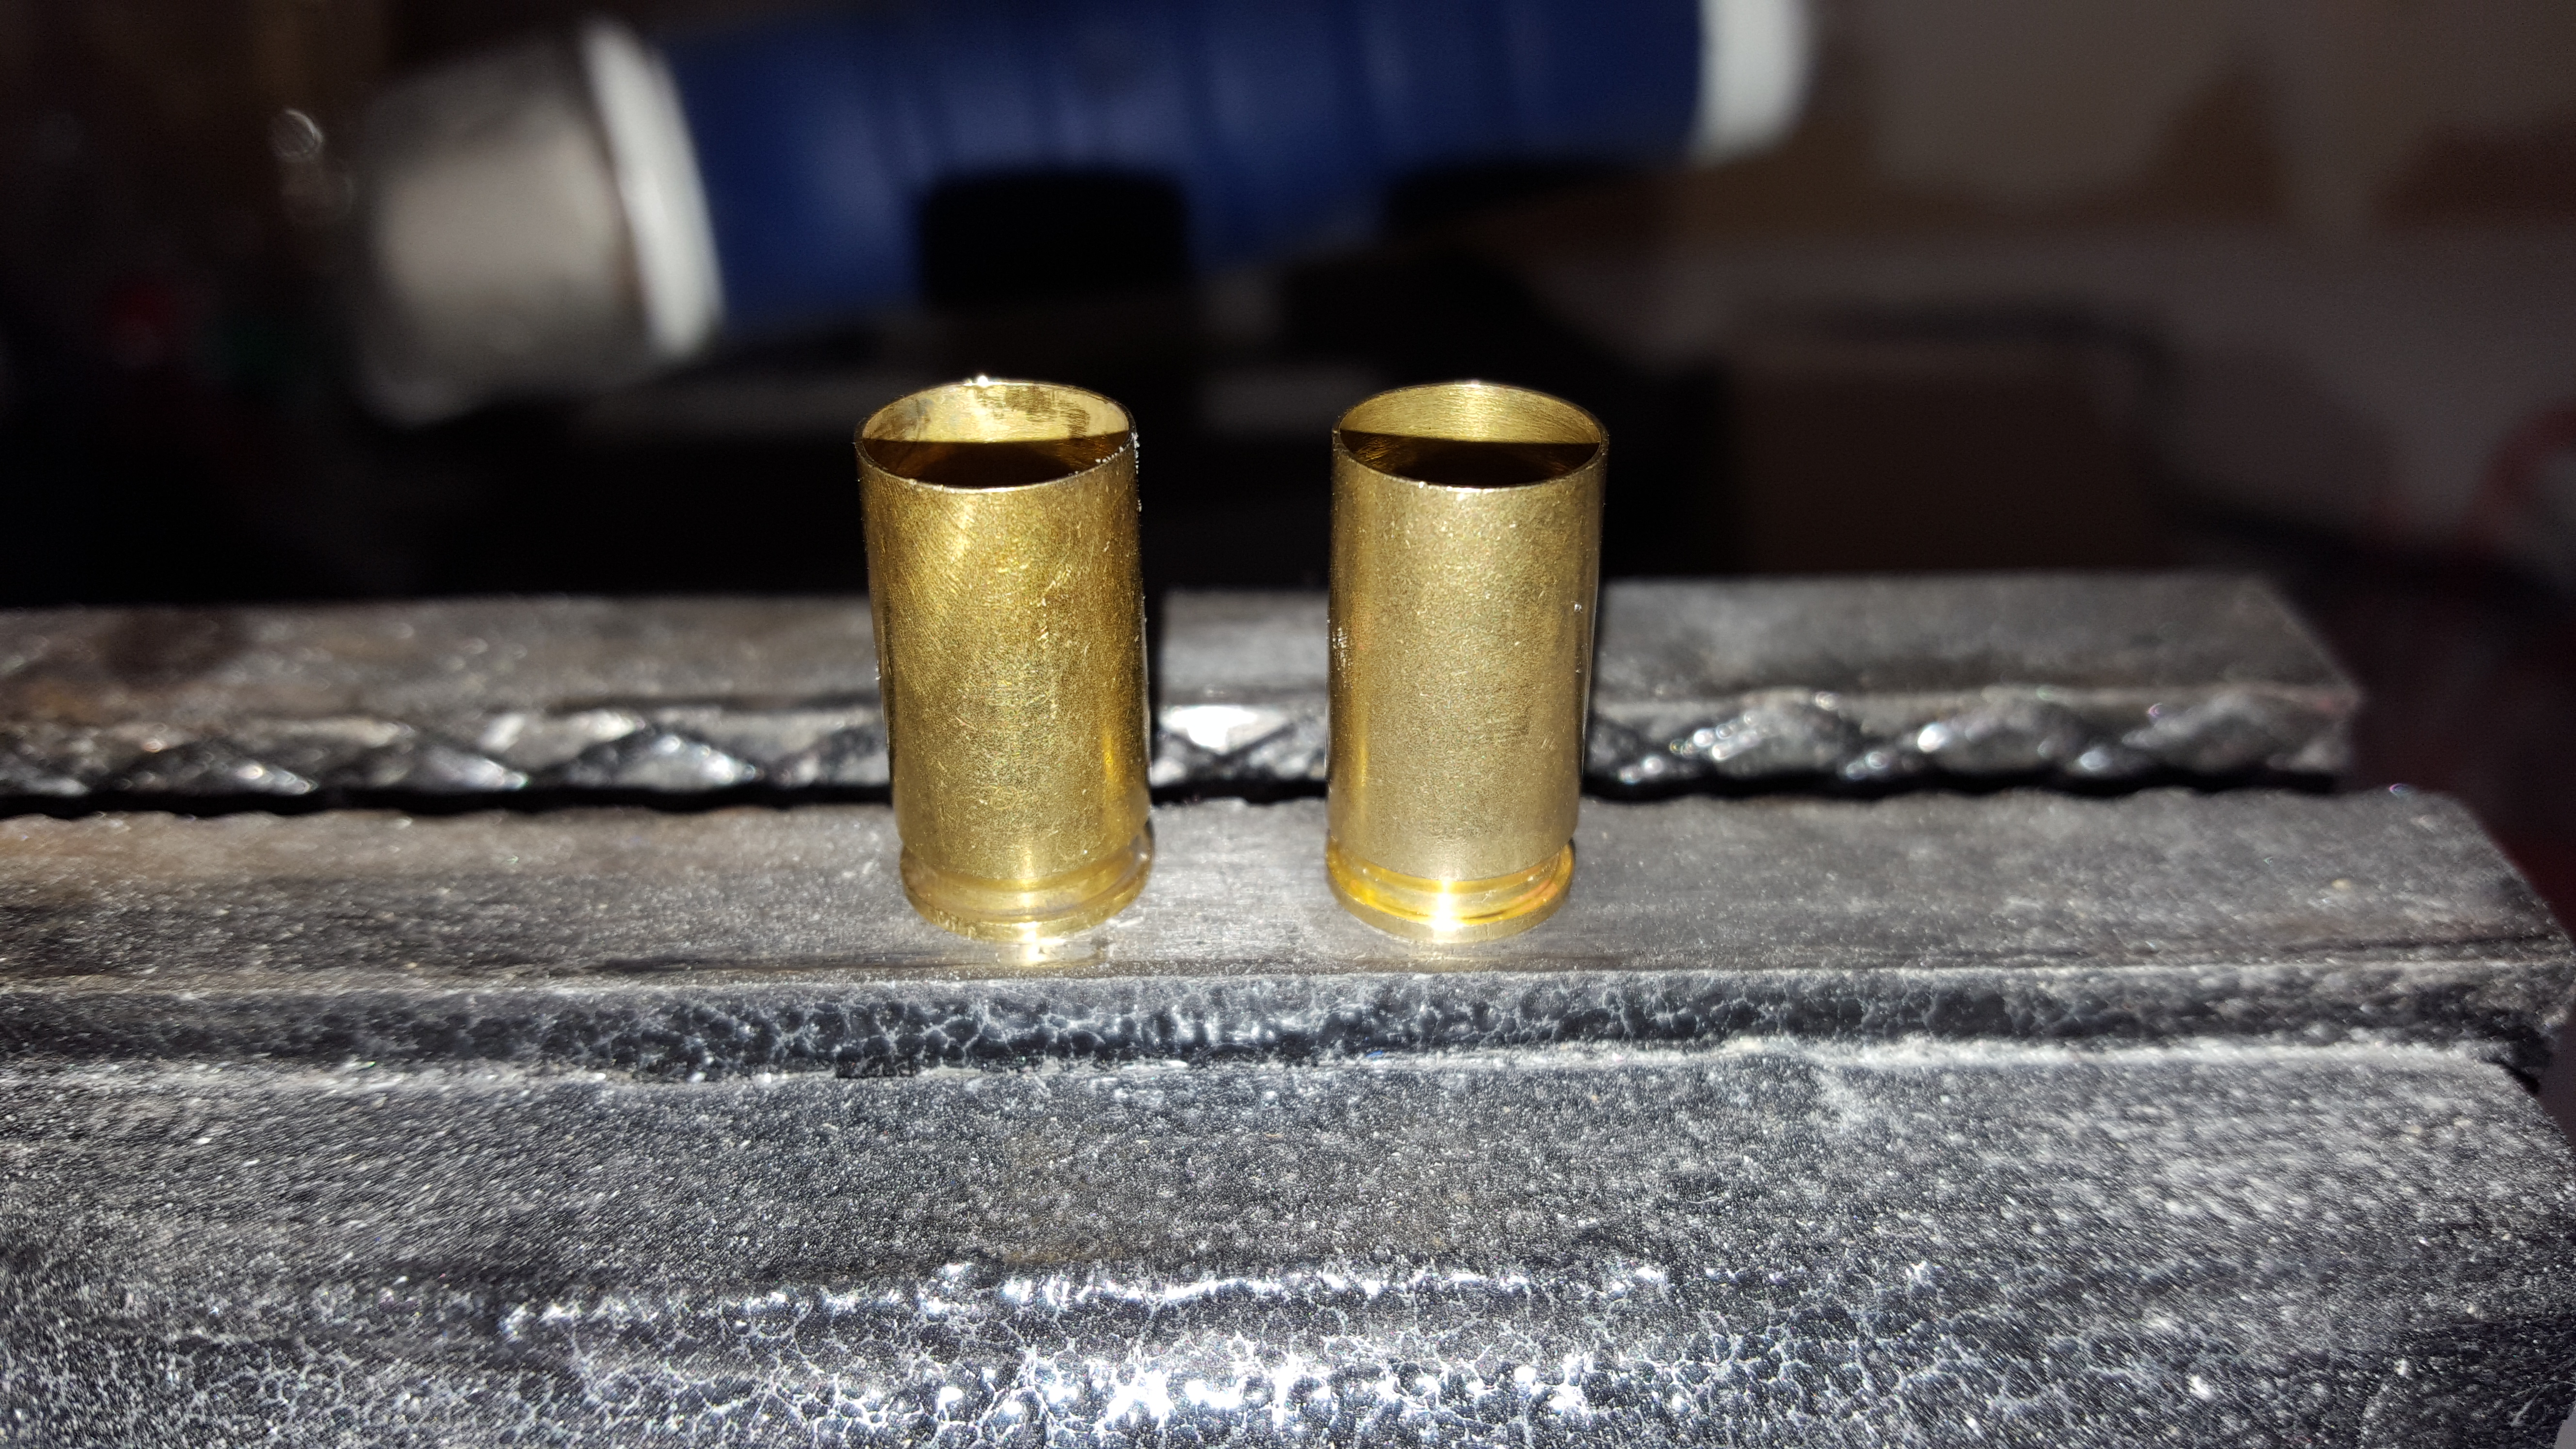
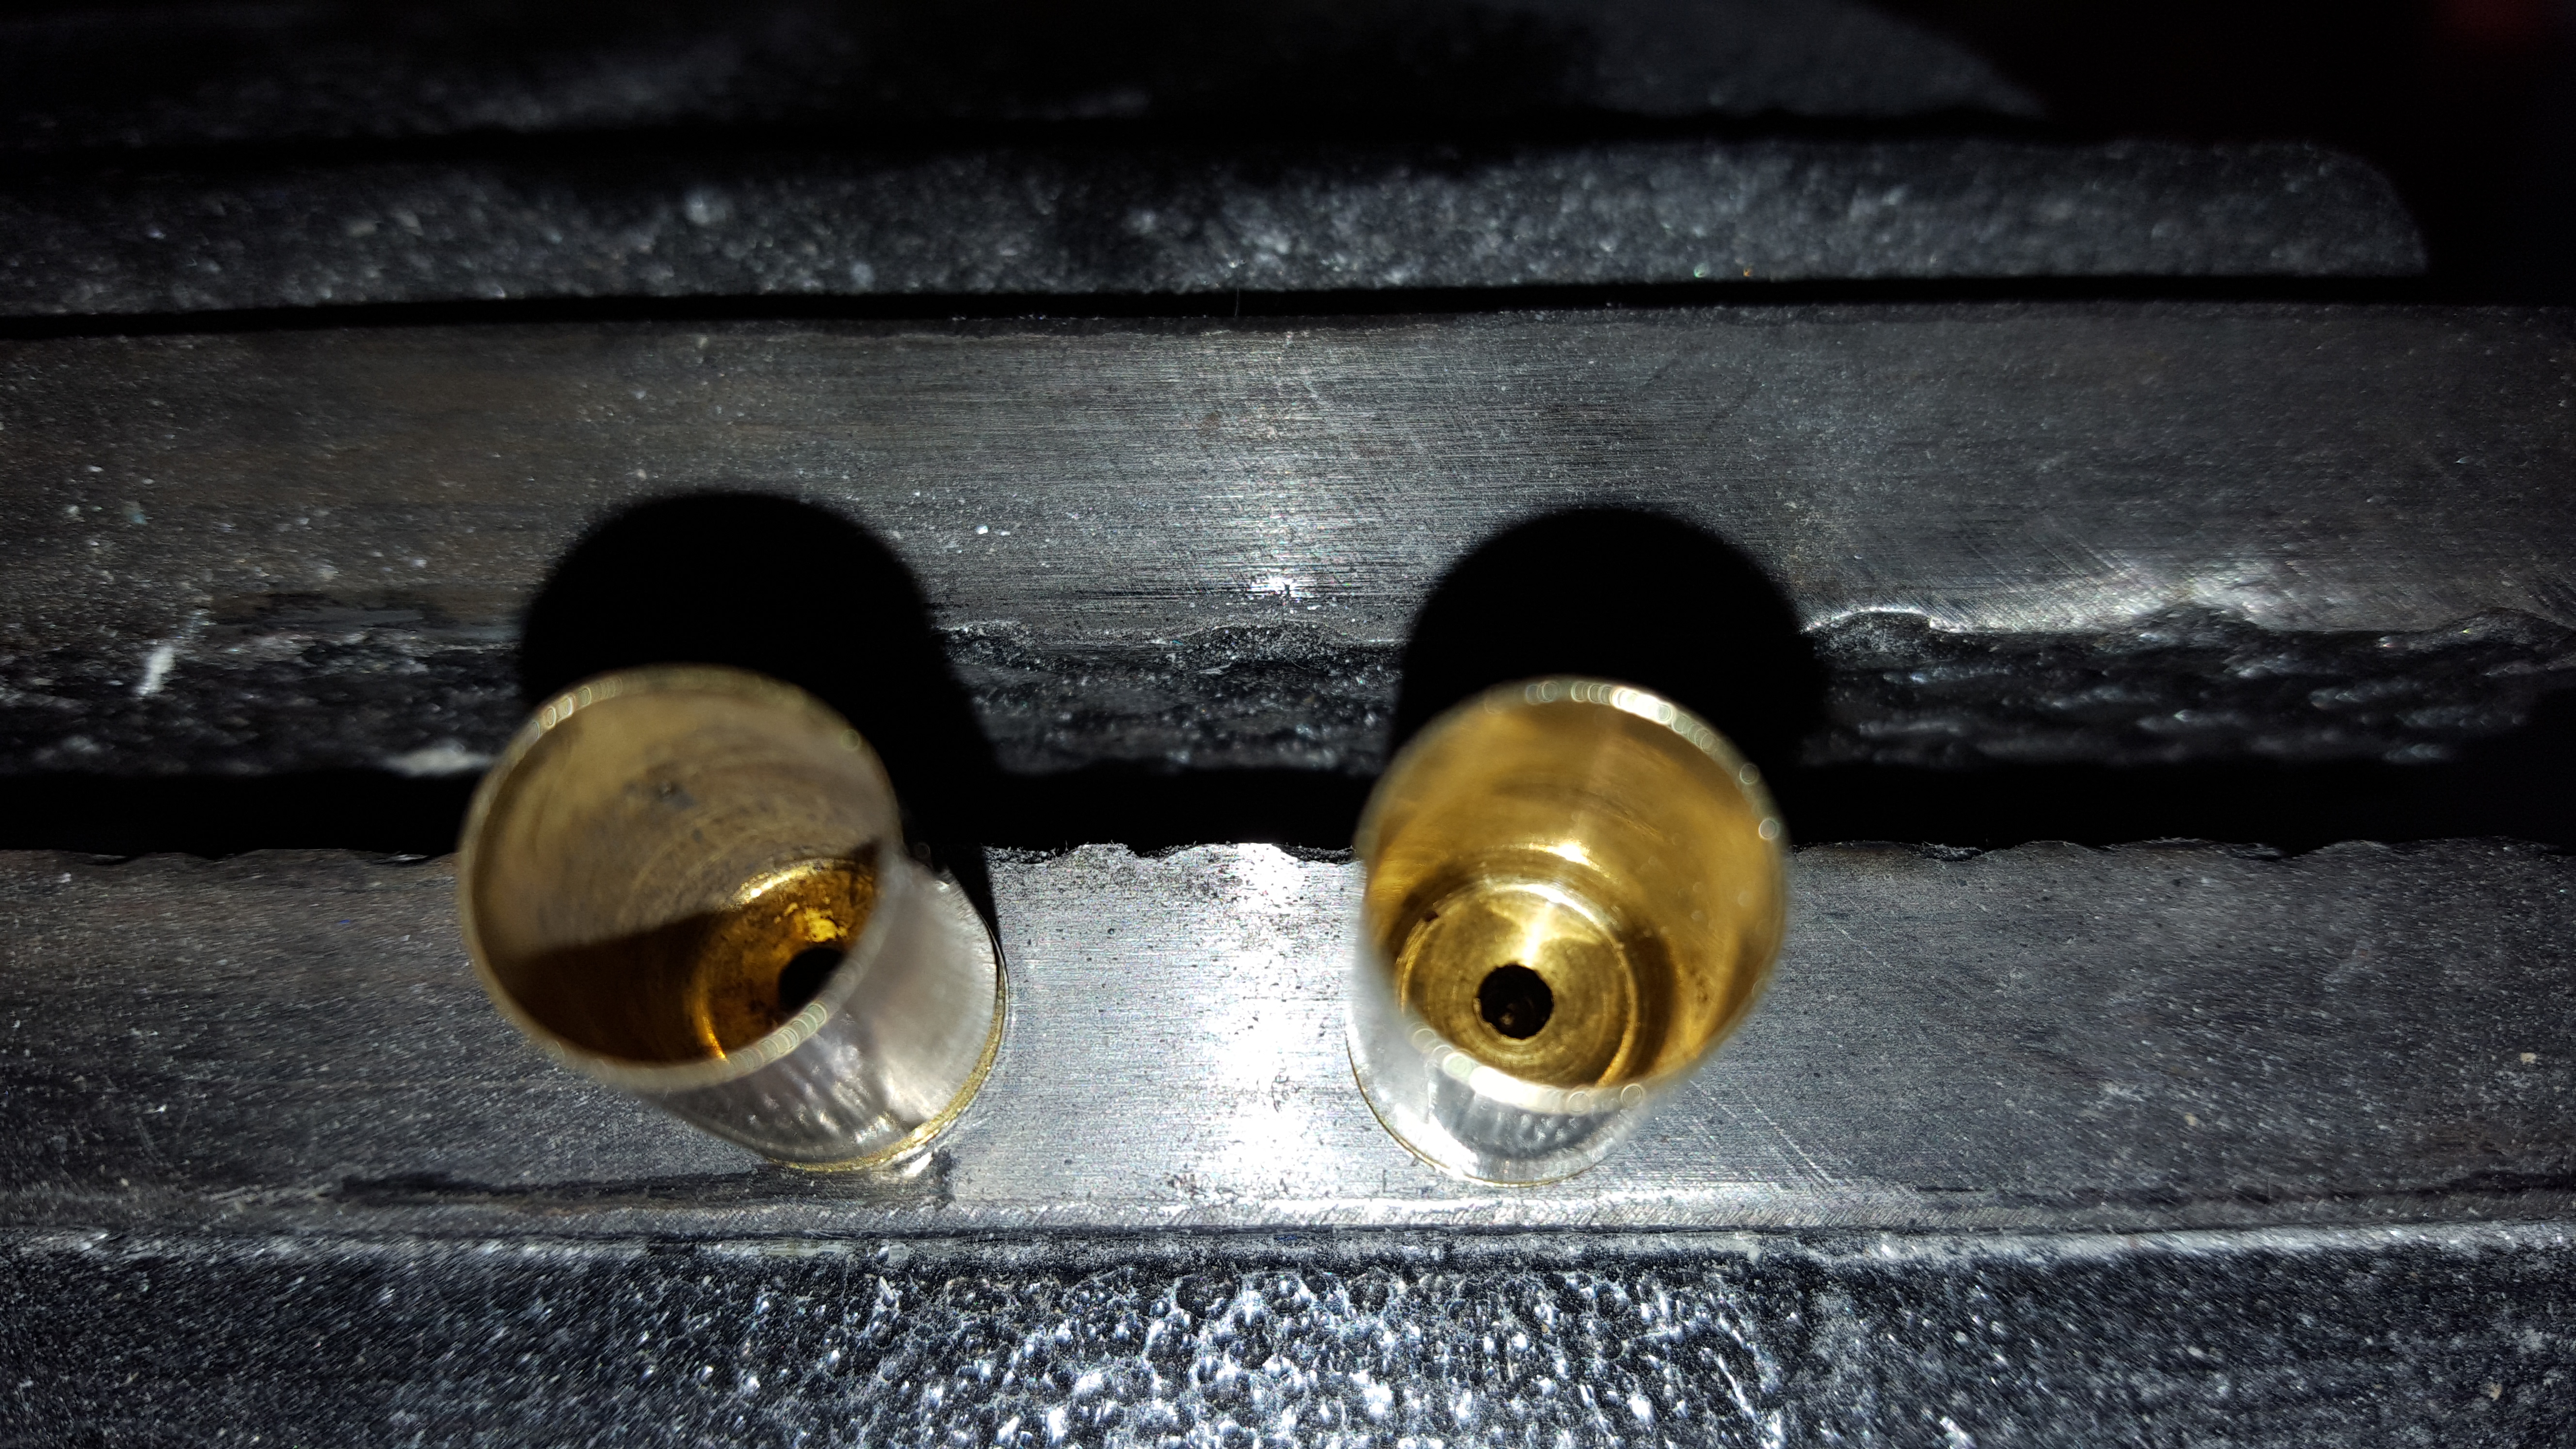
Results
The brass came out pretty clean. I didn’t push the primers out since I don’t have a press yet. The next step is to make the adjustments to the drive shaft and belt I mentioned above, push out the primers, and try it again to see how clean it can get them. Overall, I’m pleased with how it’s turned out. The cost is about $32 plus the stainless steel media that I would have had to buy anyways, so it seems like a good investment so far.


Materials
Dryer motor – Free!
Electrical cord – Free!
3/4″ plywood for the base and supports – Free!
1/4″ zinc plated steel rod – $4
Plastic cutting board – $10 for a three pack
4″ ABS pipe cap – $10
Applesauce (for the tumbler) – $4
Stainless steel tumbler media – $22
Lemi Shine – $4
Dish soap – Free!
Screws
Hot glue
Sources
Original that is much prettier:
https://www.youtube.com/watch?v=P9idmEURAdI
Correct wiring of the motor: (“the blue is live, the white neutral, and as always, the green is ground”):
https://www.reddit.com/r/DIY/comments/3xw0te/dryer_motor_wiring_harness_which_wire_is_what/
Leave a Reply