My wife and I bought a 1995 Jeep Cherokee XJ mostly for camping and road trips. It was only $3,100 and is an automatic so she can drive it (for some reason, she doesn’t want to learn to drive a manual?!). Cosmetically, it’s in pretty good shape except the inside looks really worn. The headliner is sagging and the visors were all torn up. I went ahead and replaced the headliner and decided to repair the visors too.
DAP Weldwood Contact Cement. You can also use spray adhesive, but I’ve found that this stuff holds much better longterm.
Phillips and flathead screwdrivers.
Removal and Disassembly:
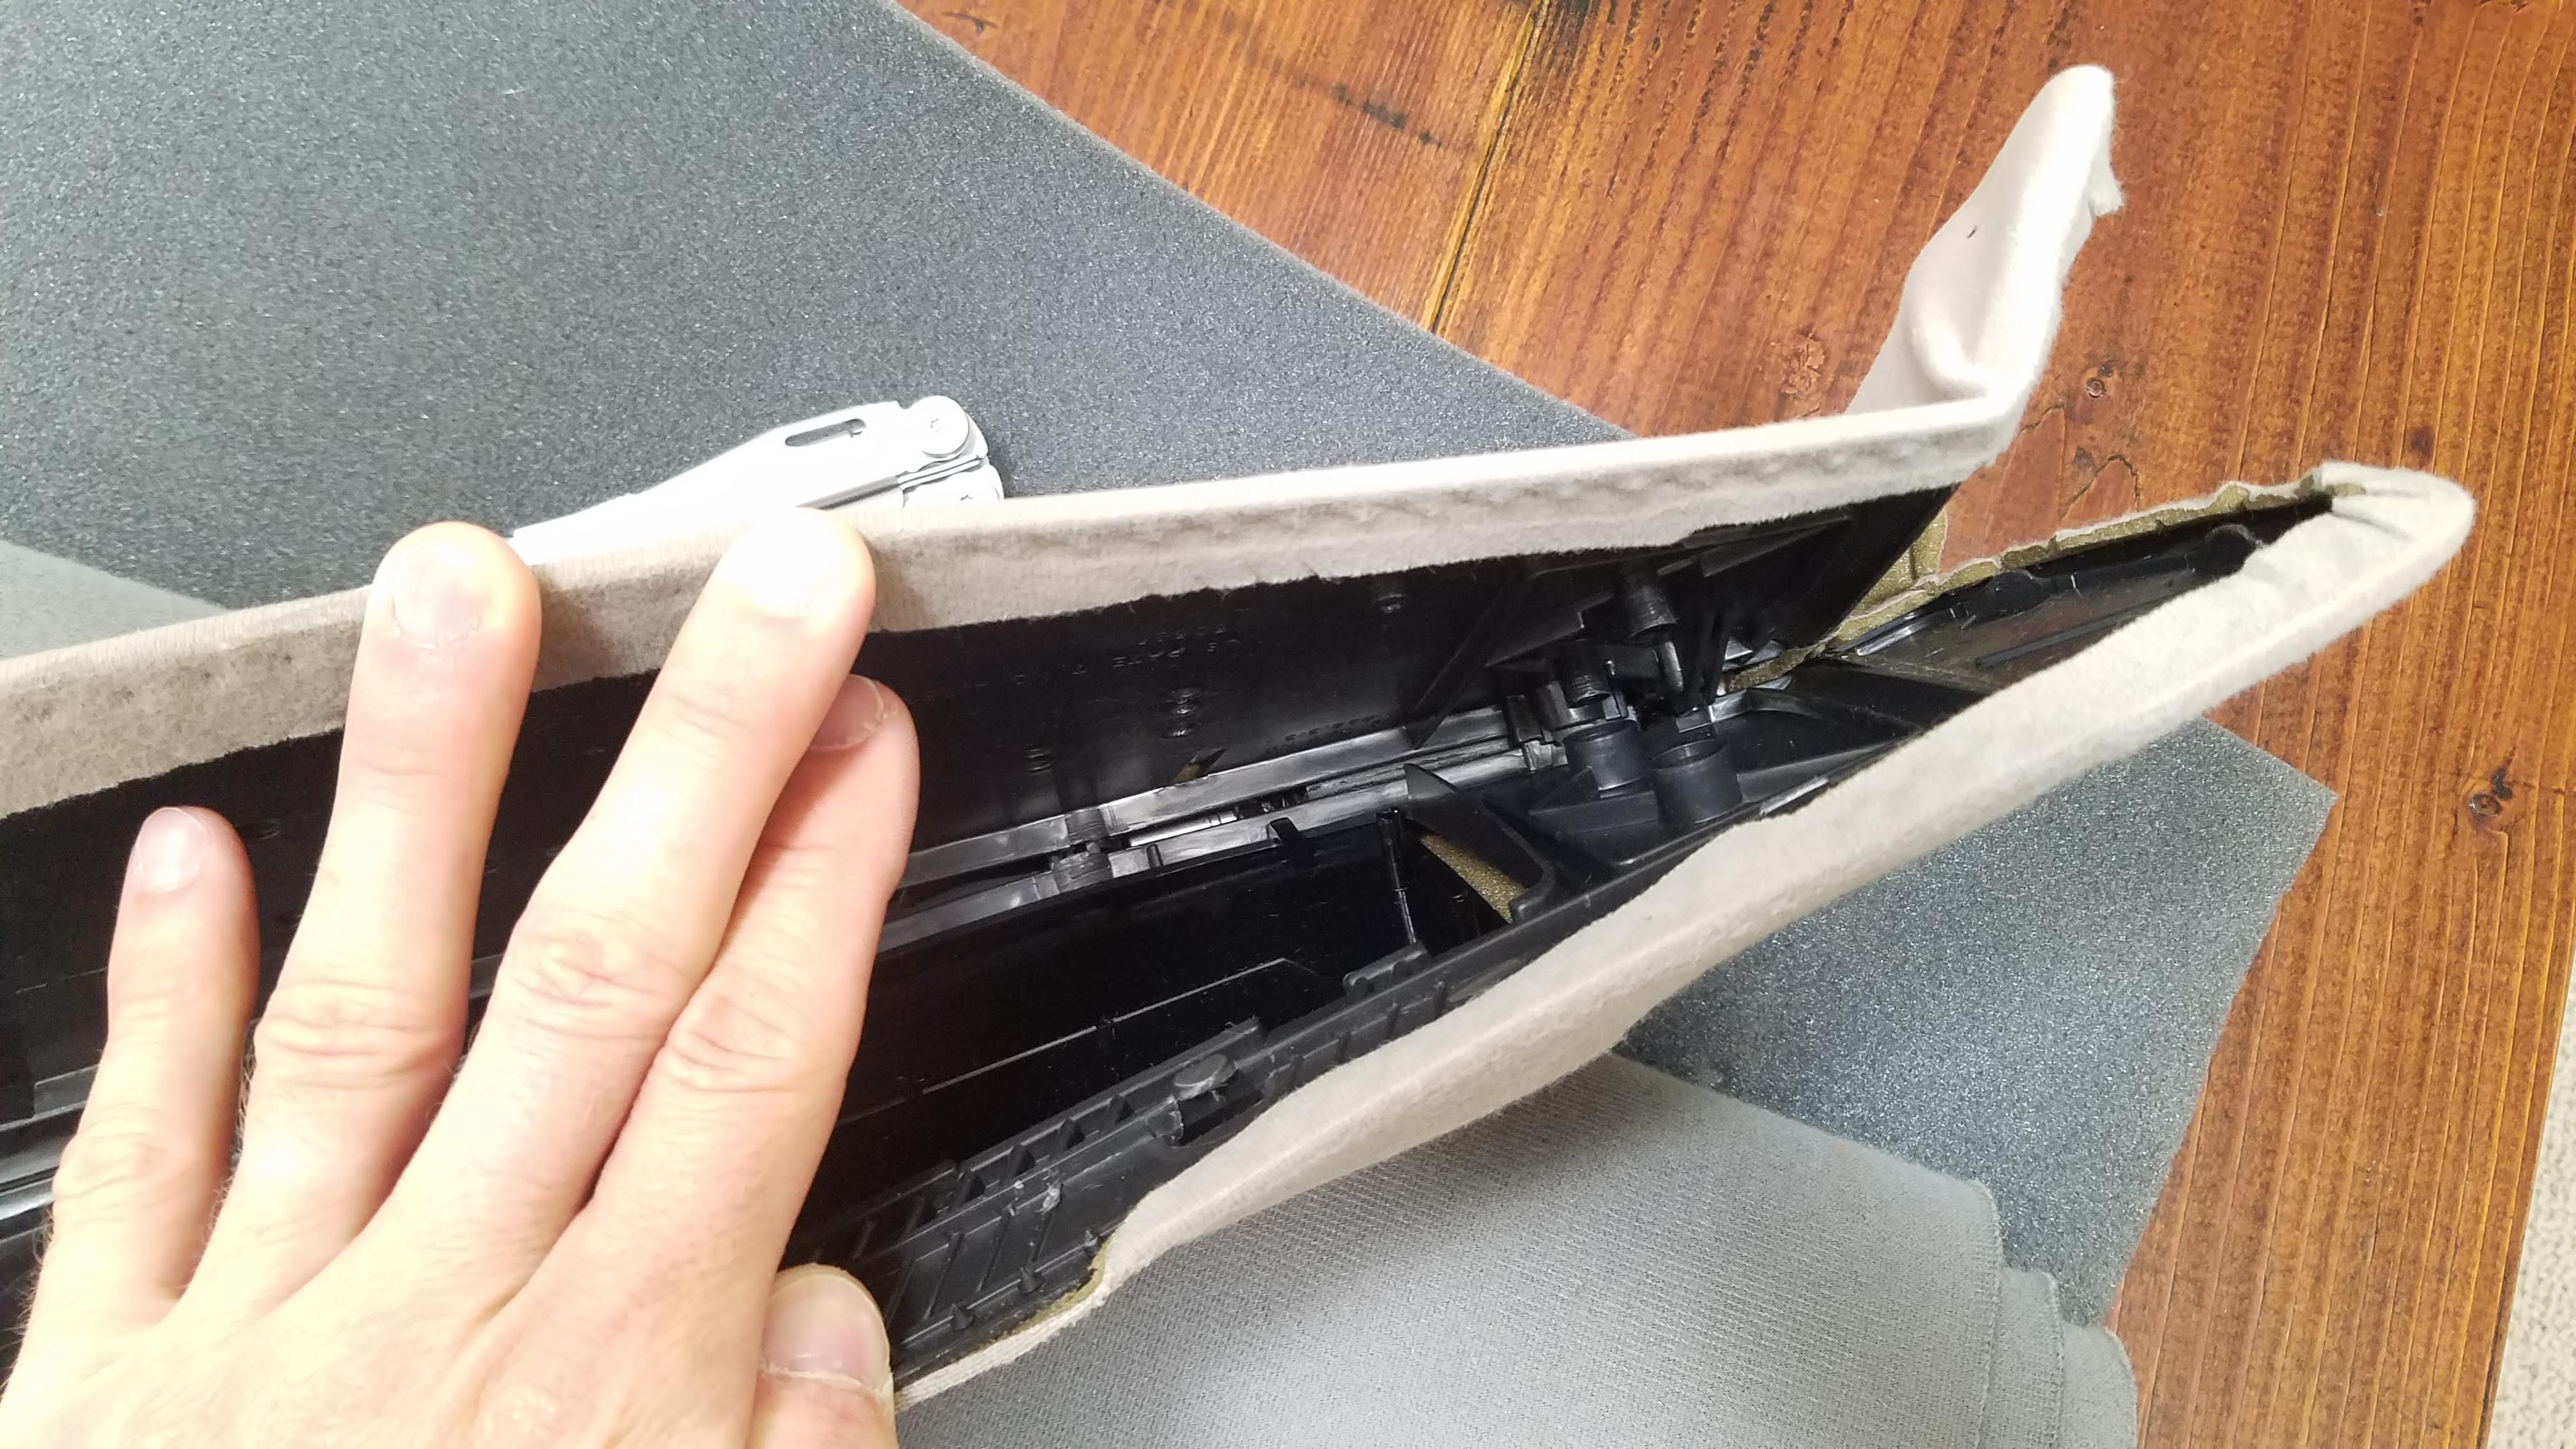
Use a Phillip’s head screwdriver and remove the first screwMove the visor down and take out the other two screwsUse a flathead screwdriver and pry apart the two halves at the seamPull the pin out on the end. For my 1995 XJ, I had to do this before pulling the two halves completely apart. It looks like some years you can leave this in placeContinue prying aroundOnce open, carefully remove the hardwareMake a note of where the metal tab goes into the plastic for reassemblyIt should now open up completely and you can start pulling the headliner material off
Repair:
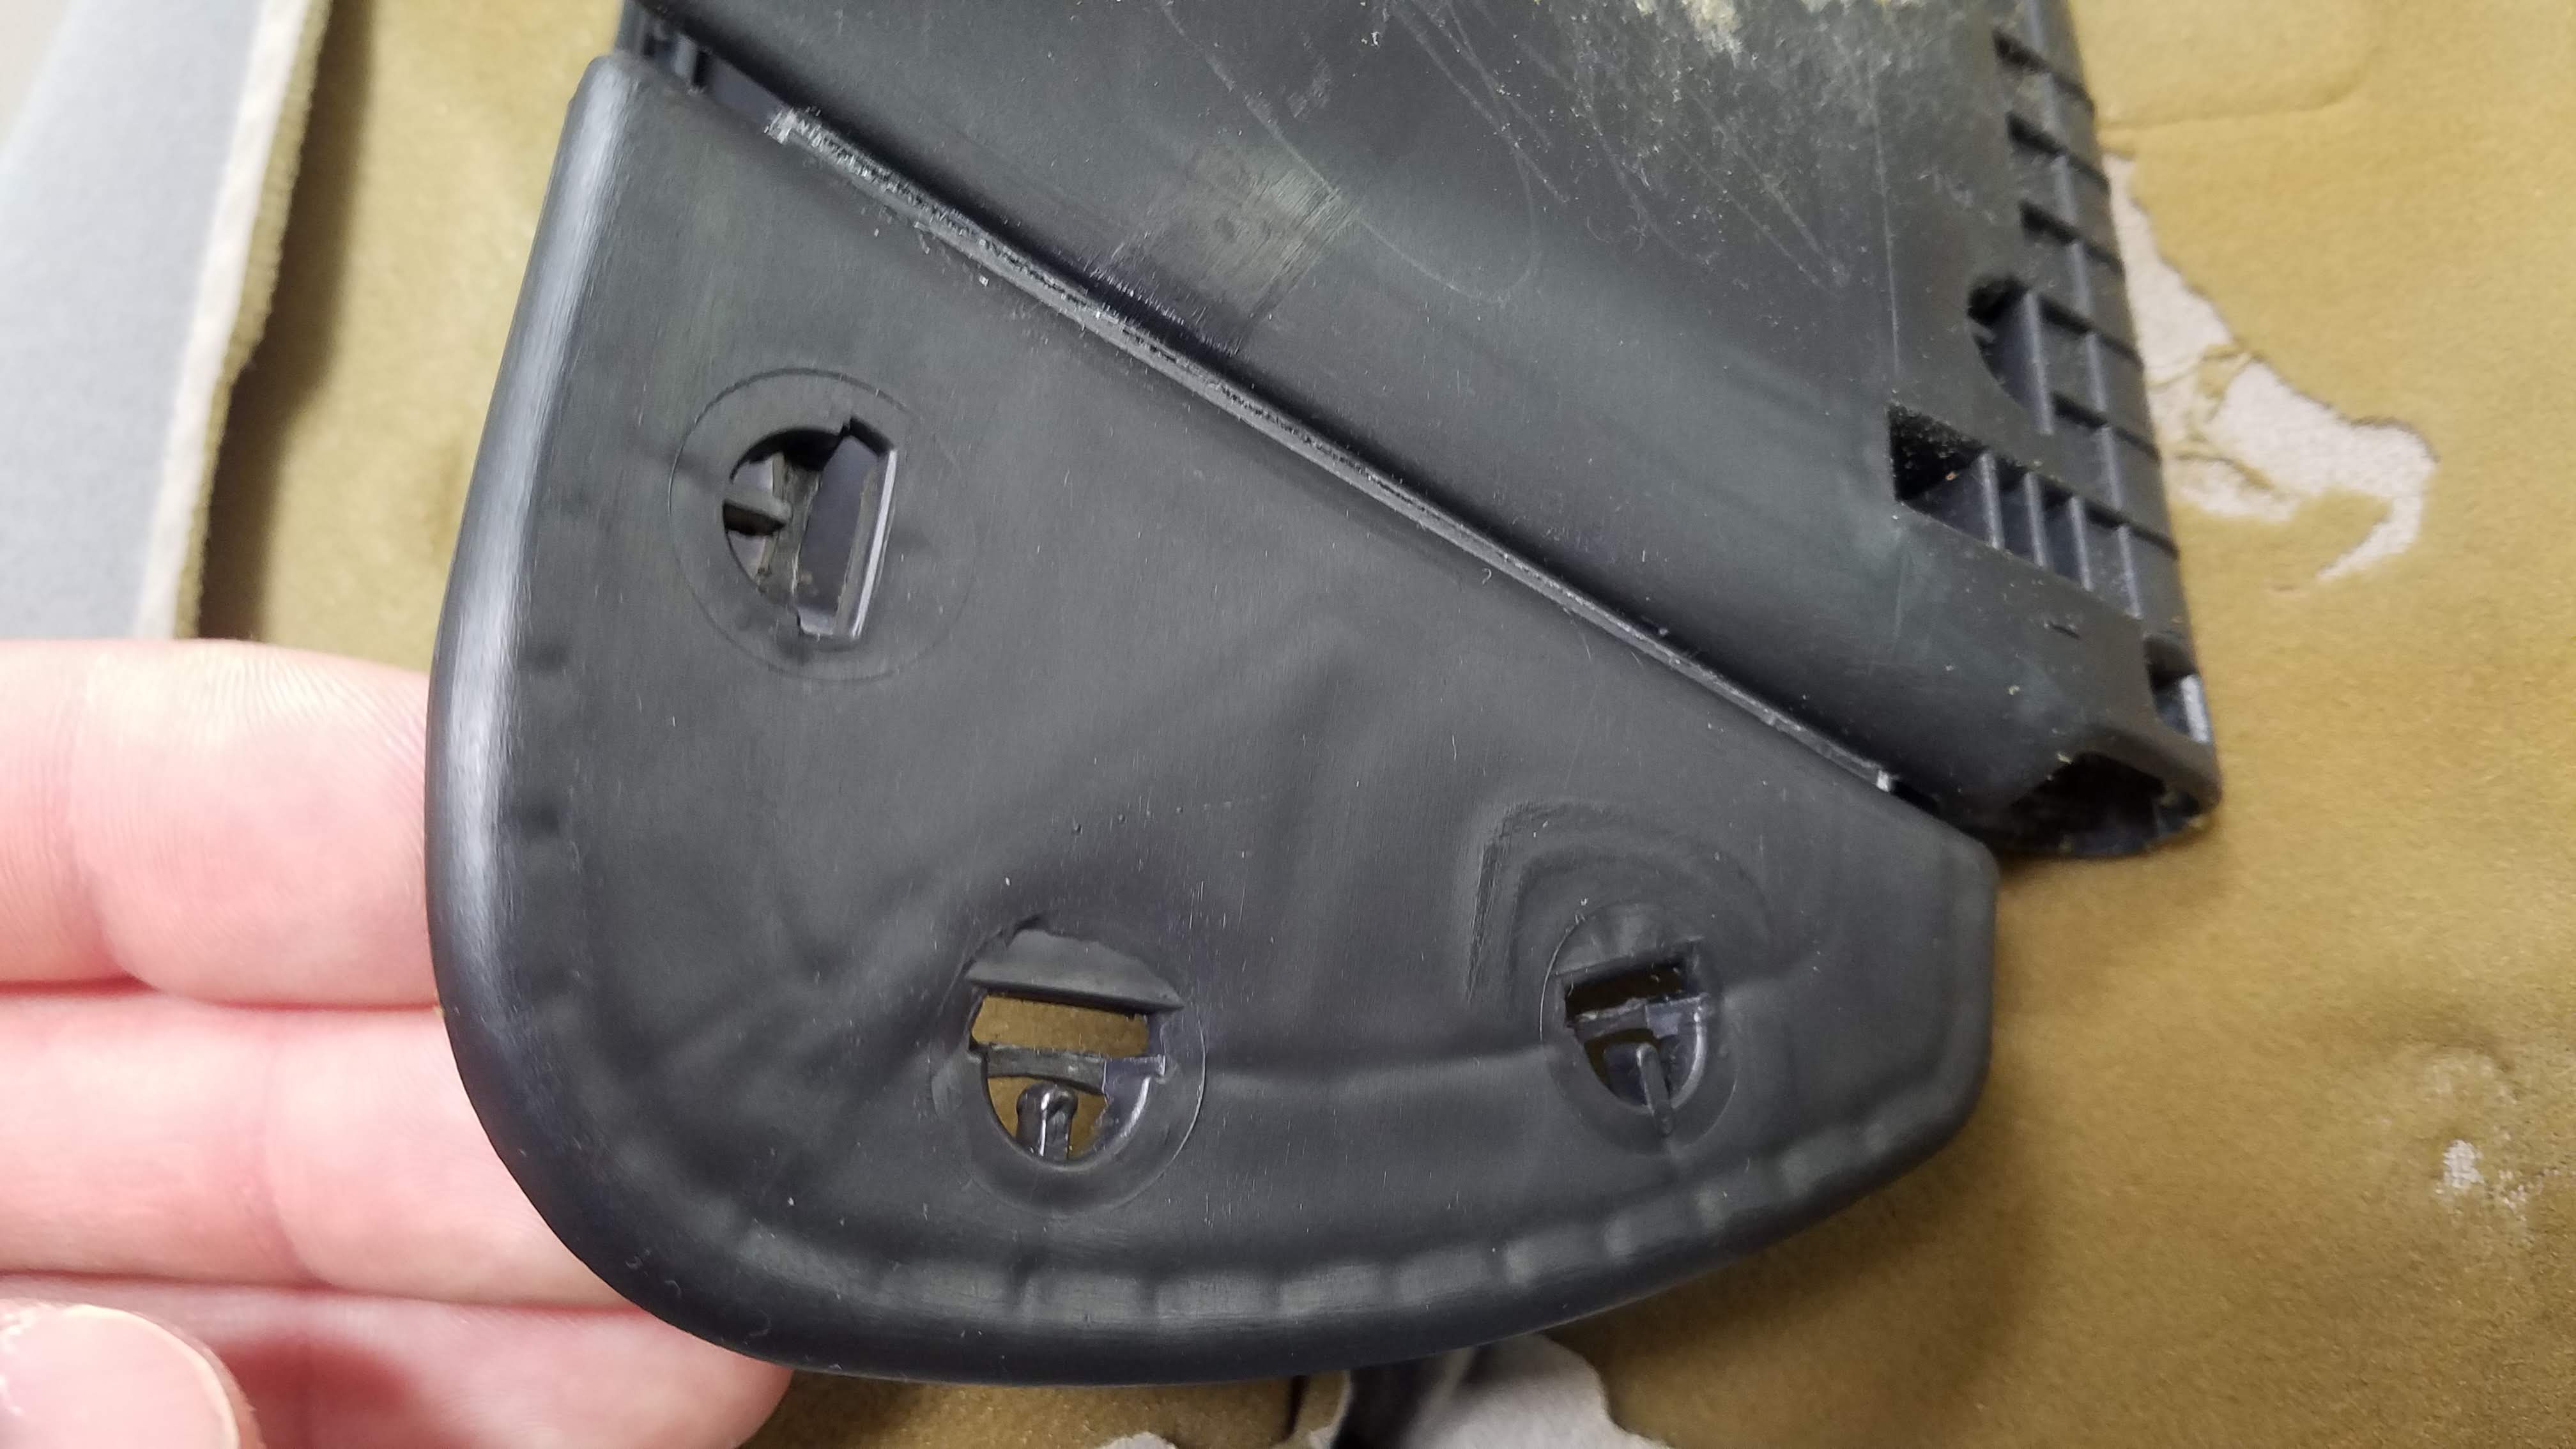
The ends of the visor have a live hinge that flexes so it fits against the roof in the up position. On the driver’s side mine had snapped and was only held together by the headliner material. The fix I used seems to hold pretty well but if you are using spray contact adhesive, it may not hold as well over the longterm.
Since the ears on the end had snapped their live hinges, I used two strips of the new headliner material and contact cement to reattach them
I applied a thin coat on all the surfaces, let it dry for about ten minutes, lined it up and pressed them together. This stuff smells so use it outside. Your brain will thank you!After, the outside looks pretty normalWith both sides done from insideWith both sides done from outside
New Material and Install
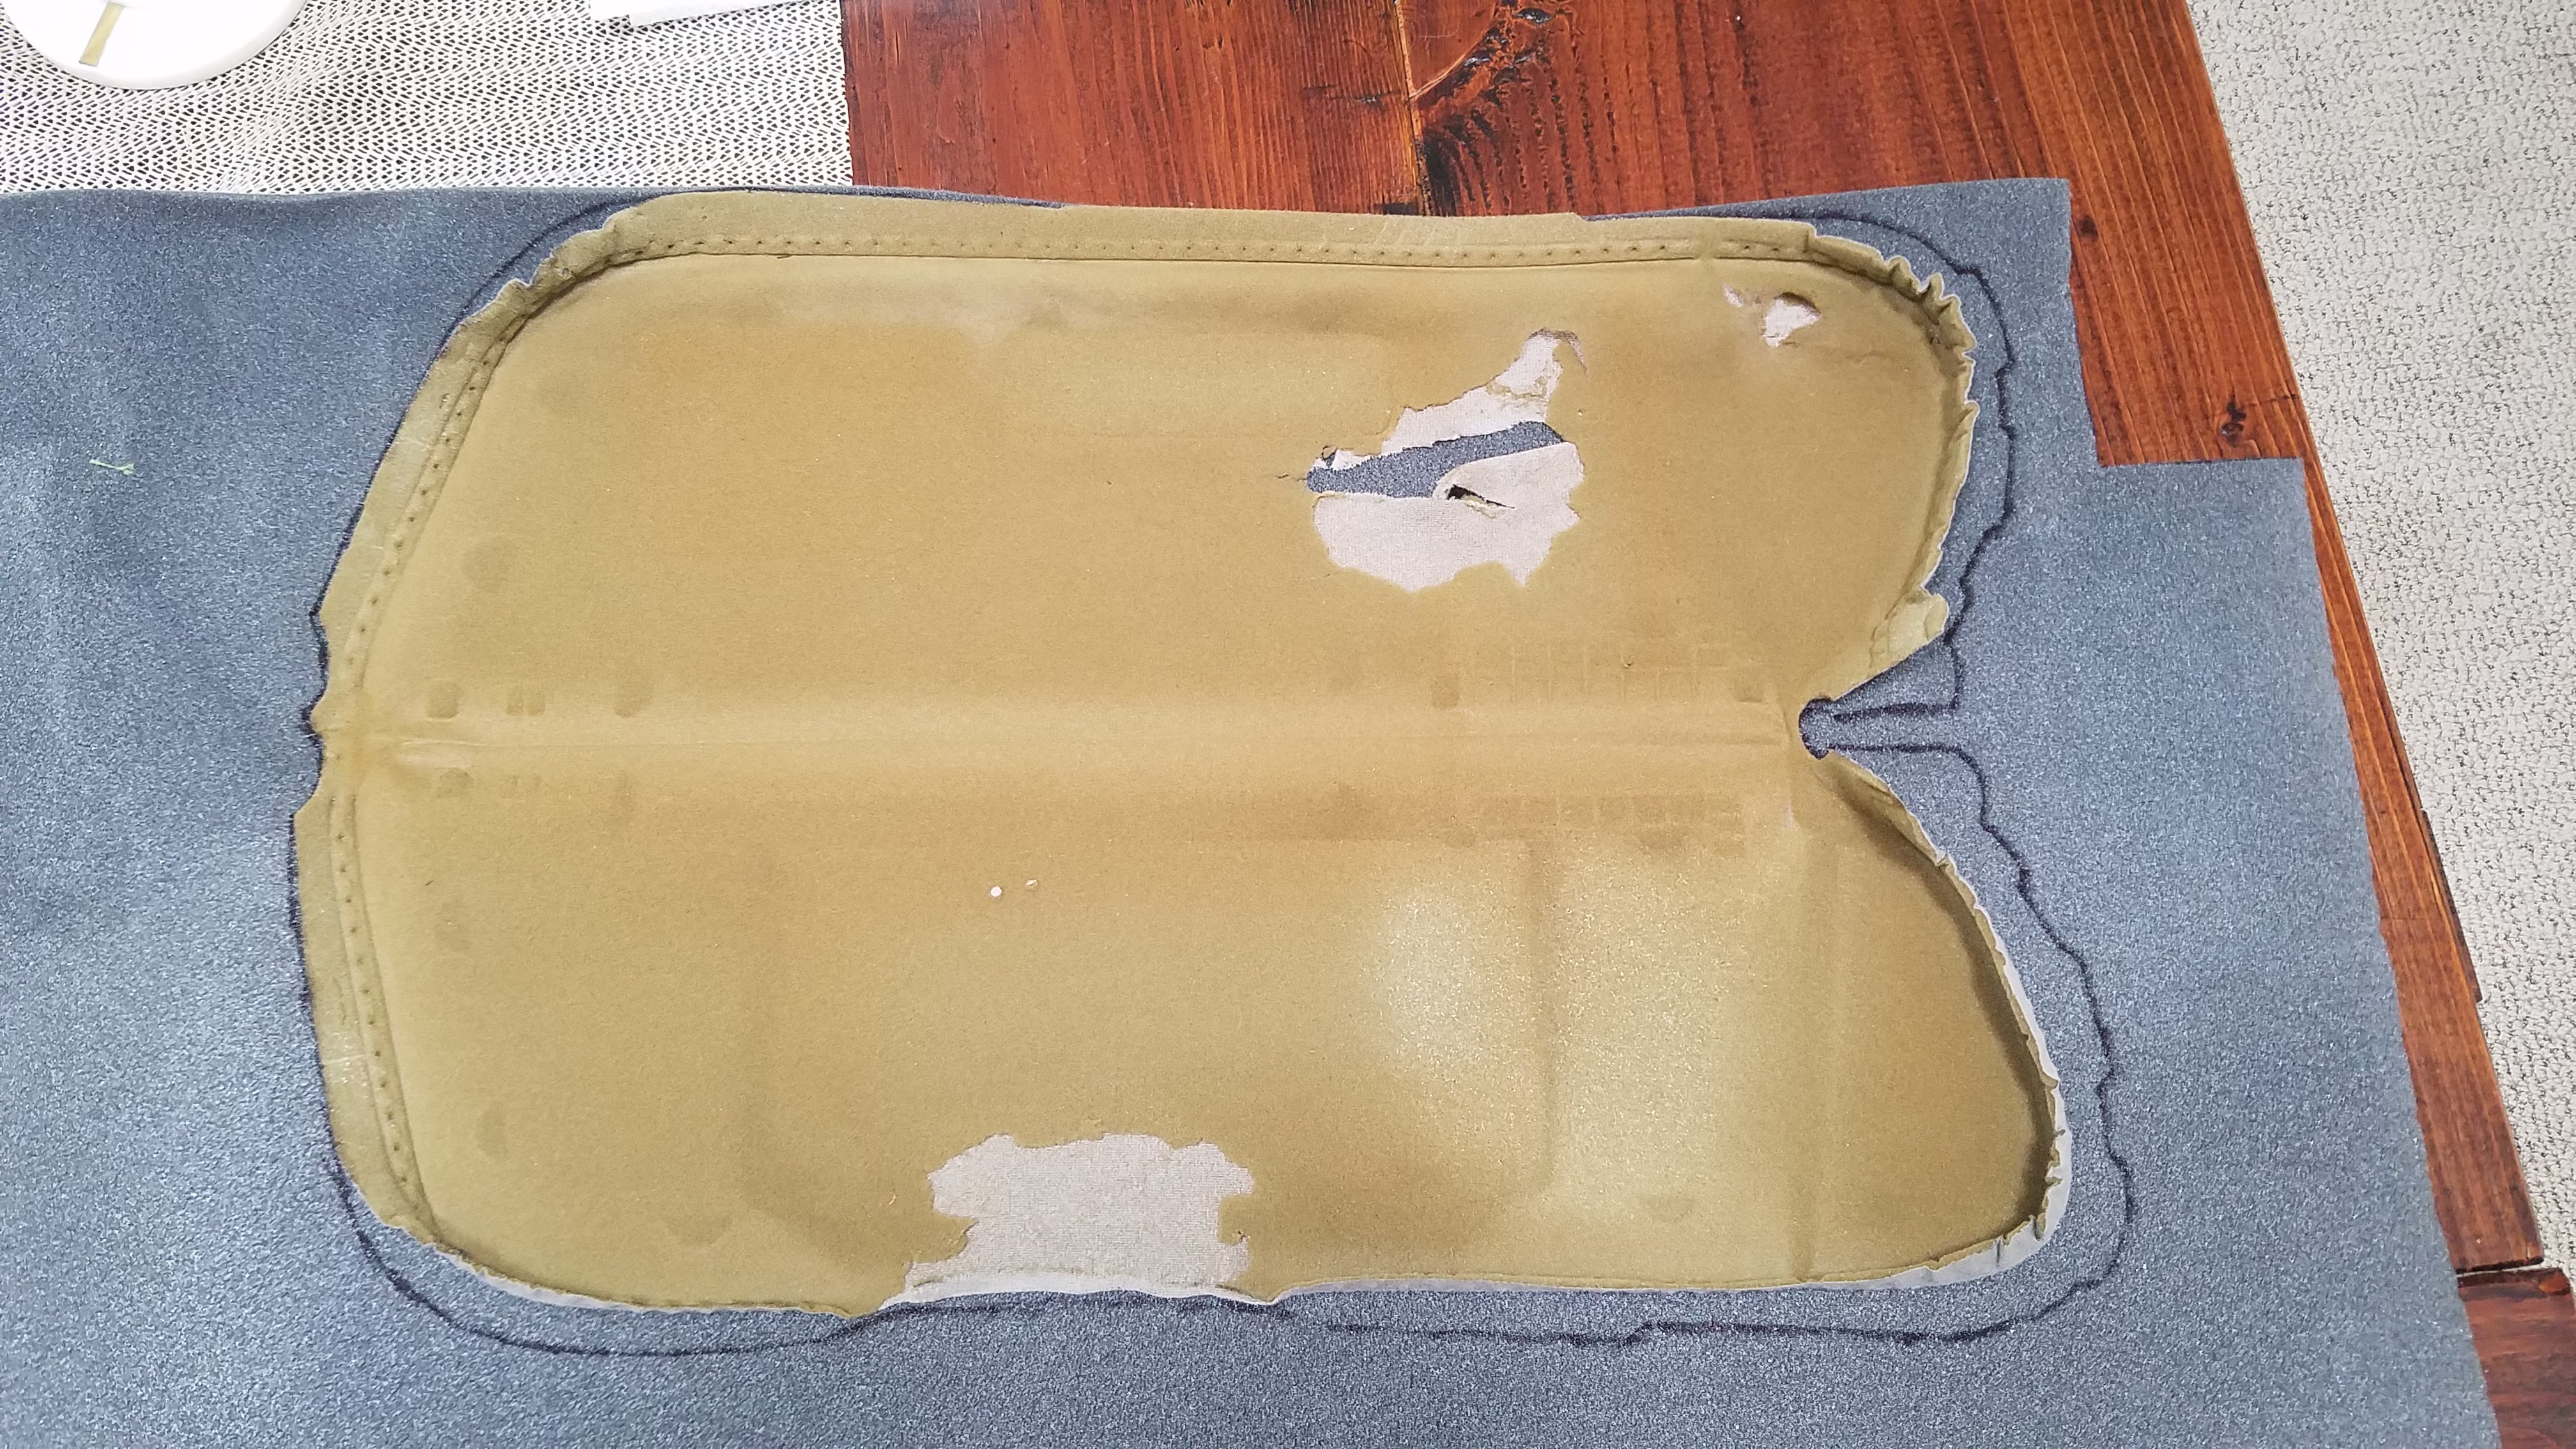
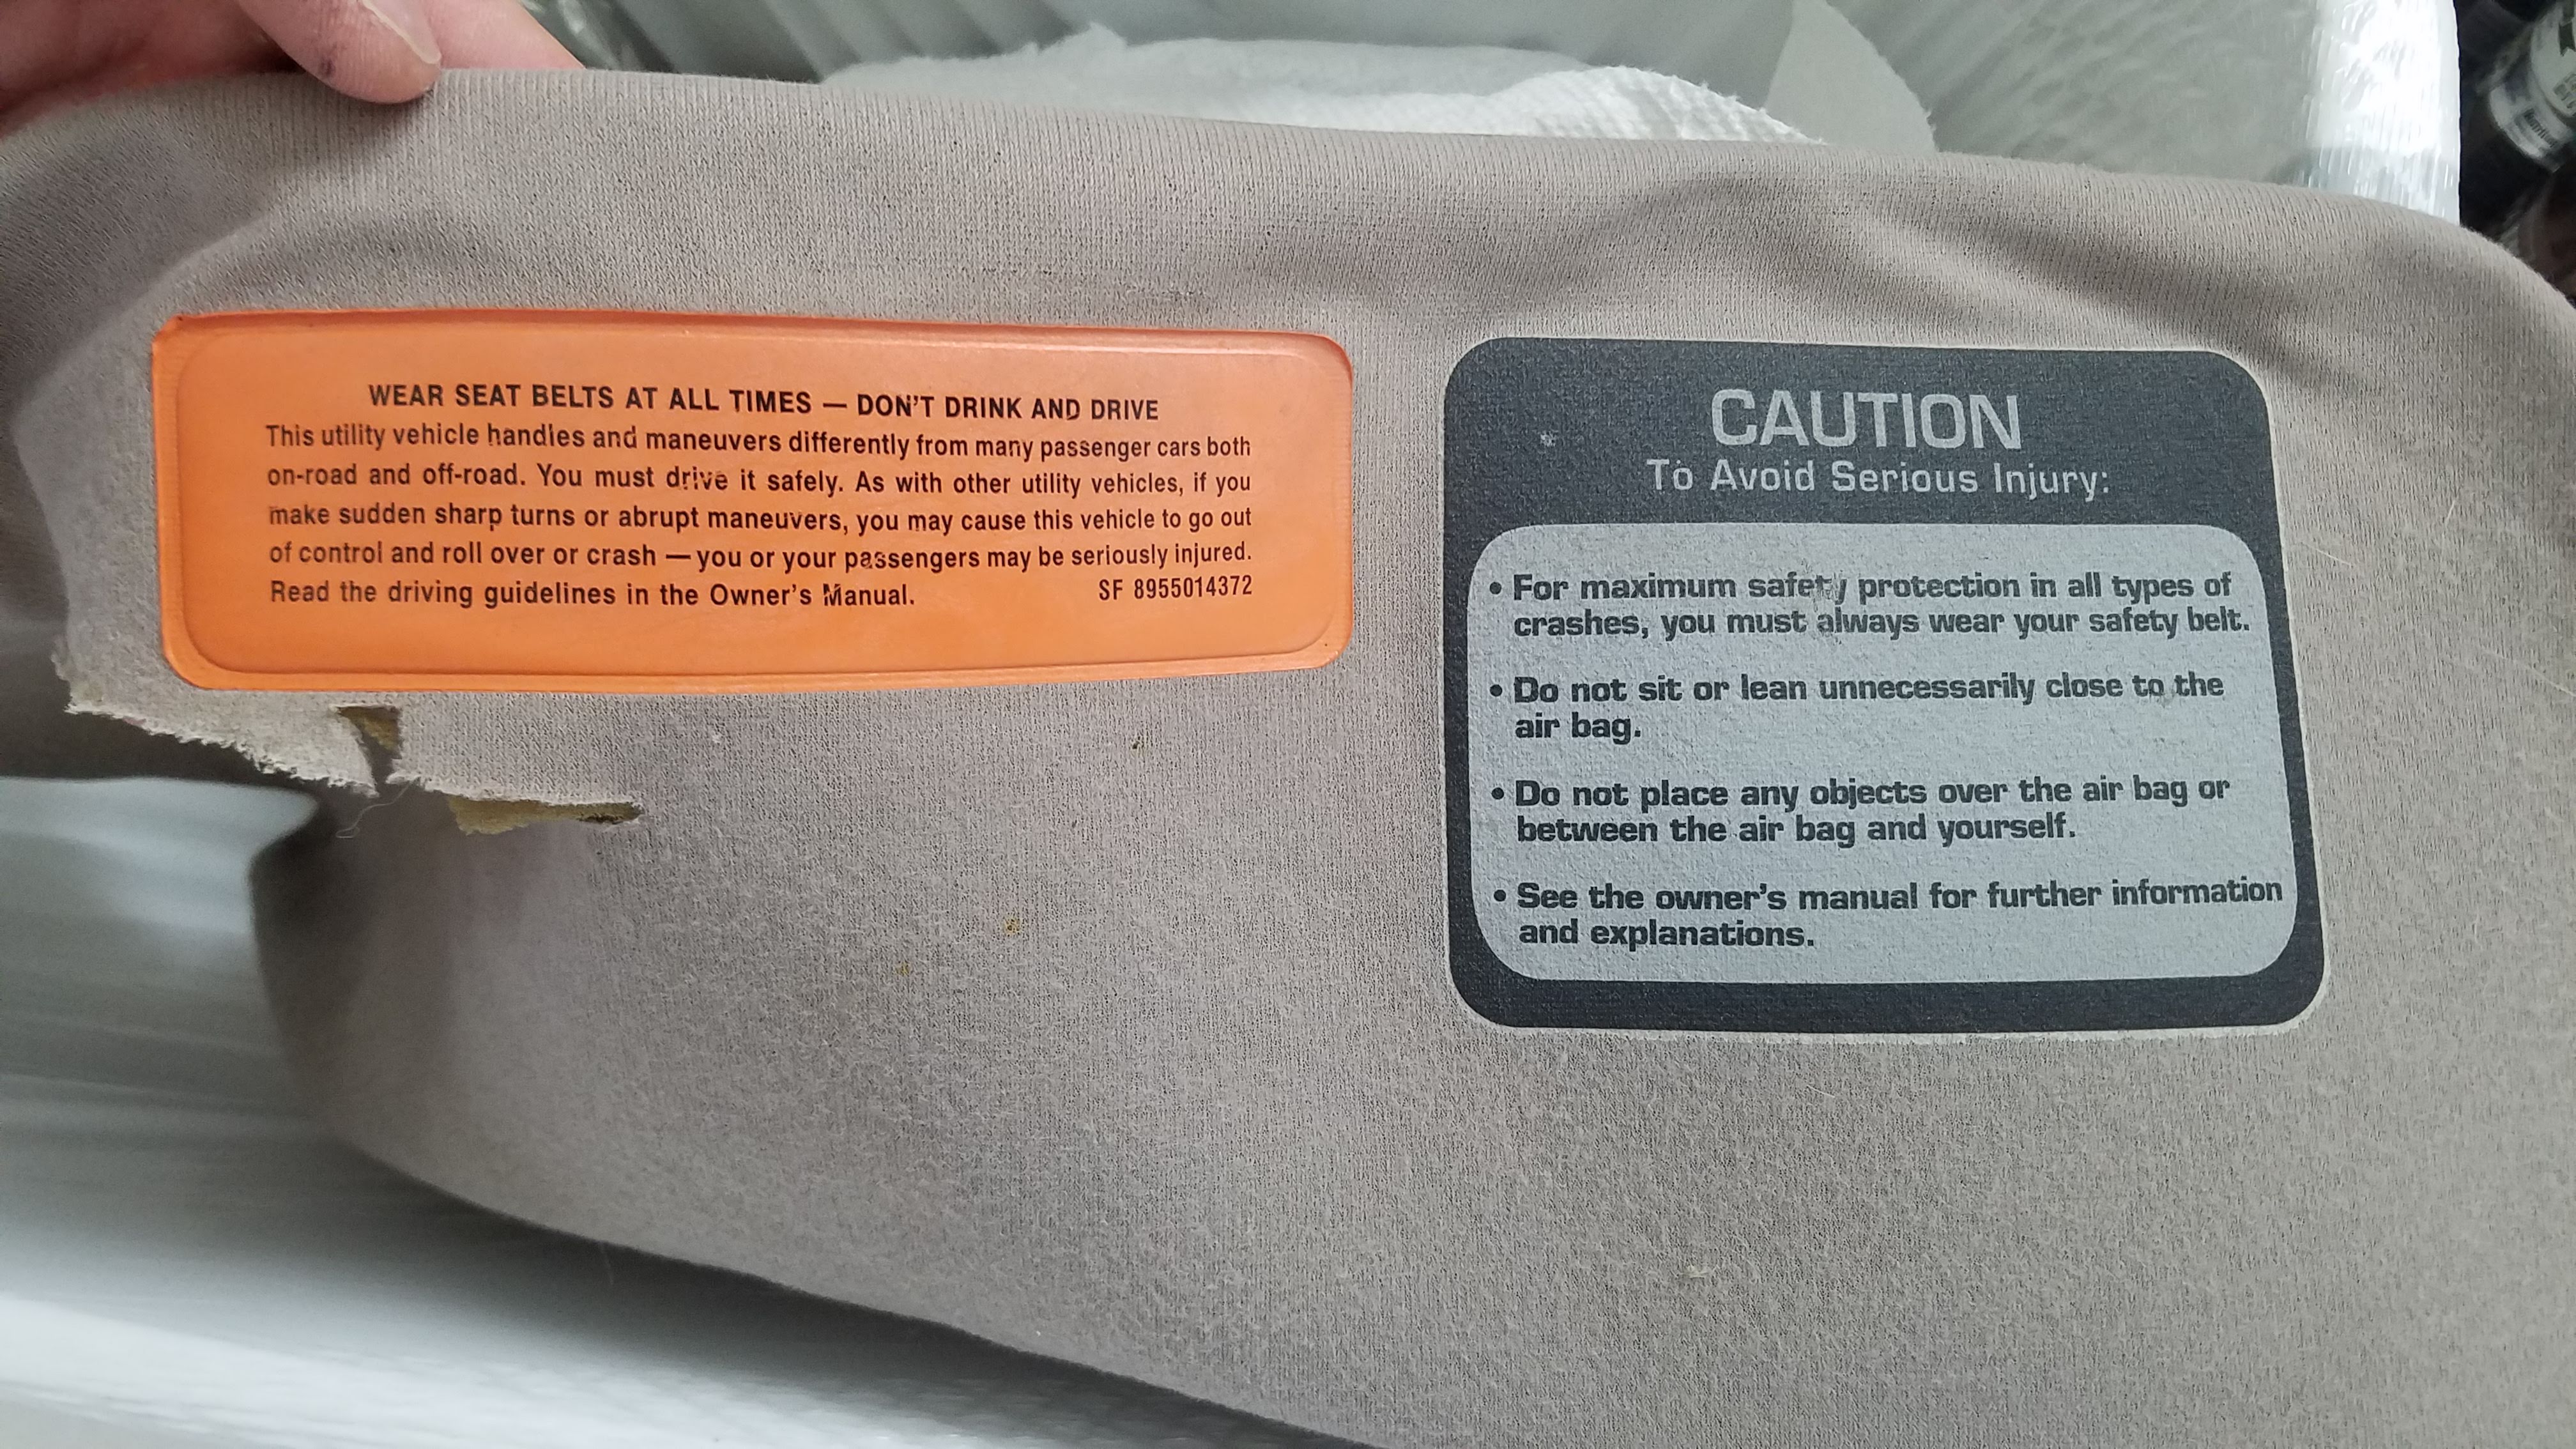
To cut out the new material, I laid the old on top and traced it out with a sharpieThen I cut it out with some sharp scissorsAnd lined it up. Notice that all the tabs have their own cutout on the patternI used the same contact cement around the perimeter and on the edges of the new material. You only need a very light coat since the clamshell has small plastic spikes to hold the material in place once you close itAfter it has set for a few minutes, line up the hardwareAnd snap it back into its grooveThis should be what it looks like when finished and you can snap the two halves back together working your way around the edgesNext you can slide the pin back inAnd screw the visor back in!The only downside is that I can’t put my warning stickers back on. Sure hope I remember how to buckle up!


Leave a Reply