Installing pfSense on a Q190G4
Setting up a Q190G4 to make a dedicated, powerful, and low-power pfSense firewall.
Edit 10/7/2016
I was informed in the comments that this is actually a Q310G4 and Qotom keeps it listed as the older Q190G4 to keep the positive Amazon rating (it worked on me!). Here are the specs listed on this “Q190G4” page and another Q310G4 page:


Obviously, they are the same except for the link at the bottom of the “Q190G4” specs page to purchase a real Q190G4. As far as I can tell, there isn’t a problem with getting a 310 instead of a 190, but it goes to prove you can’t always trust what it says on a vendor’s website, even if it’s on Amazon!
Background
I am upgrading the network infrastructure for a small business and needed to replace their old firewall that was so old it had 10/100 mbit ethernet ports. I have installed several firewalls using pfSense and use it at my house as well and never had a problem with it, so I decided to put it in here as well. pfSense will (in my experience) run for years without needing to be touched and will allow me to VPN into the network in case I need to adjust things from off-site.
Purchase List
Qotom Q190G4 Intel Celeron Processor 3215U Dual Core Processor Barebone Mini PC – $139 + 33.65 S&H
Crucial 8GB Single DDR3L 1600 MT/s (PC3L-12800) SODIMM 204-Pin Memory – CT102464BF160B – $34
Samsung 850 EVO – 250GB – 2.5-Inch SATA III Internal SSD (MZ-75E250B/AM) – $88.48
Gdstime USB DC 5V Power 120mm 12cm 5 inches Brushless Cooling Fan – $13.58
I could have shaved off some money by using a mSATA SSD instead of a 2.5″ and not purchasing the fan. I read a review that the case ran hot and thought the fan would be a good idea, but I doubt it was necessary (See Fan or No Fan below).
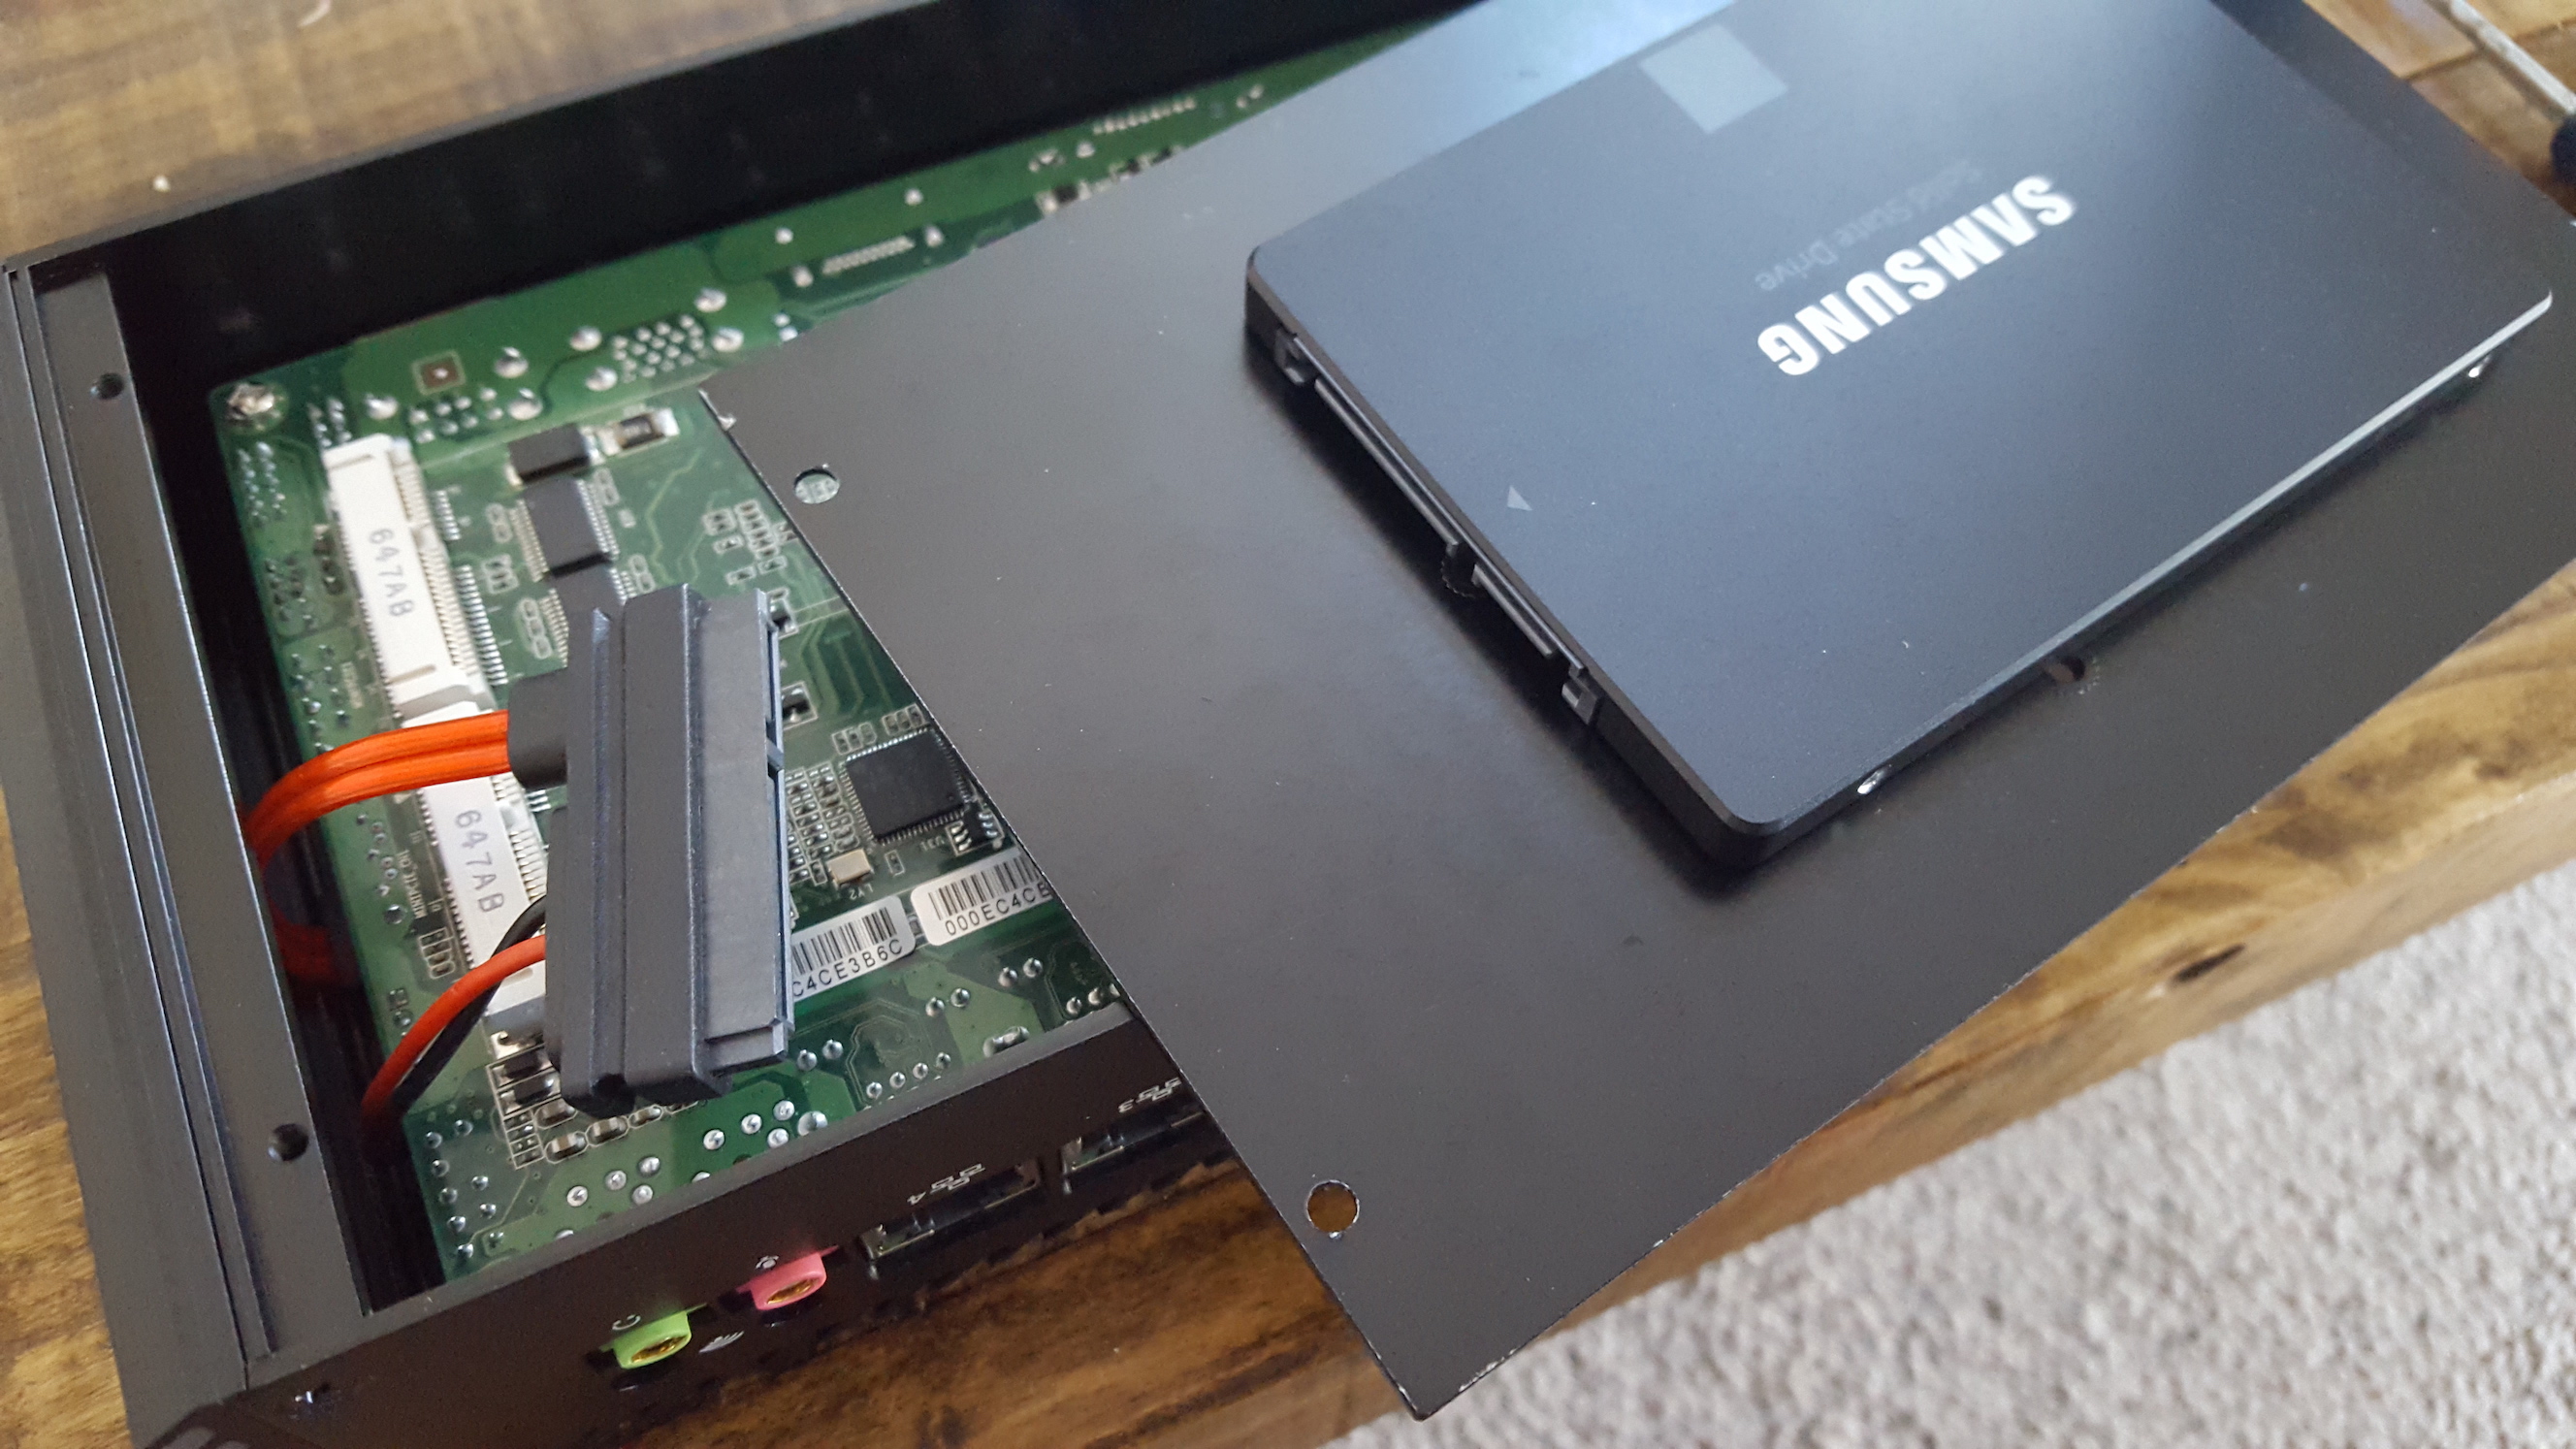
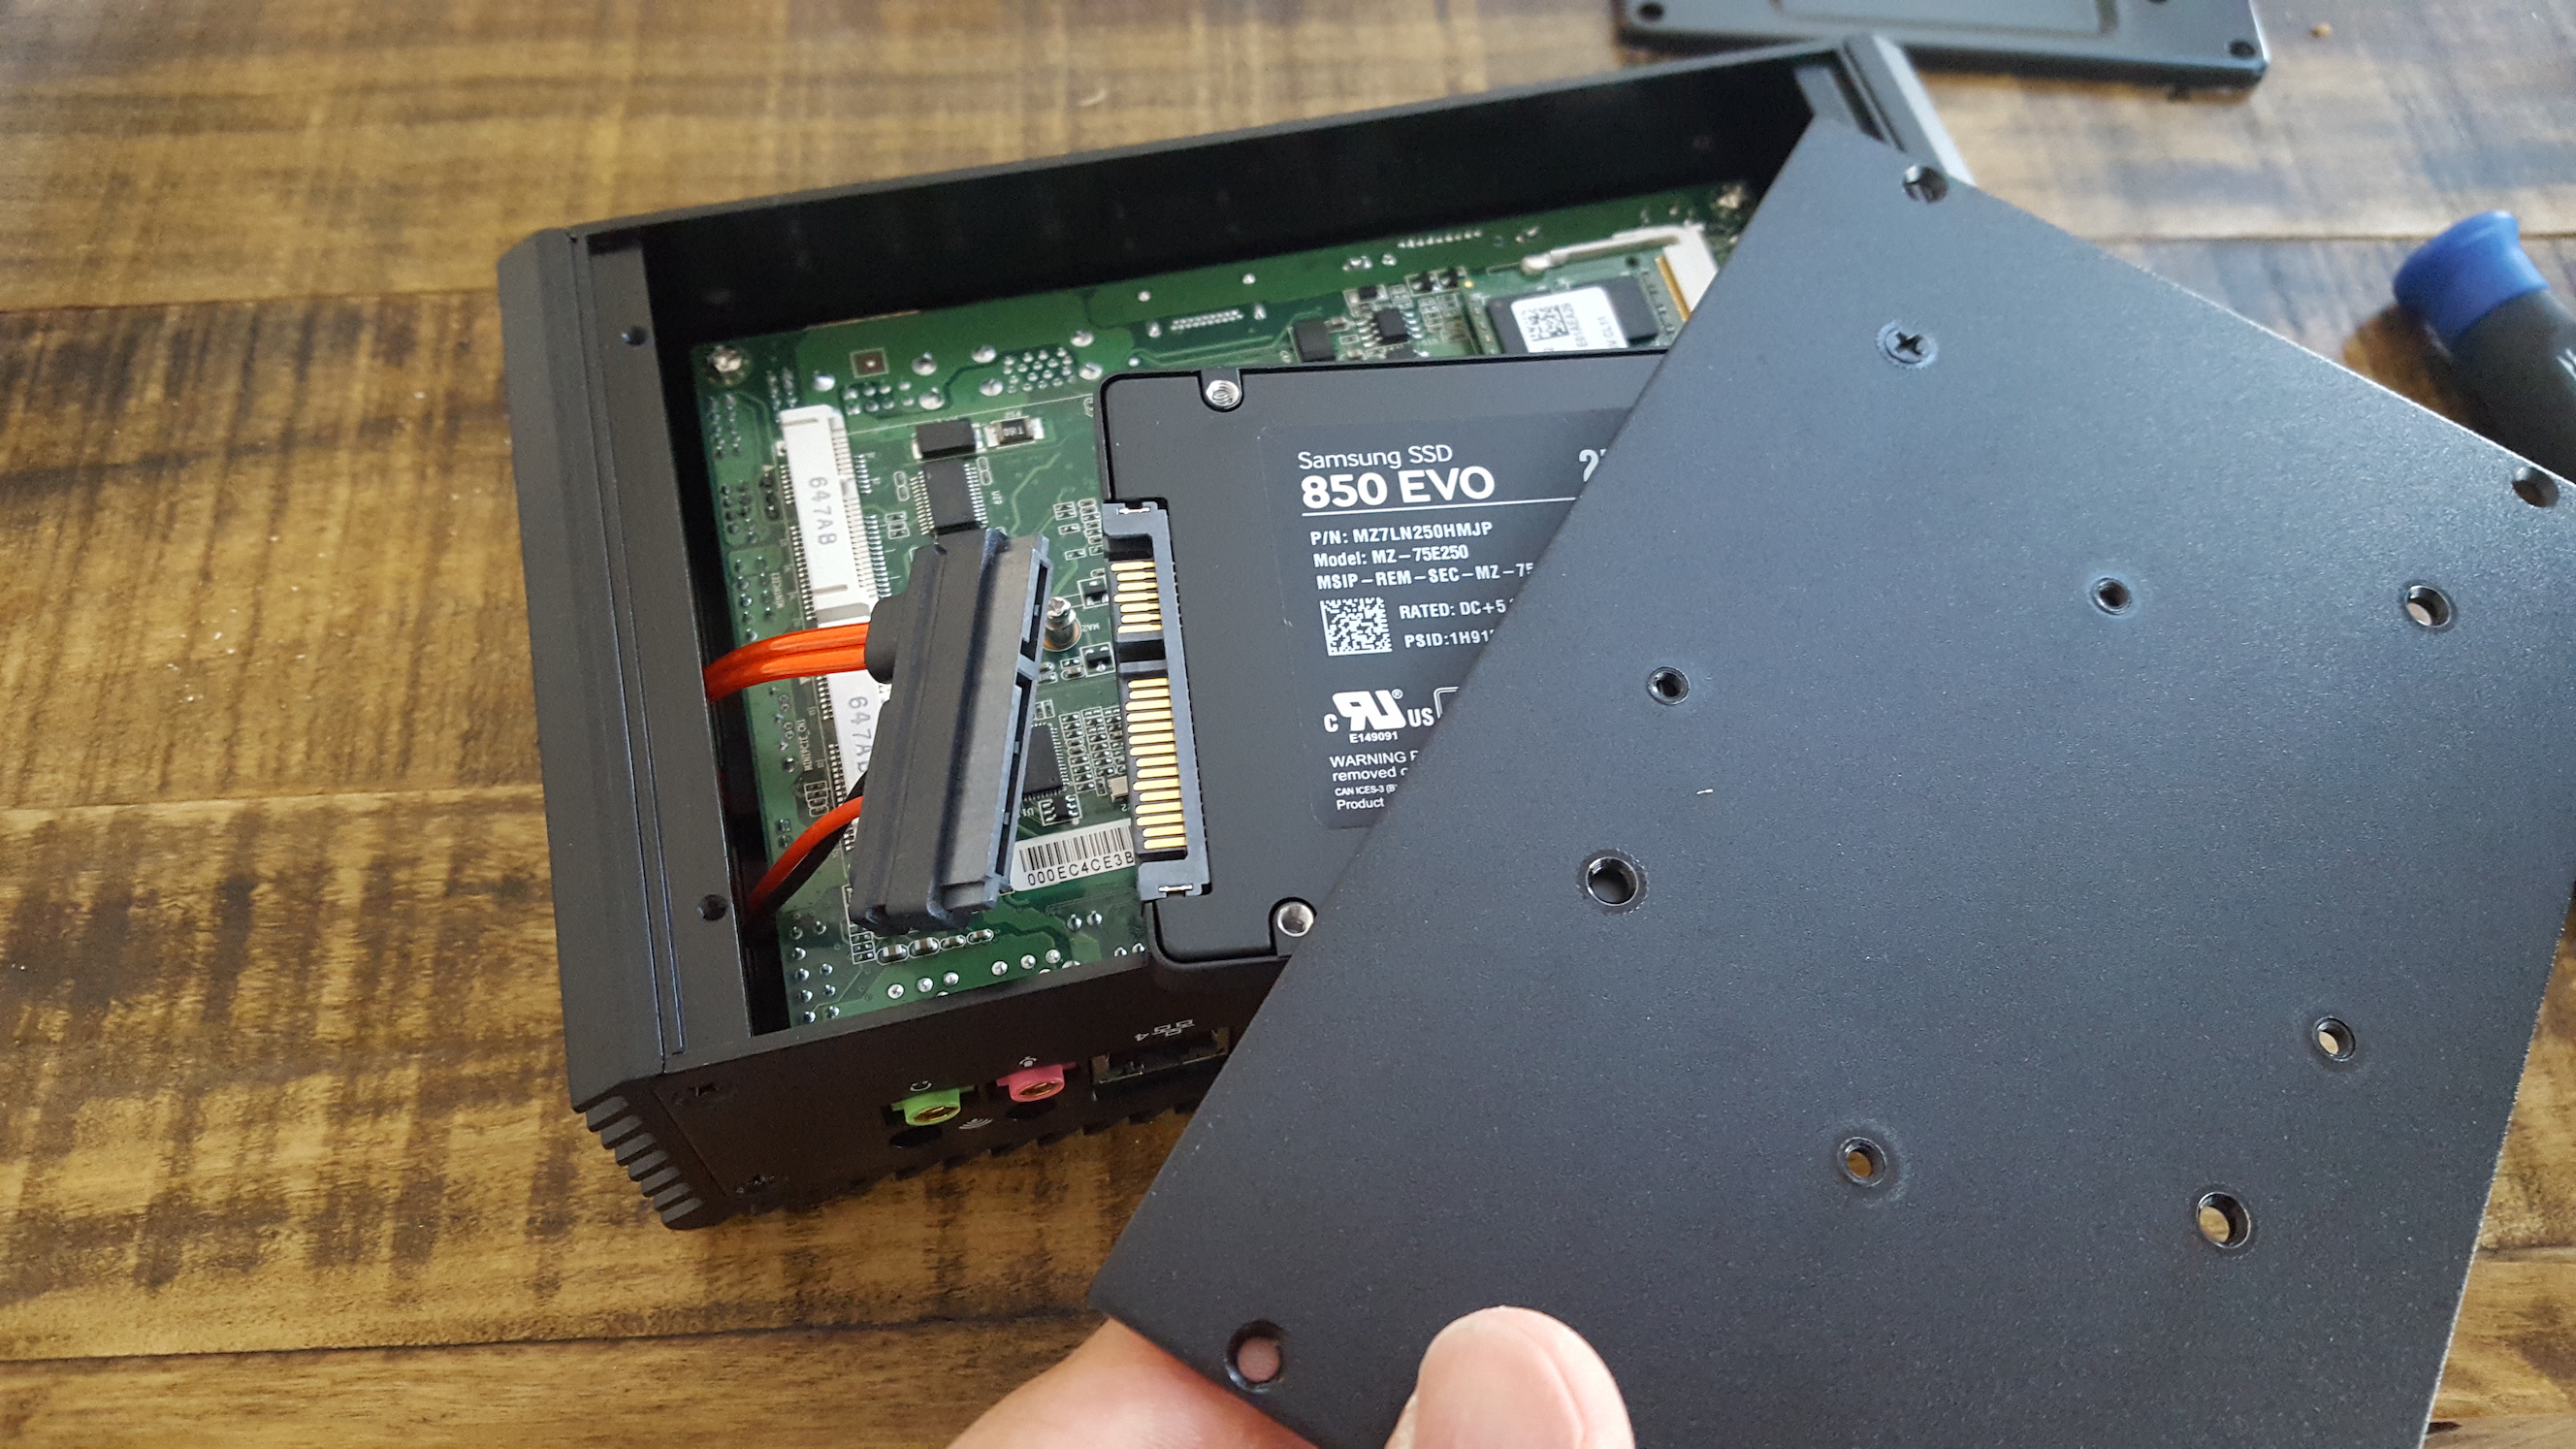
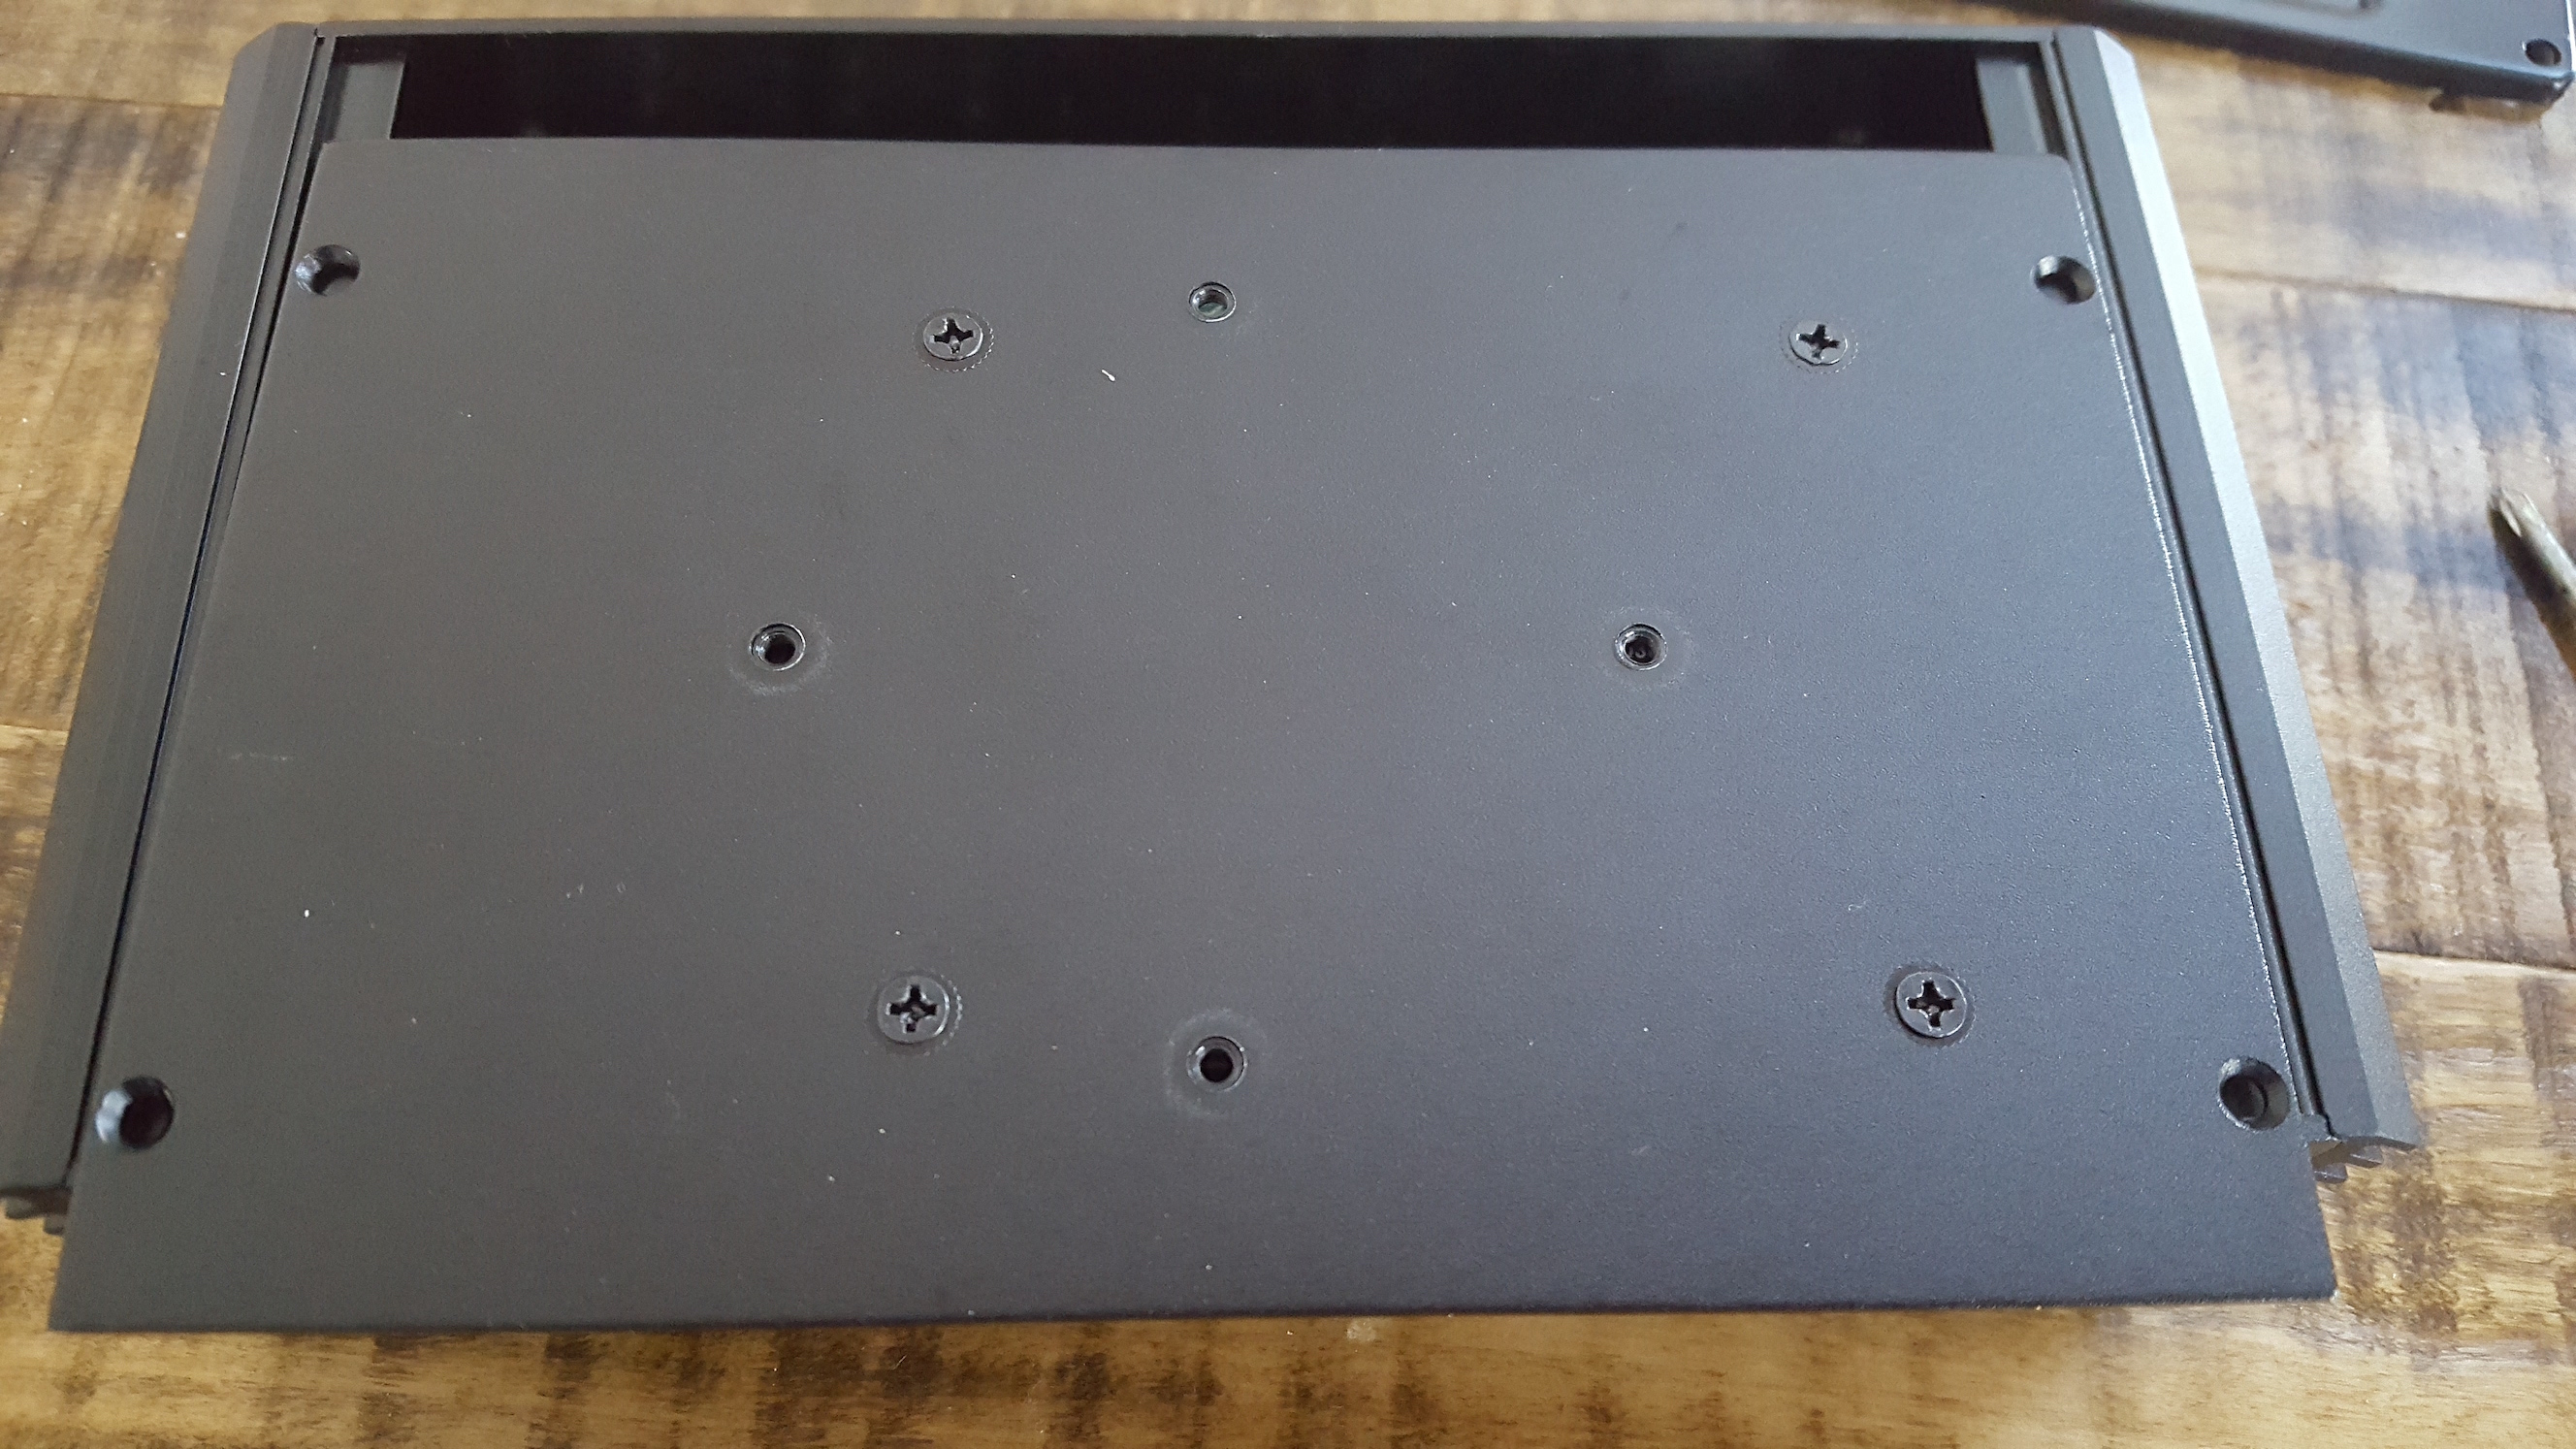
Physical Setup
The Q190G4 only needs storage and memory to work, but the lack of any documentation makes it just a little more difficult.


The device comes with three sets of screws: black with a flat head for attaching the SSD to the base from underneath, machine screws for attaching the VESA mounting plate to another surface (I assume), and small posts to attach the computer to that base.


pfSense Install
For a more detailed walk-through on installing pfSense, check out Tecmint’s great tutorial.
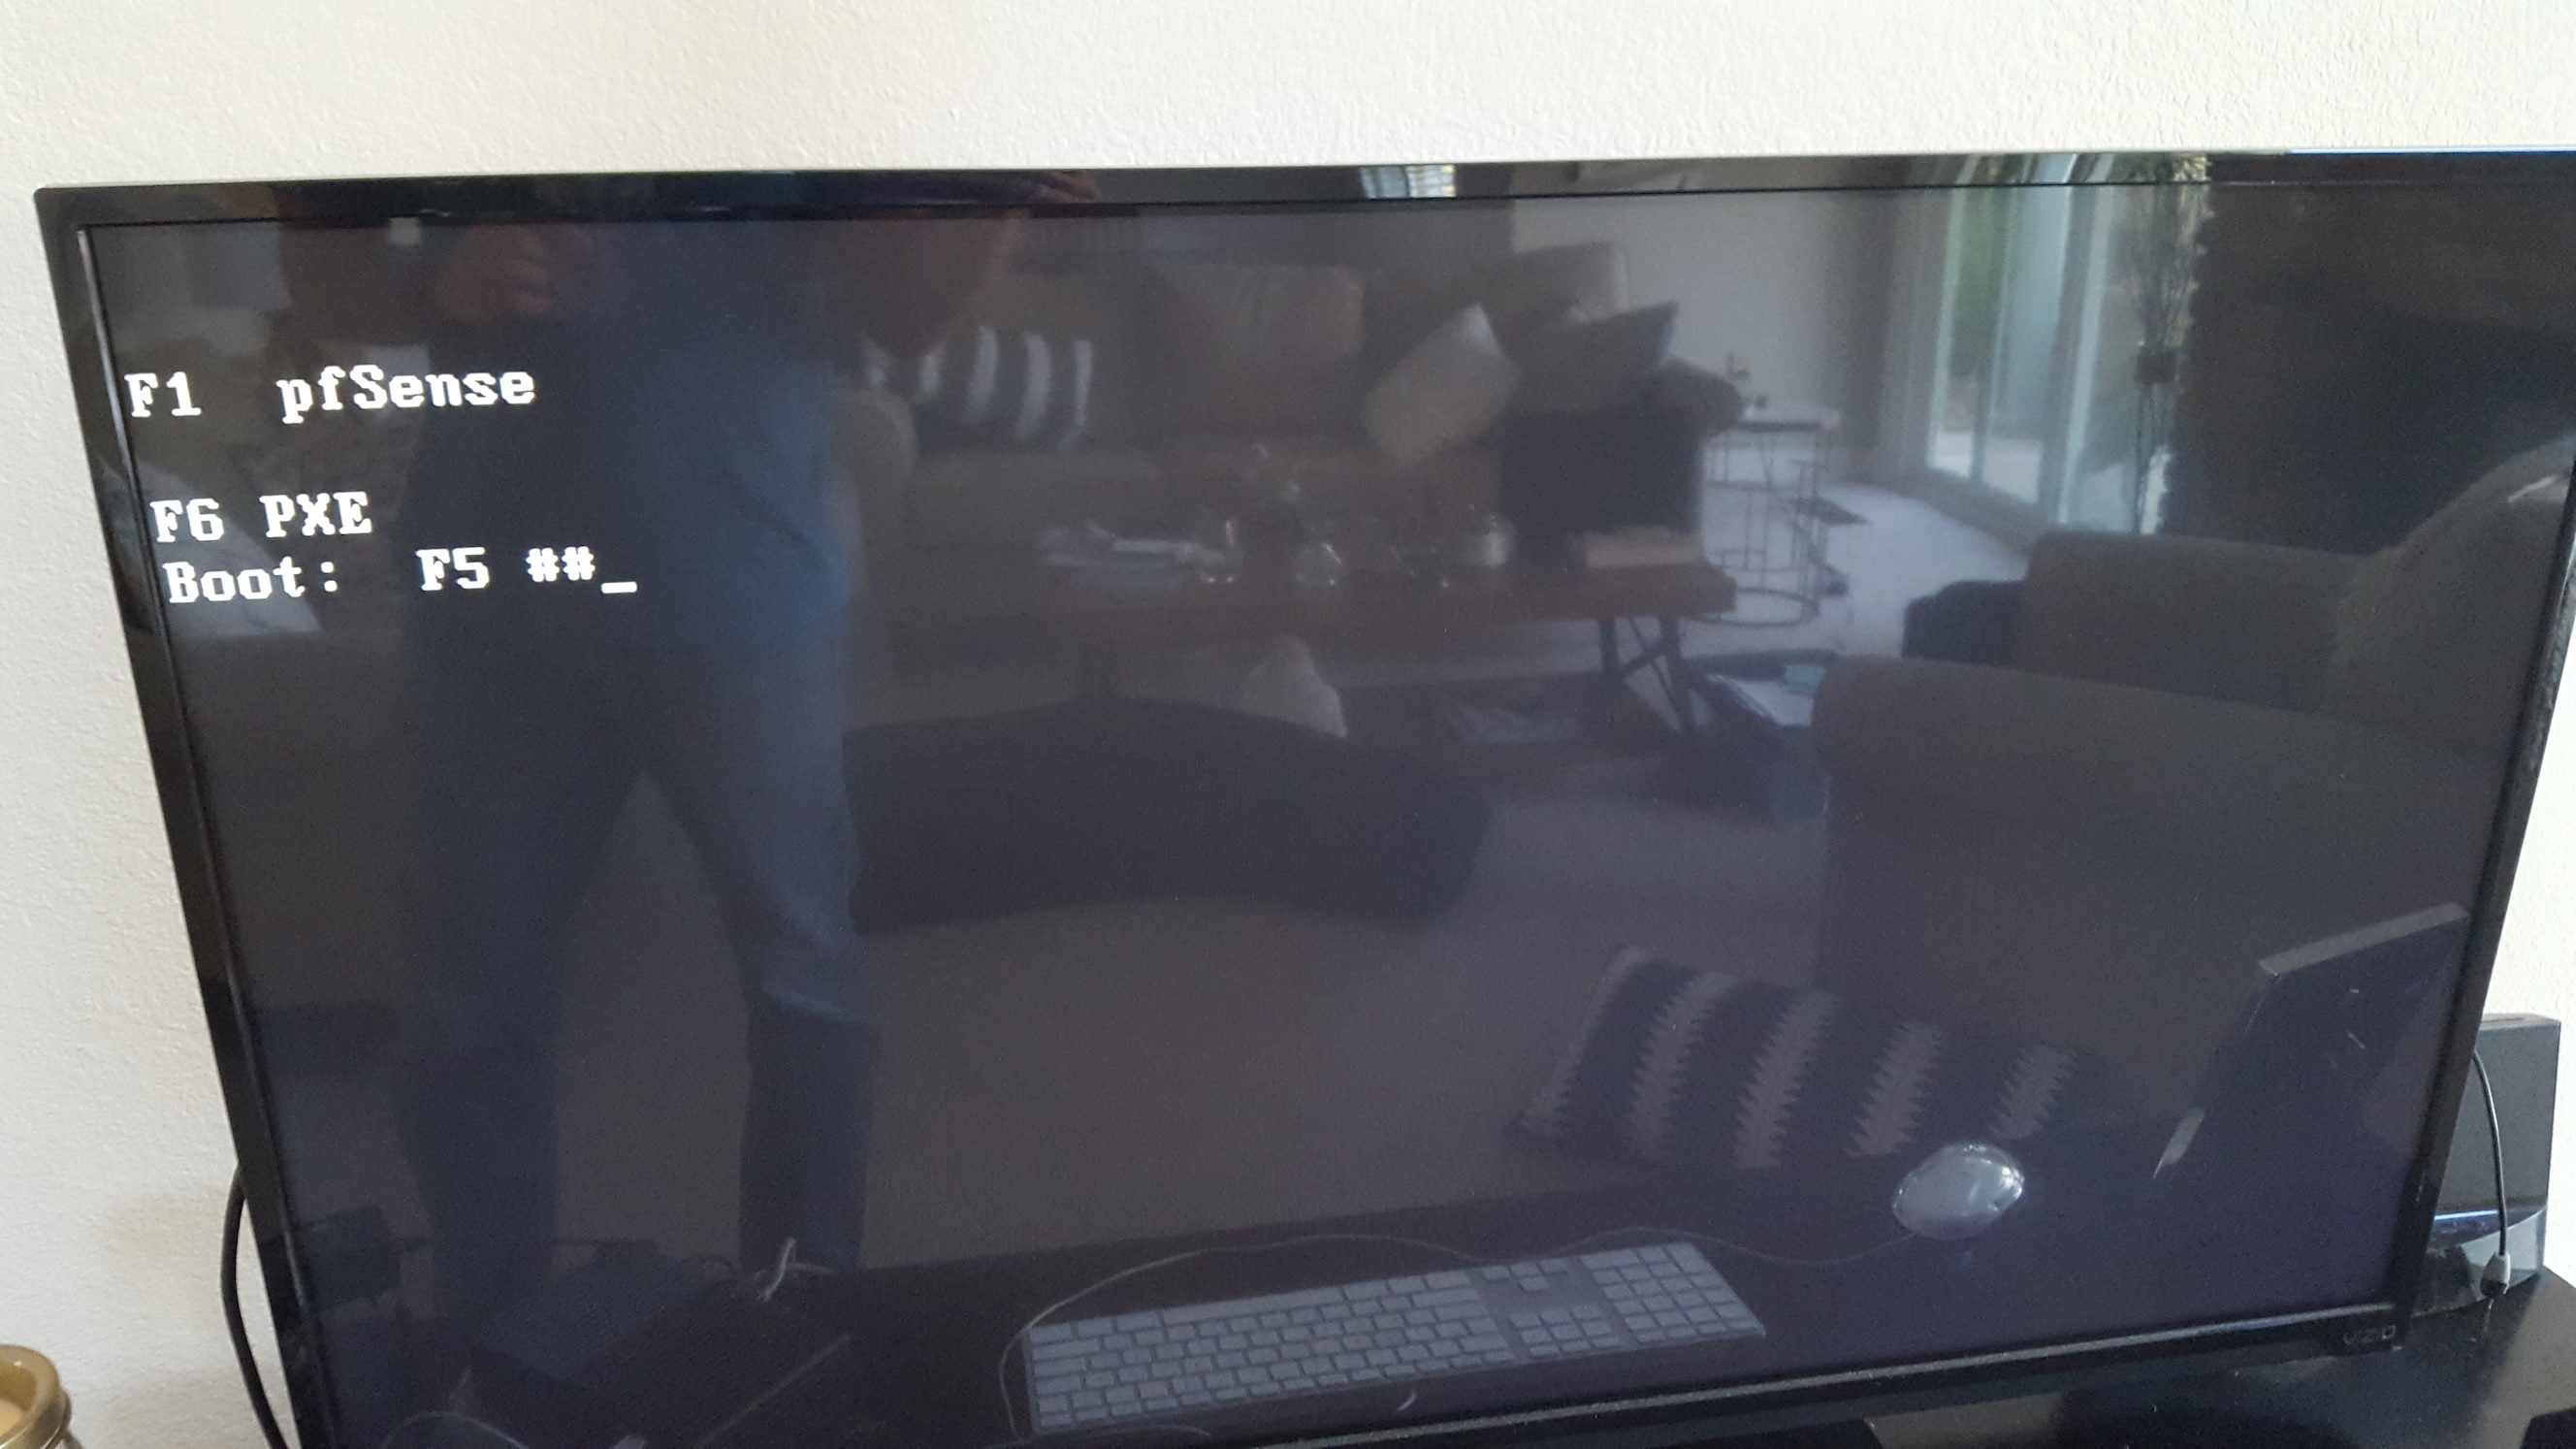
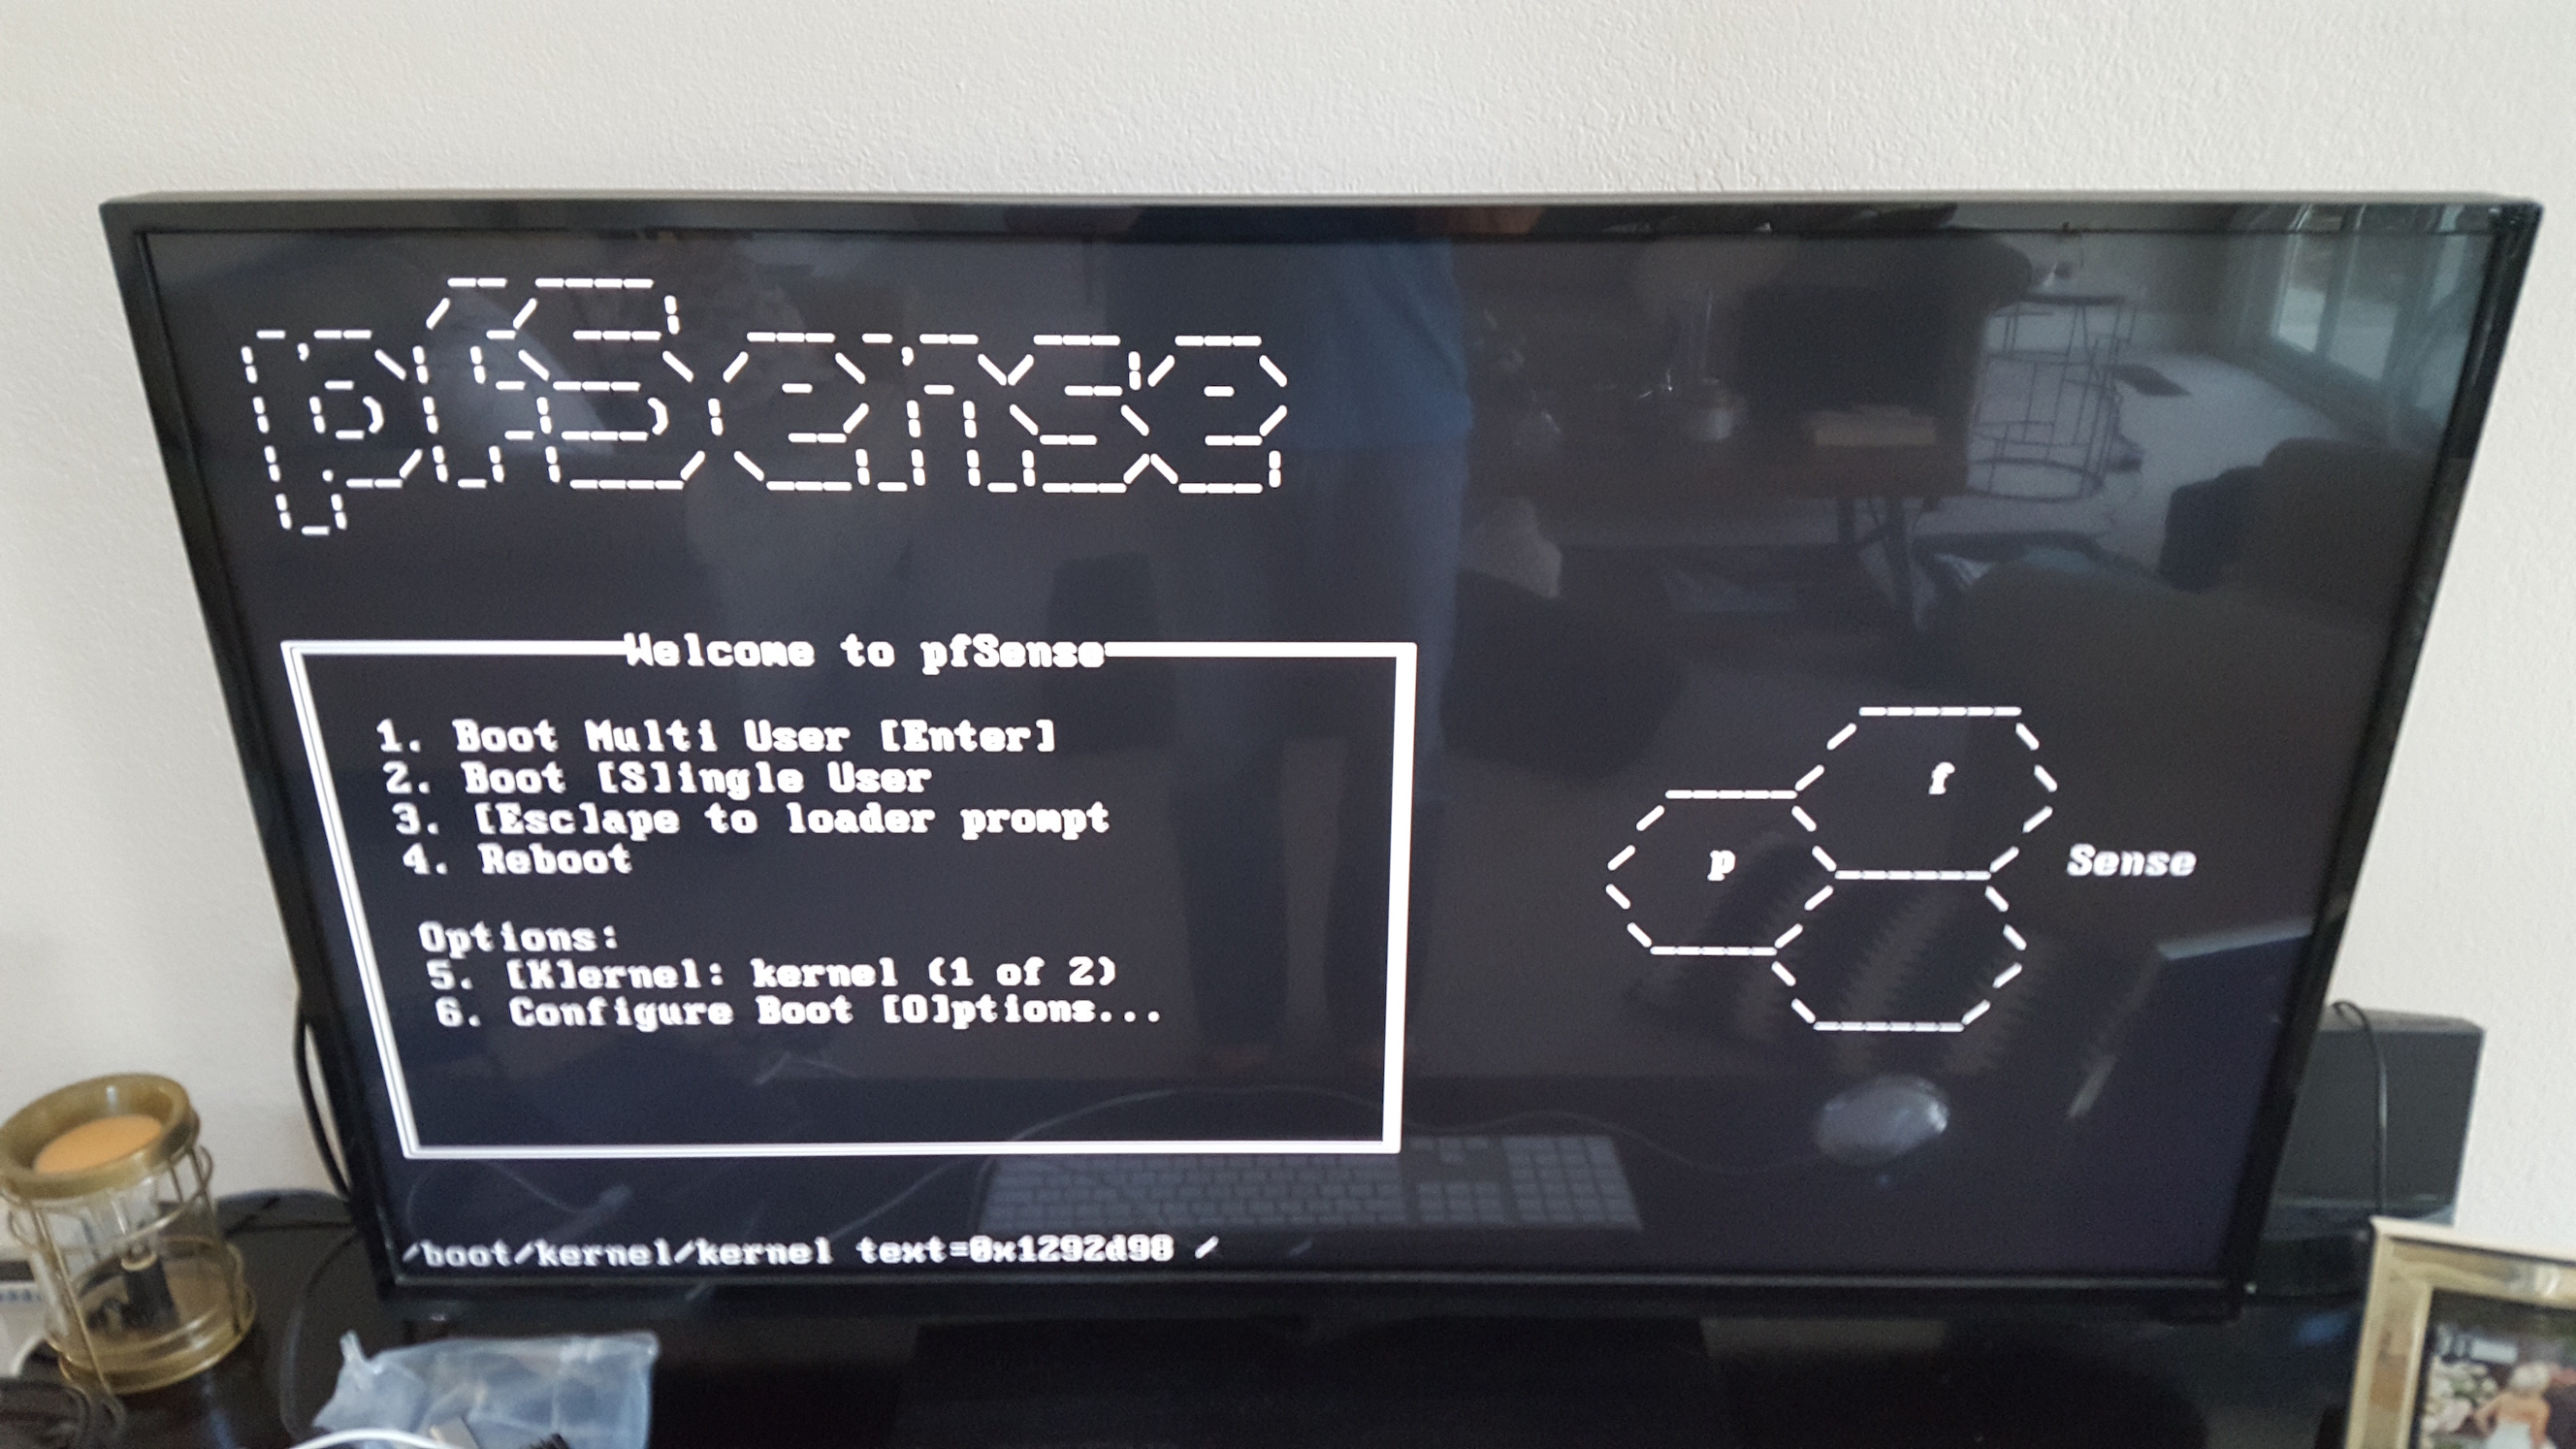
I made a USB stick install of pfSense and inserted it into an open port and booted it up after connecting to my HDMI TV. The BIOS needed me to hit F5 to boot from the USB.


After installing, you can reboot and remove the USB drive to boot it from the fresh install on the SSD.
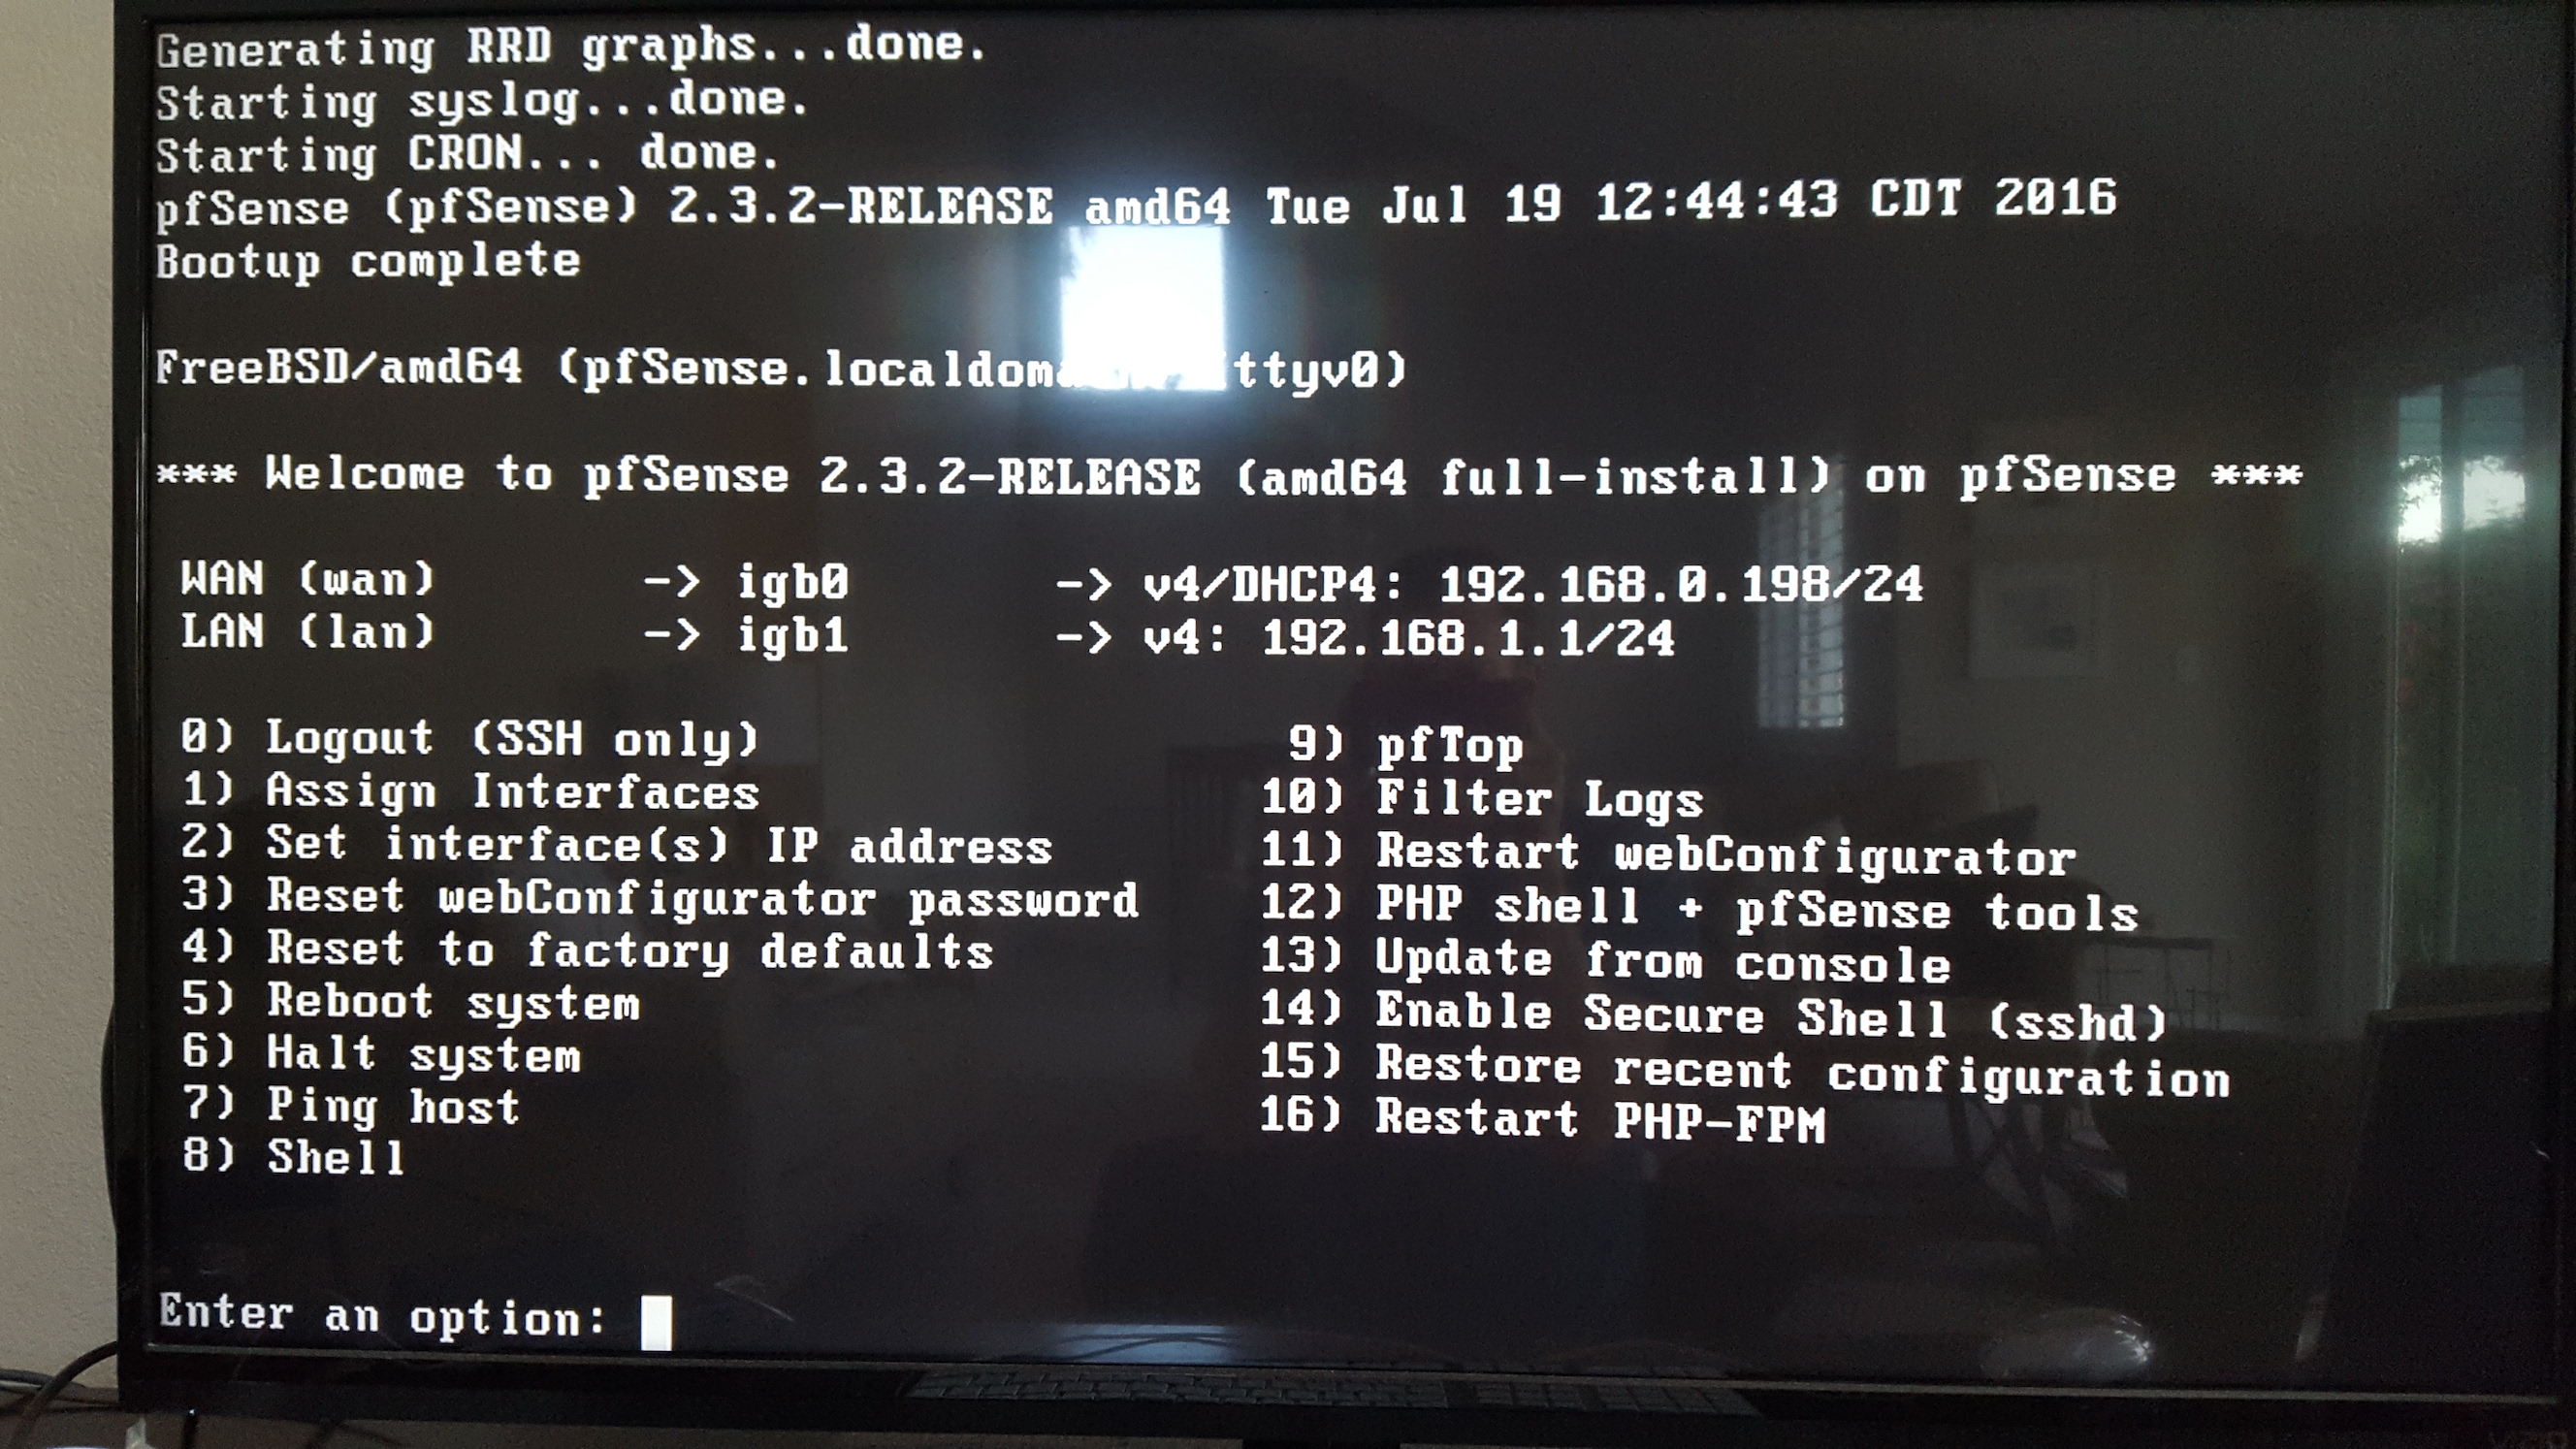
pfSense Setup
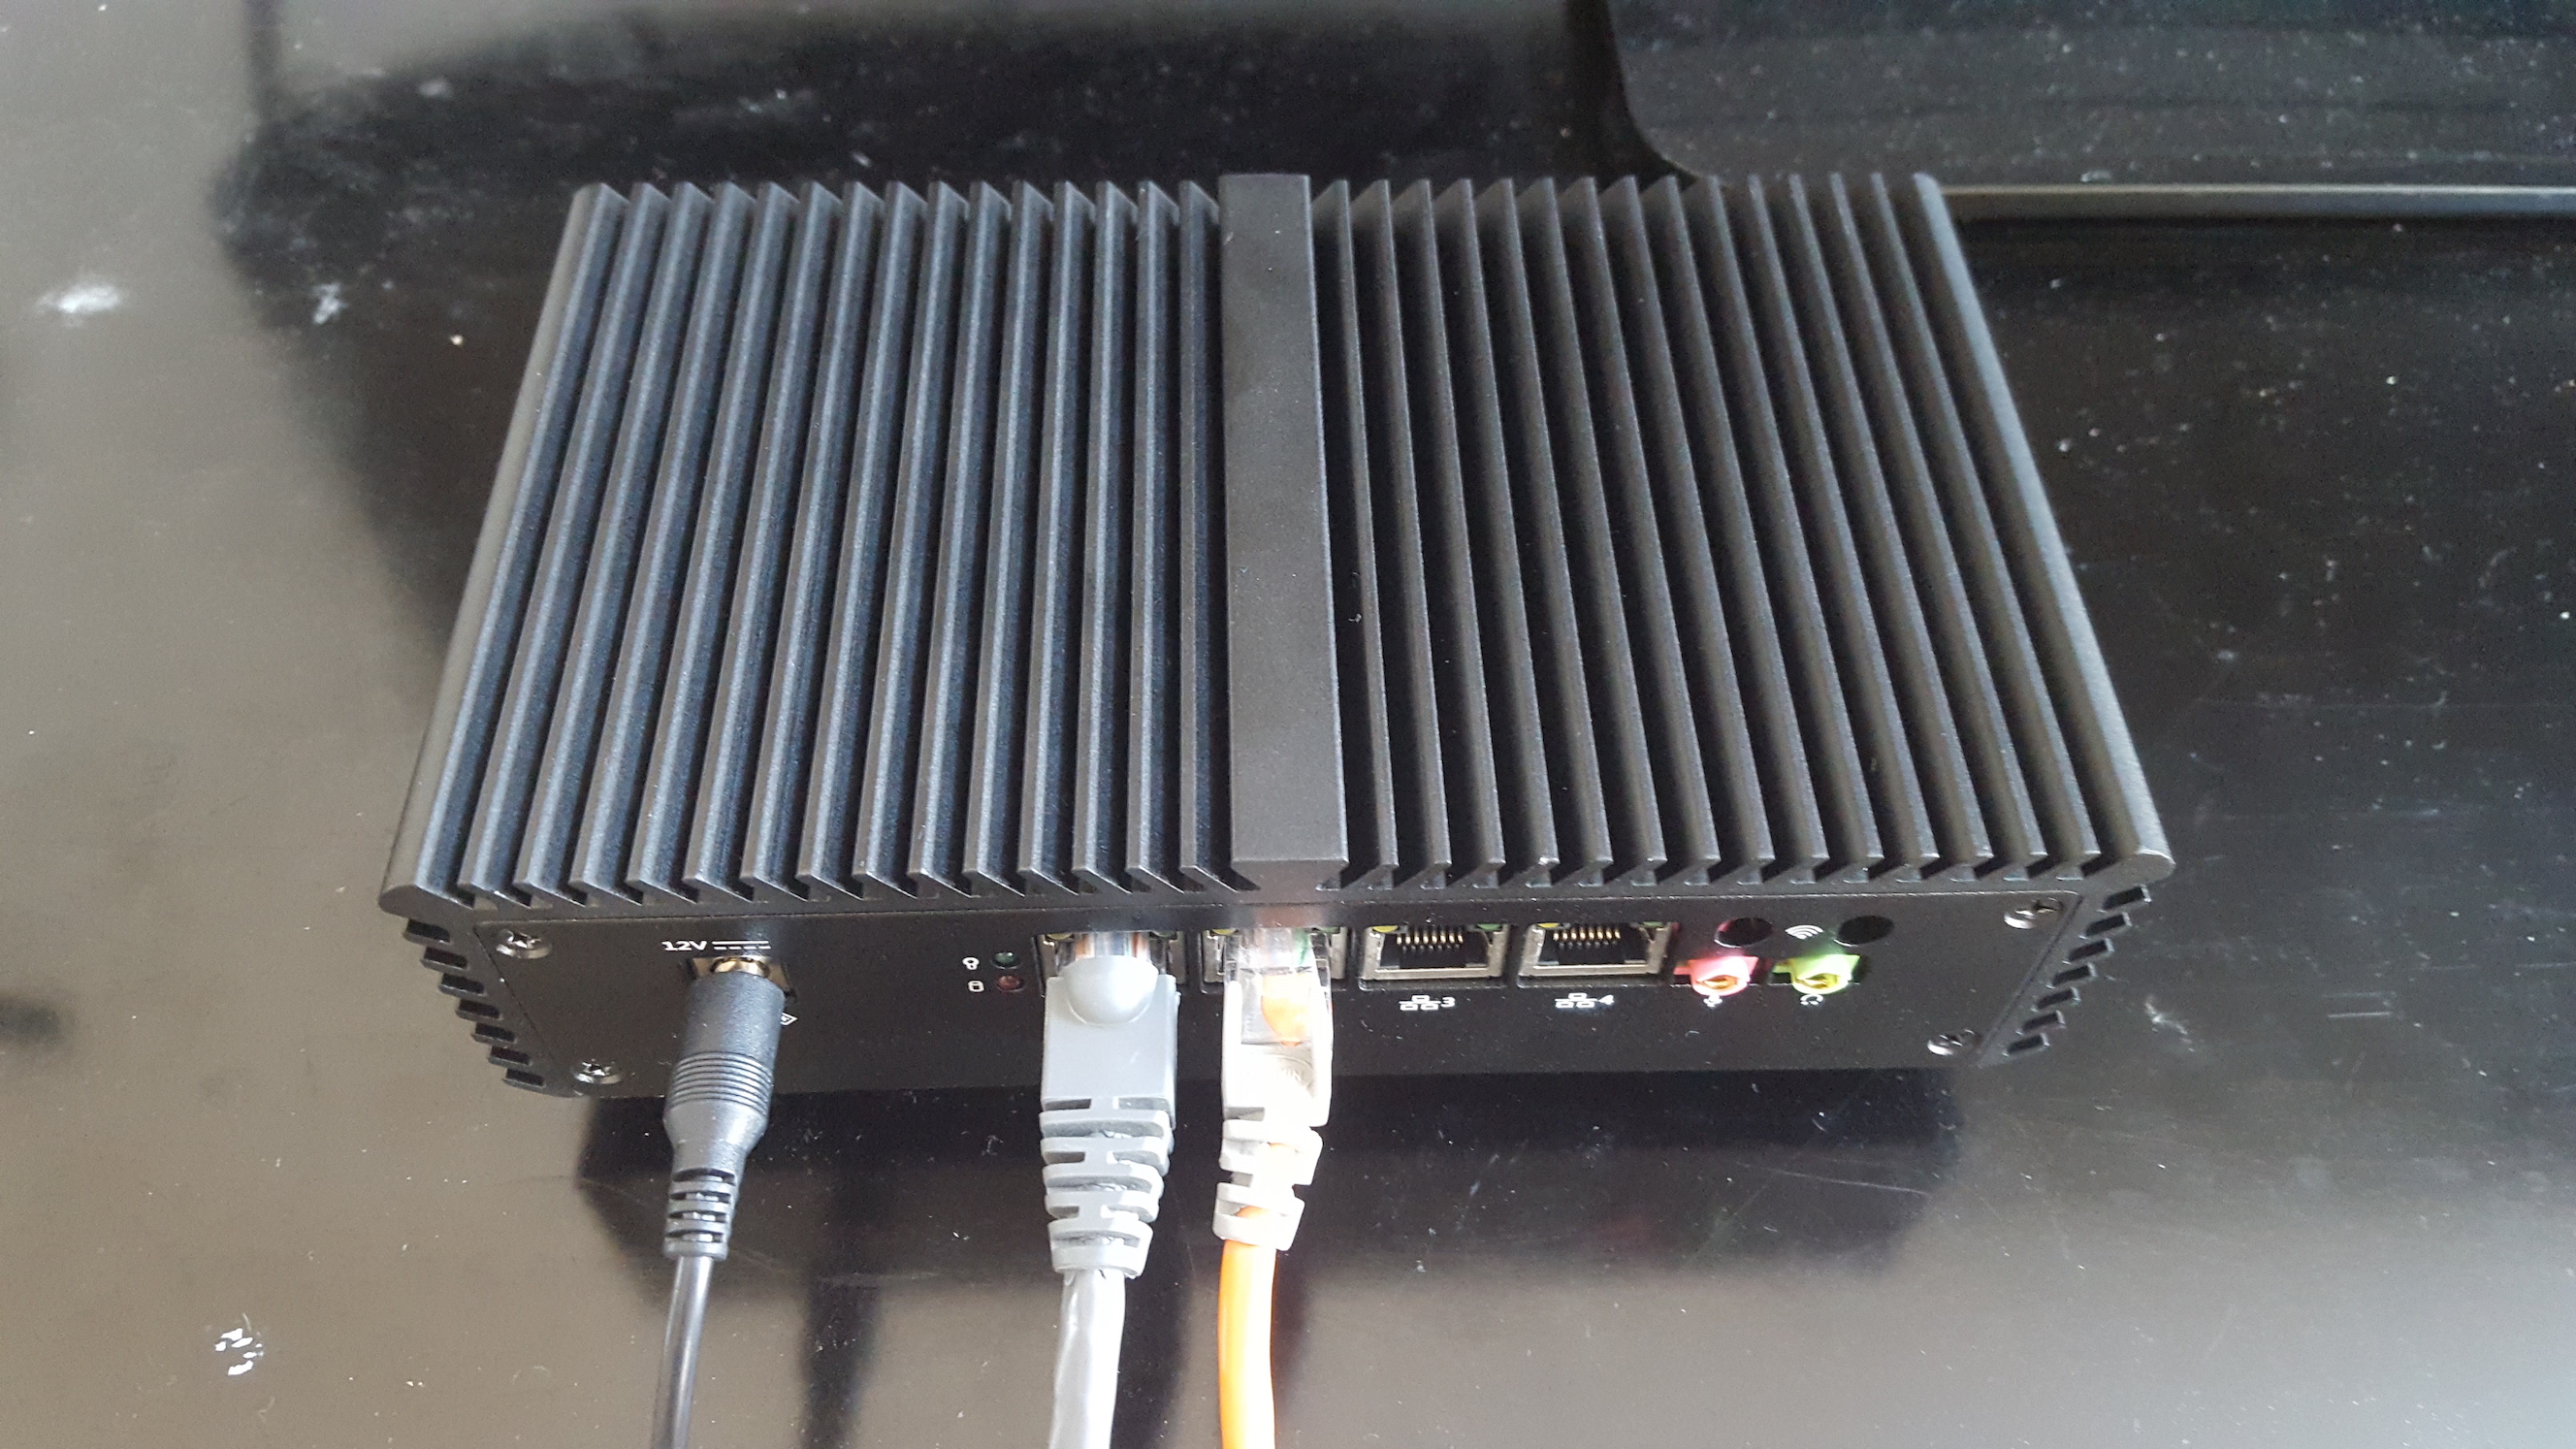
Before you can begin, you need to assign interfaces. This is option 1 from the main screen and it will ask you what port will be used for WAN (usually your ISP’s modem) and what will be LAN (your private local network). You can also assign OPT (optional) interfaces if you like, or just wait until you get into the web GUI to do that. For a small home network you probably don’t need to worry about it, but you’re welcome to explore and try it out! If you don’t know what port is what on your new device (I didn’t and the port numbers don’t seem to match what I thought they would), you can unplug your cables, have it automatically recognize the port, and plug in the cable when it’s ready. I recommend this since I didn’t know if the ports went in order (surprise surprise, they don’t).

Q190G4 Ethernet Port Identification
There are four ports on the back numbered 1-4 and pfSense identified them as follows:
Port 1 -> igb0
Port 2 -> igb2
Port 3 -> igb3
Port 4 -> igb1
In my mind these should go in order, but for whatever reason they don’t and that’s why I think the auto option is the best for this. YMMV so check your own ports to double-check.
Power Usage
Plugged into a Kill-a-Watt the box pulls 8.8-8.9 watts.
Using http://www.rapidtables.com/calc/electric/energy-cost-calculator.htm and my power cost of $0.18212 – $0.2409 per kWh (depending on the Usage Tier where I live), the Q190G4 will cost $14.0393 – $18.5705 a year to run 24/7/365.
Fan or No Fan?
Without a load or the fan installed, this is the output of the thermal sensors:

And with no load but the fan running I get:
Obviously lowering the temperature by 7°C is a good improvement. But is it worth it? According to cpu-world.com the maximum operating temperature of the Intel Celeron 3215U is 105°C and I am nowhere near that to start with. Additionally, pcadvisor.co.uk says to keep your CPU temp between 45-50°C and even when routing a significant amount of traffic, I don’t see the CPU load going up very much. But other than fan noise, the fan pulls about 1 Watt of power and that comes to $1.10-$1.50 a year so I consider the cost a wash. I think going forward I will try it without the fan and install it if my temps go up once it’s locked in a server closet with other electronics.
UPDATE: After being in the closet with several other pieces of hardware, the temperature starting running around 50°C. I threw the fan on with some 3M mounting tape and that brought it down to around 40°C.

Just a quick note that what you actually have here is the Q310G4 (with the newer, dual core 3215U CPU), not the Q190G4 (which is an older, quad core J9000 CPU). Qotom seems to be selling the new model under the old name on Amazon in order to maintain the reviews, but it is a different device.
Nice post!
Thanks for sharing your ideas! There are, nevertheless, some pitfalls when it comes to
clinic. When I was a school student, I thought how one should tackle this matter but I’d
always encounter some funny responses: go google it or even ask for
a friend. What if my friends do not have sufficient knowledge or expertise to help me?
Imagine when I googled it several times and could not find the answer?
That’s when posts like this one can provide appropriate guidance on the matter.
Once again, thank you for your work!
Glad it was helpful!