Now to be honest, I don’t think I needed to replace my wheel bearings. They could probably have just been cleaned and regreased, but the cost was around $70 for both front bearings and the grease seals, and since I was already doing a brake job and replacing the auto locking hubs, it wasn’t much more work. Also, my Trooper is from 1991 and I think the bearings were never repacked since the factory. The service manual says they need it every 30,000 miles, and I was about 180,000 miles overdue!
It’s always important to be comfortable when working on your car!
Block the rear wheel to keep from rolling over a neighborBreak the lug nuts freeJack the Trooper upUse a jack stand too, just in caseRemove the lug nuts and the wheel
Removing the Brakes
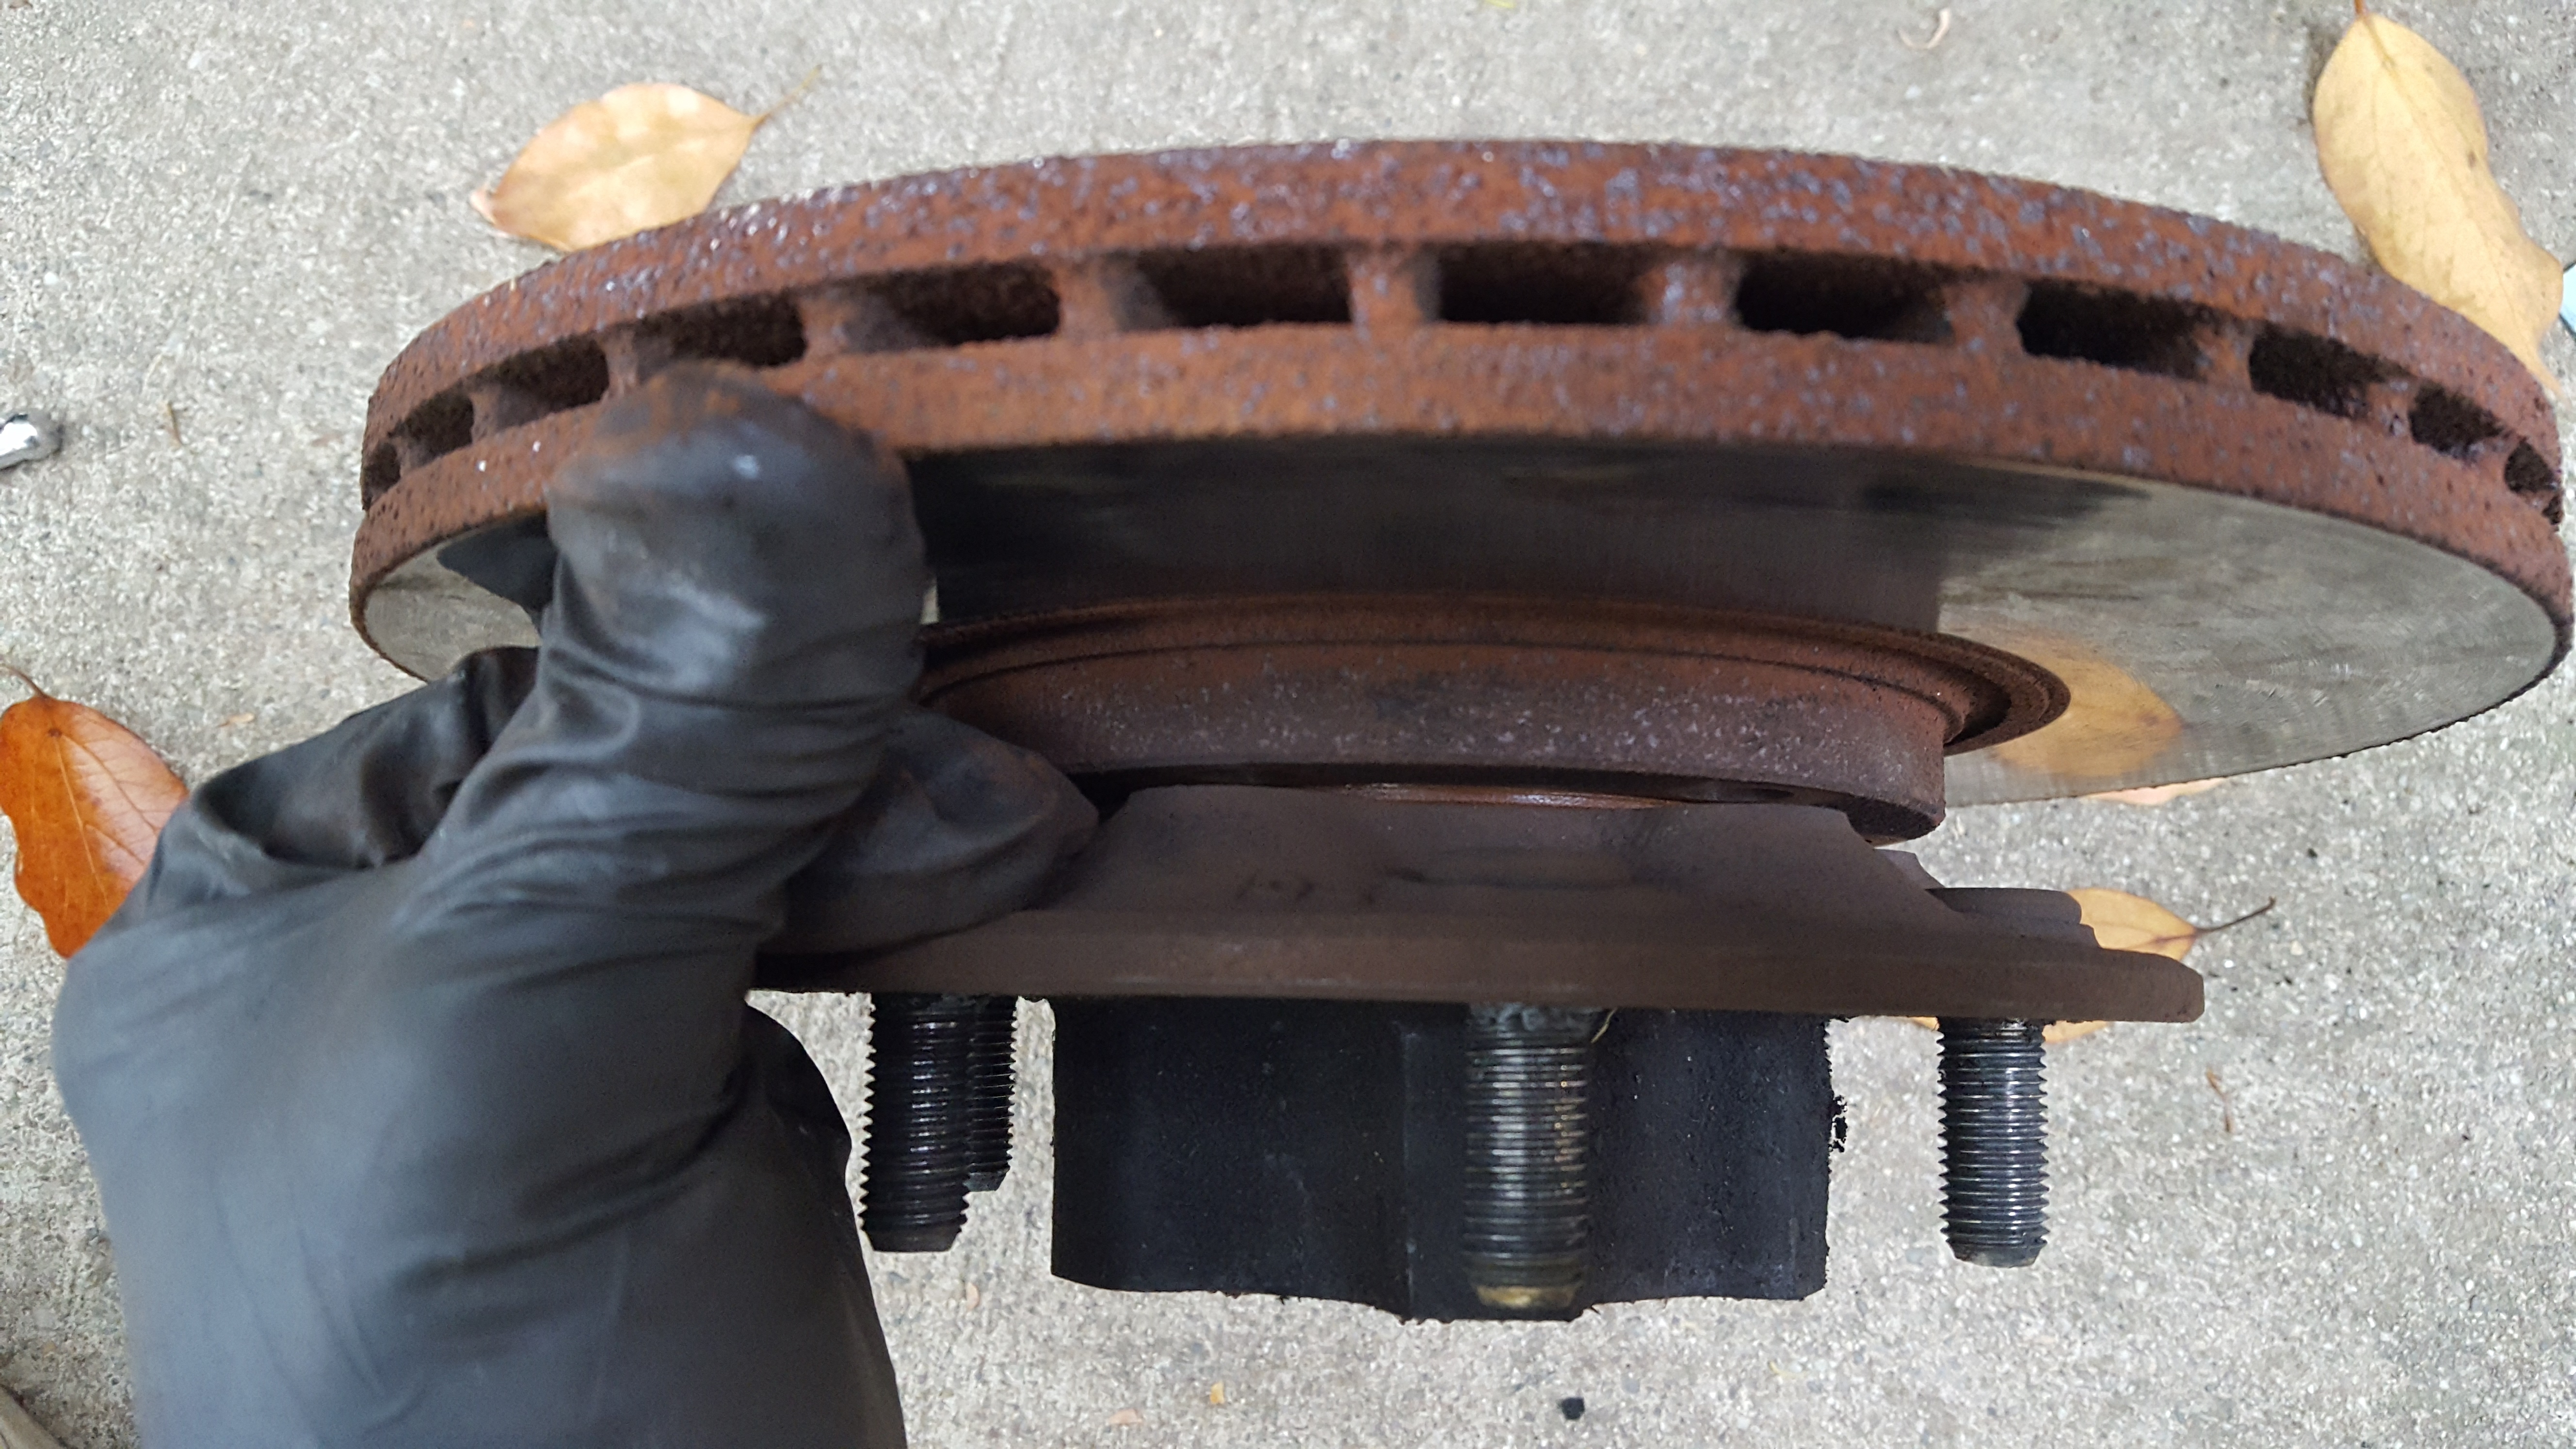
Remove the caliper mounting bracket’s two bolts and hang the whole brake assembly out of the way without twisting the brake line or dislodging the brake pads. They are torqued to 103-126 ft-lbs so bring your A-game
Disassembly
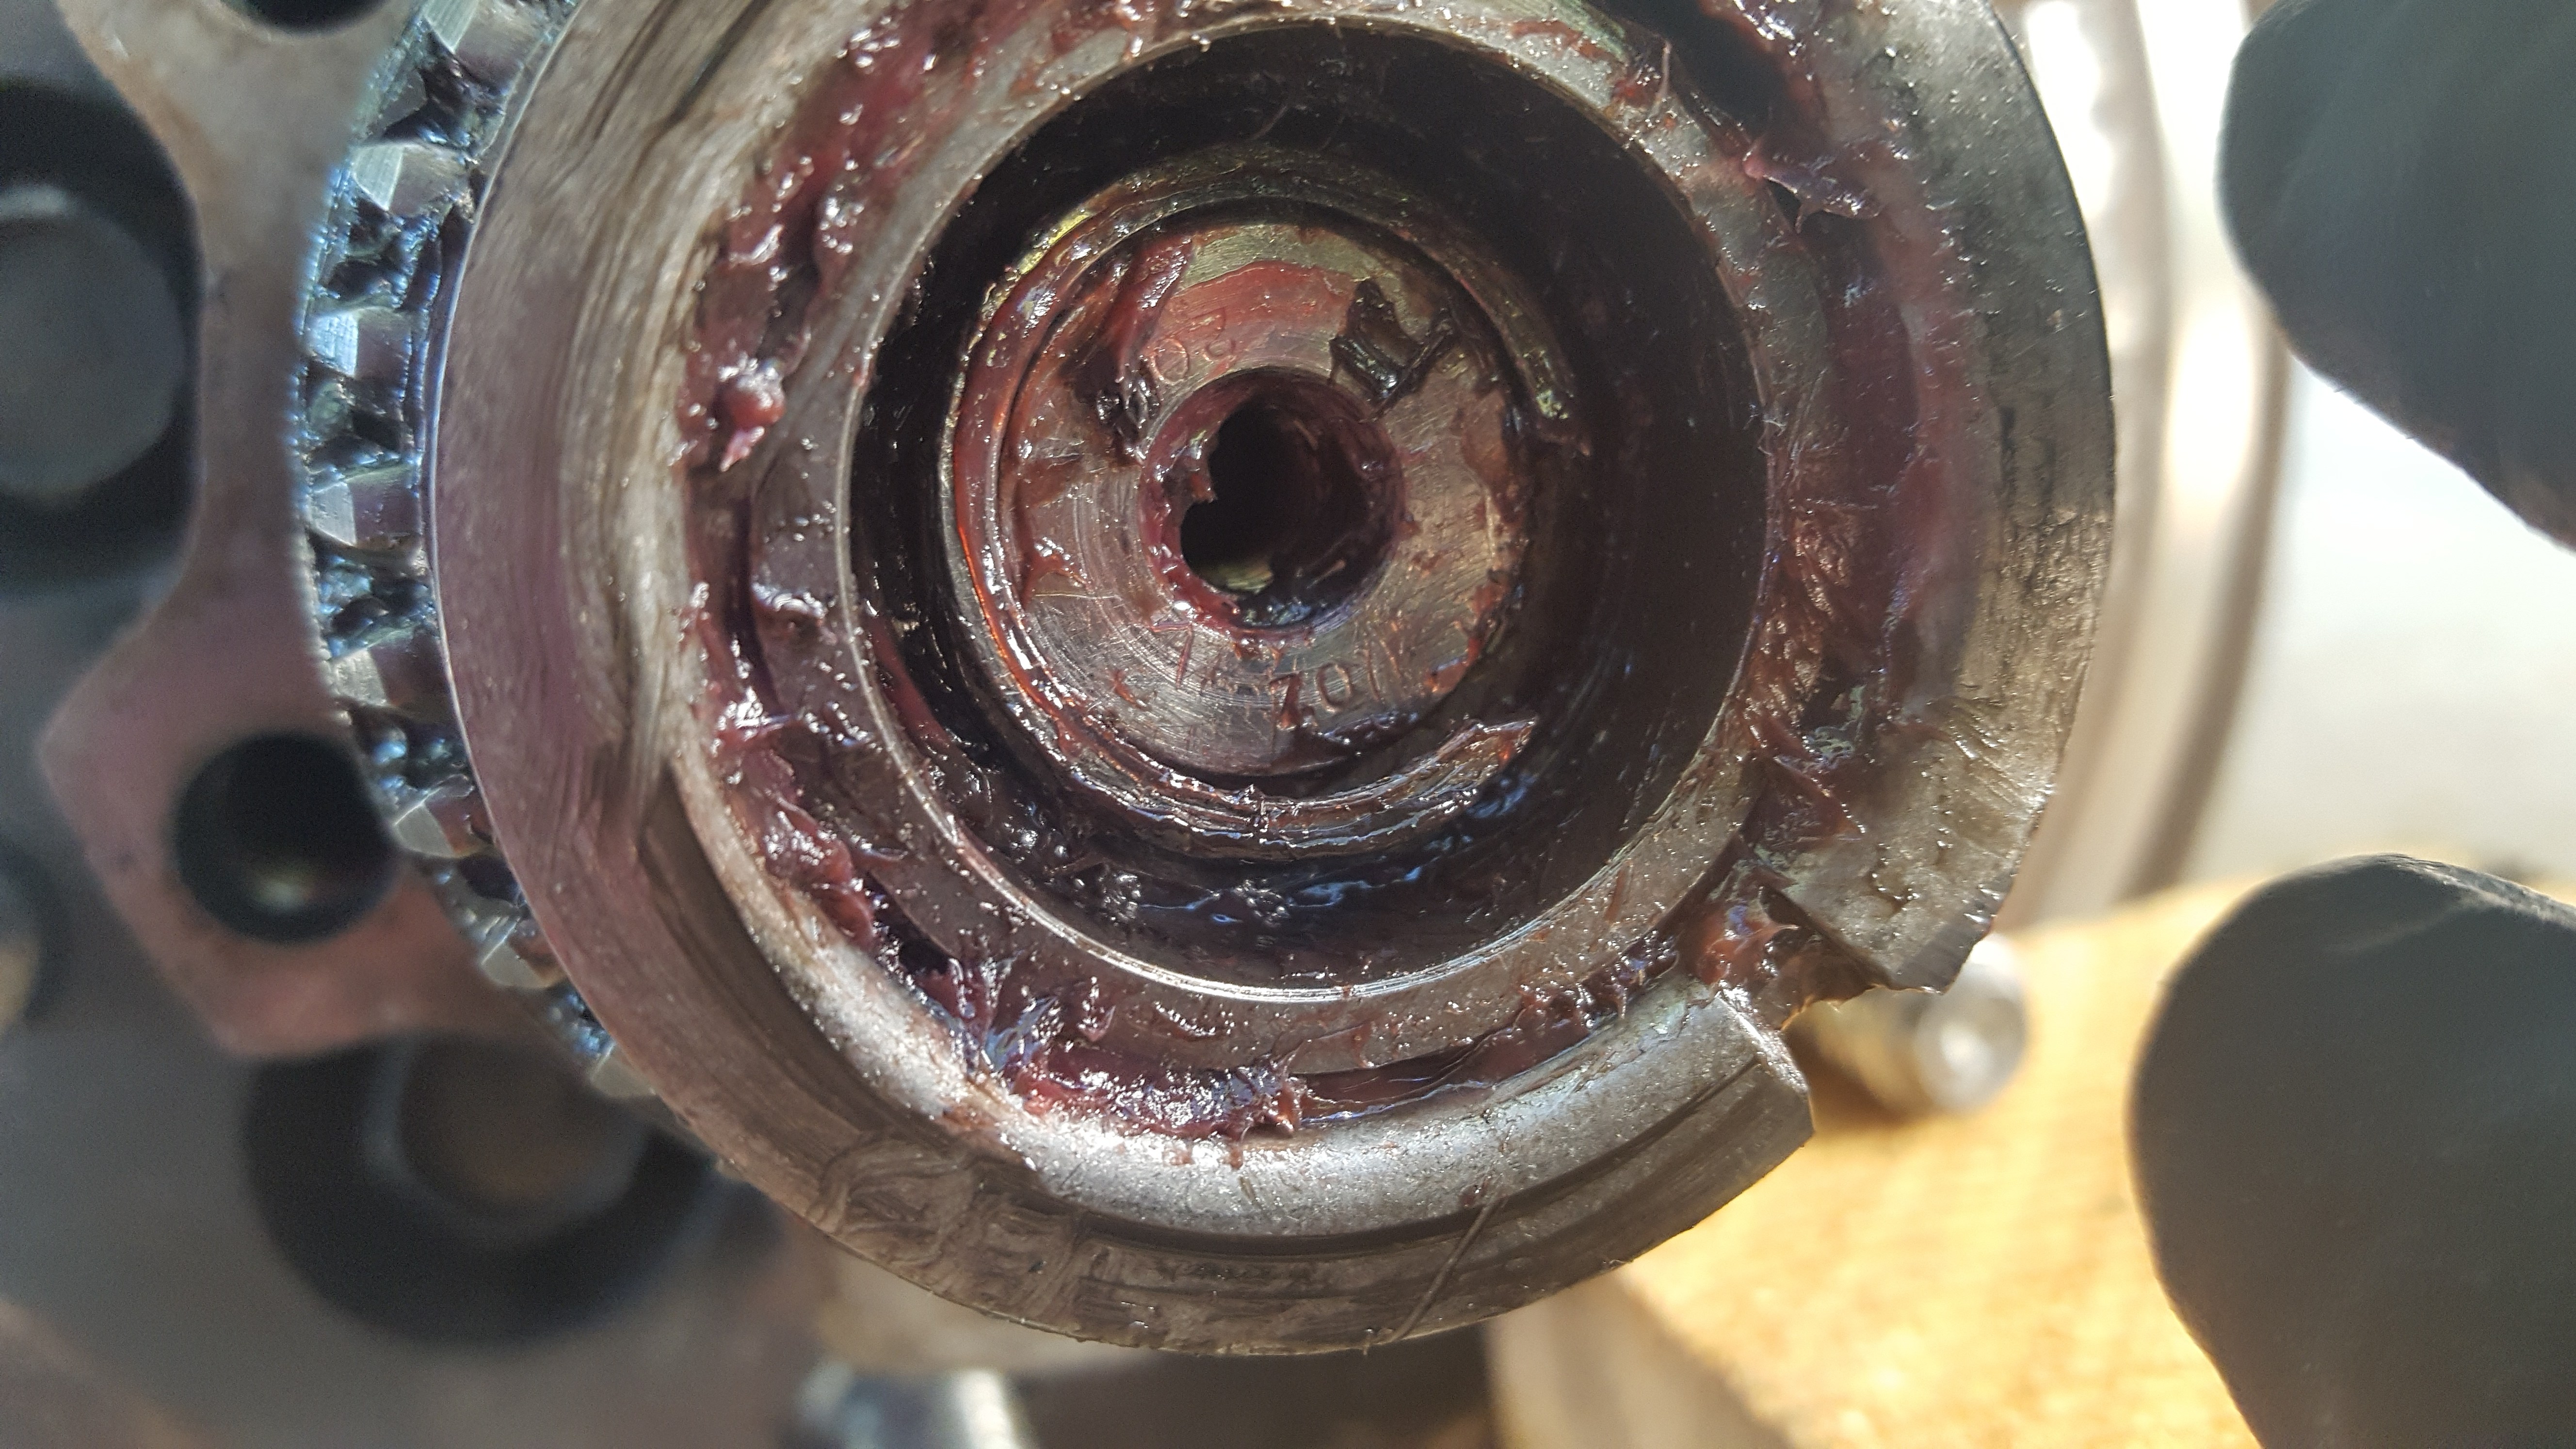
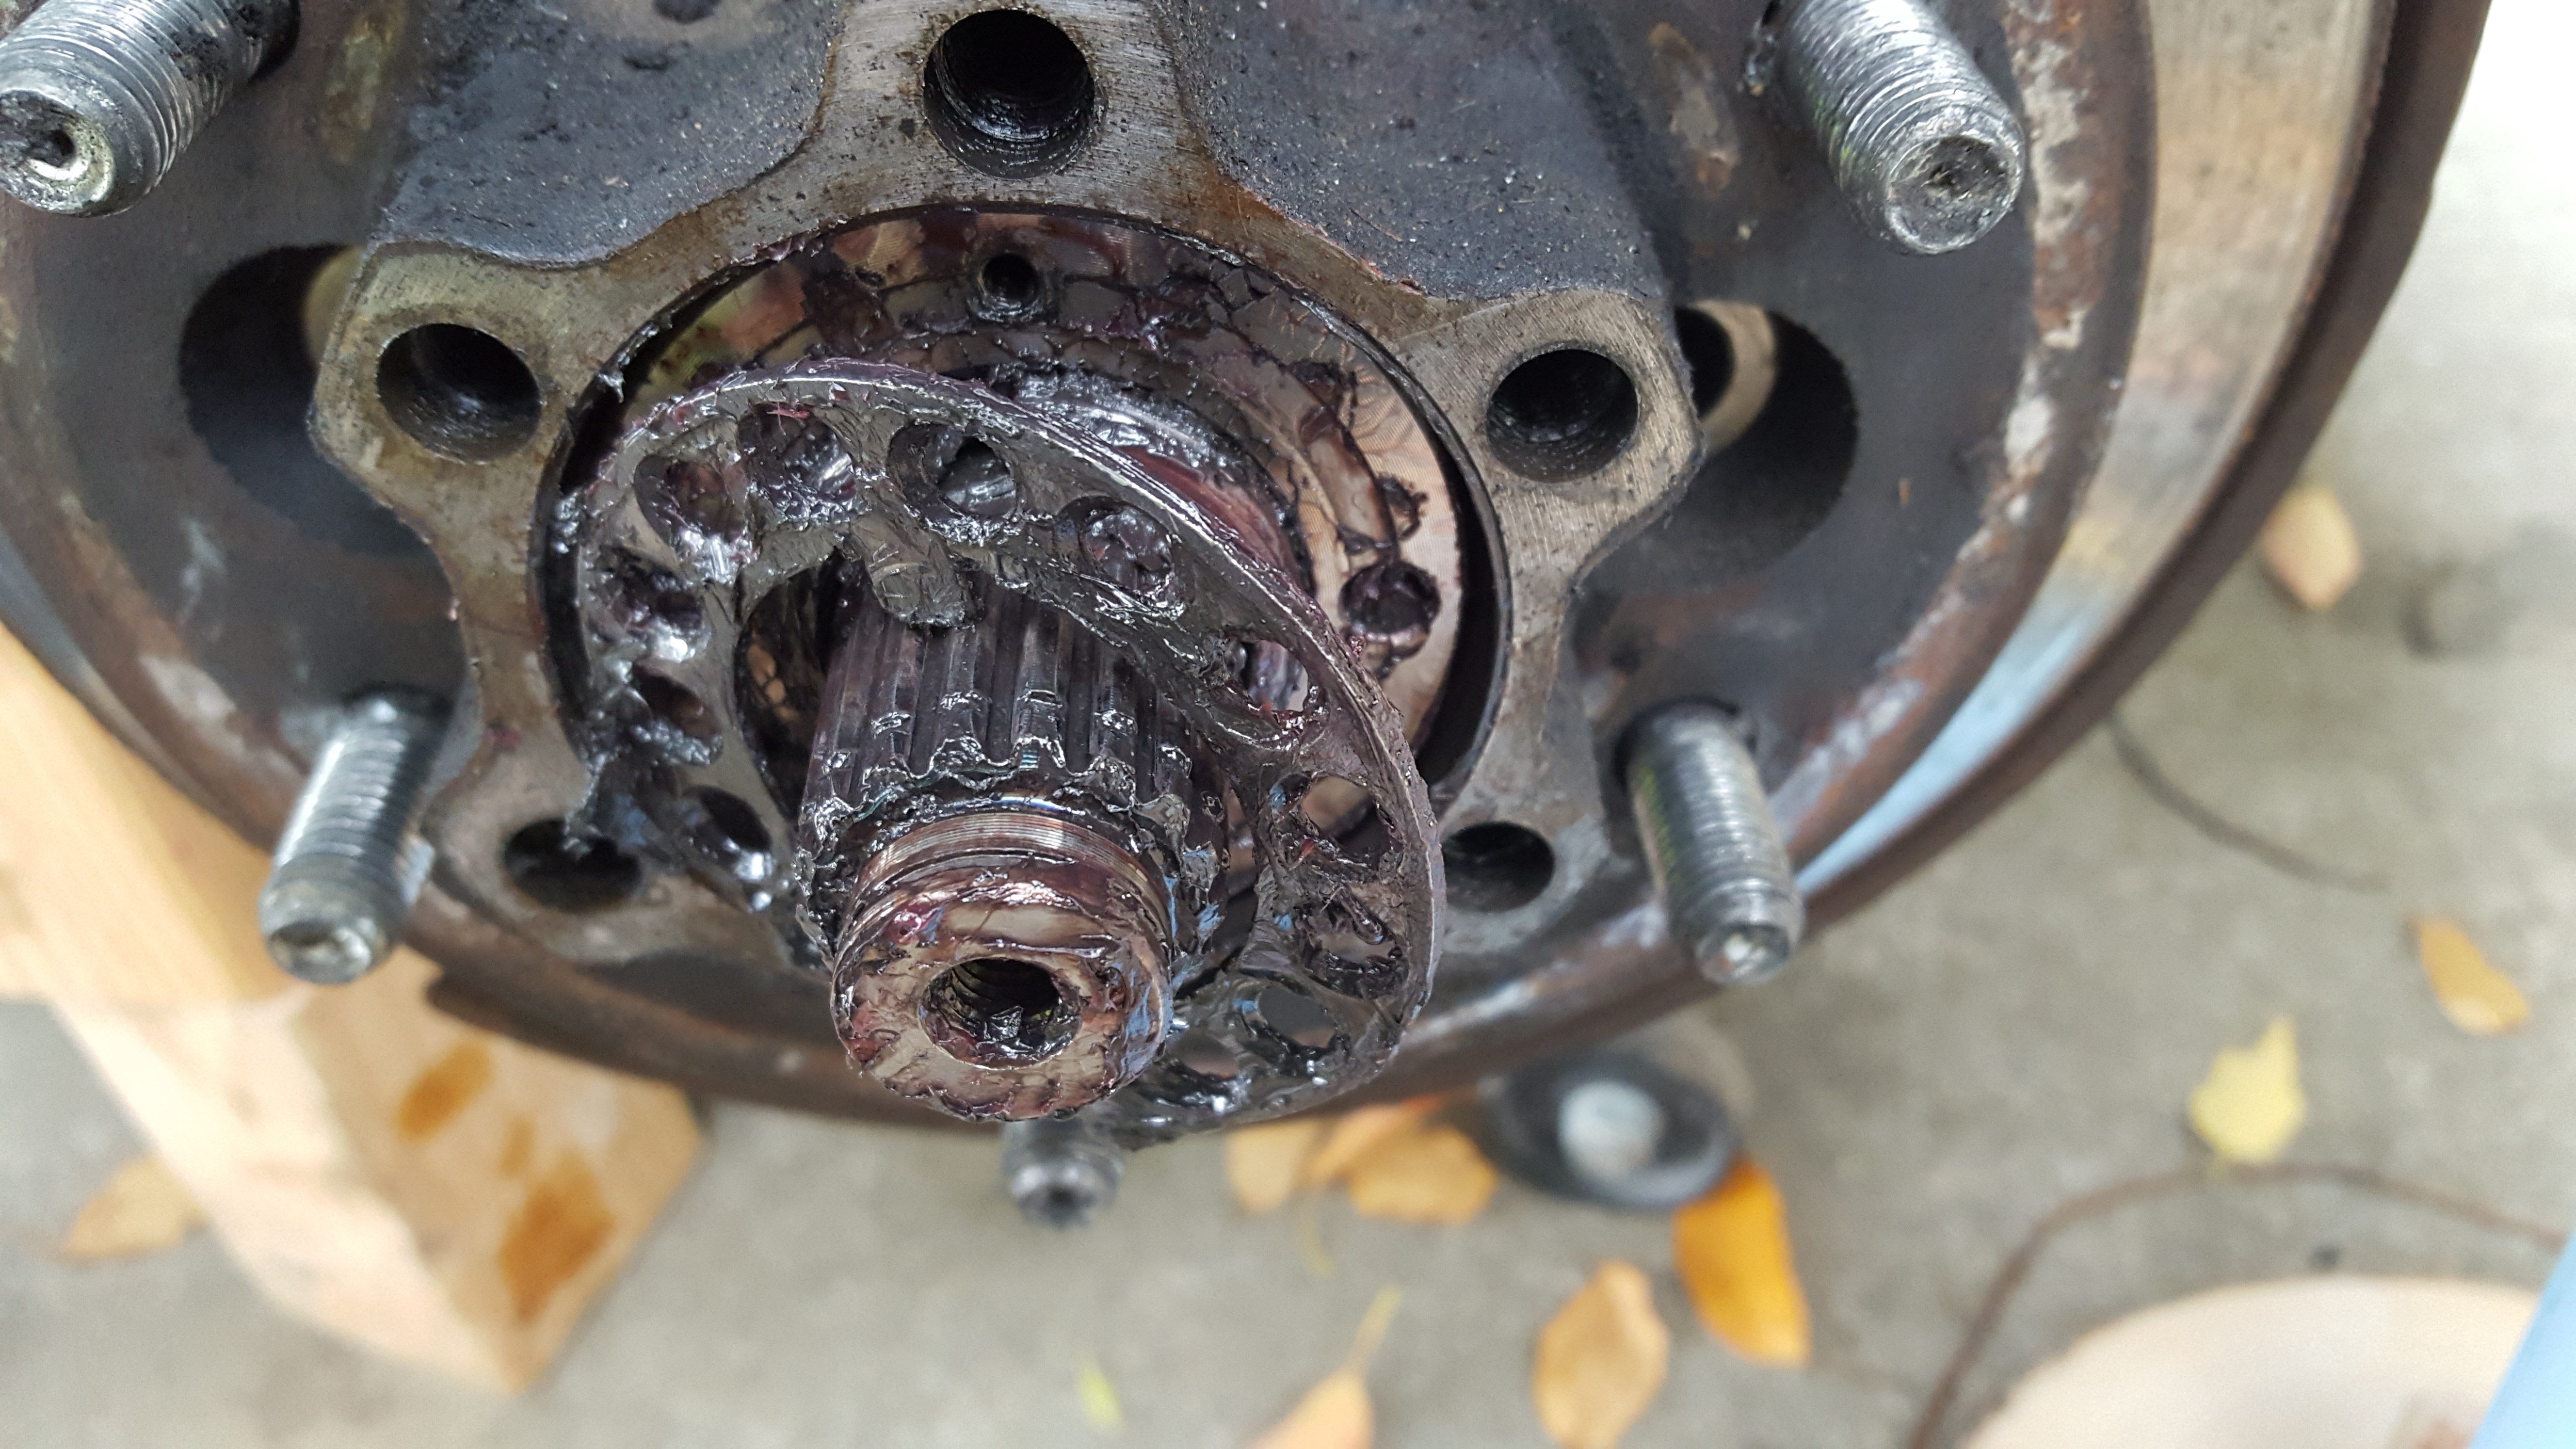
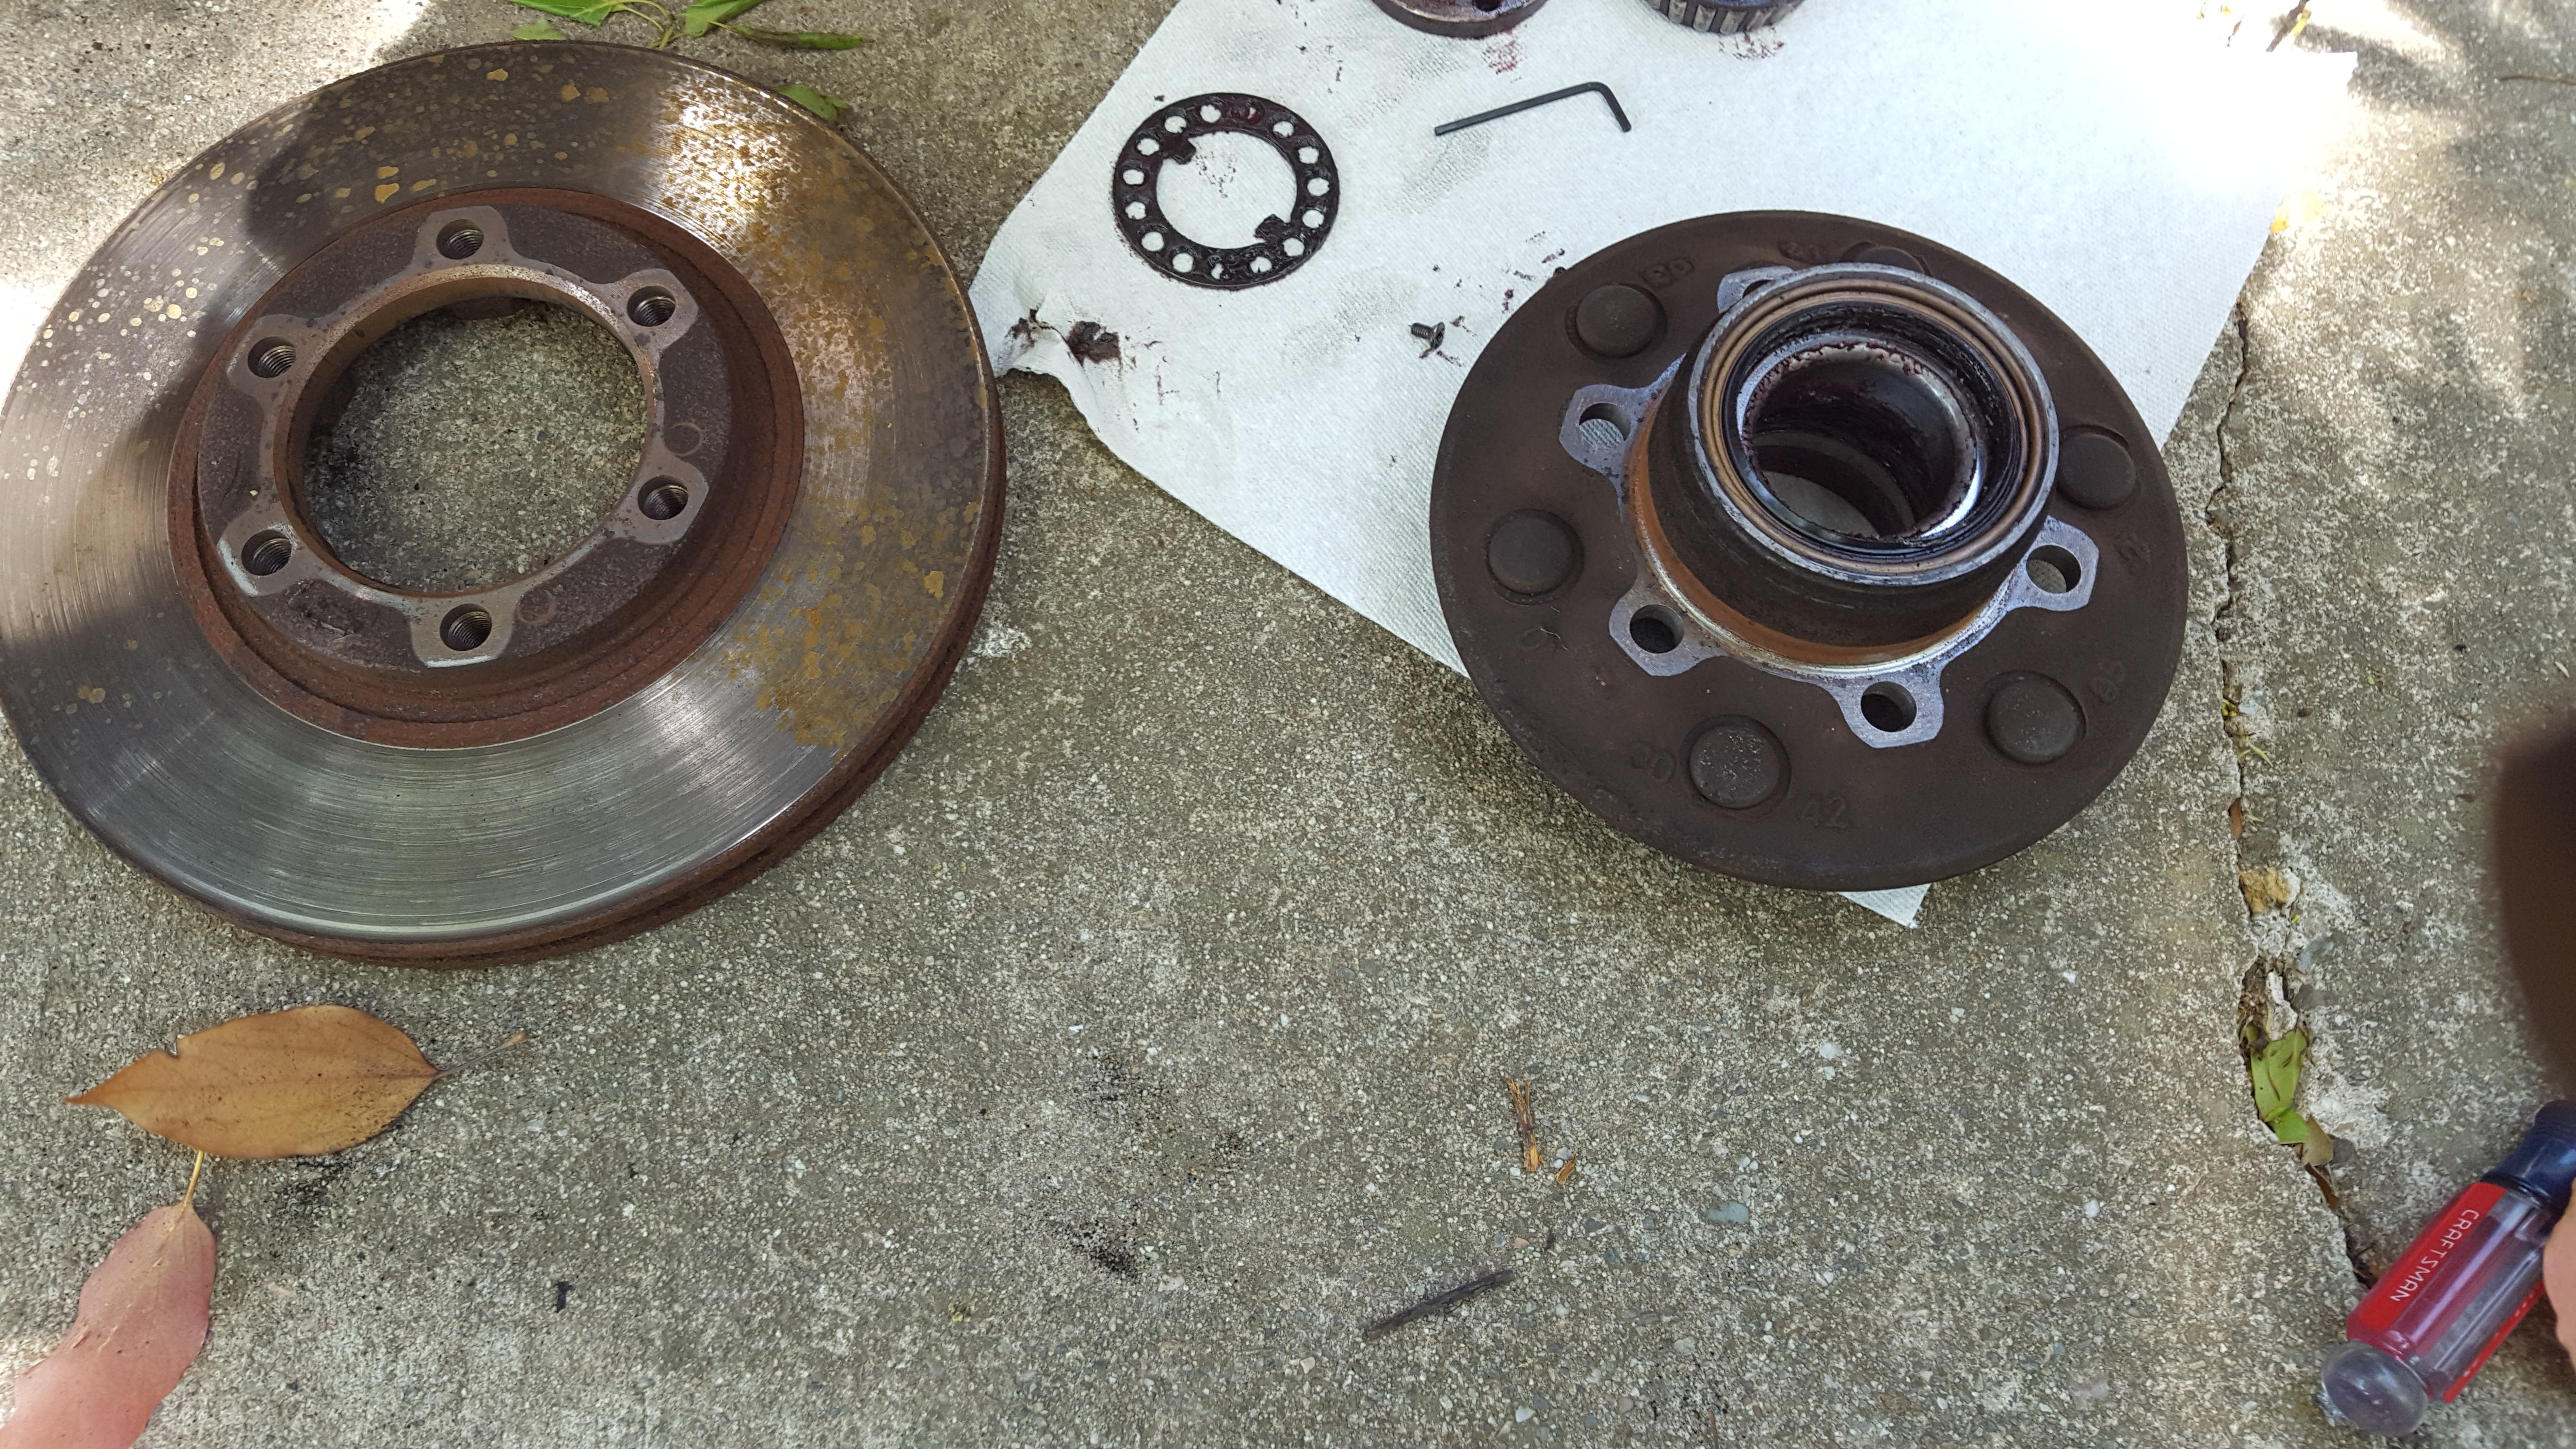
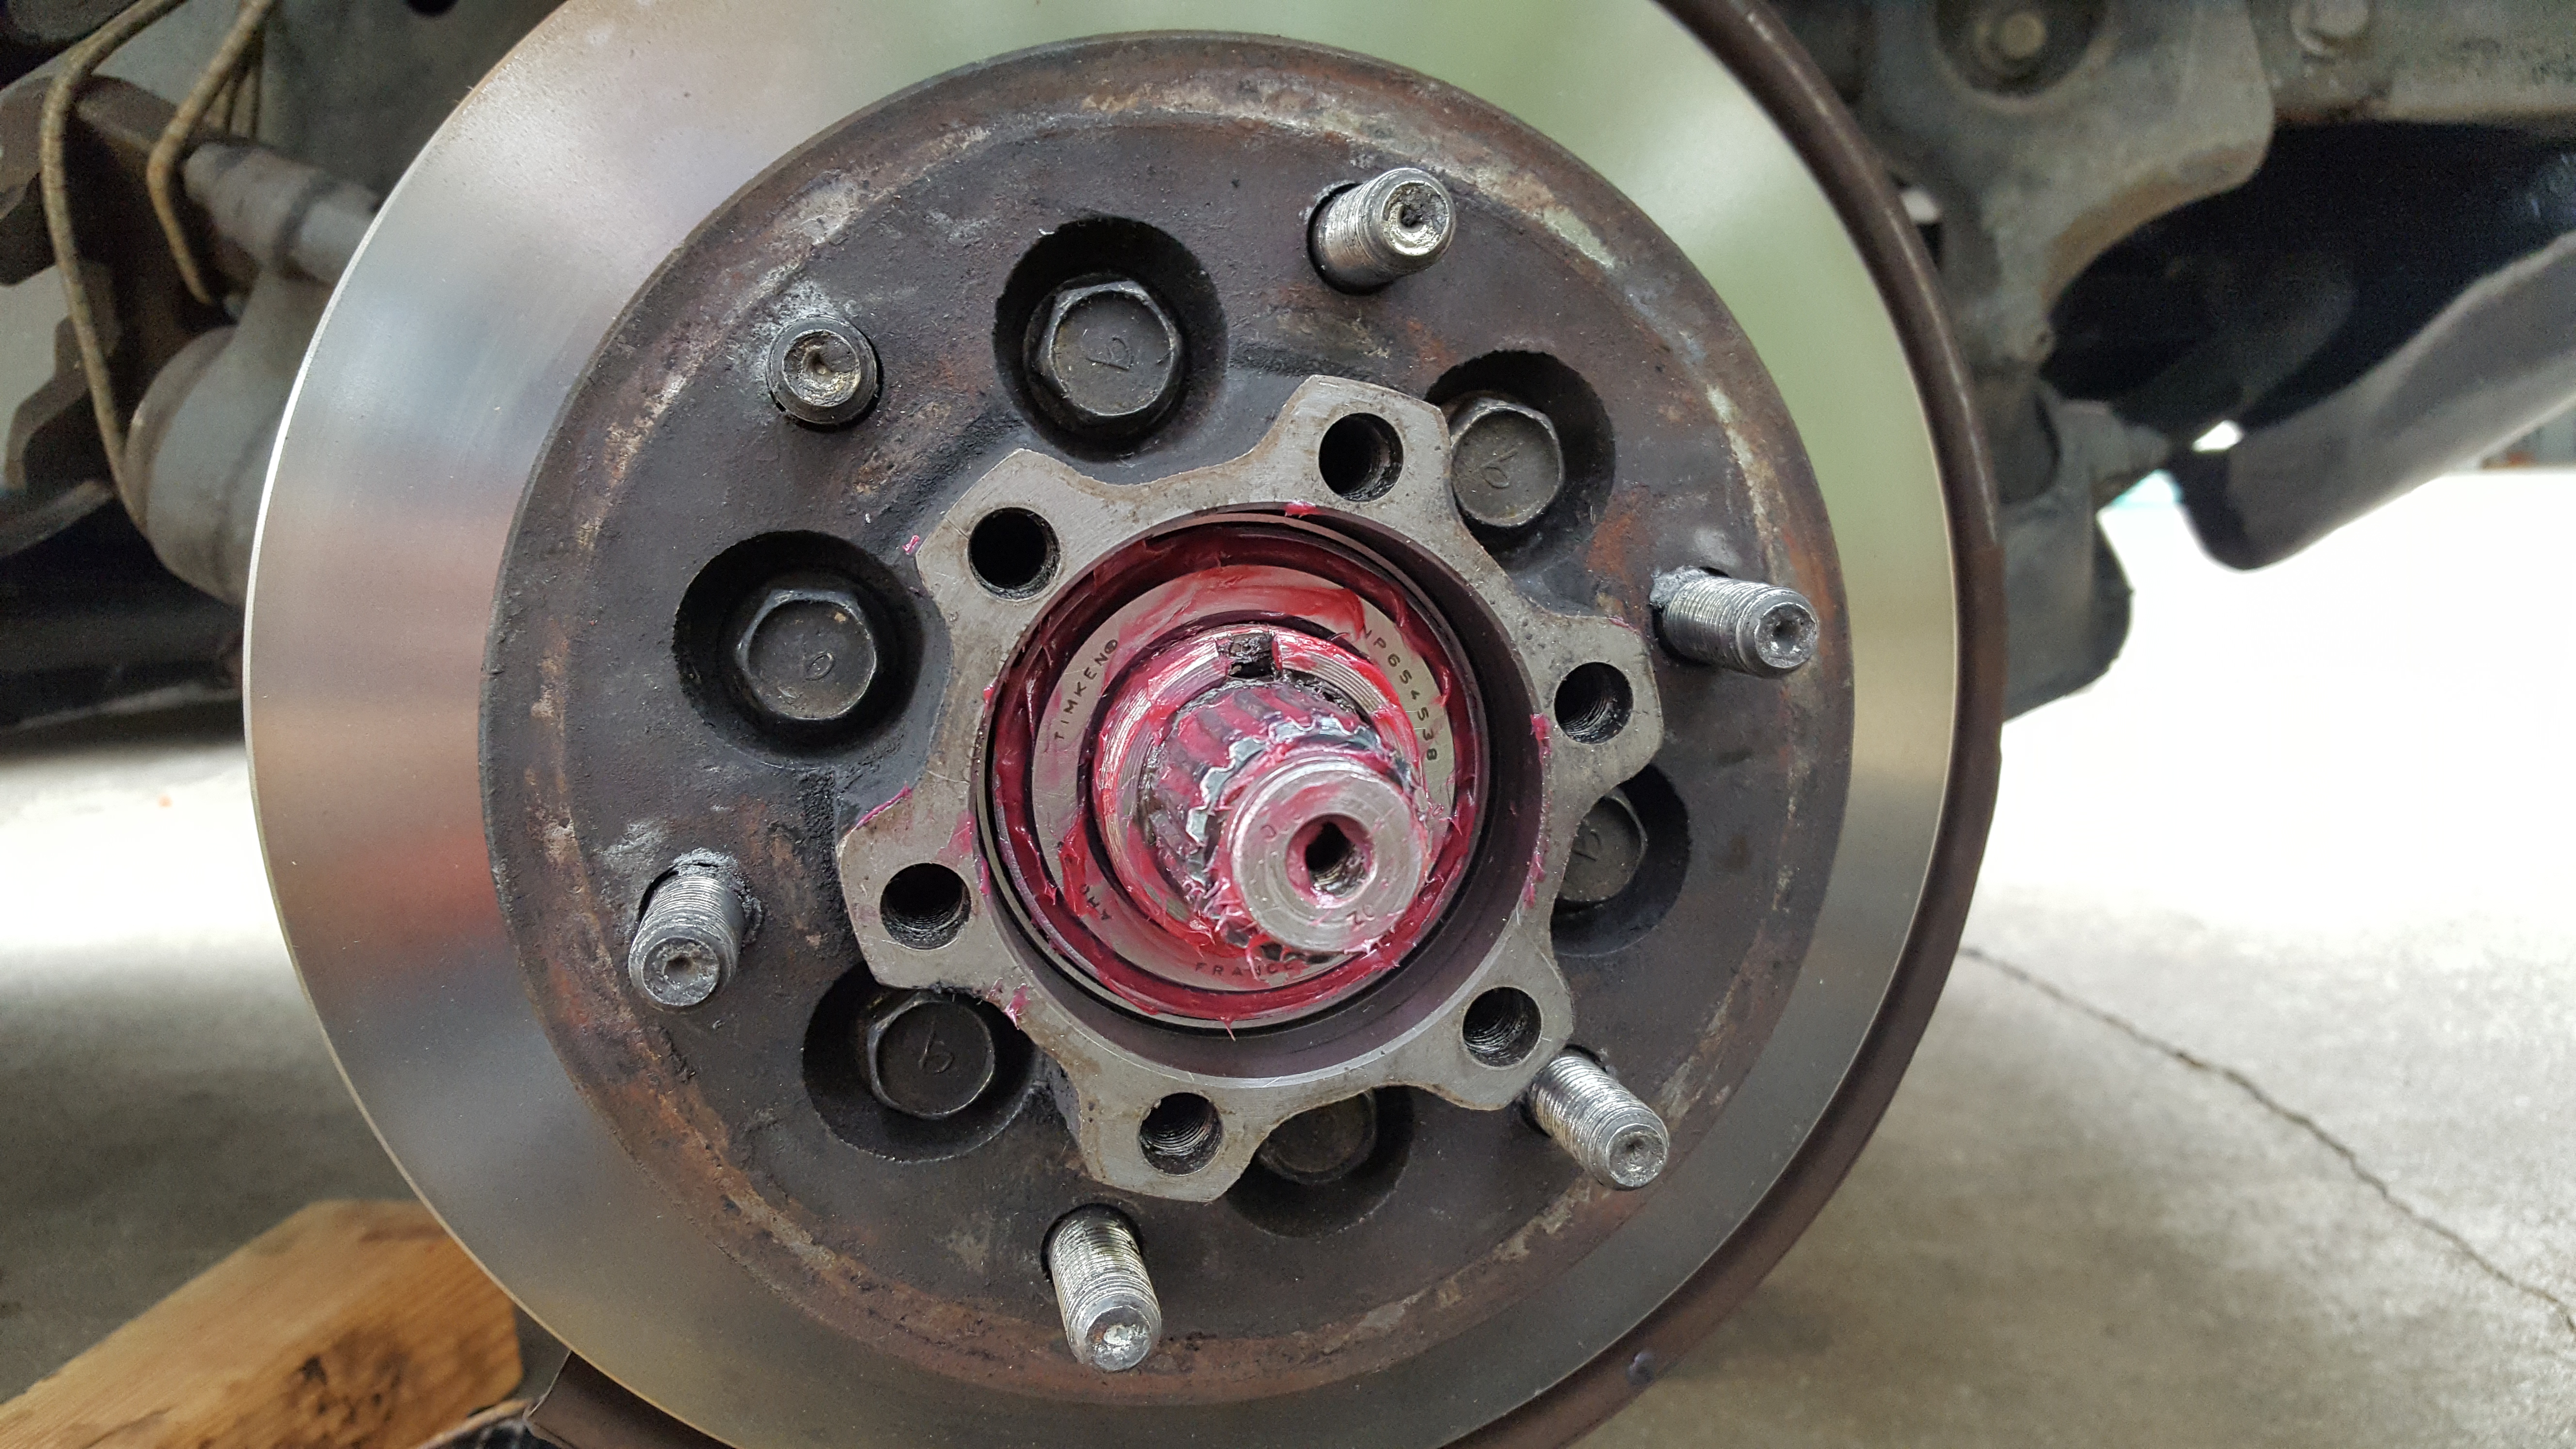
Using some blocks to keep the wheel from turning, break free the hub to rotor bolts (only if you are replacing the brake rotor as well)Break free the hub housing assembly boltsRemove all the boltsAnd pull the housing assembly off to reveal the auto hub (the manual calls it the “Drive clutch assembly”)Inside you will see a snap ring that is holding the hub on. Here you can see that I already pried it out of it’s grooveRemove the auto locking hubPull off the inner cam (sometimes it comes off with the hub assembly)Remove the three small screws holding the retaining ring (or lock washer in the service manual). I replaced mine with stainless steel allen screws but the OEMs are Phillips head. Look for “Machine screw flat – Phillips 4mm x 8mm”Pull out the retaining ringRemove the hub nut by unscrewing it. A screwdriver works if you tap it a few times, or use the tool described belowFinish unscrewing the hub nutThen pull out the outer bearing that should just be sitting thereAnd pull off the hub assemblyIf you are replacing the rotors, separate the hub from the rotor, otherwise you can leave them assembledThe hub and rotor pulled apartWith a seal puller, remove the rear grease sealOnce it’s out, pull out the inner bearing
Replacing the Races
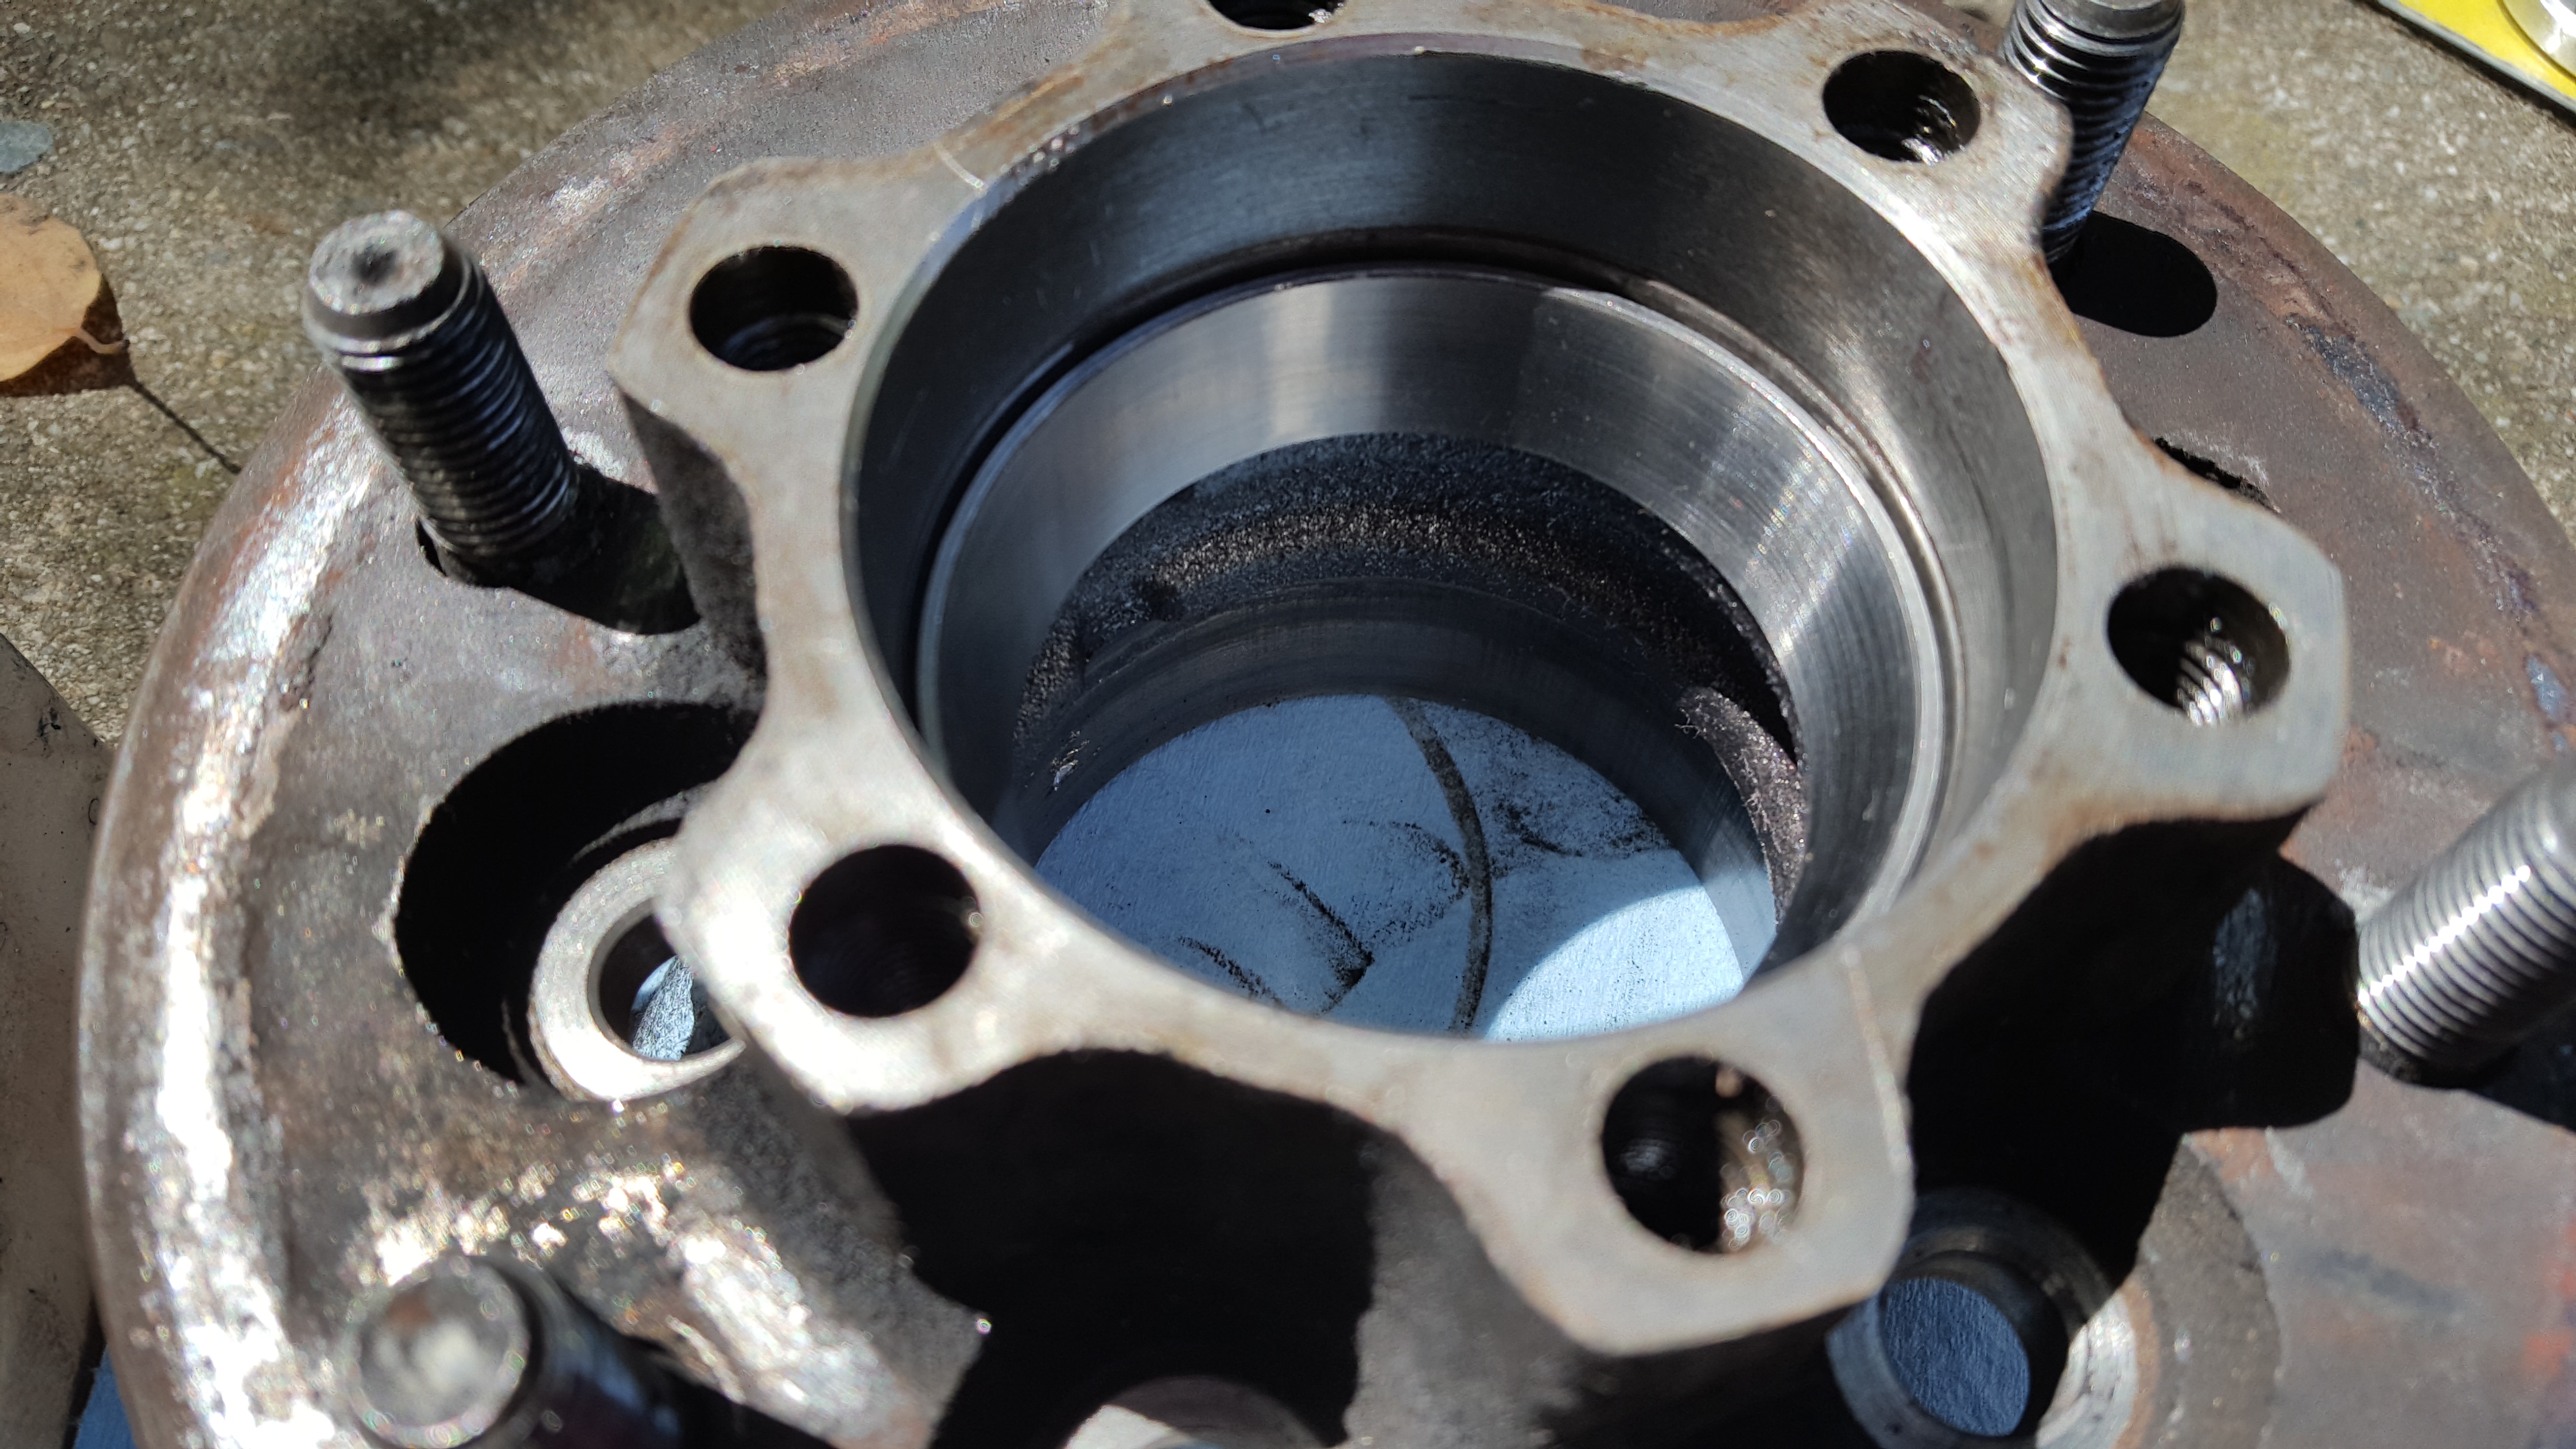
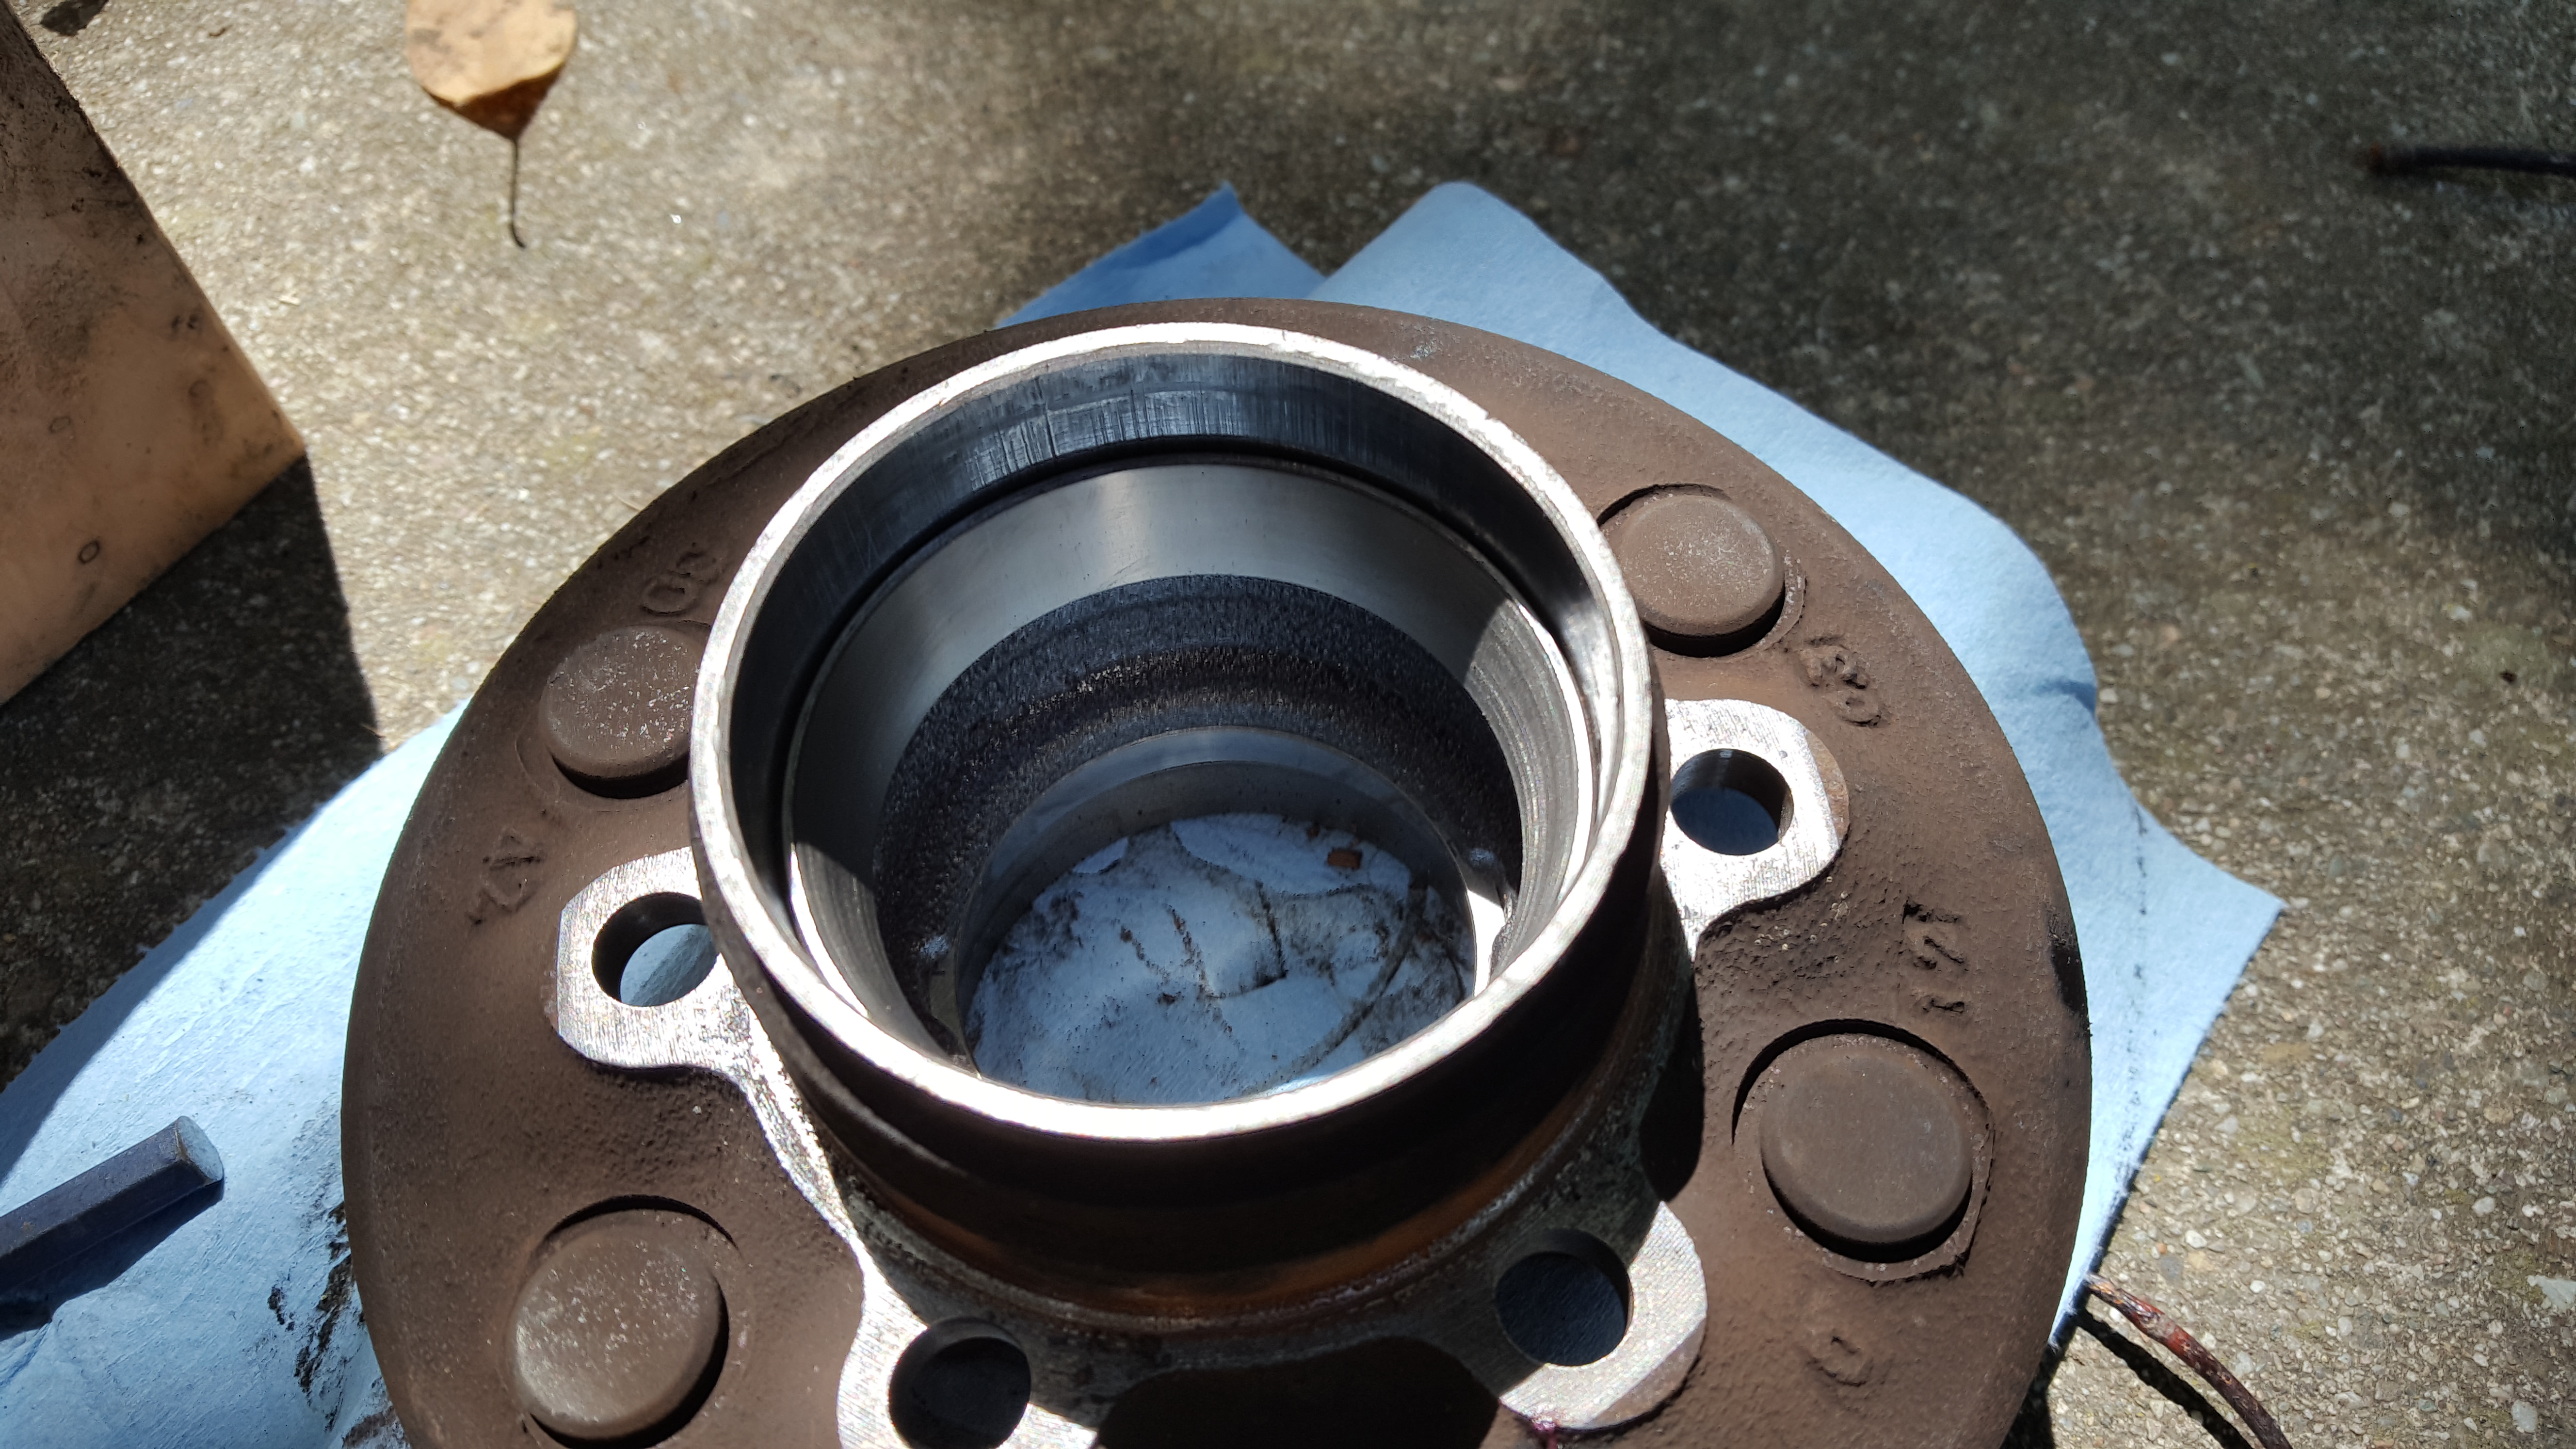
With a small punch, drive the races out. Each has two small cutouts to place the punch into. Try not to muck up the wall and keep the punch only on the race edgeSeat the new race as squarely as possibleFor the inner race, I don’t have a large enough driver and used a block of wood to get it seatedSo I used a punch and carefully worked my way around the edges. Very painstaking but no sign of marring anything upThe outer race is smaller and my driver can install it. Much easier to use the right tool!Check to see that it’s installed all the way down and evenBoth races installedAfter driving in the new races, add a few ounces of grease (the manual says 1.24 ounces. If you know a good way to measure that, let me know!) to the space between them and then coat the rest of the inside
Packing the Bearings
There are several tools that do this for you. I am cheap though and just take a bunch of grease in the palm of my hand and work it into the open edge of the bearing until it squeezes through to the other side and then I make sure it’s coating the whole thing.
Work the grease into the bearing with your hands or go buy a special tool for it
Here’s a short video demonstration how you can do it and keep the bearing clean until you are ready to install it:
Installing the Bearings
Place the inner bearing (the larger one) in firstPlace the new seal squarely over the top and drive it in. I like to use a small section of 4×4 and place a thick paper towel over it so nothing falls into the hubReattach the hub to the rotor if you removed it earlierSlide the assembly back onAfter packing the smaller outer bearing with grease, slide that into the hub as well
Adjusting the Preload
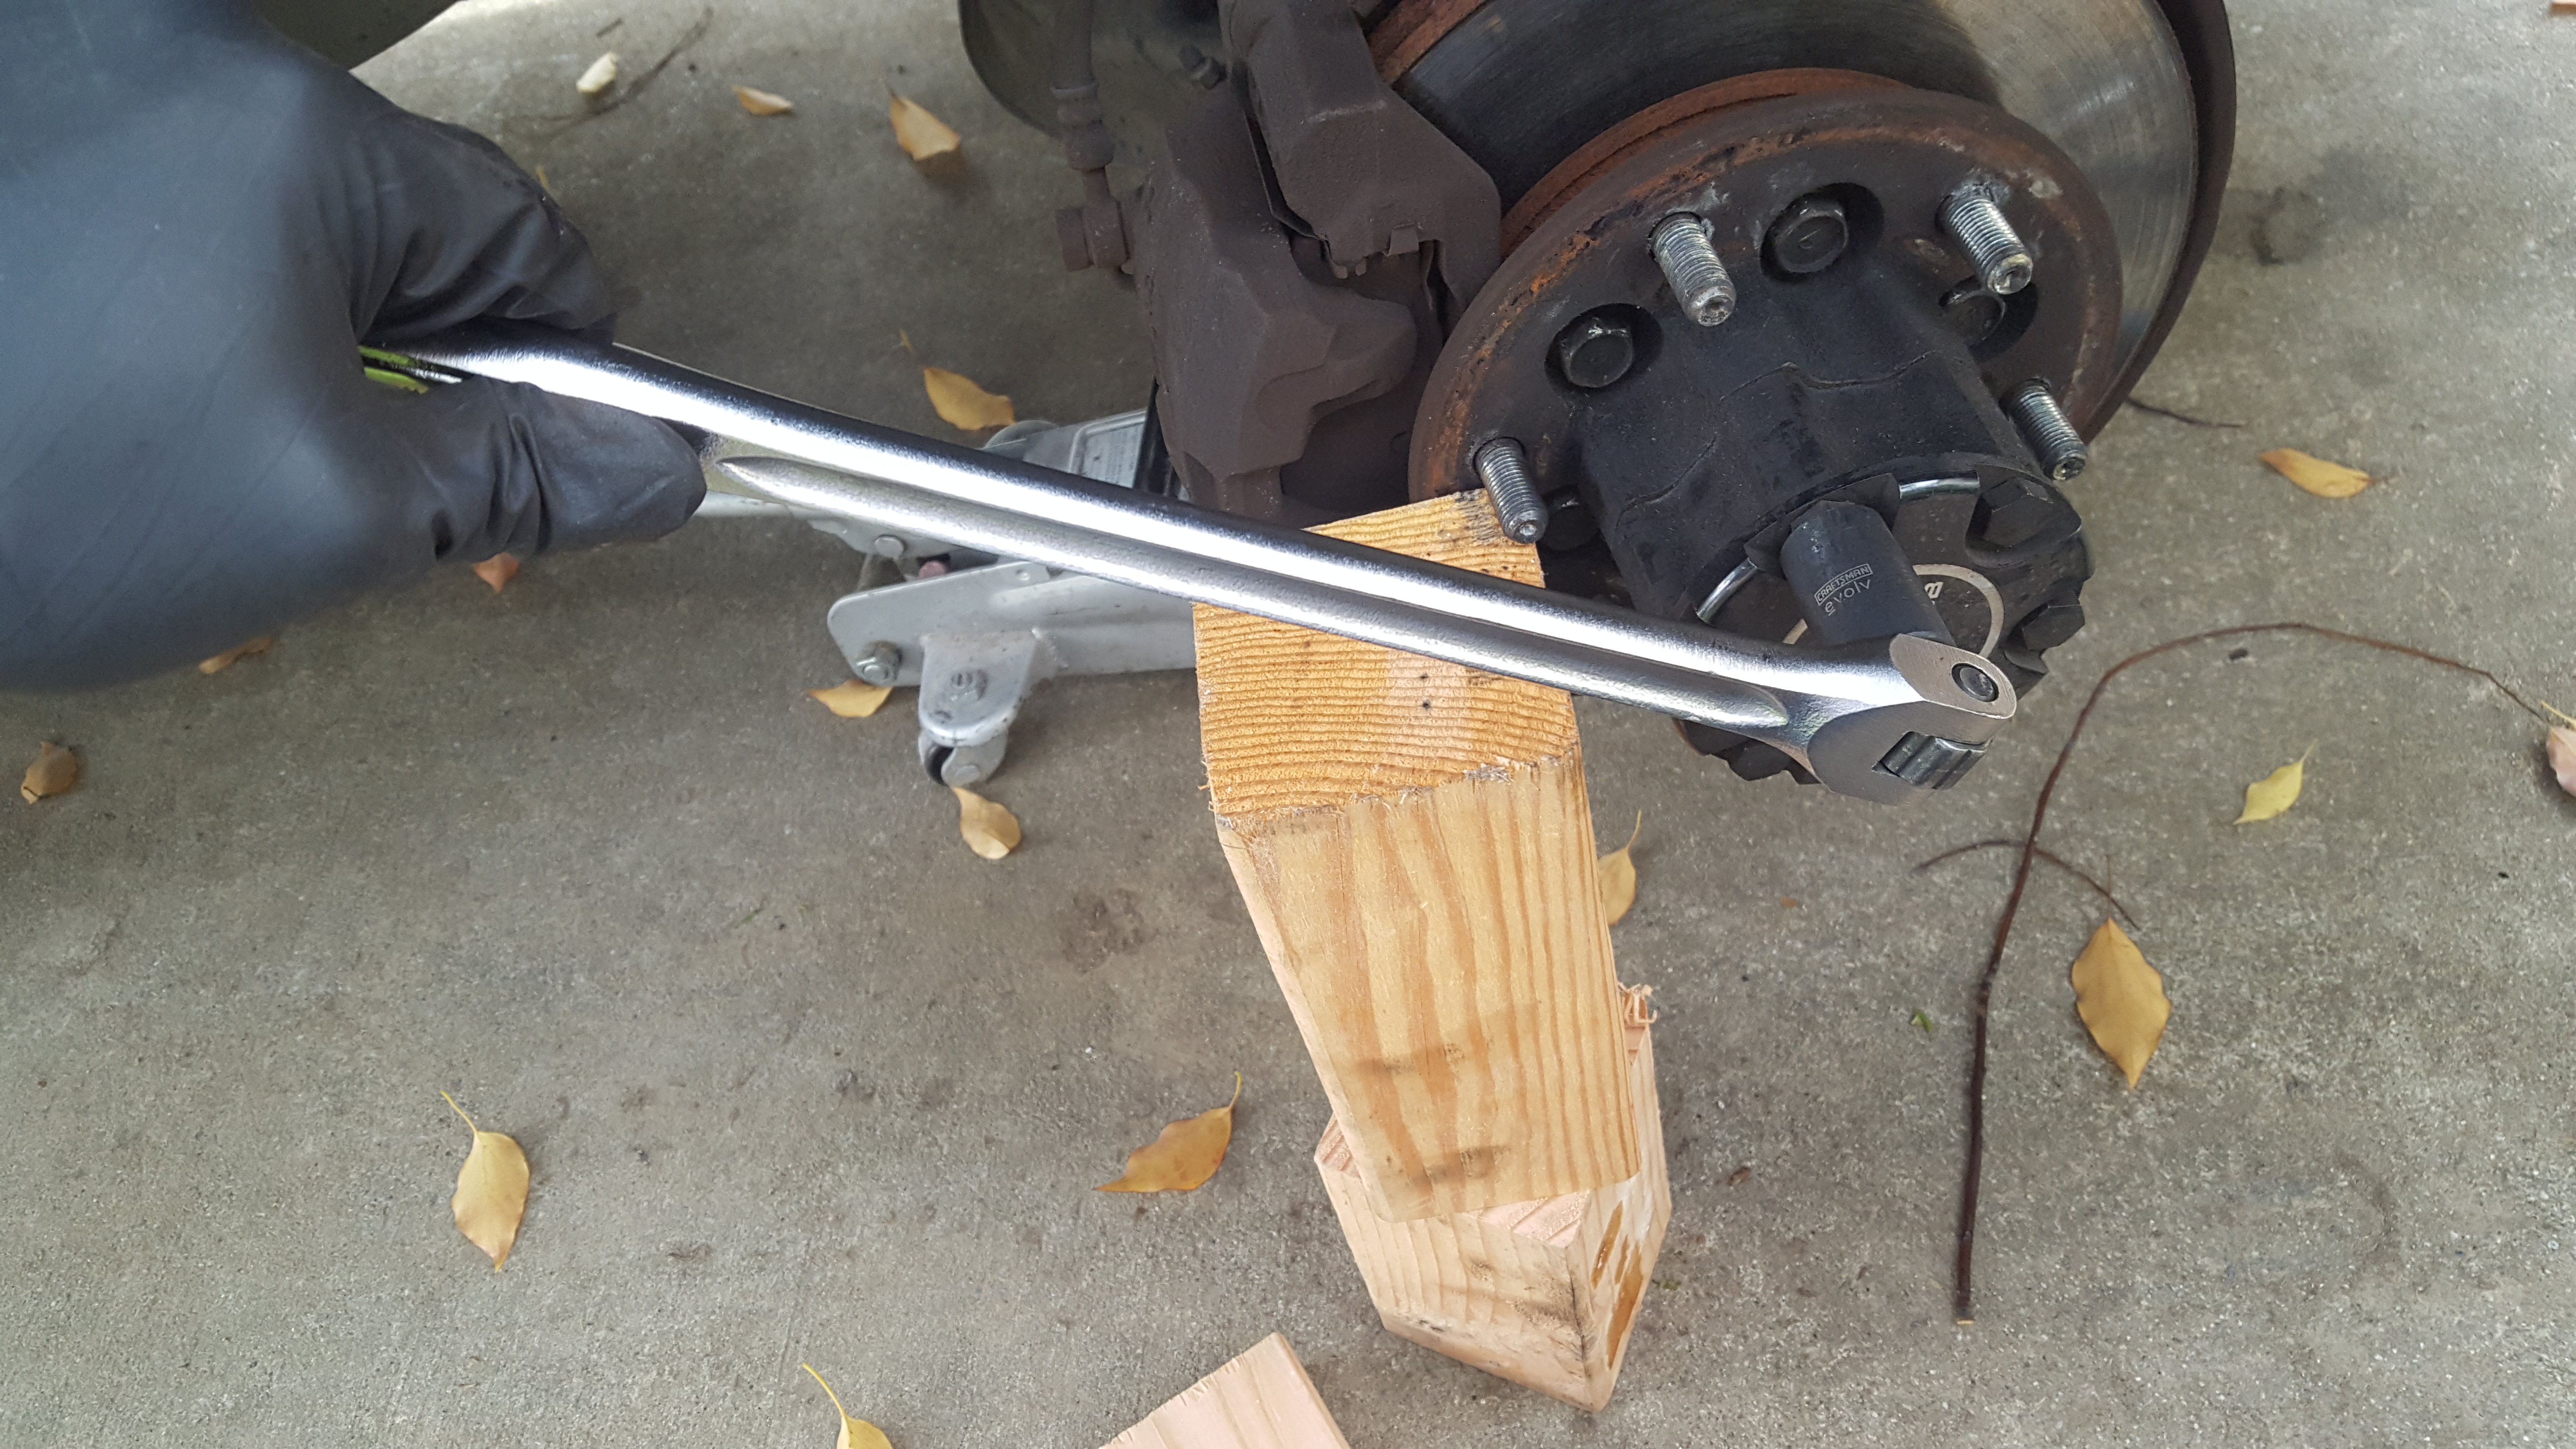
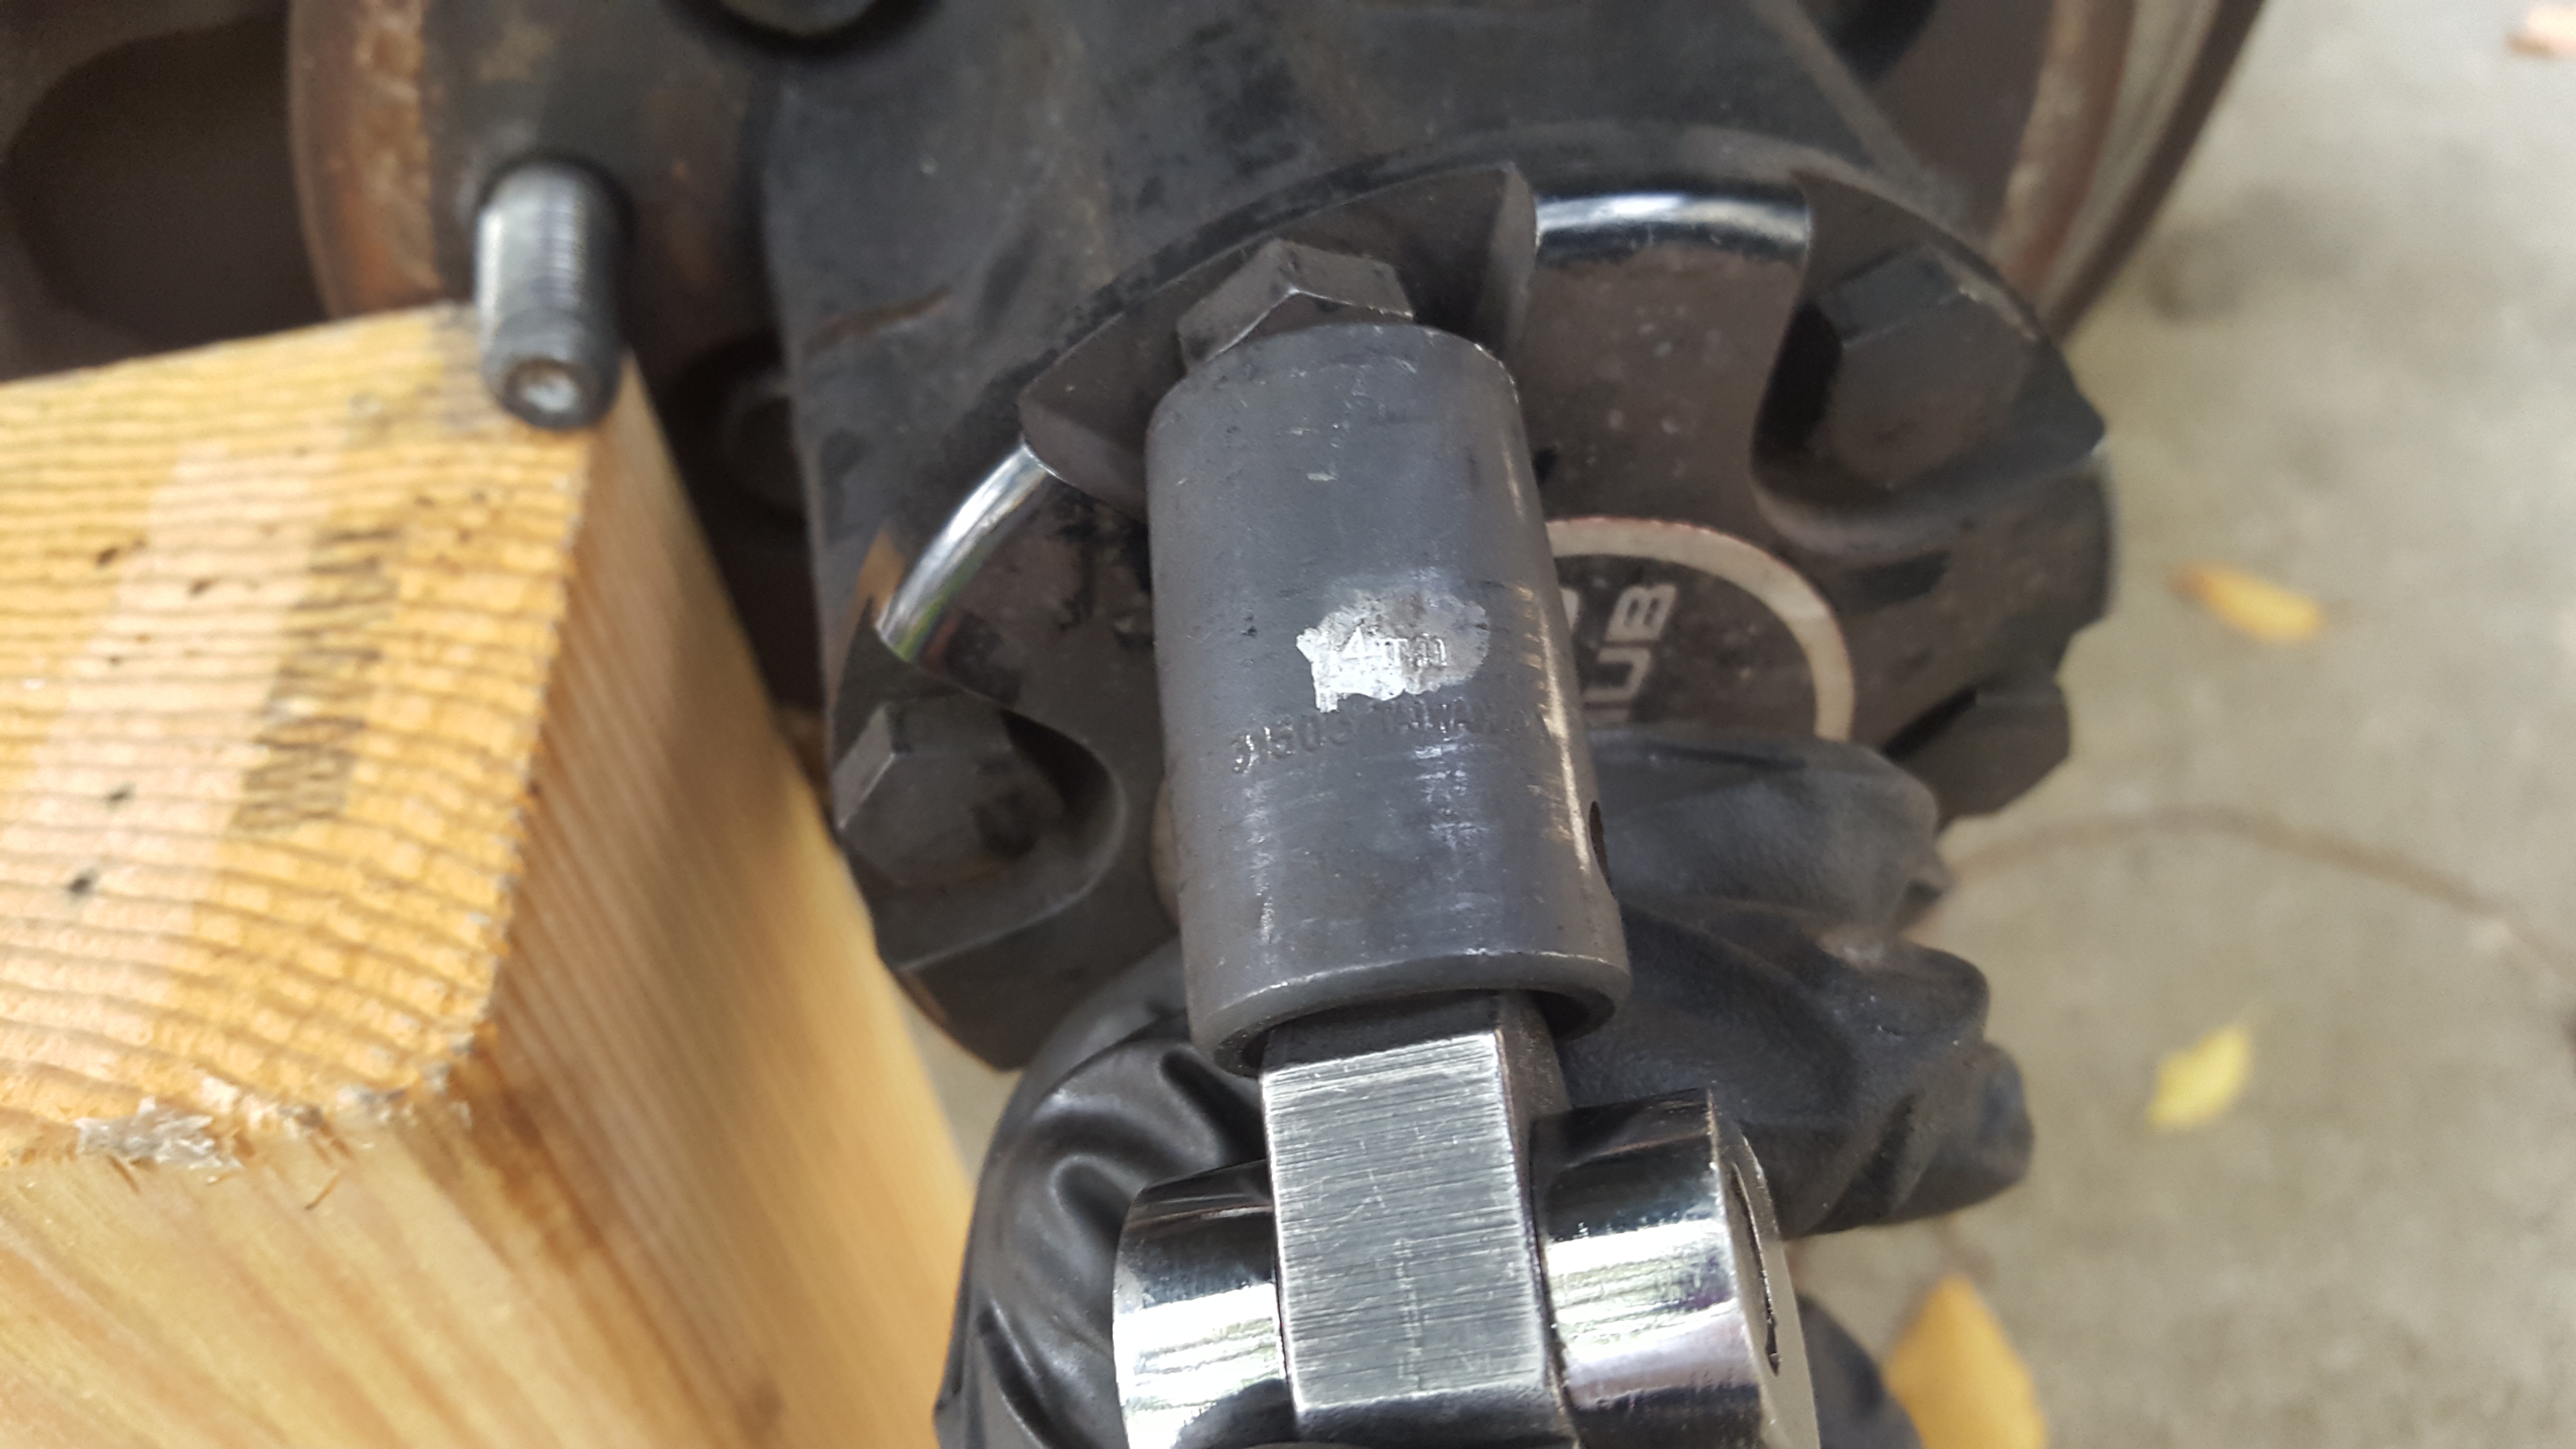
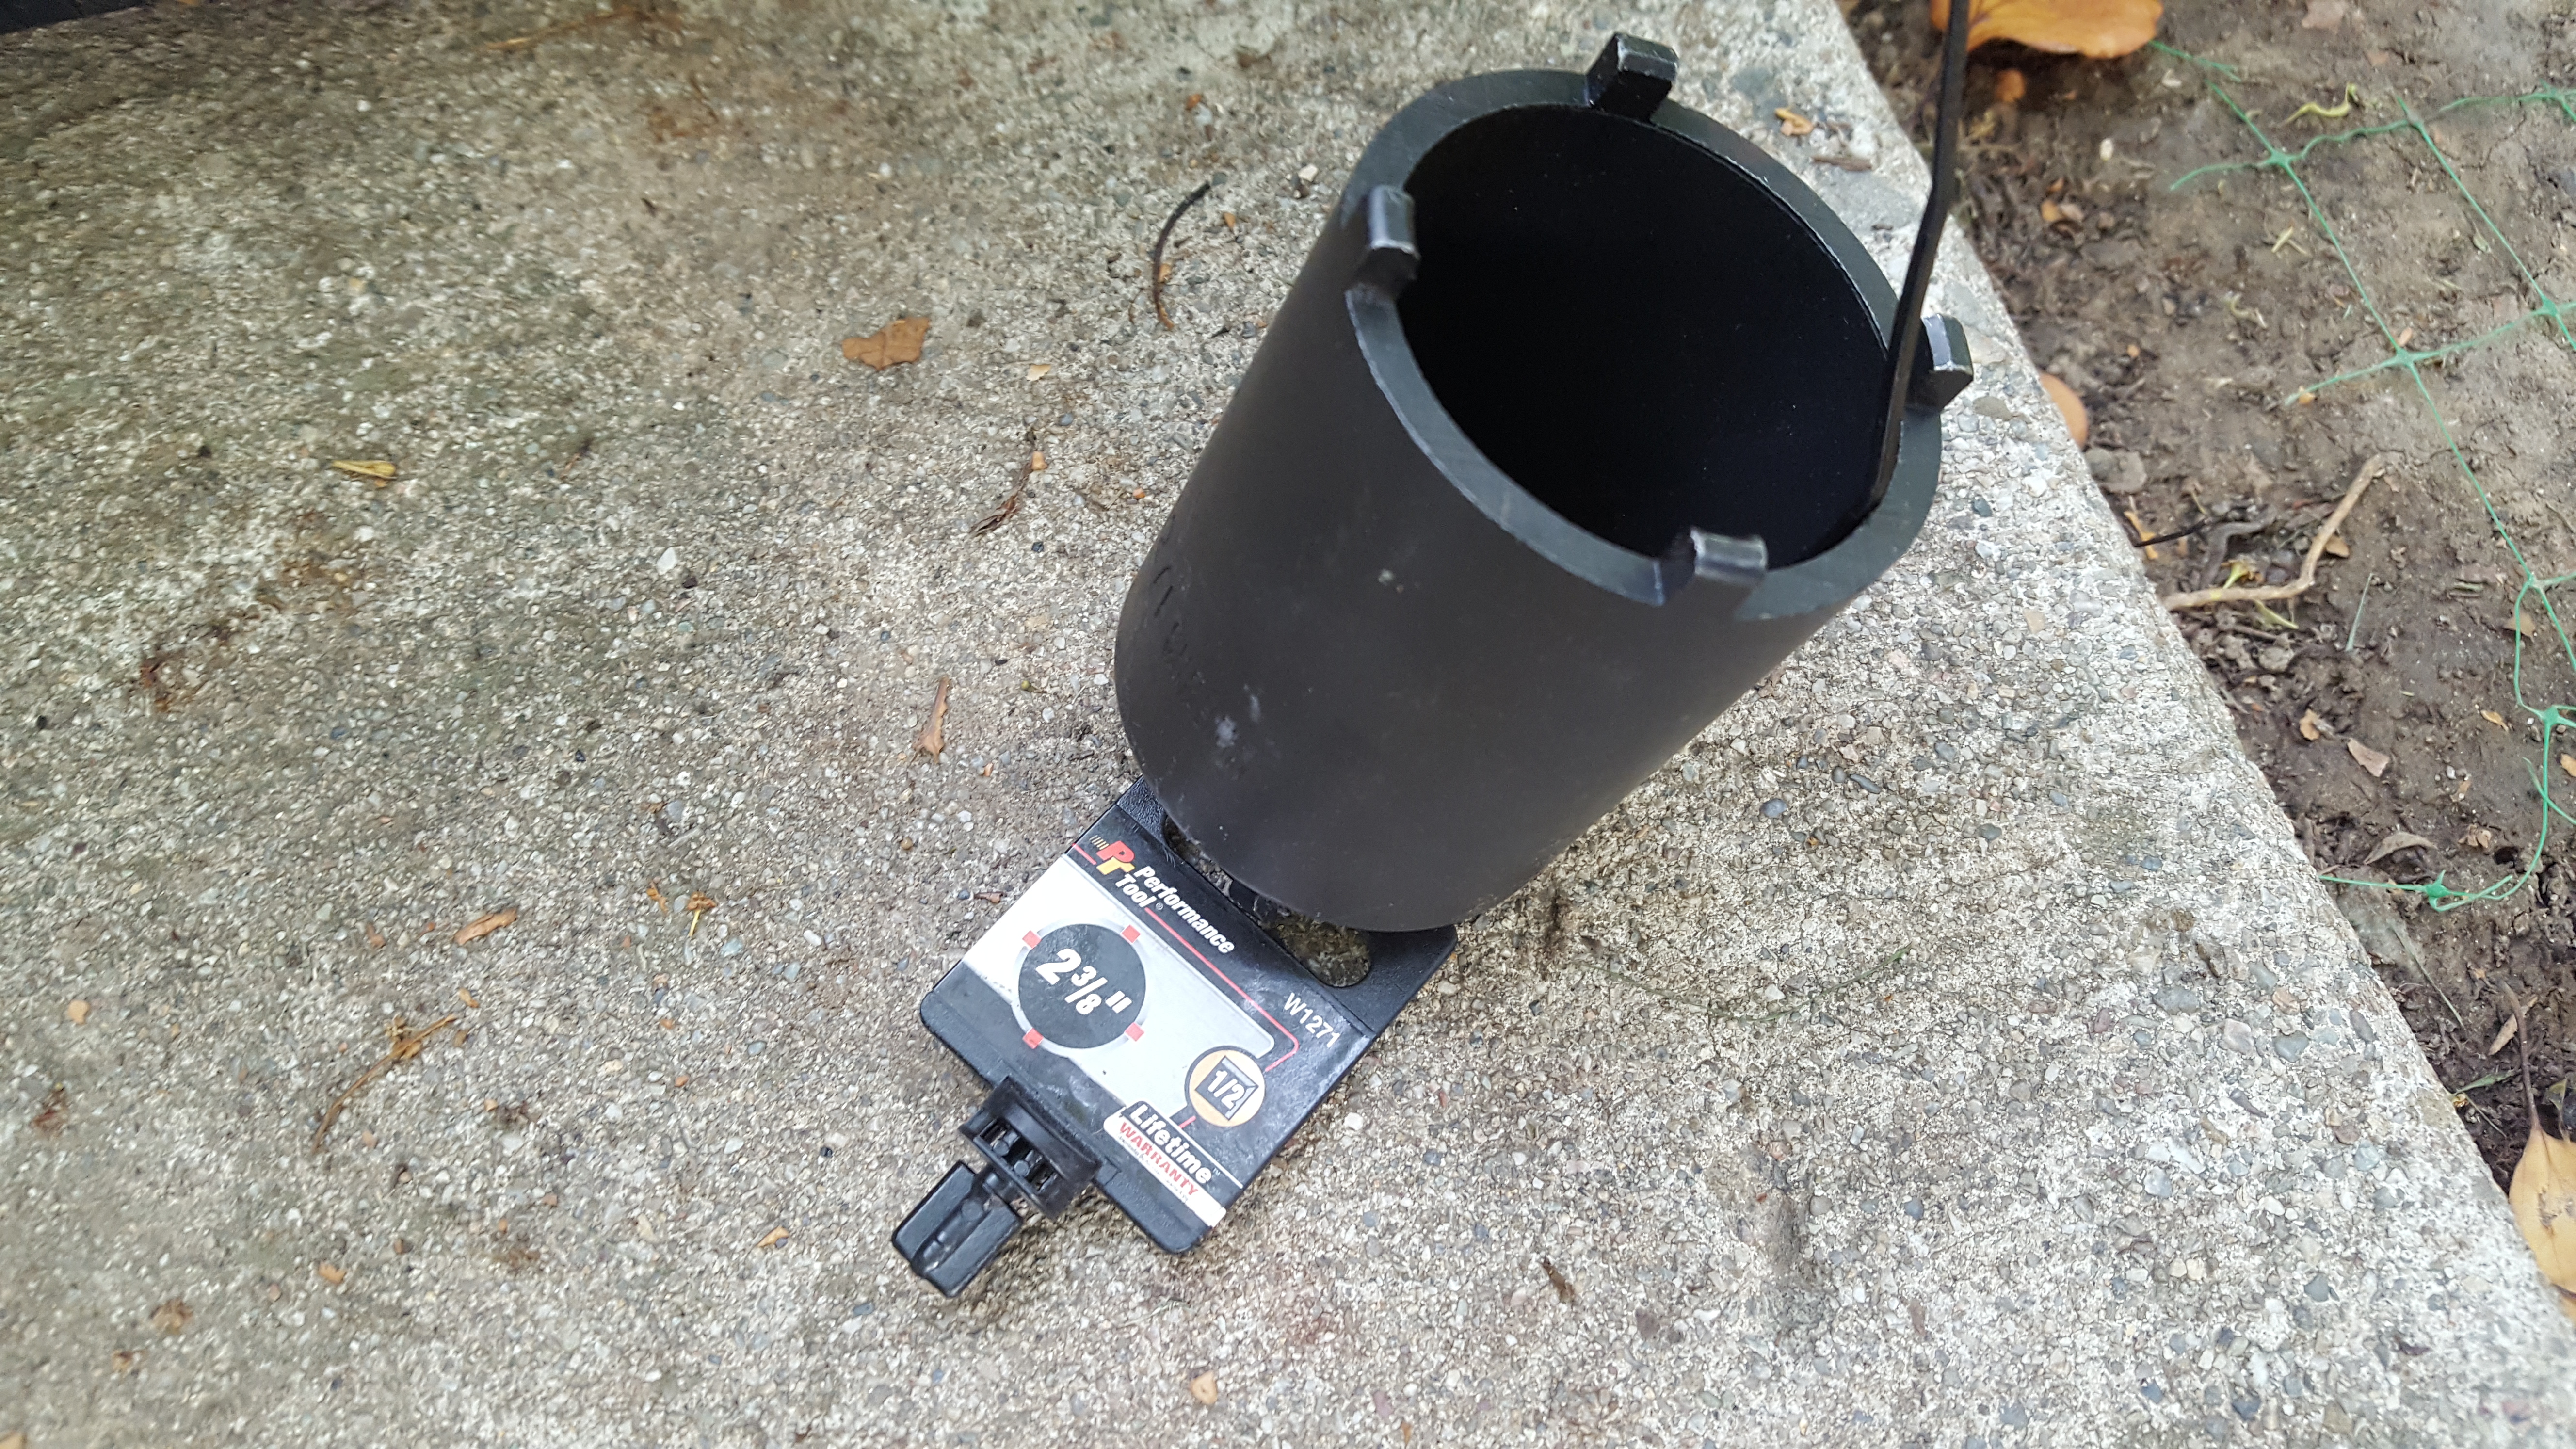
The procedure for setting the preload requires a way to tighten the hub nut and although you can do it by feel (I think many people do), the manual says to use a torque wrench. The cheapest way is buy a Ford 4-prong socket and grind off two of the prongs and grind down the other two to fit in the hub nut holes. It cost about $15 for the tool.
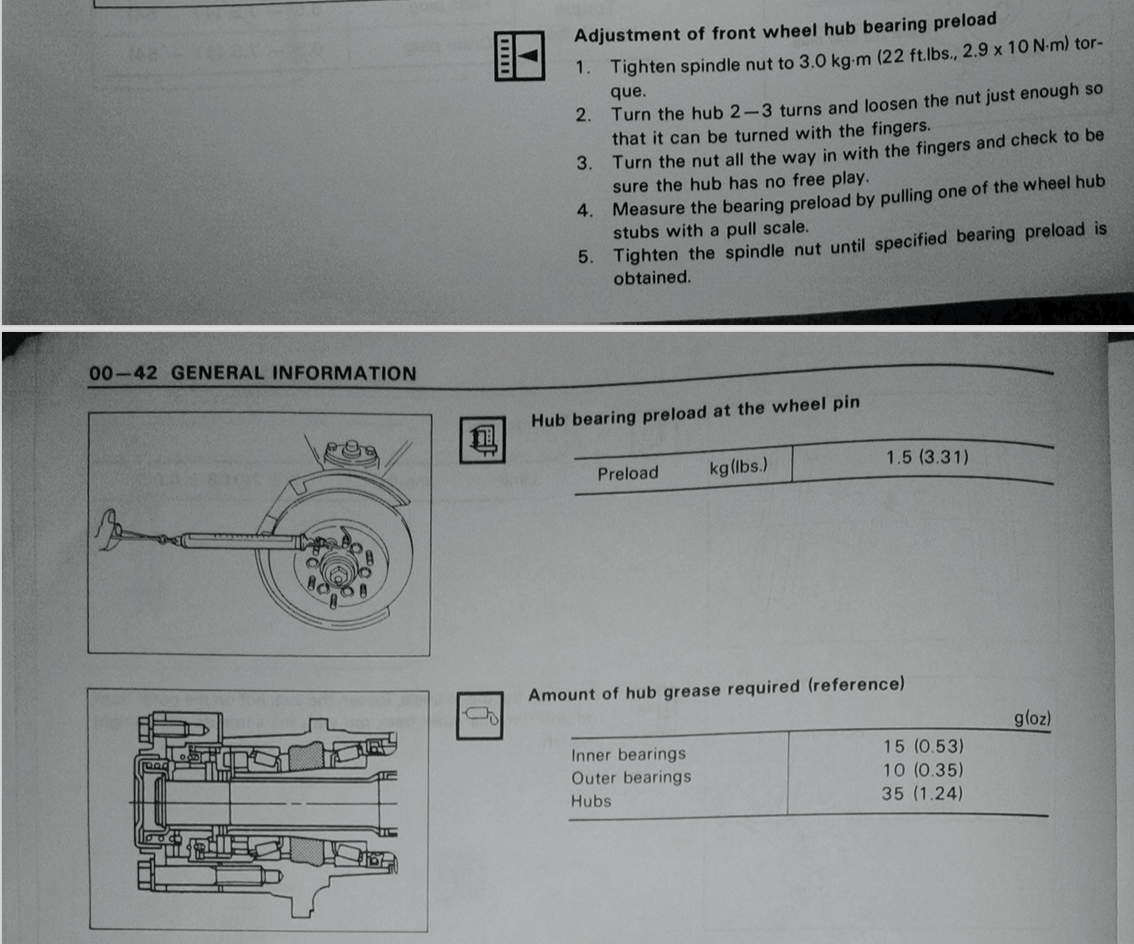
Pages from the manual for the amount of grease in the hub and the bearing preloadNew Ford socket about to get cut upA Ford 4WD nut with two of the prongs ground offAnd the other two prongs ground downTighten the hub nut to 22 ft-lbs, spin the wheel a few times, back it of, hand tighten the hub nut againTighten it until the preload with a spring scale reads 4.4-5.5 ft-lbs with new bearings and seal or 2.6-4.0 ft-lbs with old partsLine up the retaining ring with the screw holes on the hub nut. The holes are aligned slightly differently if you spin it 180 degrees to line up the holes. Otherwise, adjust the hub nut as little as possible to get it lined upReinstall the three small screws to hold the hub nut in place
Now just reinstall the inner cam, the hub, reinstall the snap ring, reinstall the housing assembly, tighten the hub to rotor bolts, reinstall the brakes, put the wheel back on, lower the vehicle, and tighten the lug nuts.


0 Comments on “Replacing 1st Generation Trooper Front Wheel Bearings and Grease Seals”