Proxmox Virtualization Server Part 1: AMD Athlon 5370 Mini-ITX
Setting up a cheap and low-cost home virtualization server for Proxmox.
Background
I have used Proxmox at work for setting up small servers and liked the fact that it was free and seemed to “just work” without much hassle. Currently there are three Raspberry Pi’s for file serving, downloading, and streaming content over my local network and I wanted to add a Plex server, Zoneminder, and Nextcloud. I also like to try out new ideas and virtualizing makes this very easy to quickly try something out and delete it if I realize it’s not what I’m looking for.
Purchase List
I was shooting for a budget of under $300 and almost made it. At work I’ve installed several used HP Proliant DL360 G6 Servers with 24 cores and they are plenty fast, but use more power than most of my house, and sound like a Harrier taking off. I looked into Intel processors, but didn’t think the cost justified the horsepower and wanted something fairly low-power too. I found out that AMD had just released a new Athlon 5370 APU that had a maximum TDP of 25 Watts and had enough power to run Plex transcoding @ 1080p with some room to spare.

Had to buy:
AMD Athlon 5370 2.2GHz Quad-Core Processor – $53
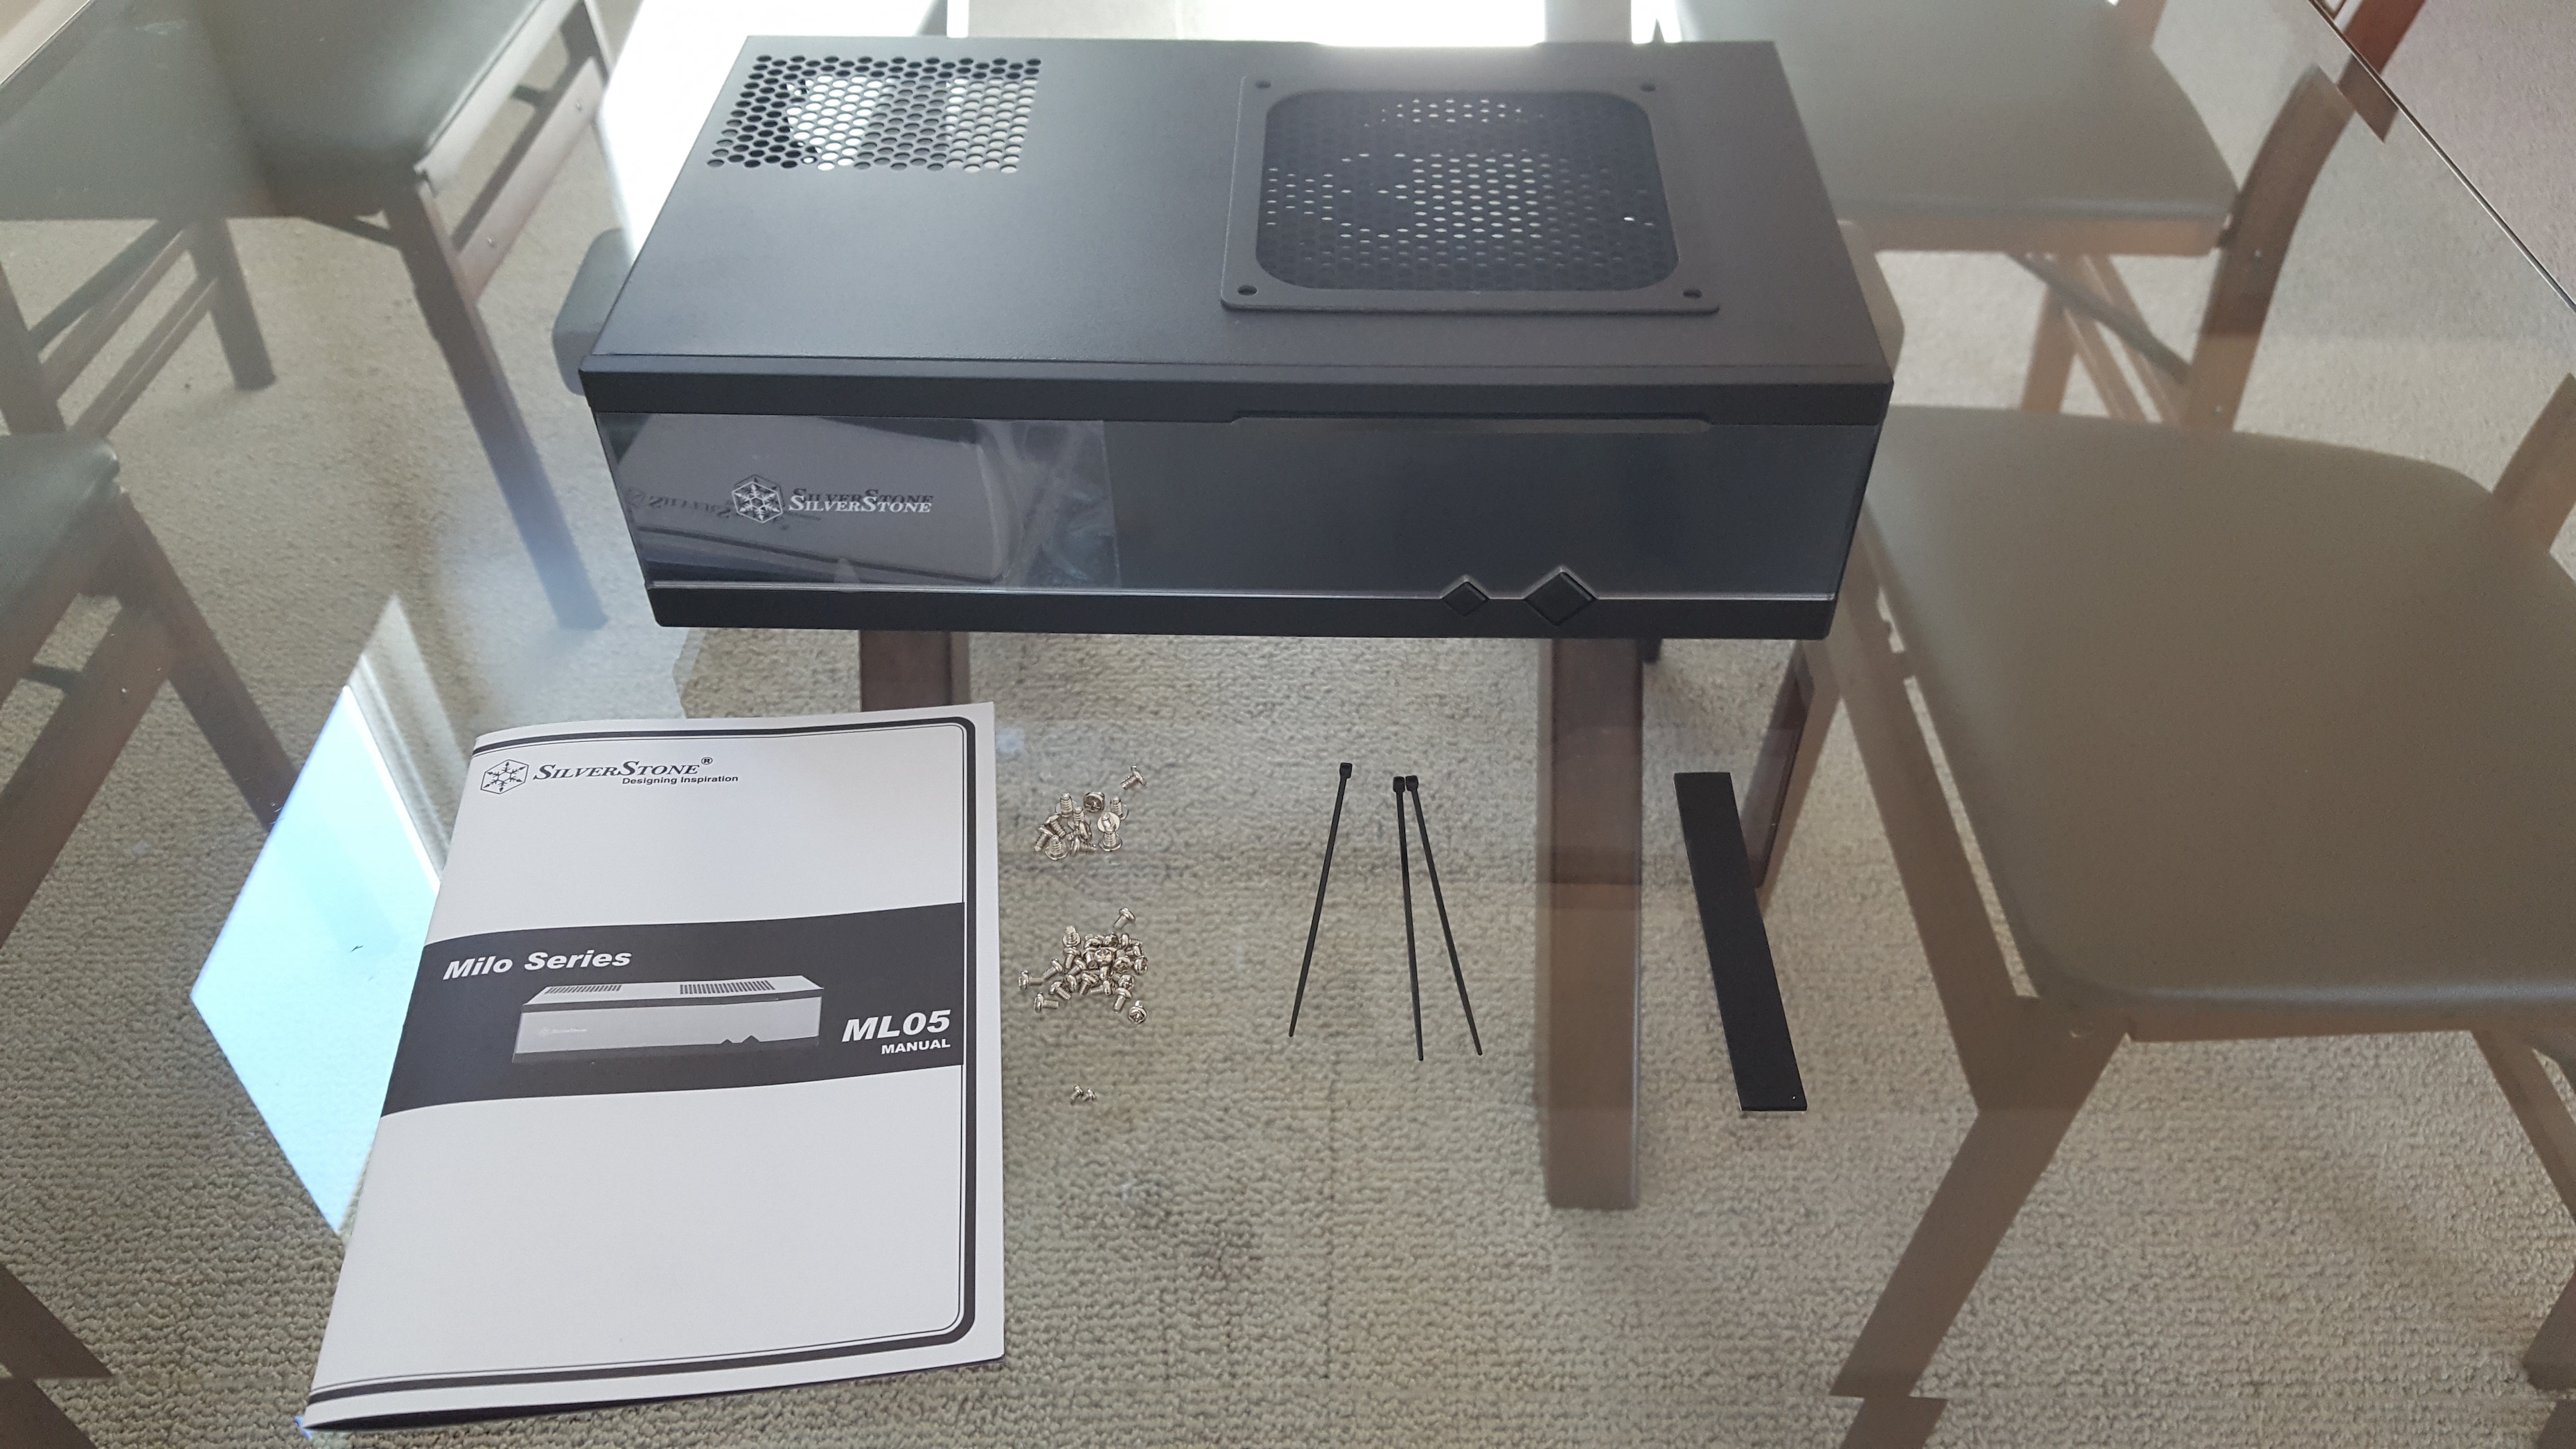
Silverstone ML05B HTPC Case – $50
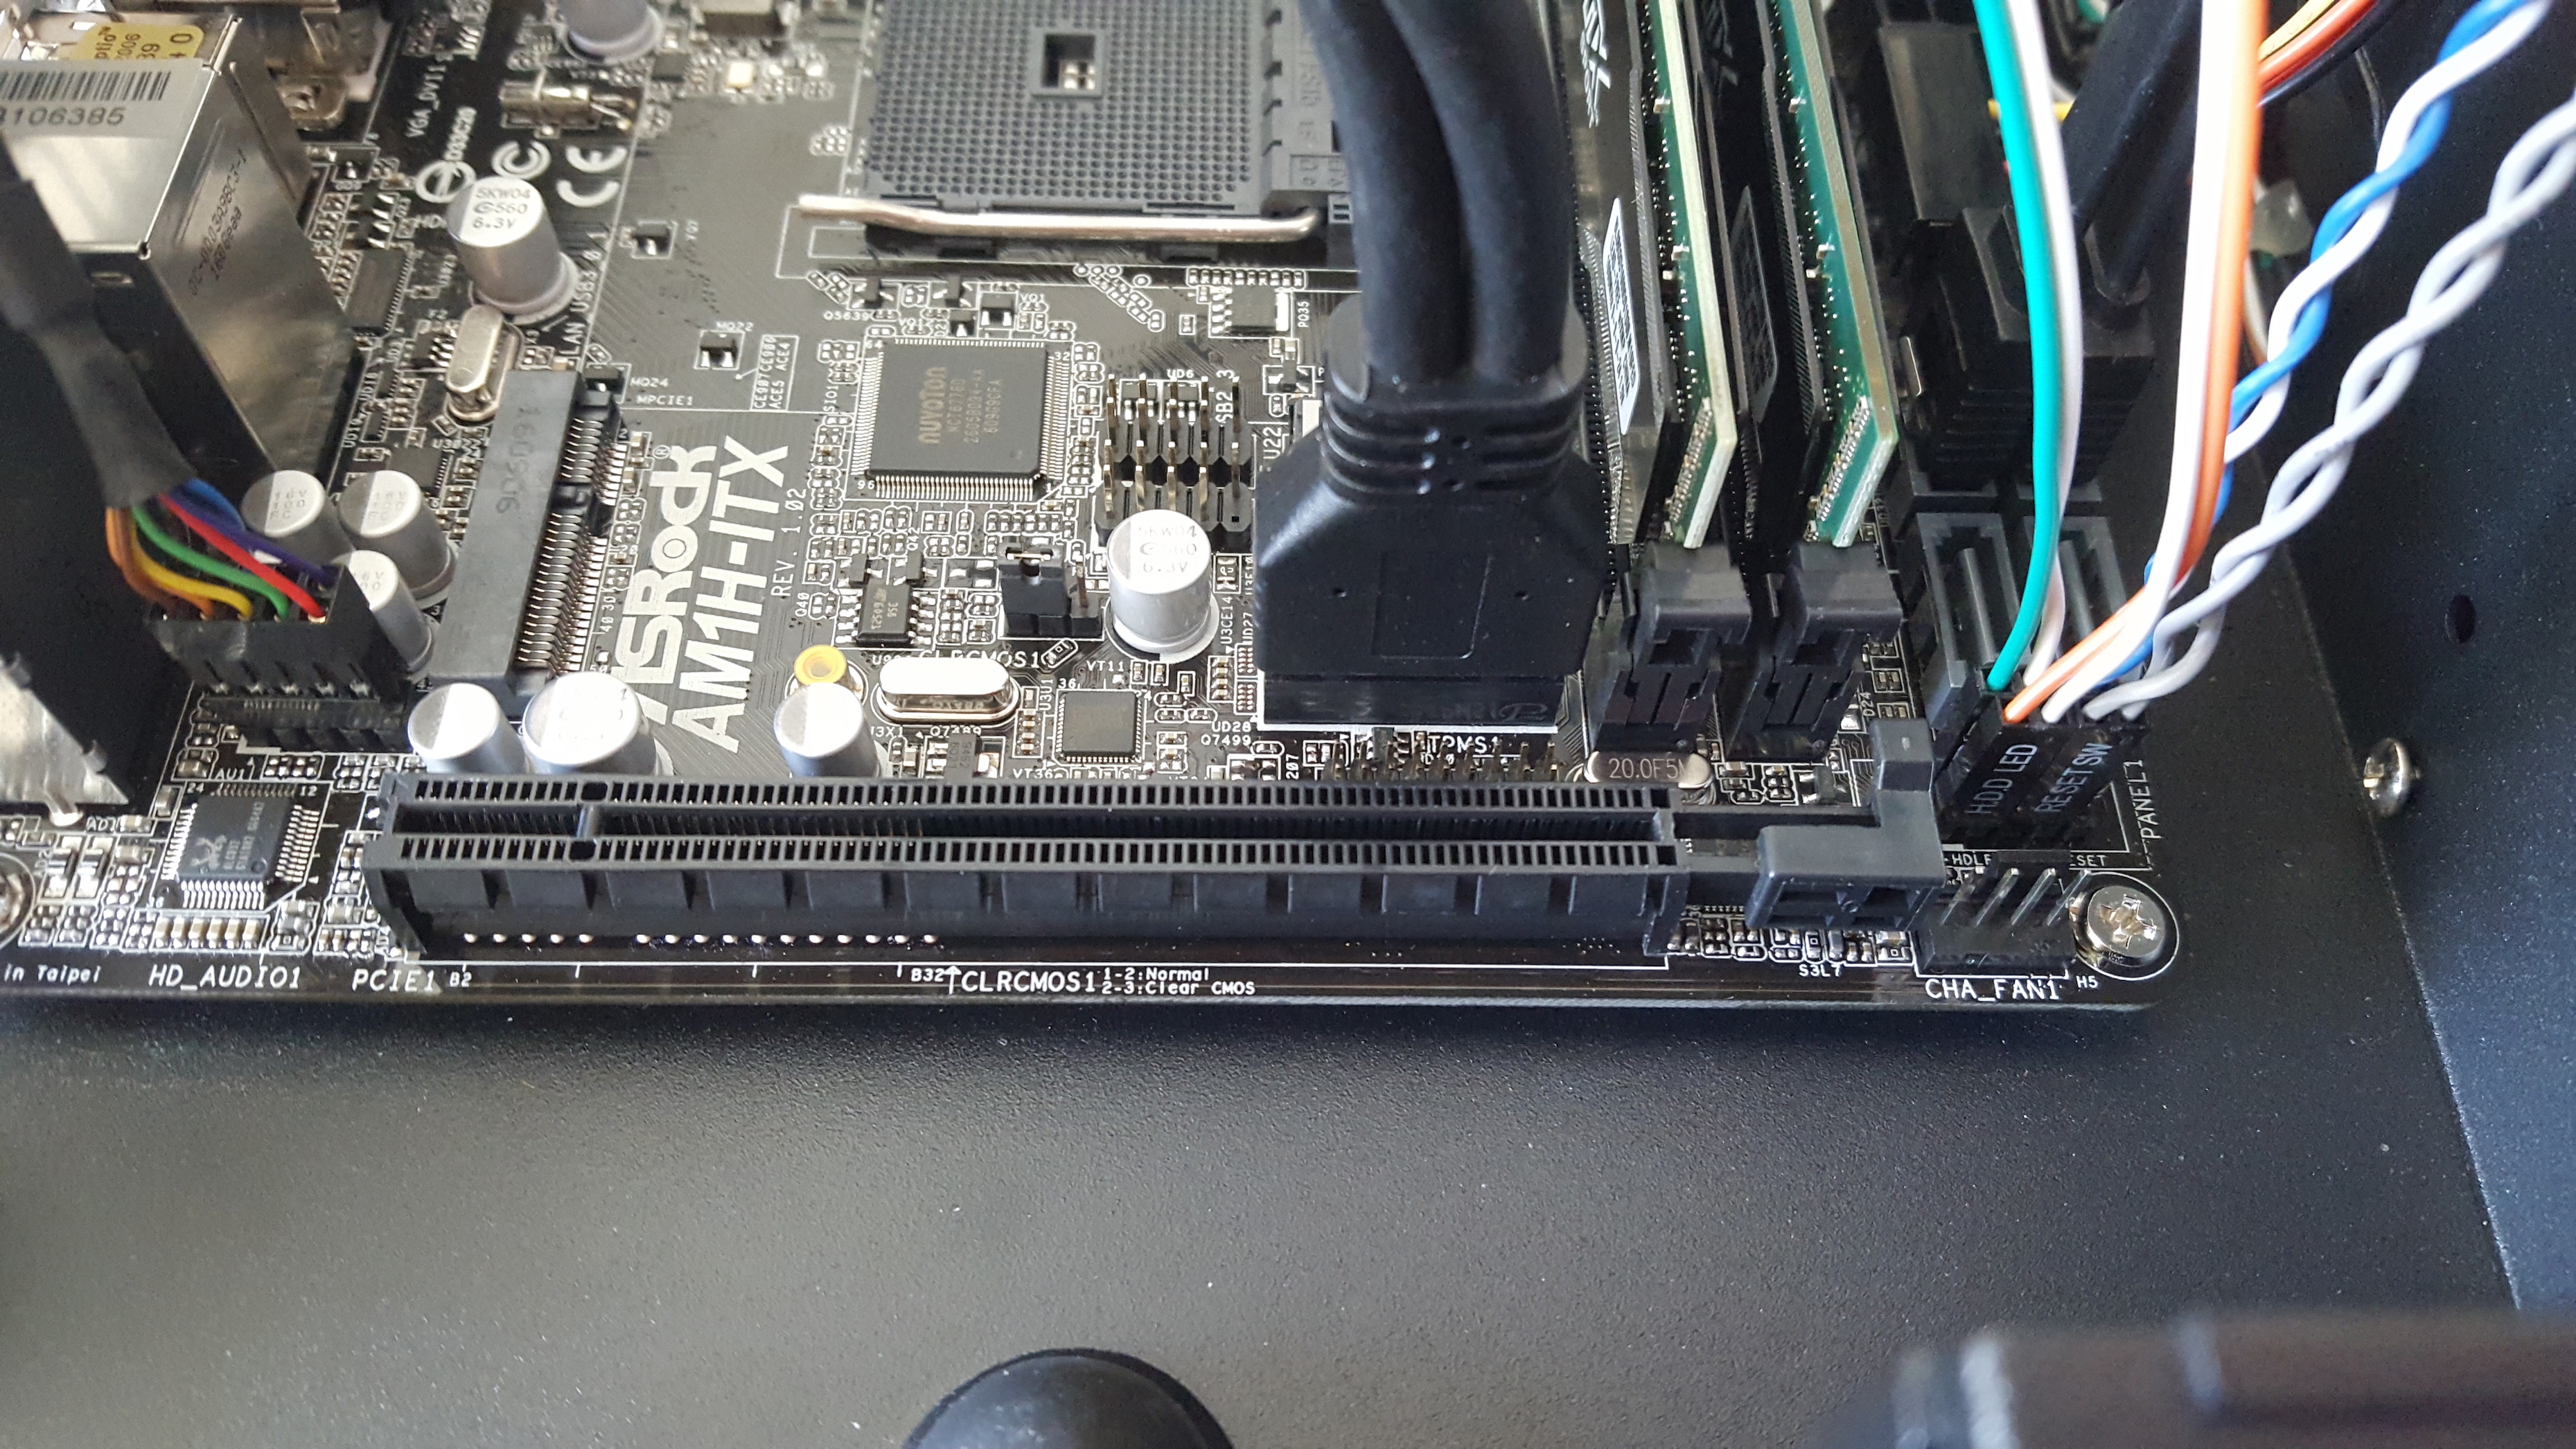
ASRock AM1H-ITX Mini ITX AM1 Motherboard – $51
Crucial Ballistix Sport 8GB (1 x 8GB) DDR3-1600 Memory – $33 X 2 = $66
Samsung 850 EVO-Series 250GB 2.5″ Solid State Drive – $90
StarTech.com 4x SATA Power Splitter Adapter Cable (PYO4SATA) – $4
Total cost: $320
Already had:
Seagate Momentus 5400.6 500GB 2.5″ 5400RPM Internal Hard Drive
Hitachi 500GB 2.5″ 5400RPM Internal Hard Drive
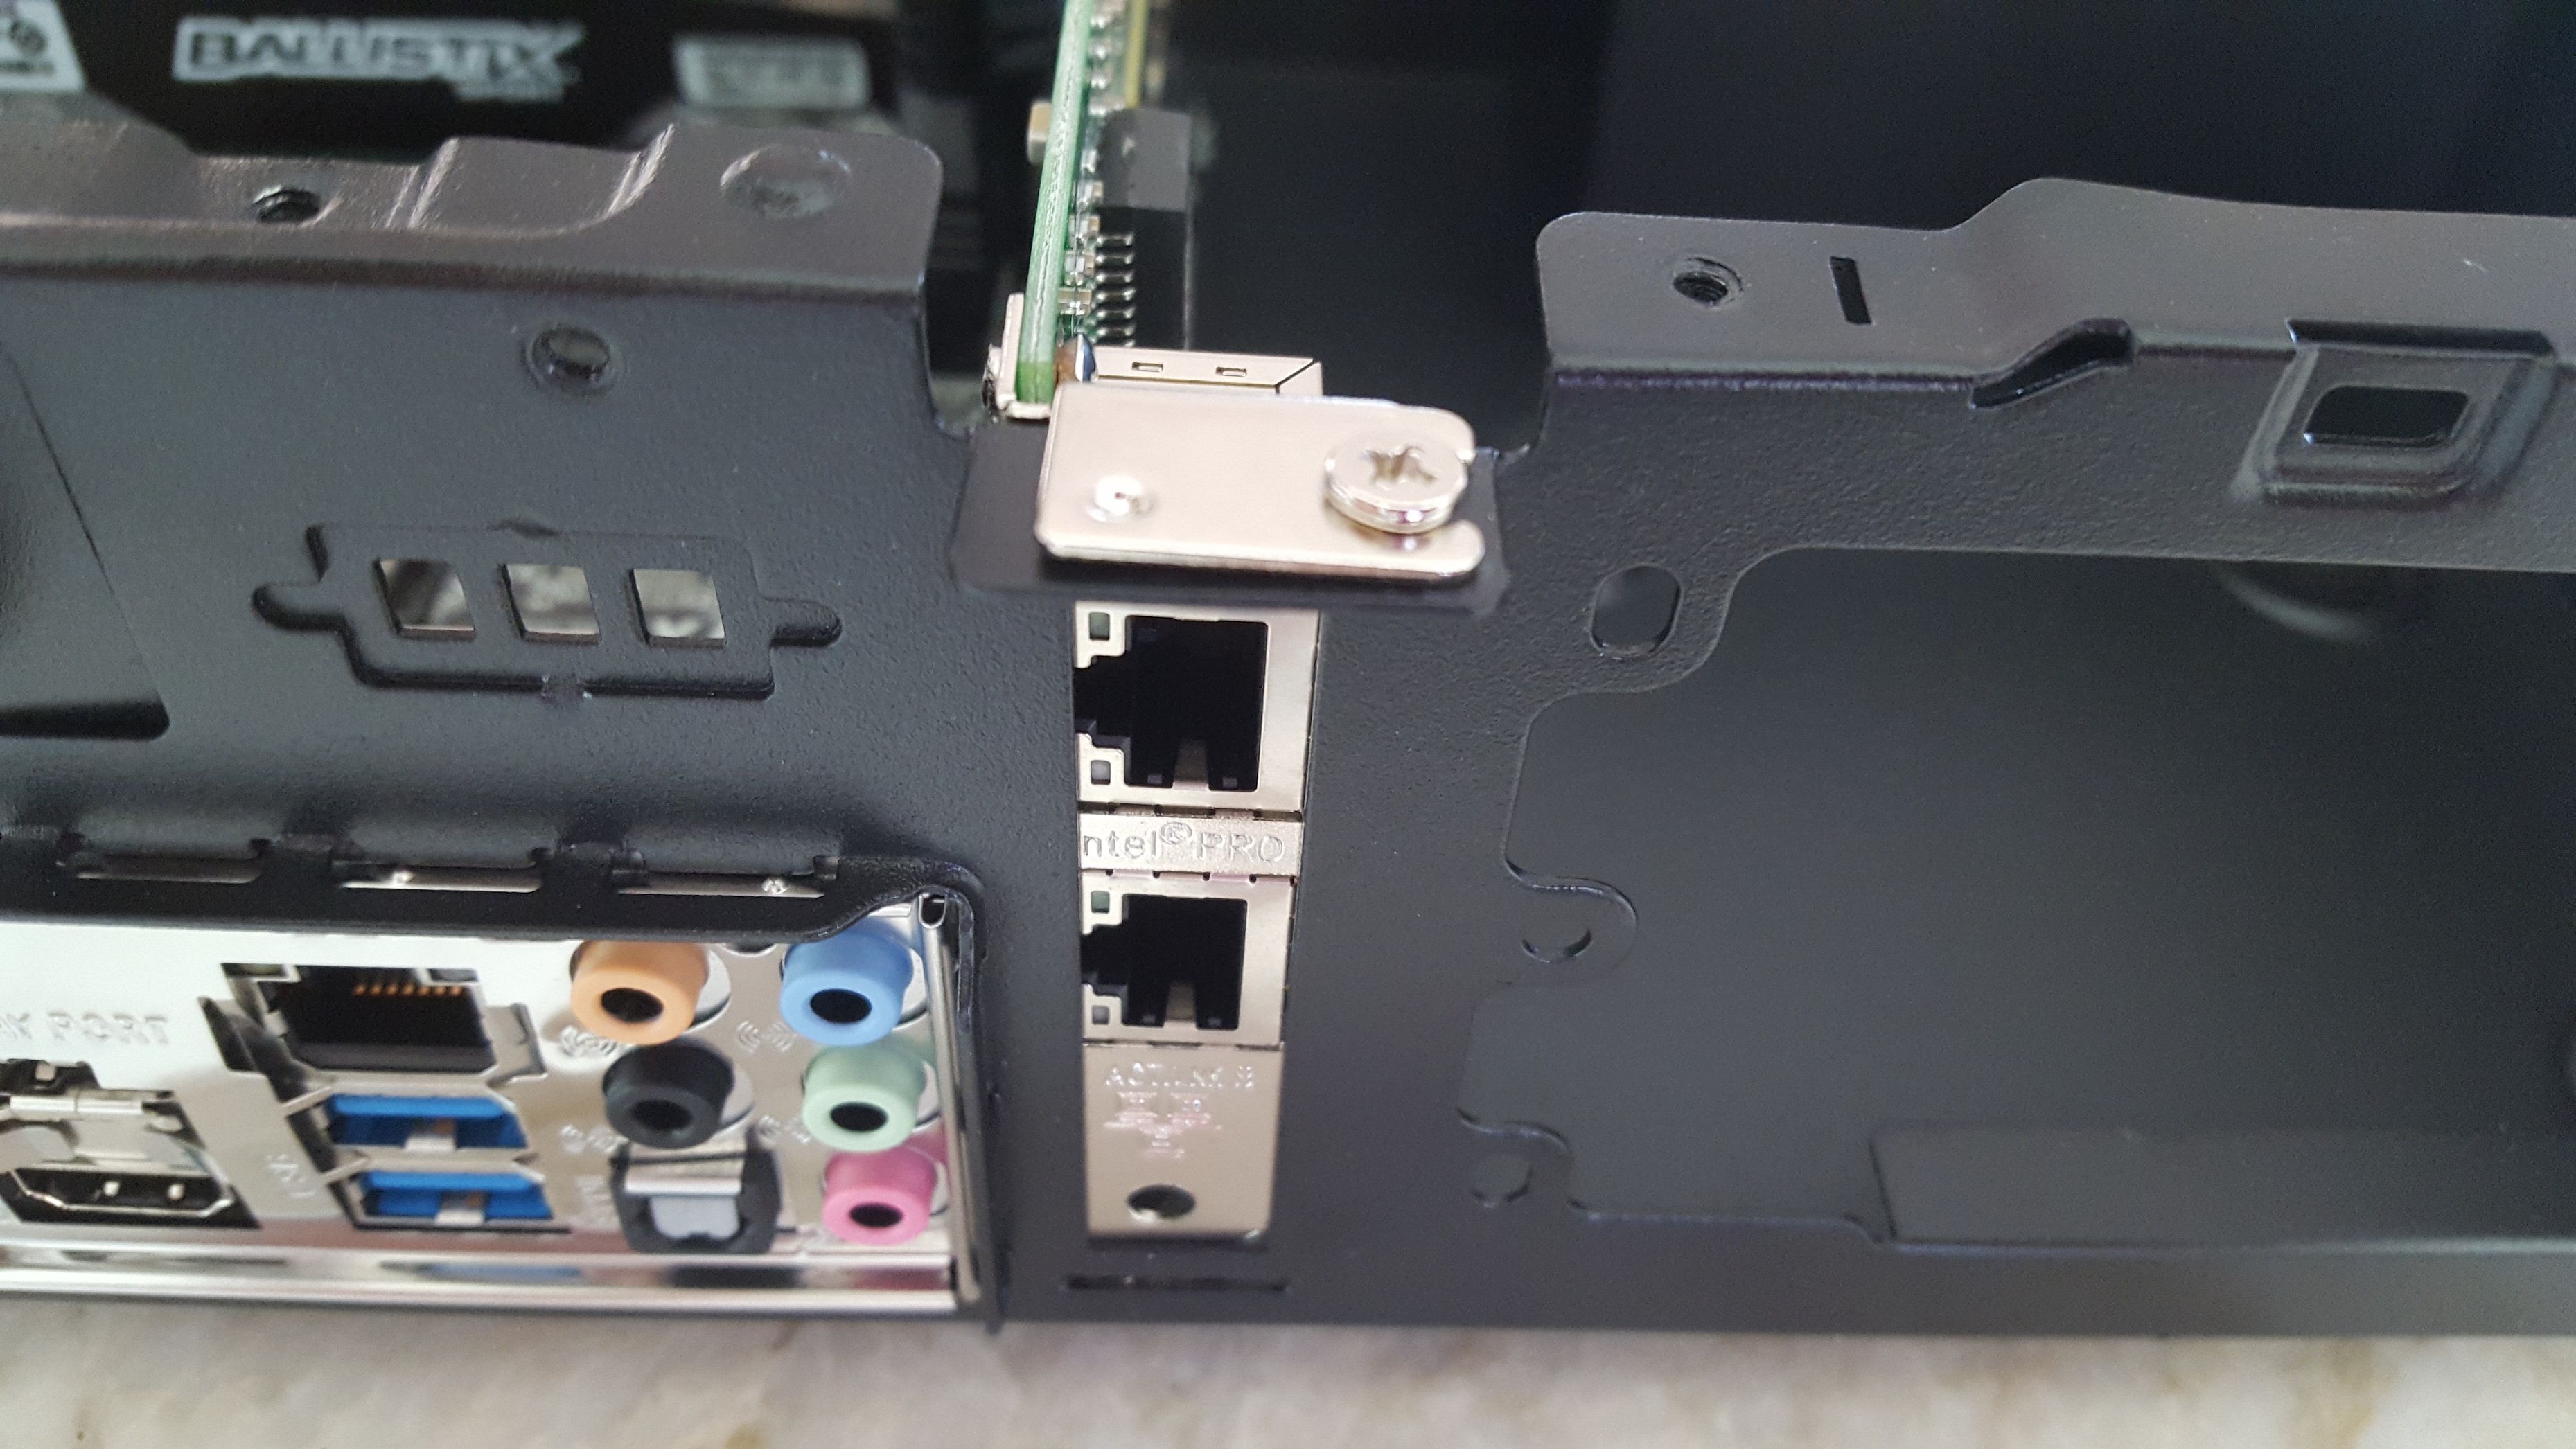
Intel E1G42ETBLK PCI-Express x4 10/100/1000 Mbps Network Adapter
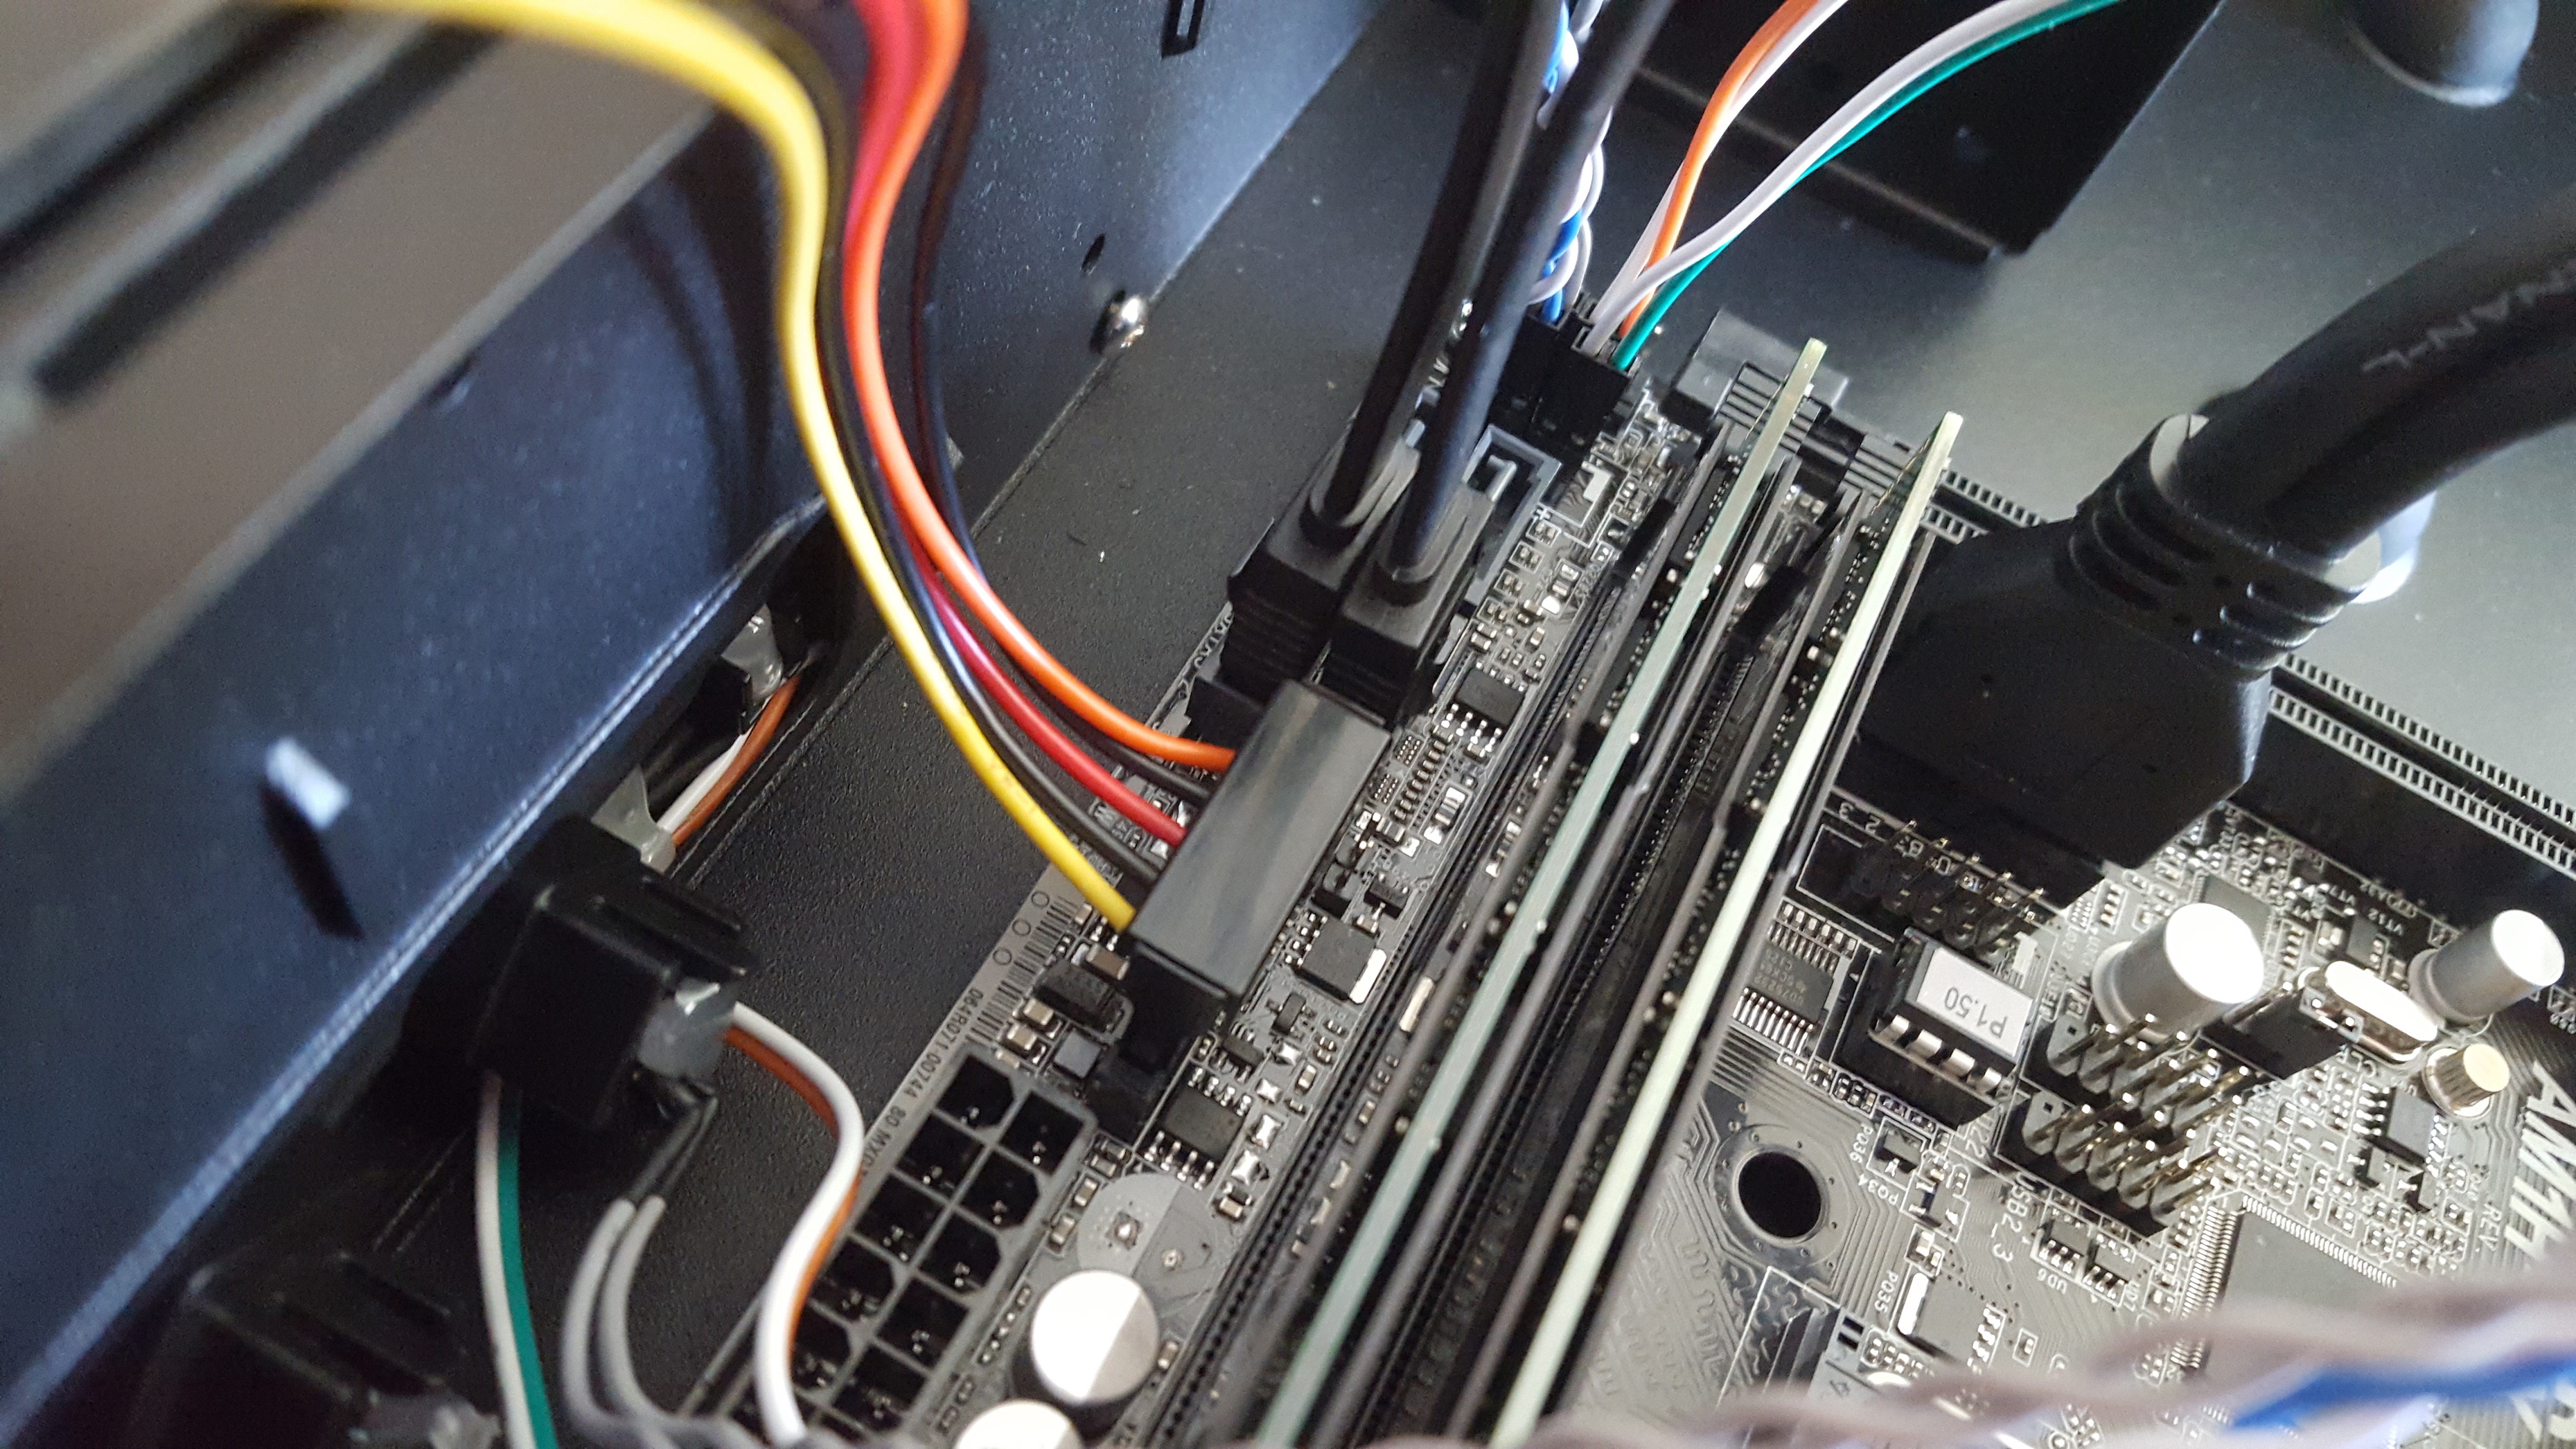
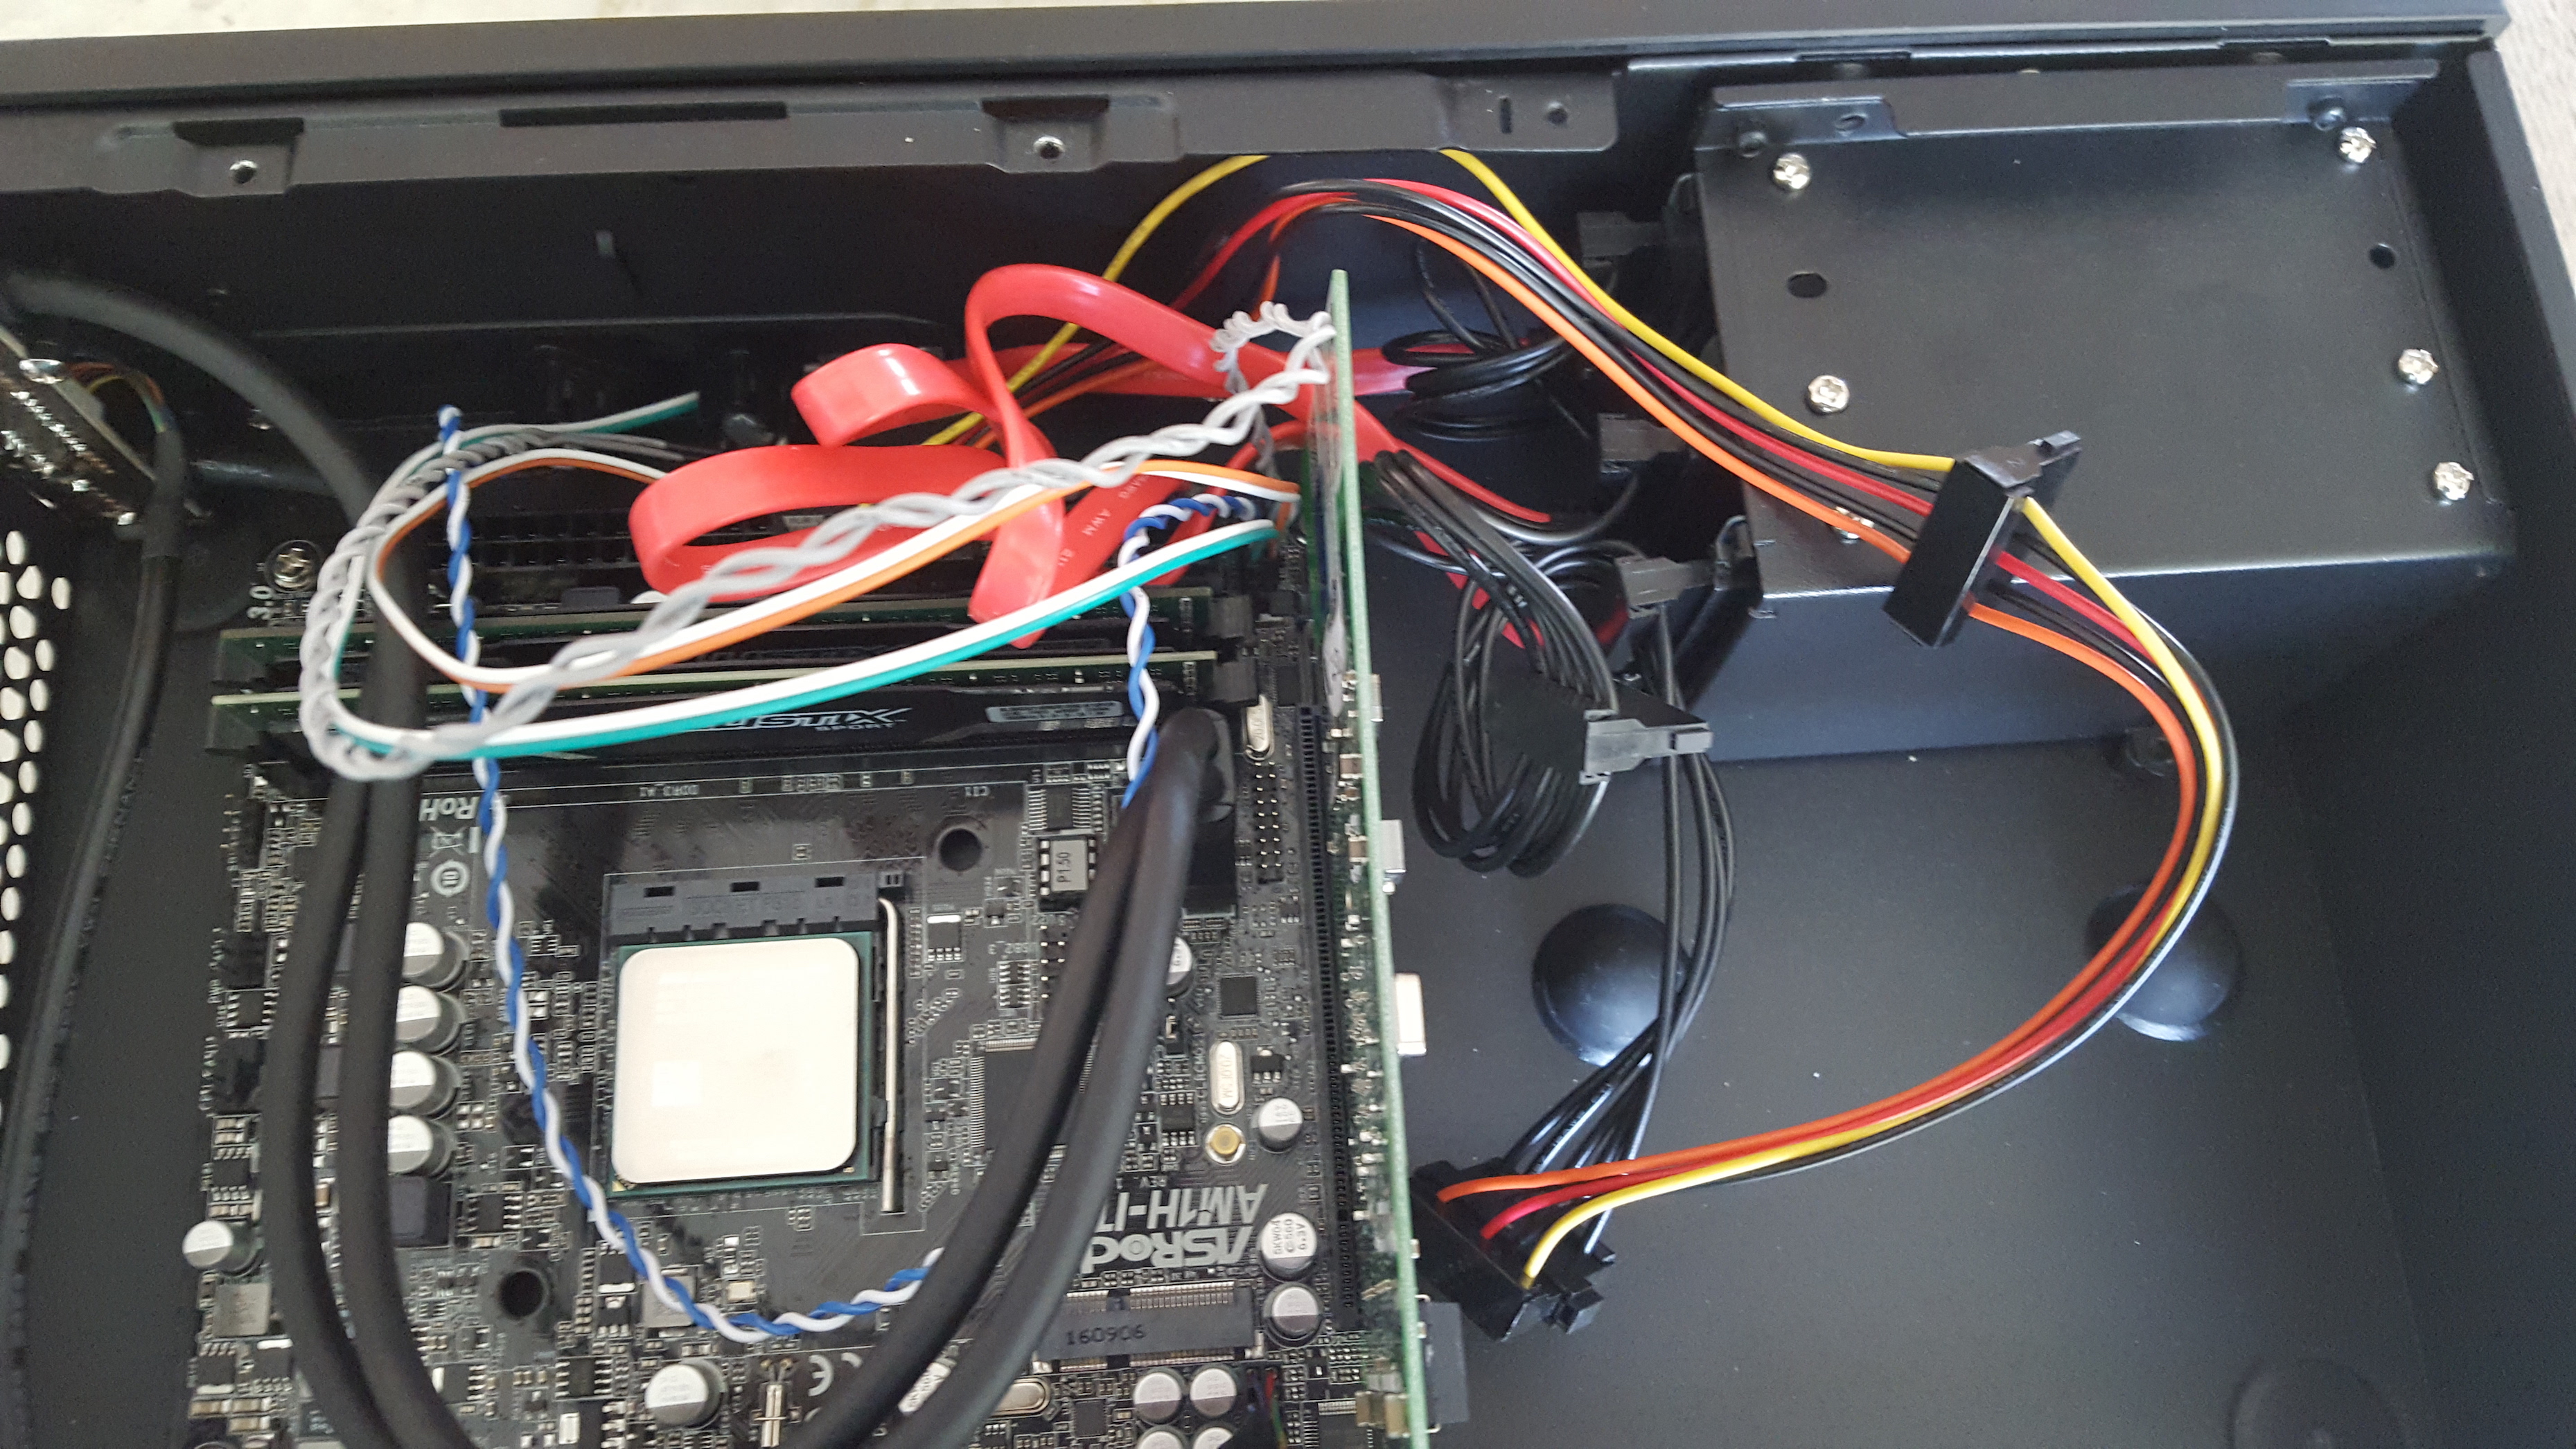
The hard drives were from old laptops that I replaced with SSDs and the network card was from a batch of five that brings the cost of it to $26. I added the extra SATA power splitter and SATA data cables to connect all three hard drives.

Install
The instructions from Silverstone are clear enough. Open the case, install the I/O shield, then install the motherboard.


RAM
The RAM is simply pushed into place and clicked down so the tabs at the end snap down. The ethernet card is also pushed down and the a single screw is installed above the ports to hold it in place.

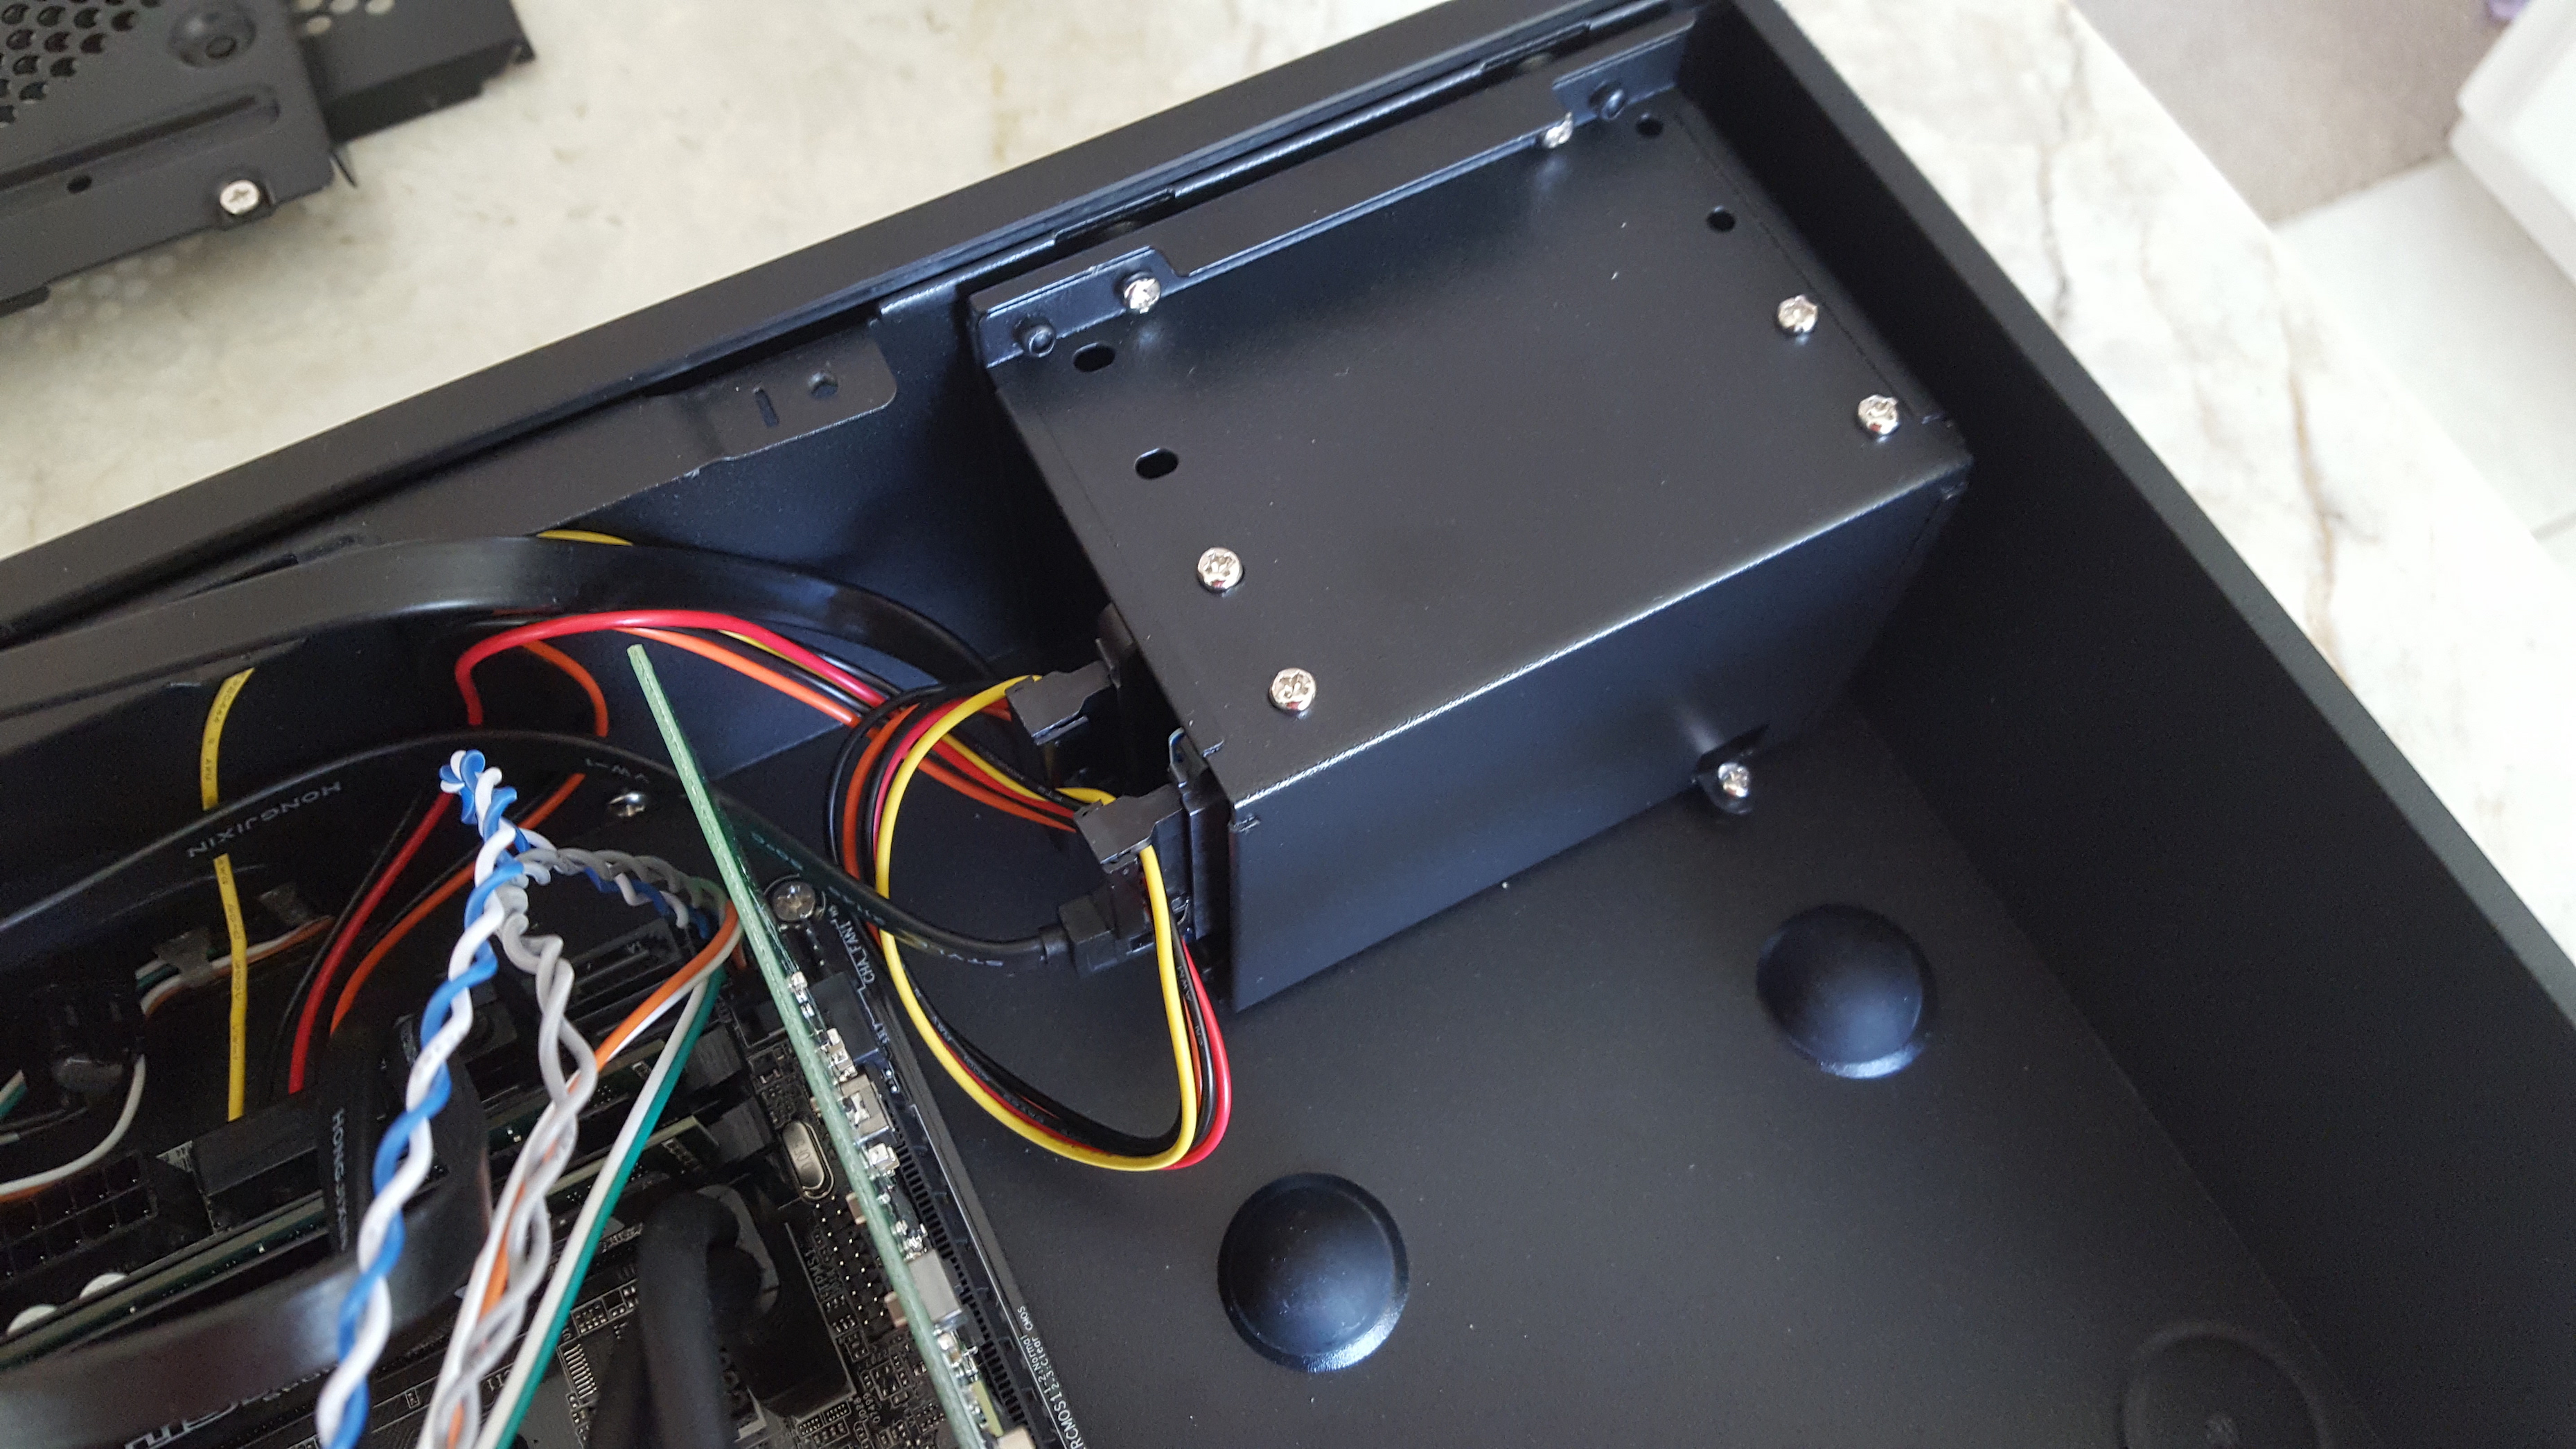
Hard Drive
The hard drive enclosure is unscrewed and the drives go in on their sides. The SATA data and power cables needed to be longer and more ports so I could install all the drives I wanted to. They only cost $10 total and it is a tight fit, but they worked eventually.


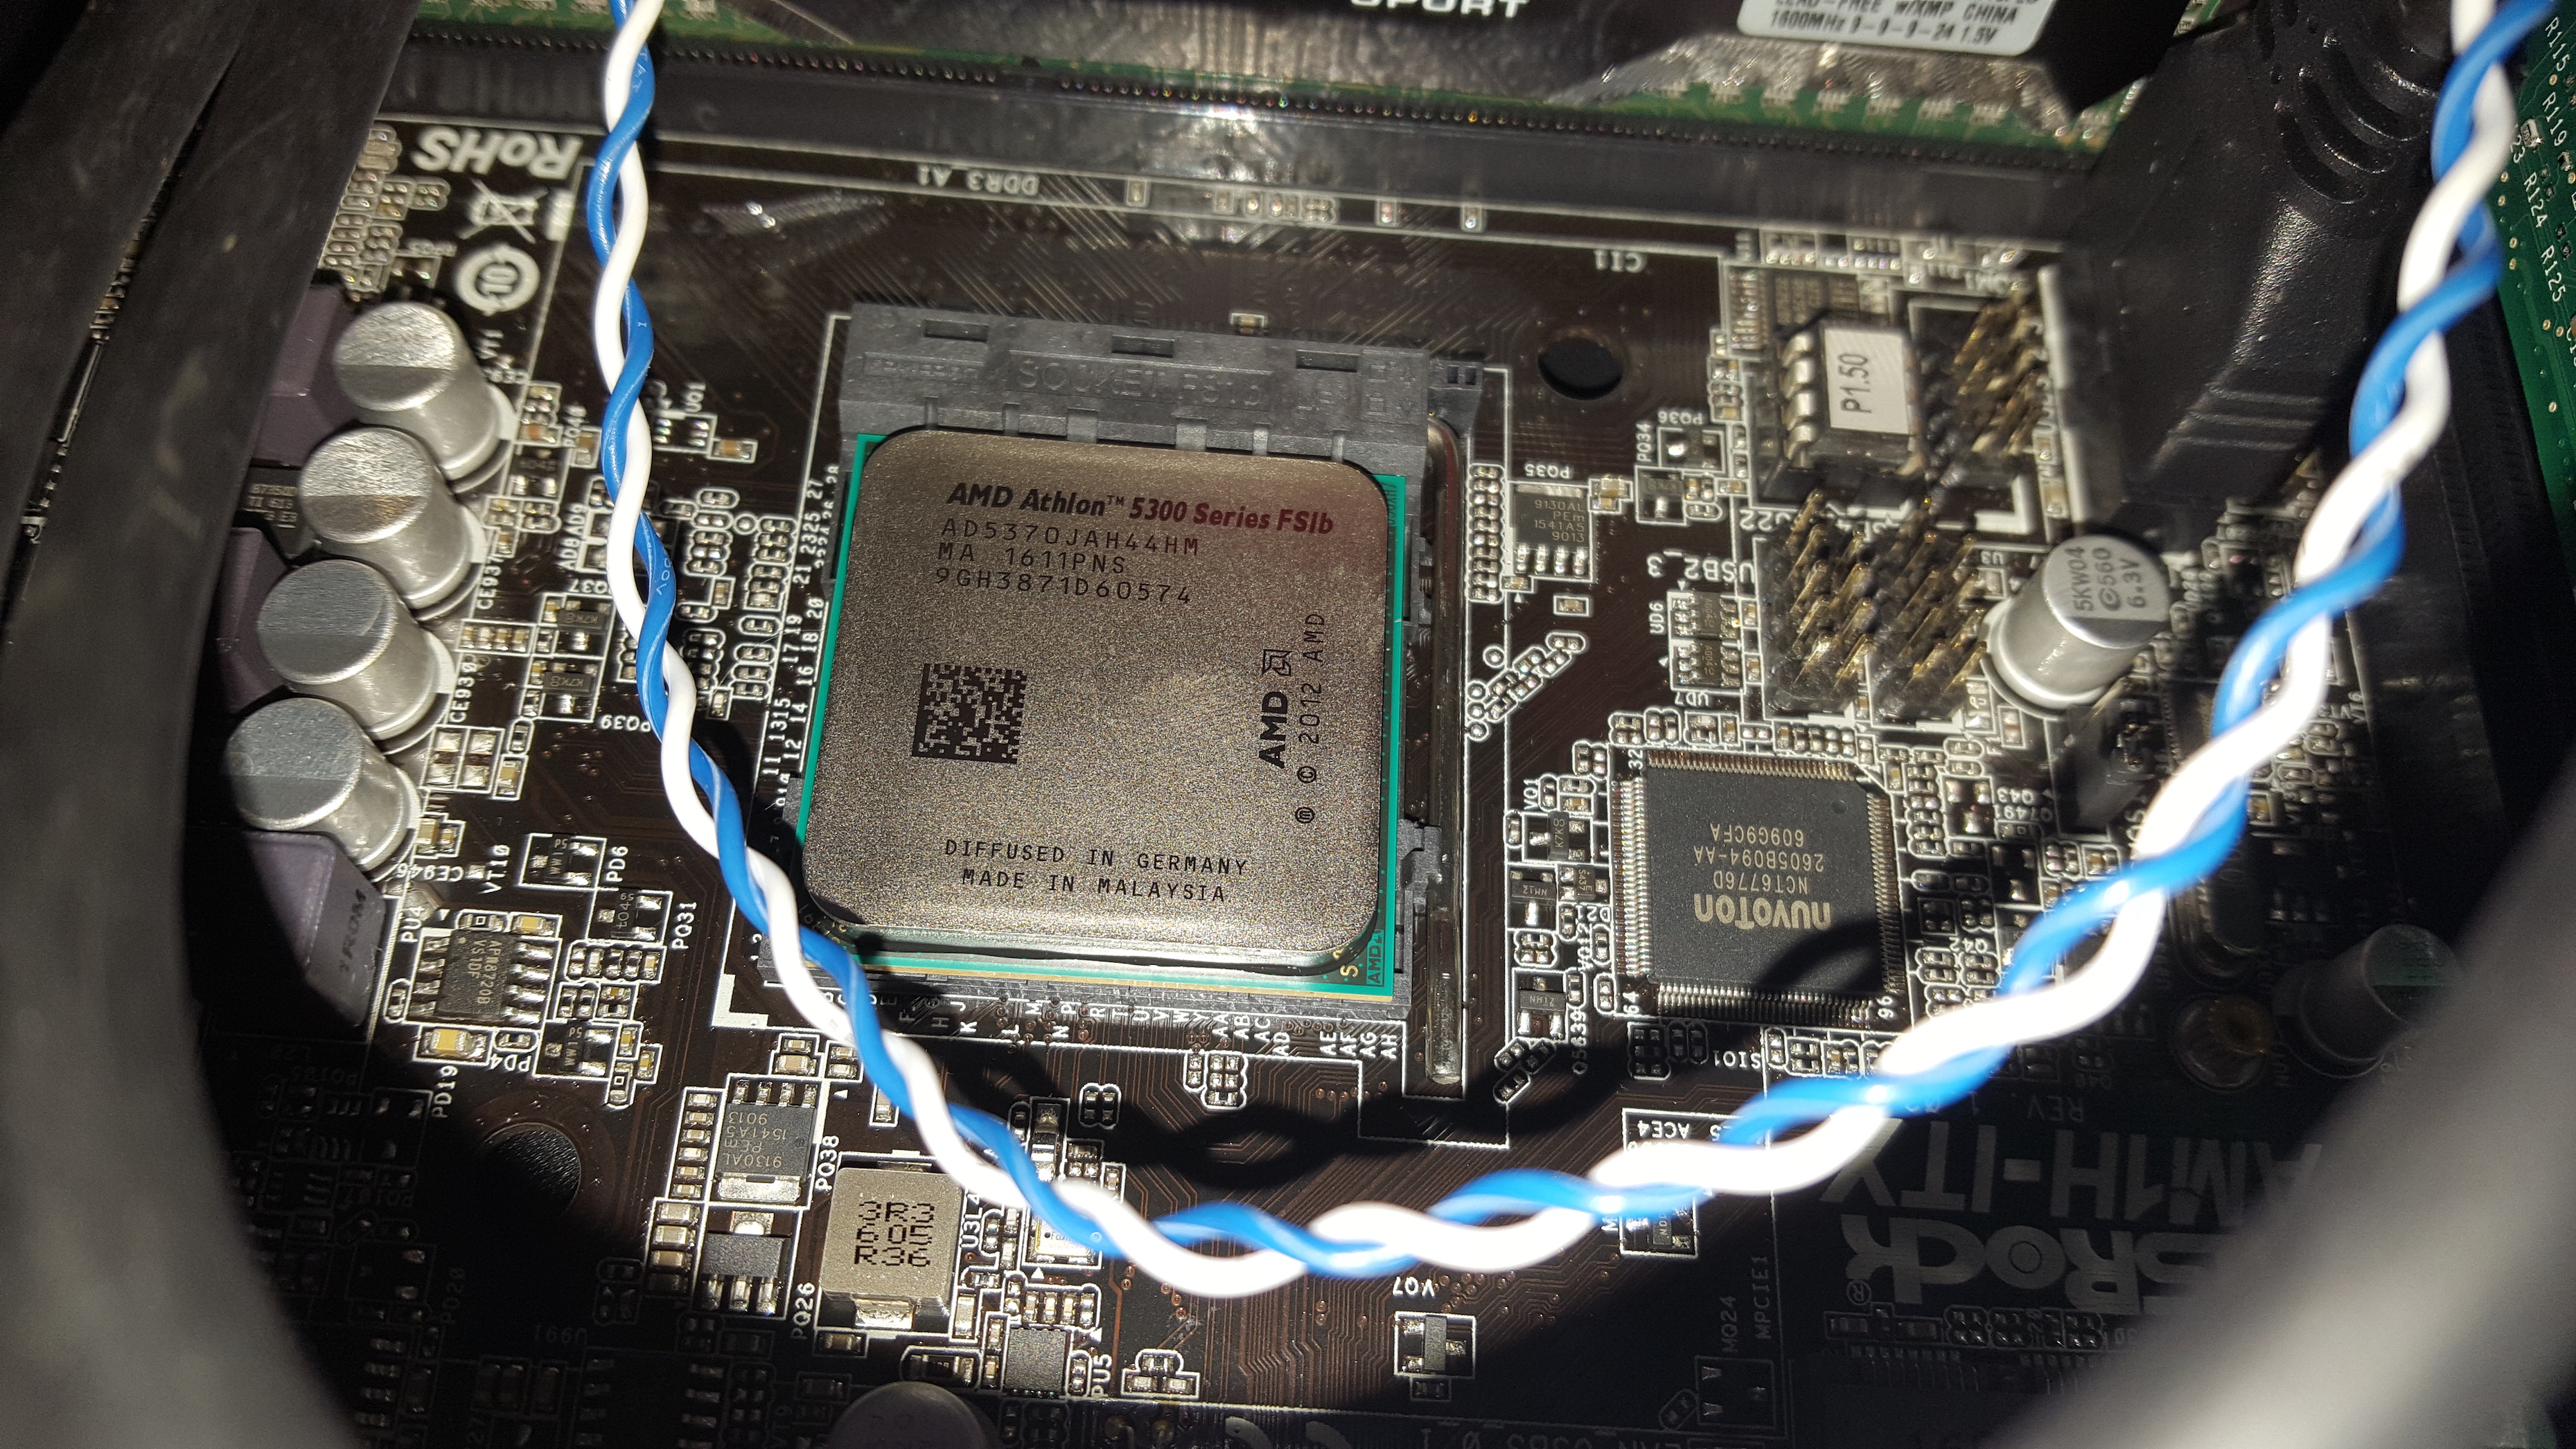
CPU and Cooler
The CPU installs very easily, but the cooler (fan) is a pain to install. The screws have springs that apply tension, but they make it very hard to screw in since you have to push down very hard onto the cooler to get them started. I was a little worried that it might break something, but the motherboard just flexed until the threads started catching. Maybe I did this incorrectly, but I don’t see how.


The nice thing about this motherboard is that it can be run off an external power supply. I already had a few floating around the house and it makes it a little cheaper to not need to buy in internal supply. Supposedly it also helps the computer run cooler in the small and cramped case, but I don’t have a way of verifying that at this time.
Next Steps
Now that the hardware is installed, I will go over installing Proxmox and then configuring some small virtual servers.
Leave a Reply