Rustic Dining Room Table, Version 2
When my wife and I moved into our new house, there was a spot that was perfect for a large dining room table. I assured my wife that I could make it “really quickly” and for cheap. 10 months later, I was able to keep one of those promises!

Inspiration
There are plenty of designs for rustic-style tables. I combed through as many as I could find until I had an idea of what my wife and I would like. Then I hand-sketched some plans and made my lumber list.
Although my first design was by hand, I ended up making some Rustic Dining Room Table plans in SketchUp.

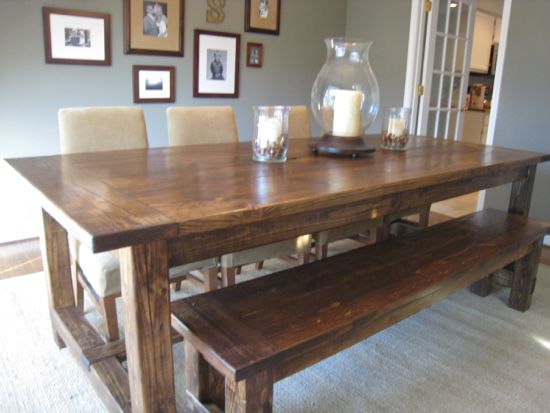
Popular Mechanic’s table build was very influential in the final design:

The Turquoise Home is a similar style with less solid build:
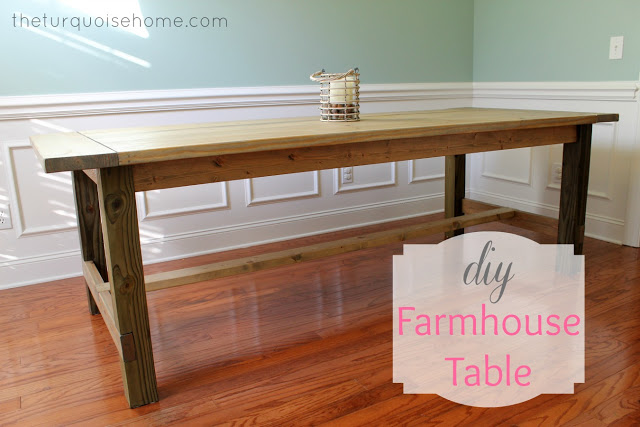
http://theturquoisehome.com/diy-farmhouse-table/
Ana White’s similar style:

http://www.ana-white.com/2012/11/plans/farmhouse-table-updated-pocket-hole-plans
The Domestic Heart’s build:
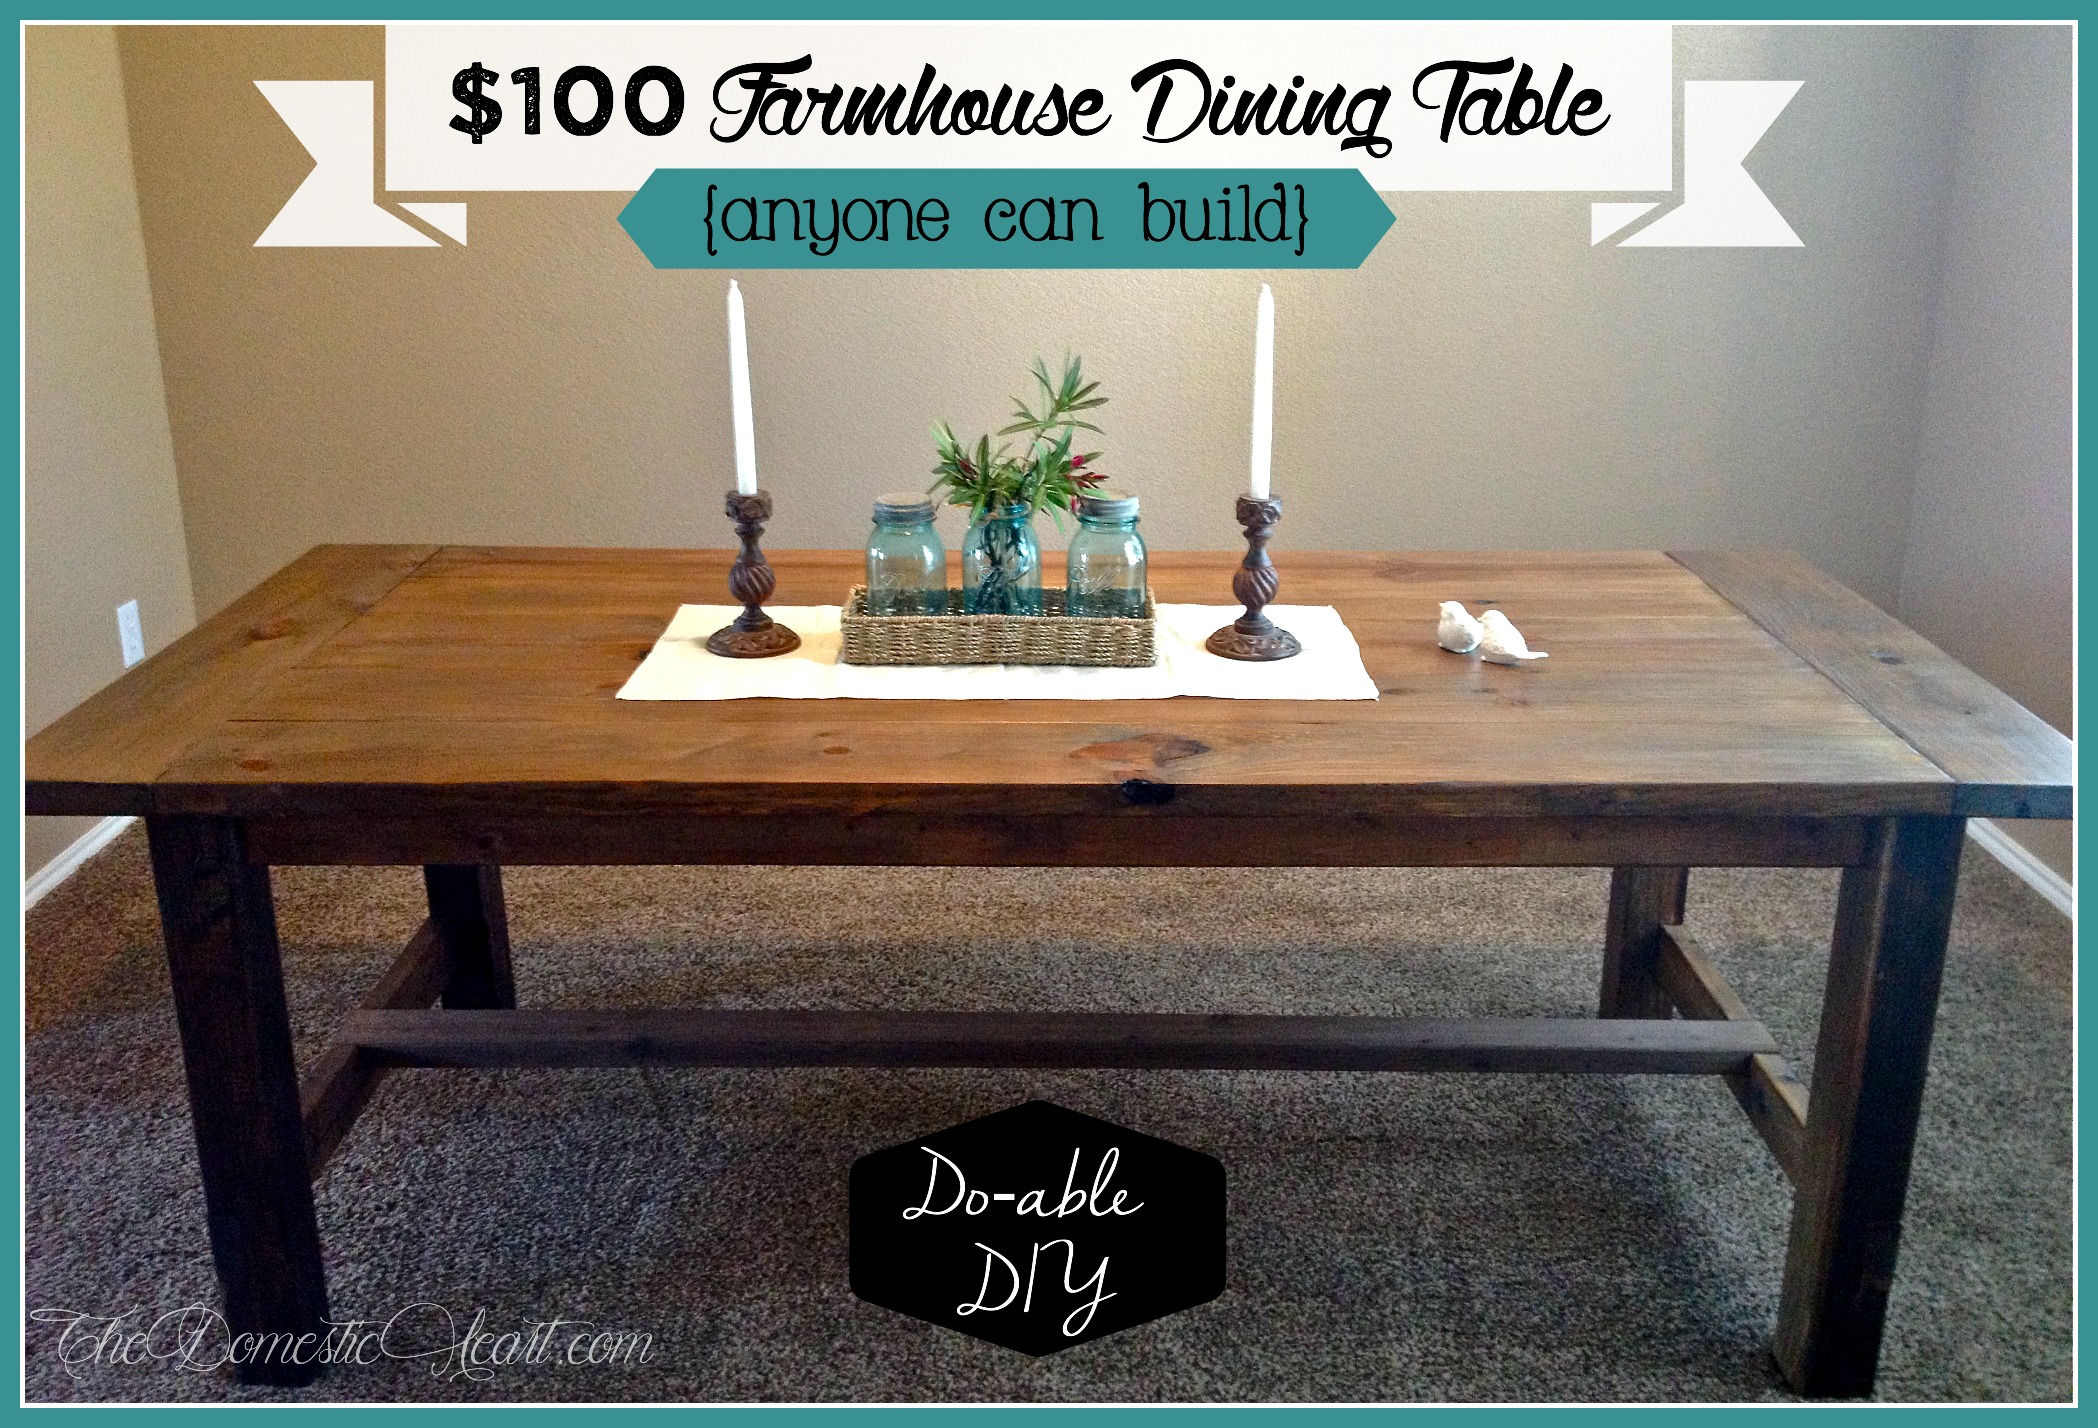
http://thedomesticheart.com/diy-farmhouse-dining-table-2/
Tommy and Ellie’s build:
http://tommyandellie.com/?p=2582
Wood Purchase
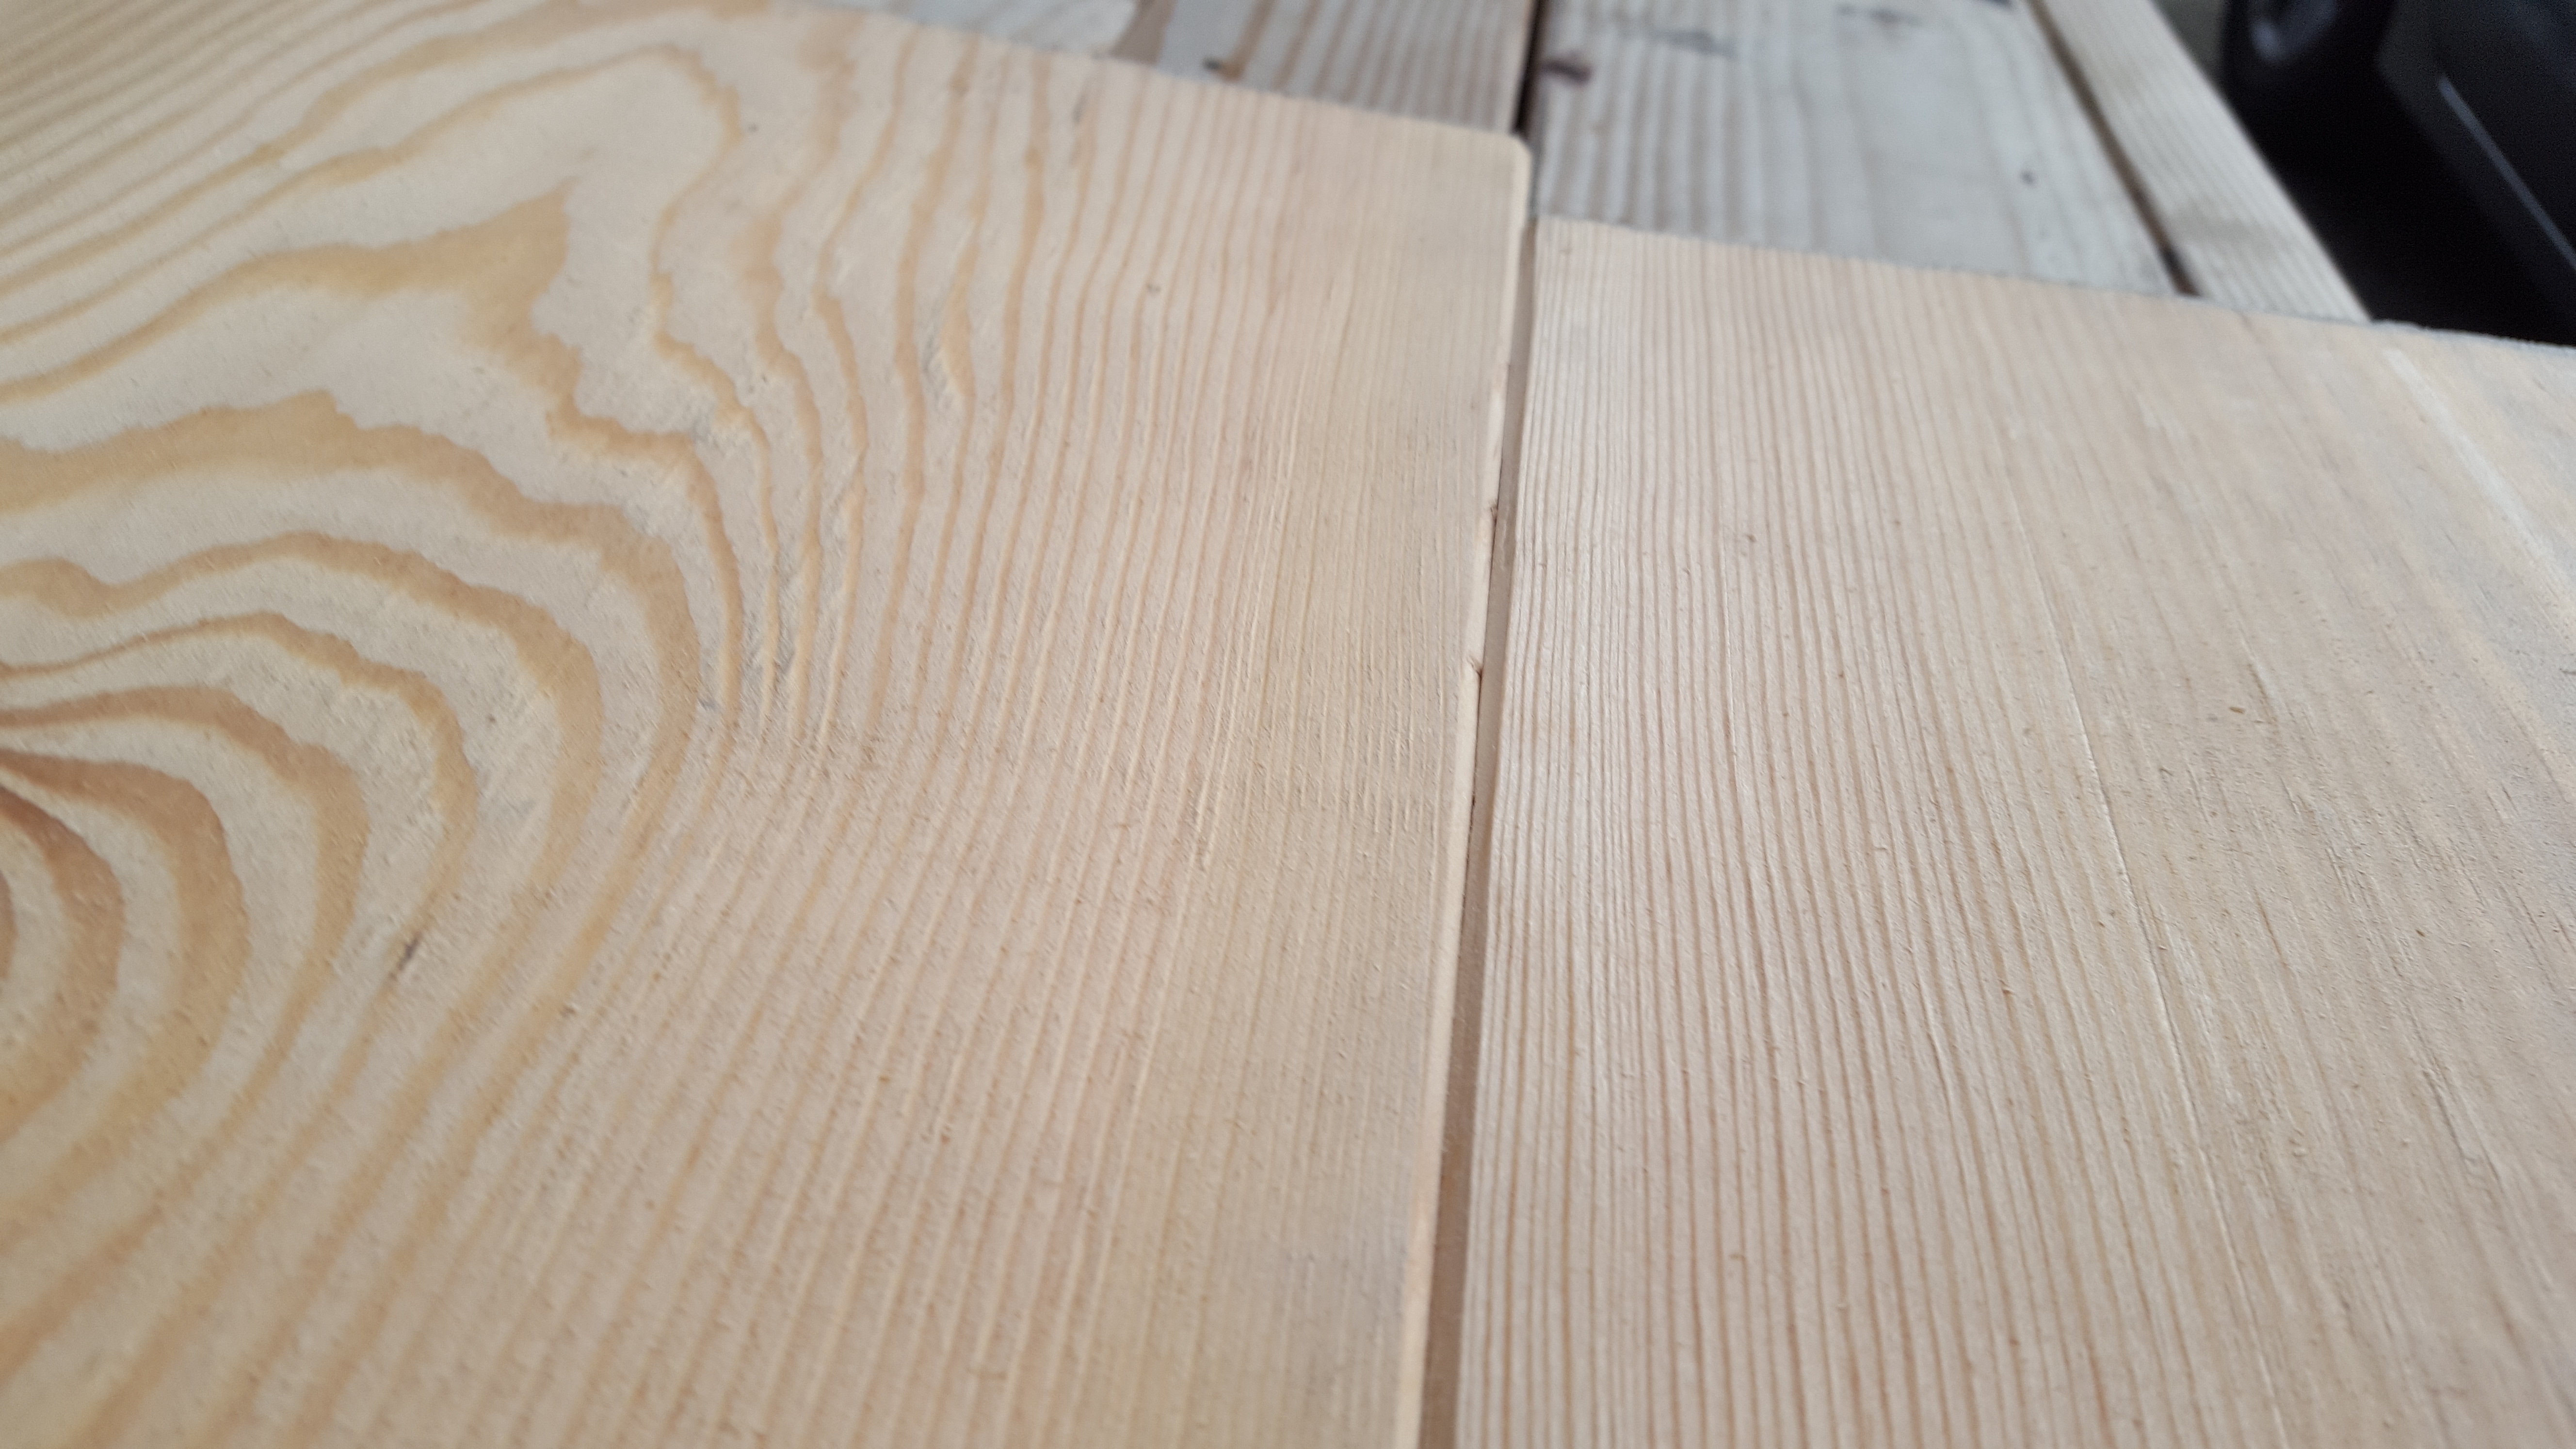
The lumber was construction grade Douglas Fir from the local Home Depot. I tried to be careful in selecting pieces that were straight, had close to vertical grain, and were defect-free. After purchasing the wood, I painted the ends to stop the moisture from escaping too fast and cracking as it dried. I stacked it in the house with 1″ stickers between each row. The idea is to let it dry out and acclimate to the house so when it’s built and brought inside, it won’t warp significantly. I let it sit in a bedroom for about three months to dry out.
These photos from an old book on woodworking highlight the likely direction wood will warp based on the grain and how much it can shrink by:


A helpful article from Billy’s Little Bench on working with green Doug Fir:
http://www.billyslittlebench.com/blog/working-with-green-douglas-furconstruction-lumber
Cost Breakdown:
(1) 4 x 4 x 10 $11.22
(1) 4 x 4 x 8 $8.97
(4) 2 x 4 x 8 kiln dried $2.63 x 4 = $10.52
(3) 2 x 12 x 12 $15.69 x 3 = $47.07
Kreg 2 1/2″ pocket screws $4.97
Biscuits $7.97
Dowels $2.88
Helmsman Spar Urethane $15.97
Minwax PolyShades $12.87
Total: $122.40
Ends
Each end is two 4x4s for the legs, a 2×4 apron between the two, and another 4×4 that is notched with cross lap joints over the legs for the skirt. The original plan was not to use the 4×4 skirt, but I decided to add it for extra stability.
The joinery on the top is two dowels and glue for alignment and two 2 1/2″ pocket screws to secure it. The skirt lap joint is glued and secured with two screws from behind the leg.


Long Aprons and Stretcher
The long aprons are 5′ long and are connected like the short aprons with two dowels and two pocket screws on each end. The long stretcher is 69 1/2″ long and like the ends has two 1/2″ notches so it sits 1/2″ above the surface of the short stretchers. It also extends about 5/8″ over the ends to give it a more “rustic” look that matches the ends.


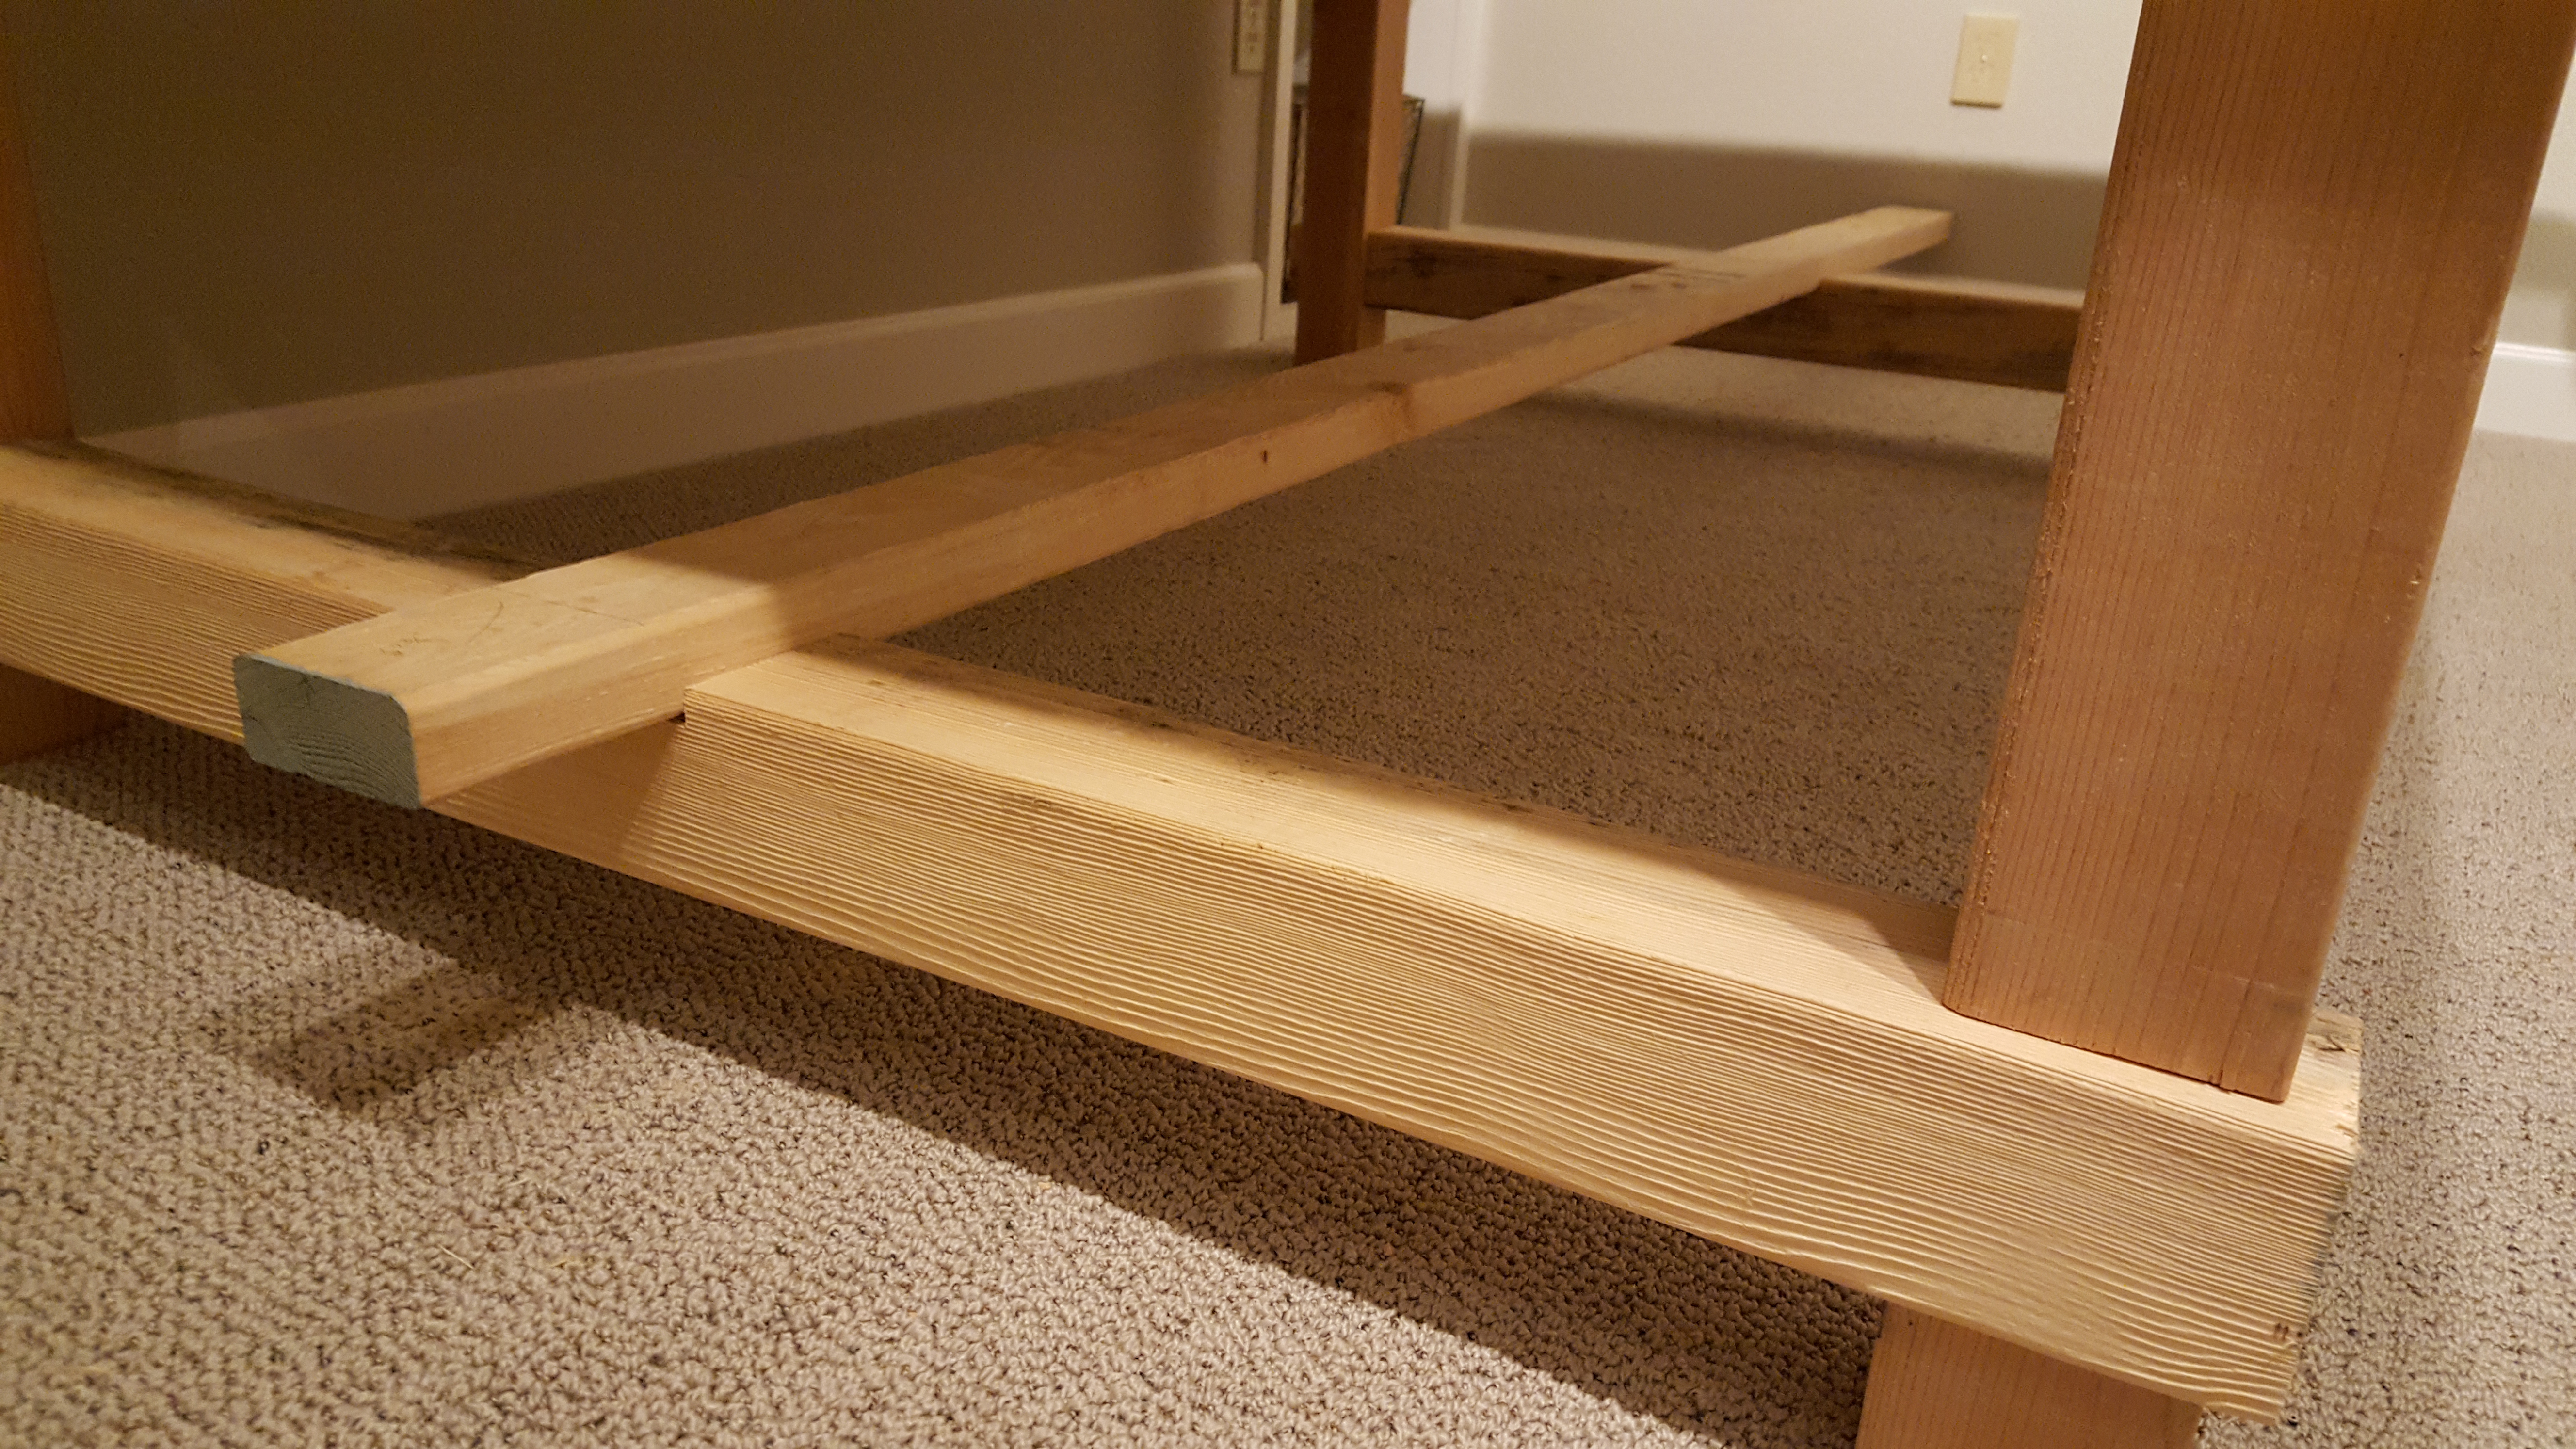
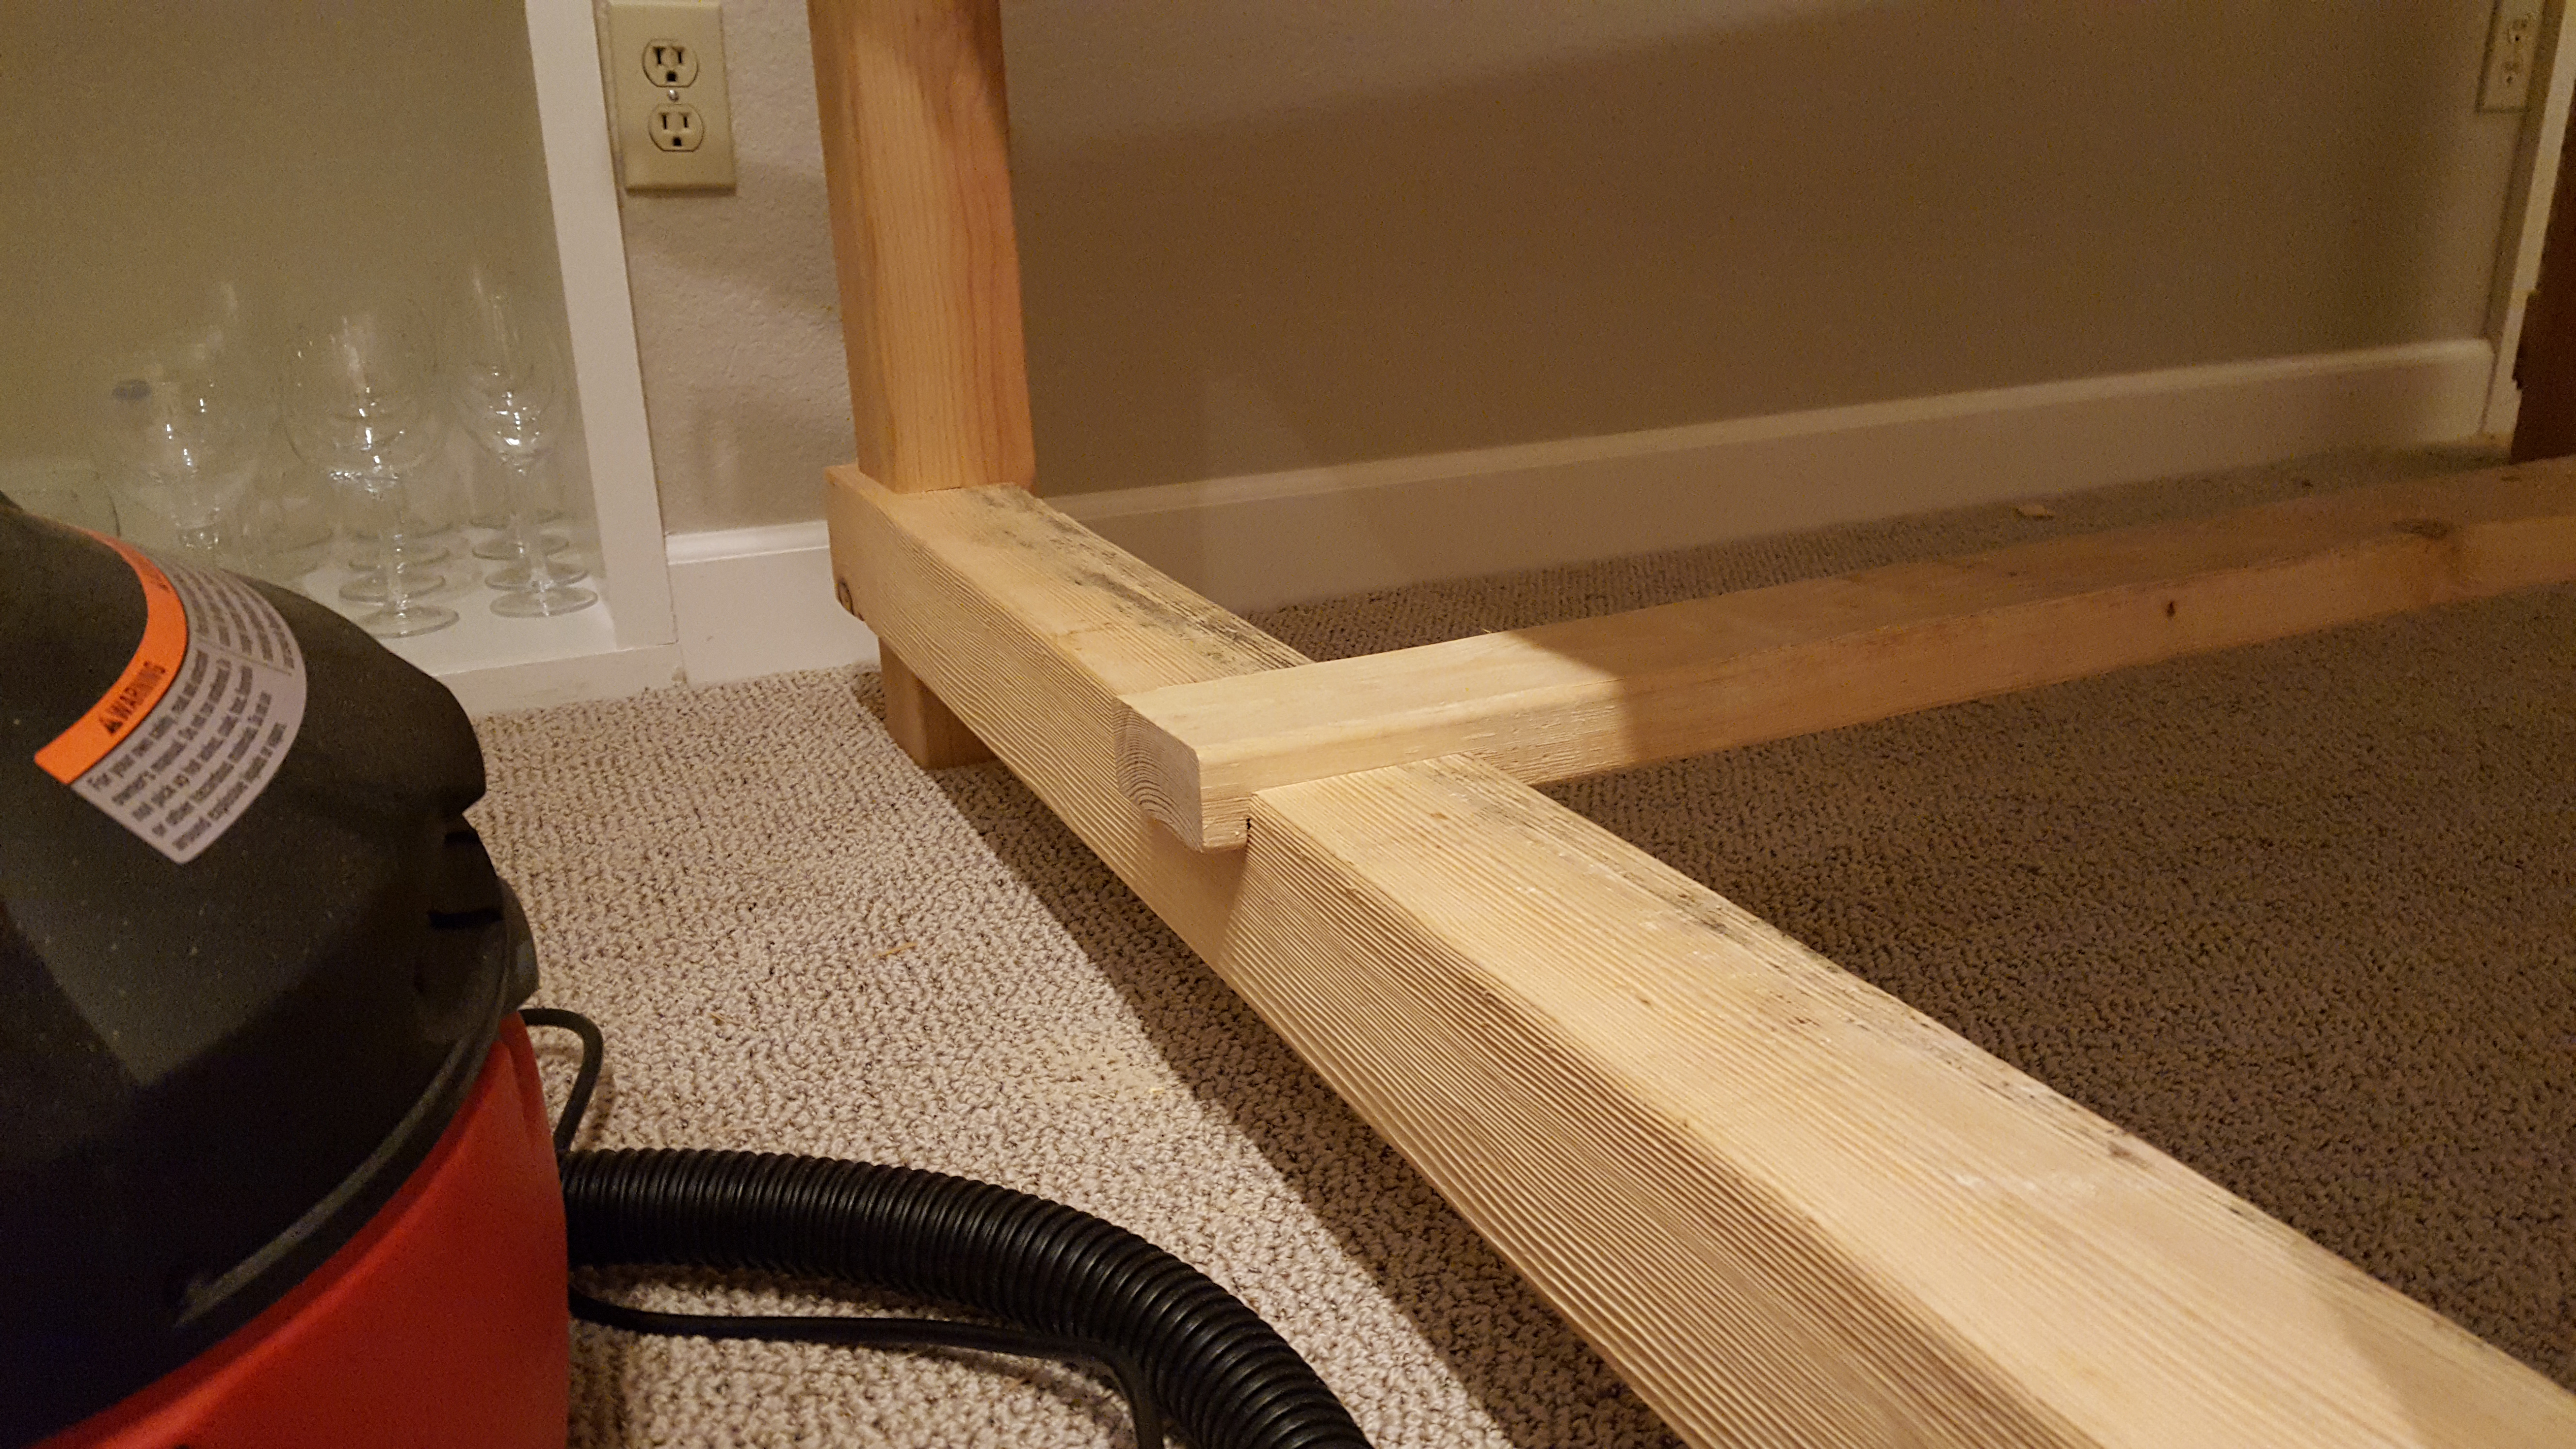
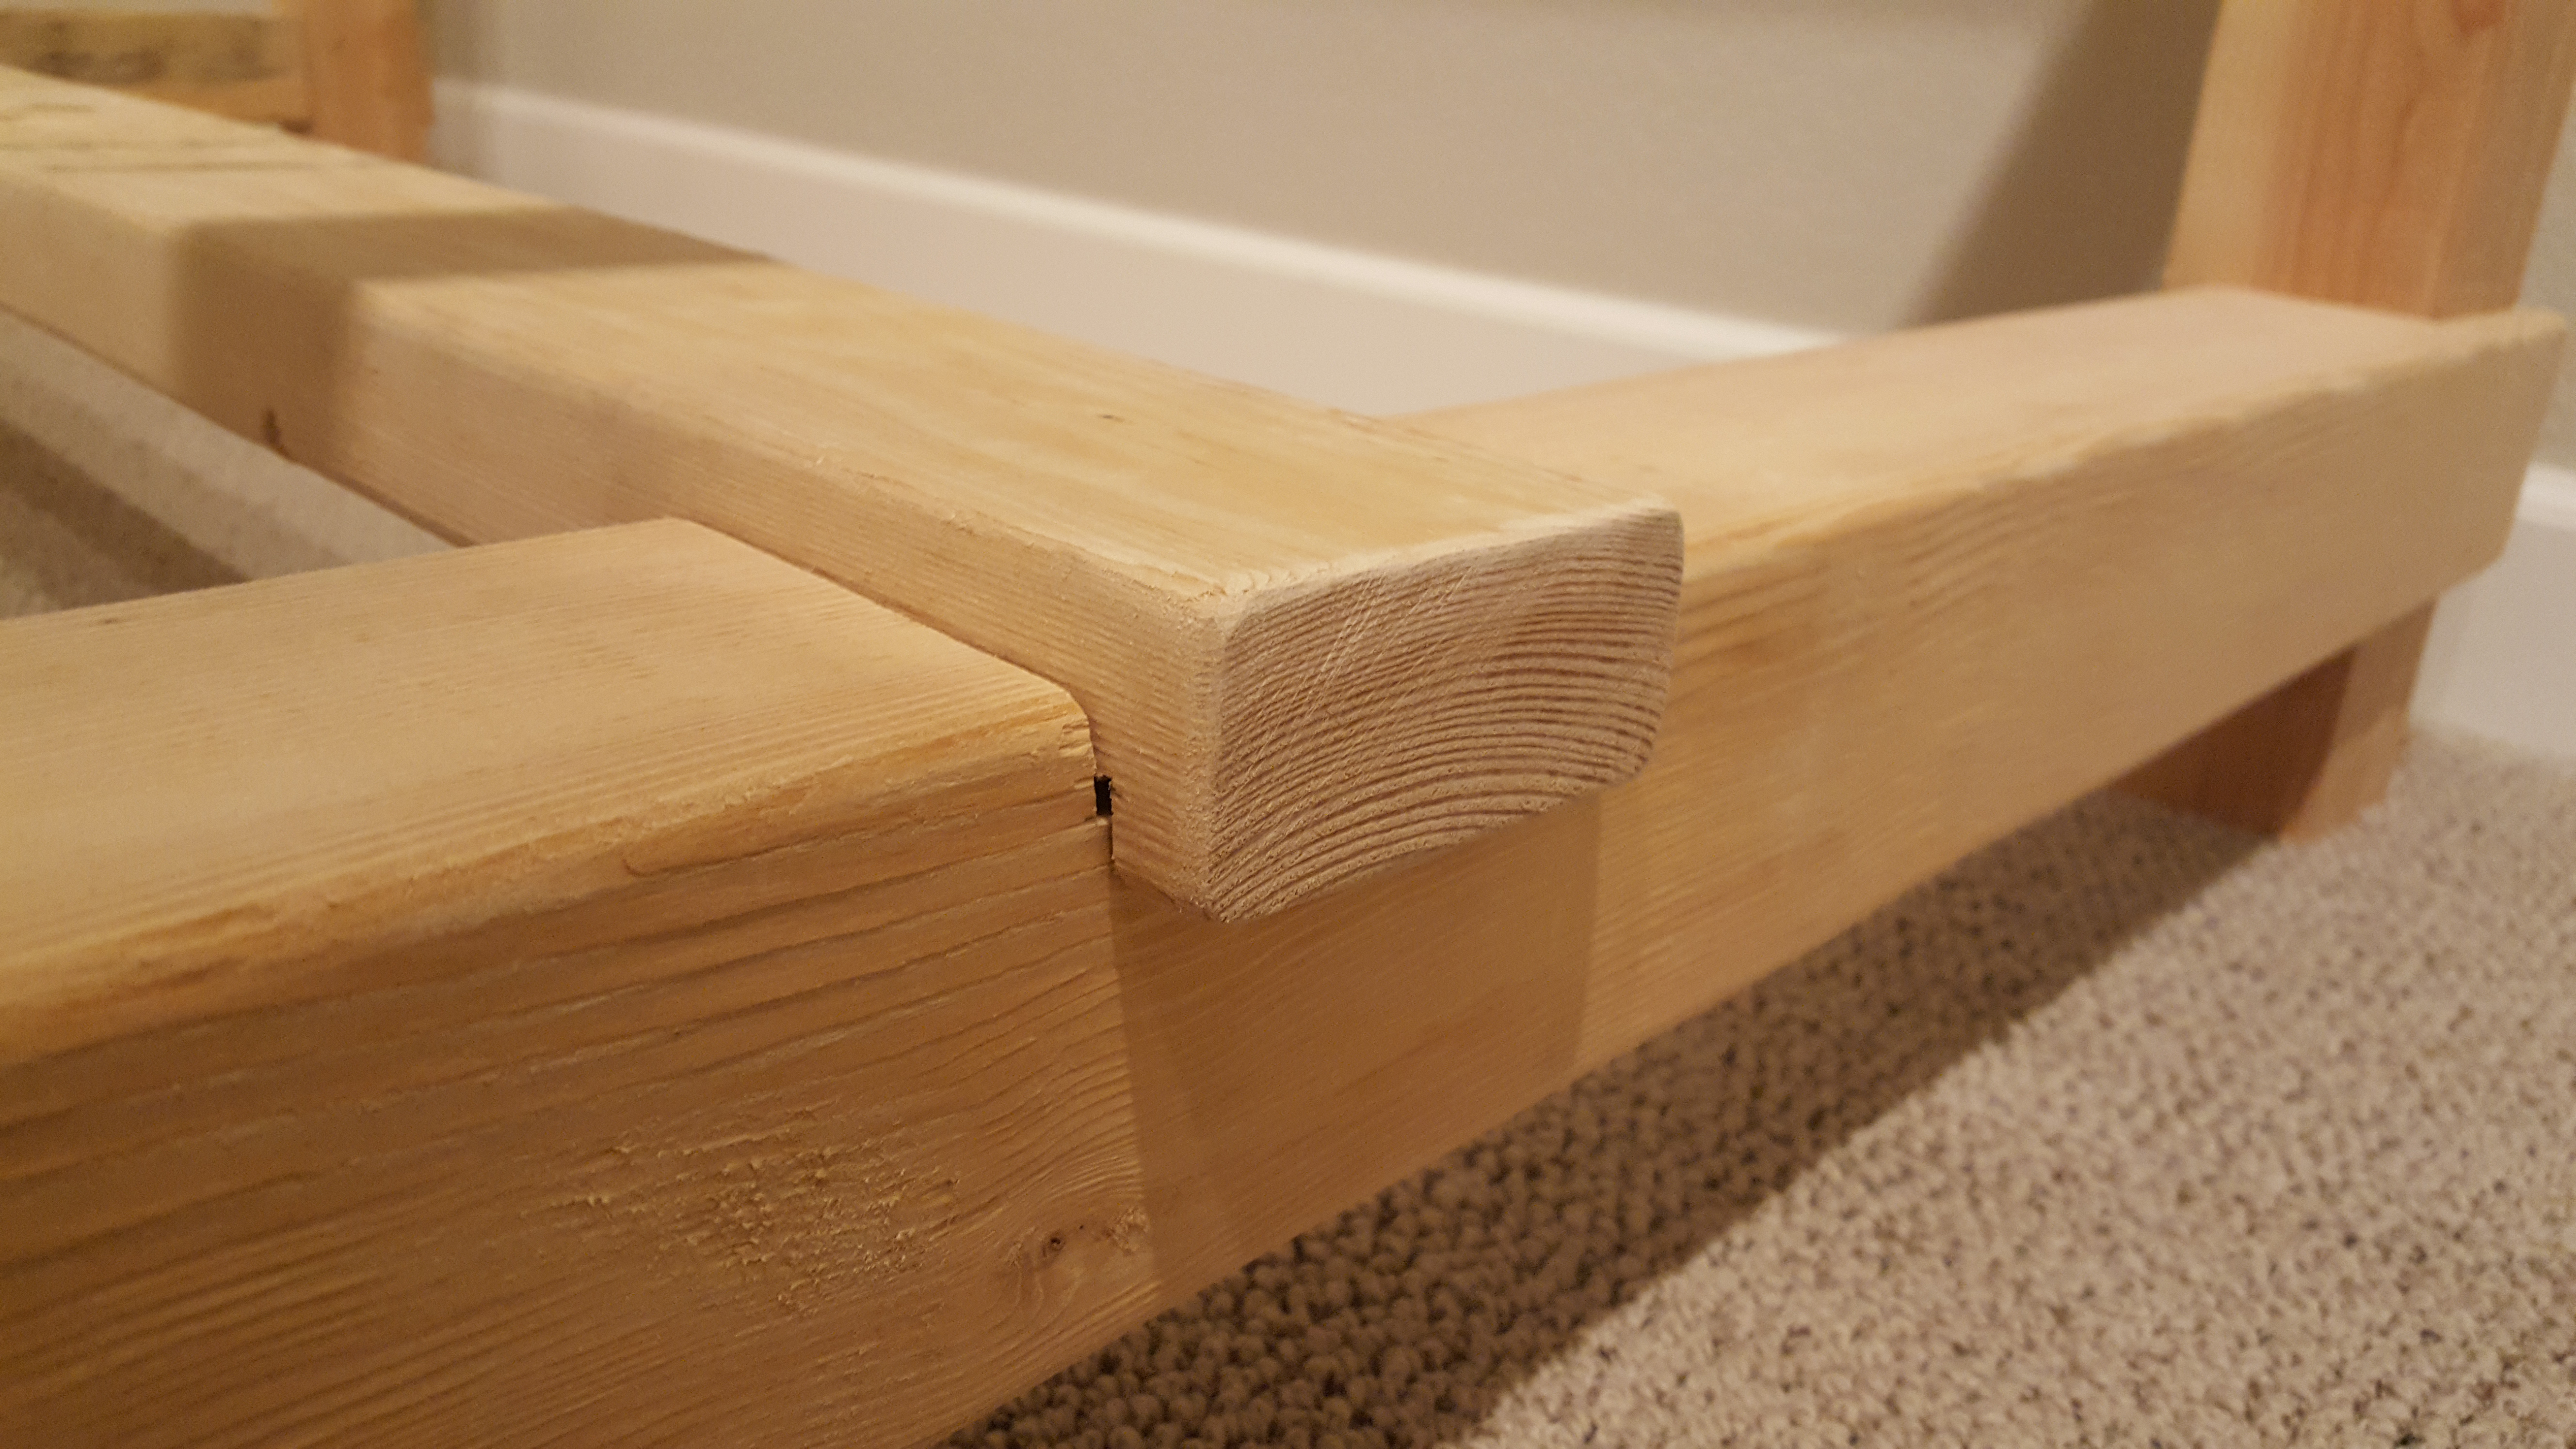

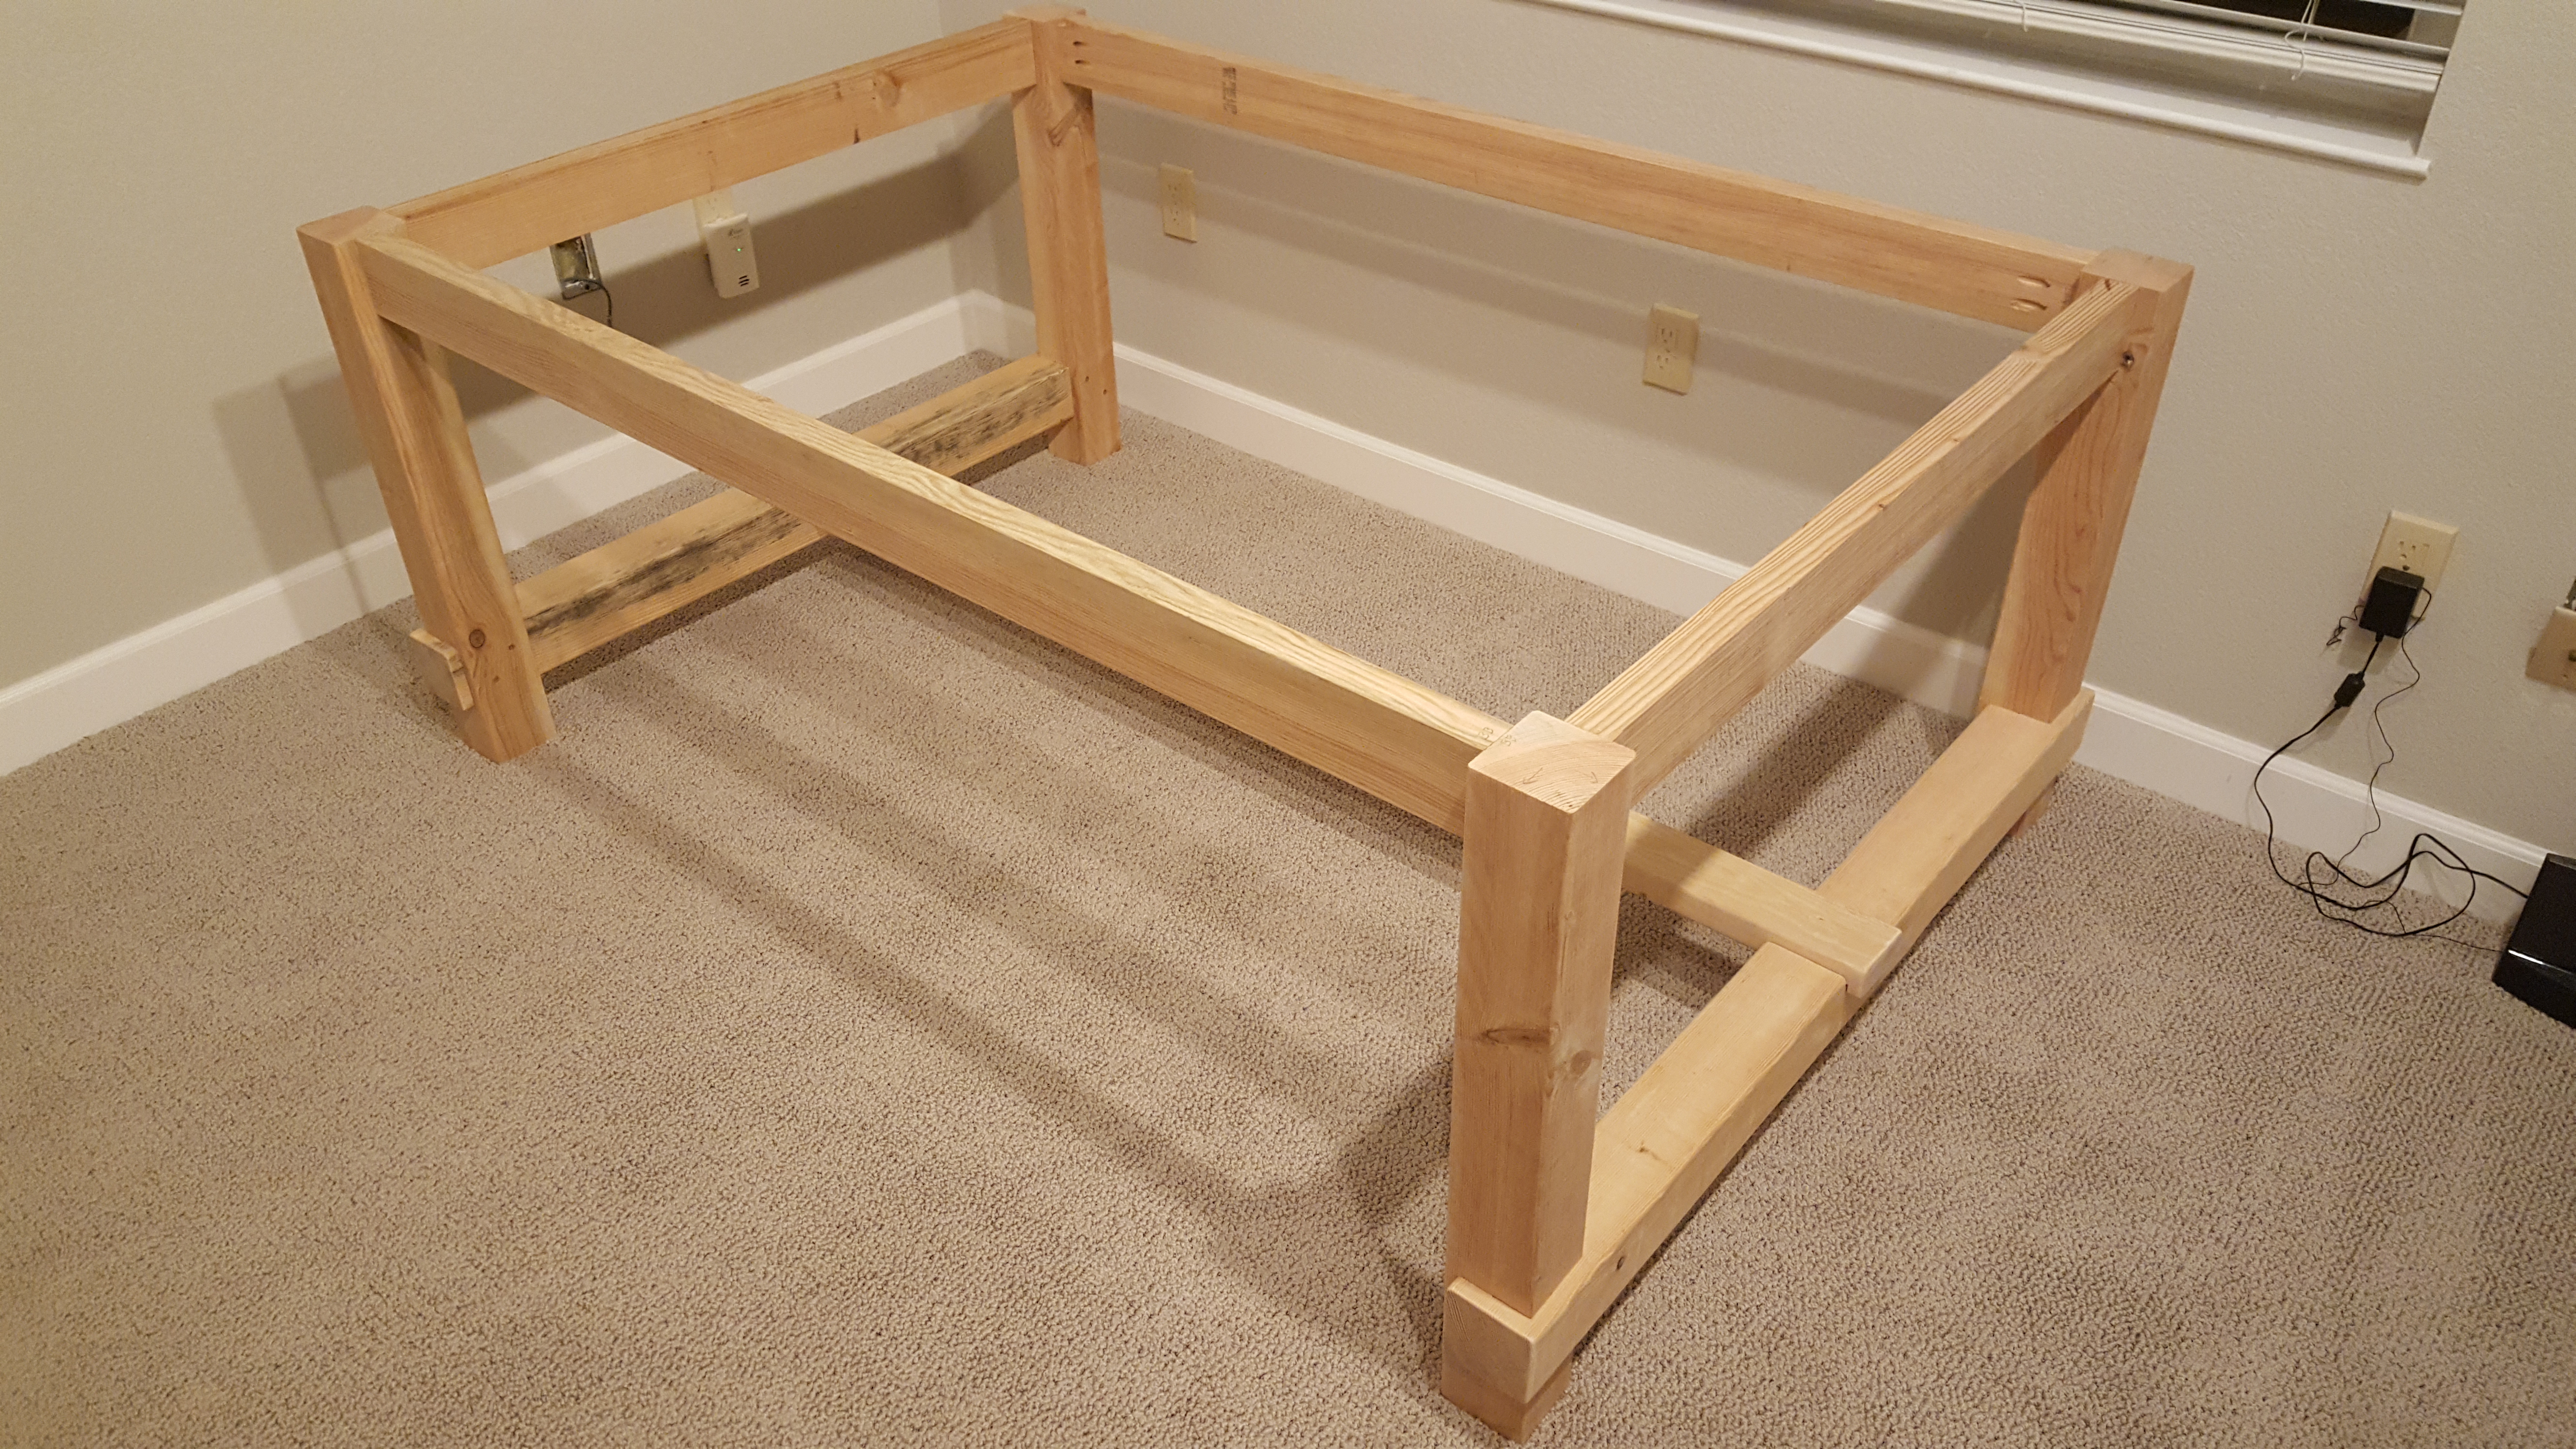
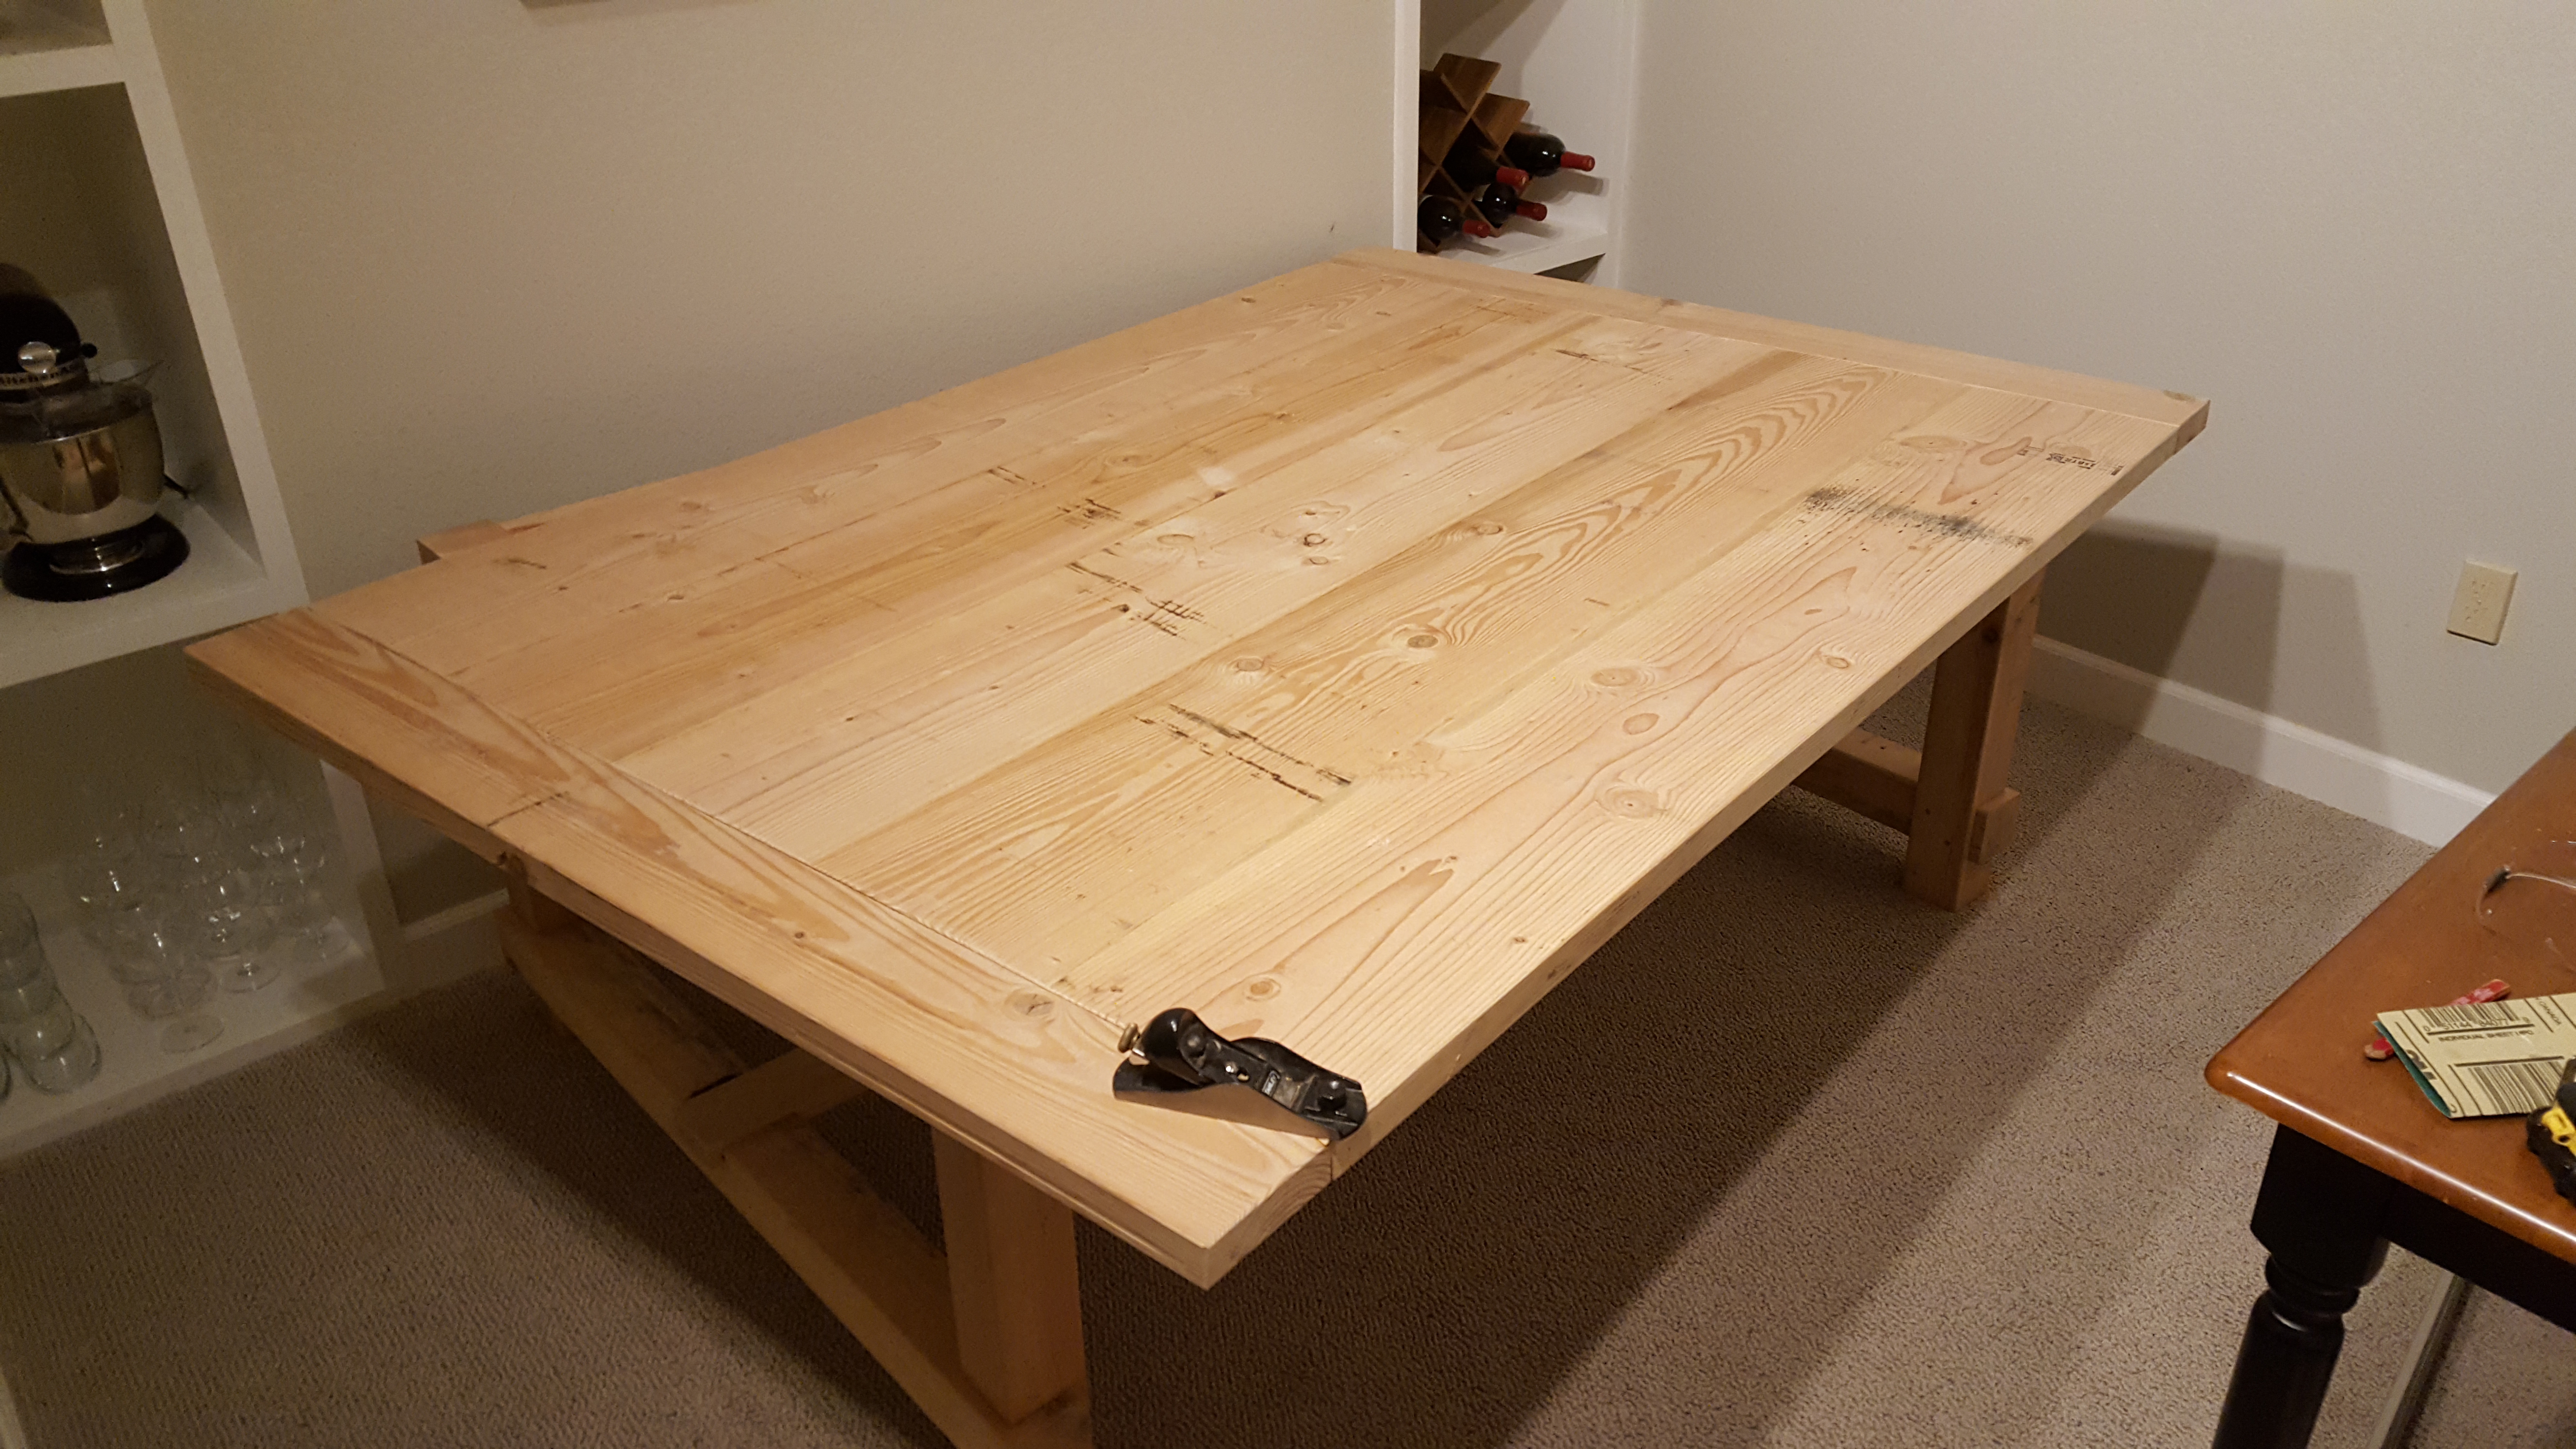
Table Top
The table top was a complete fiasco. I like how it looks now, but unless you are looking for far more work than you need, there are several things I would suggest doing differently.
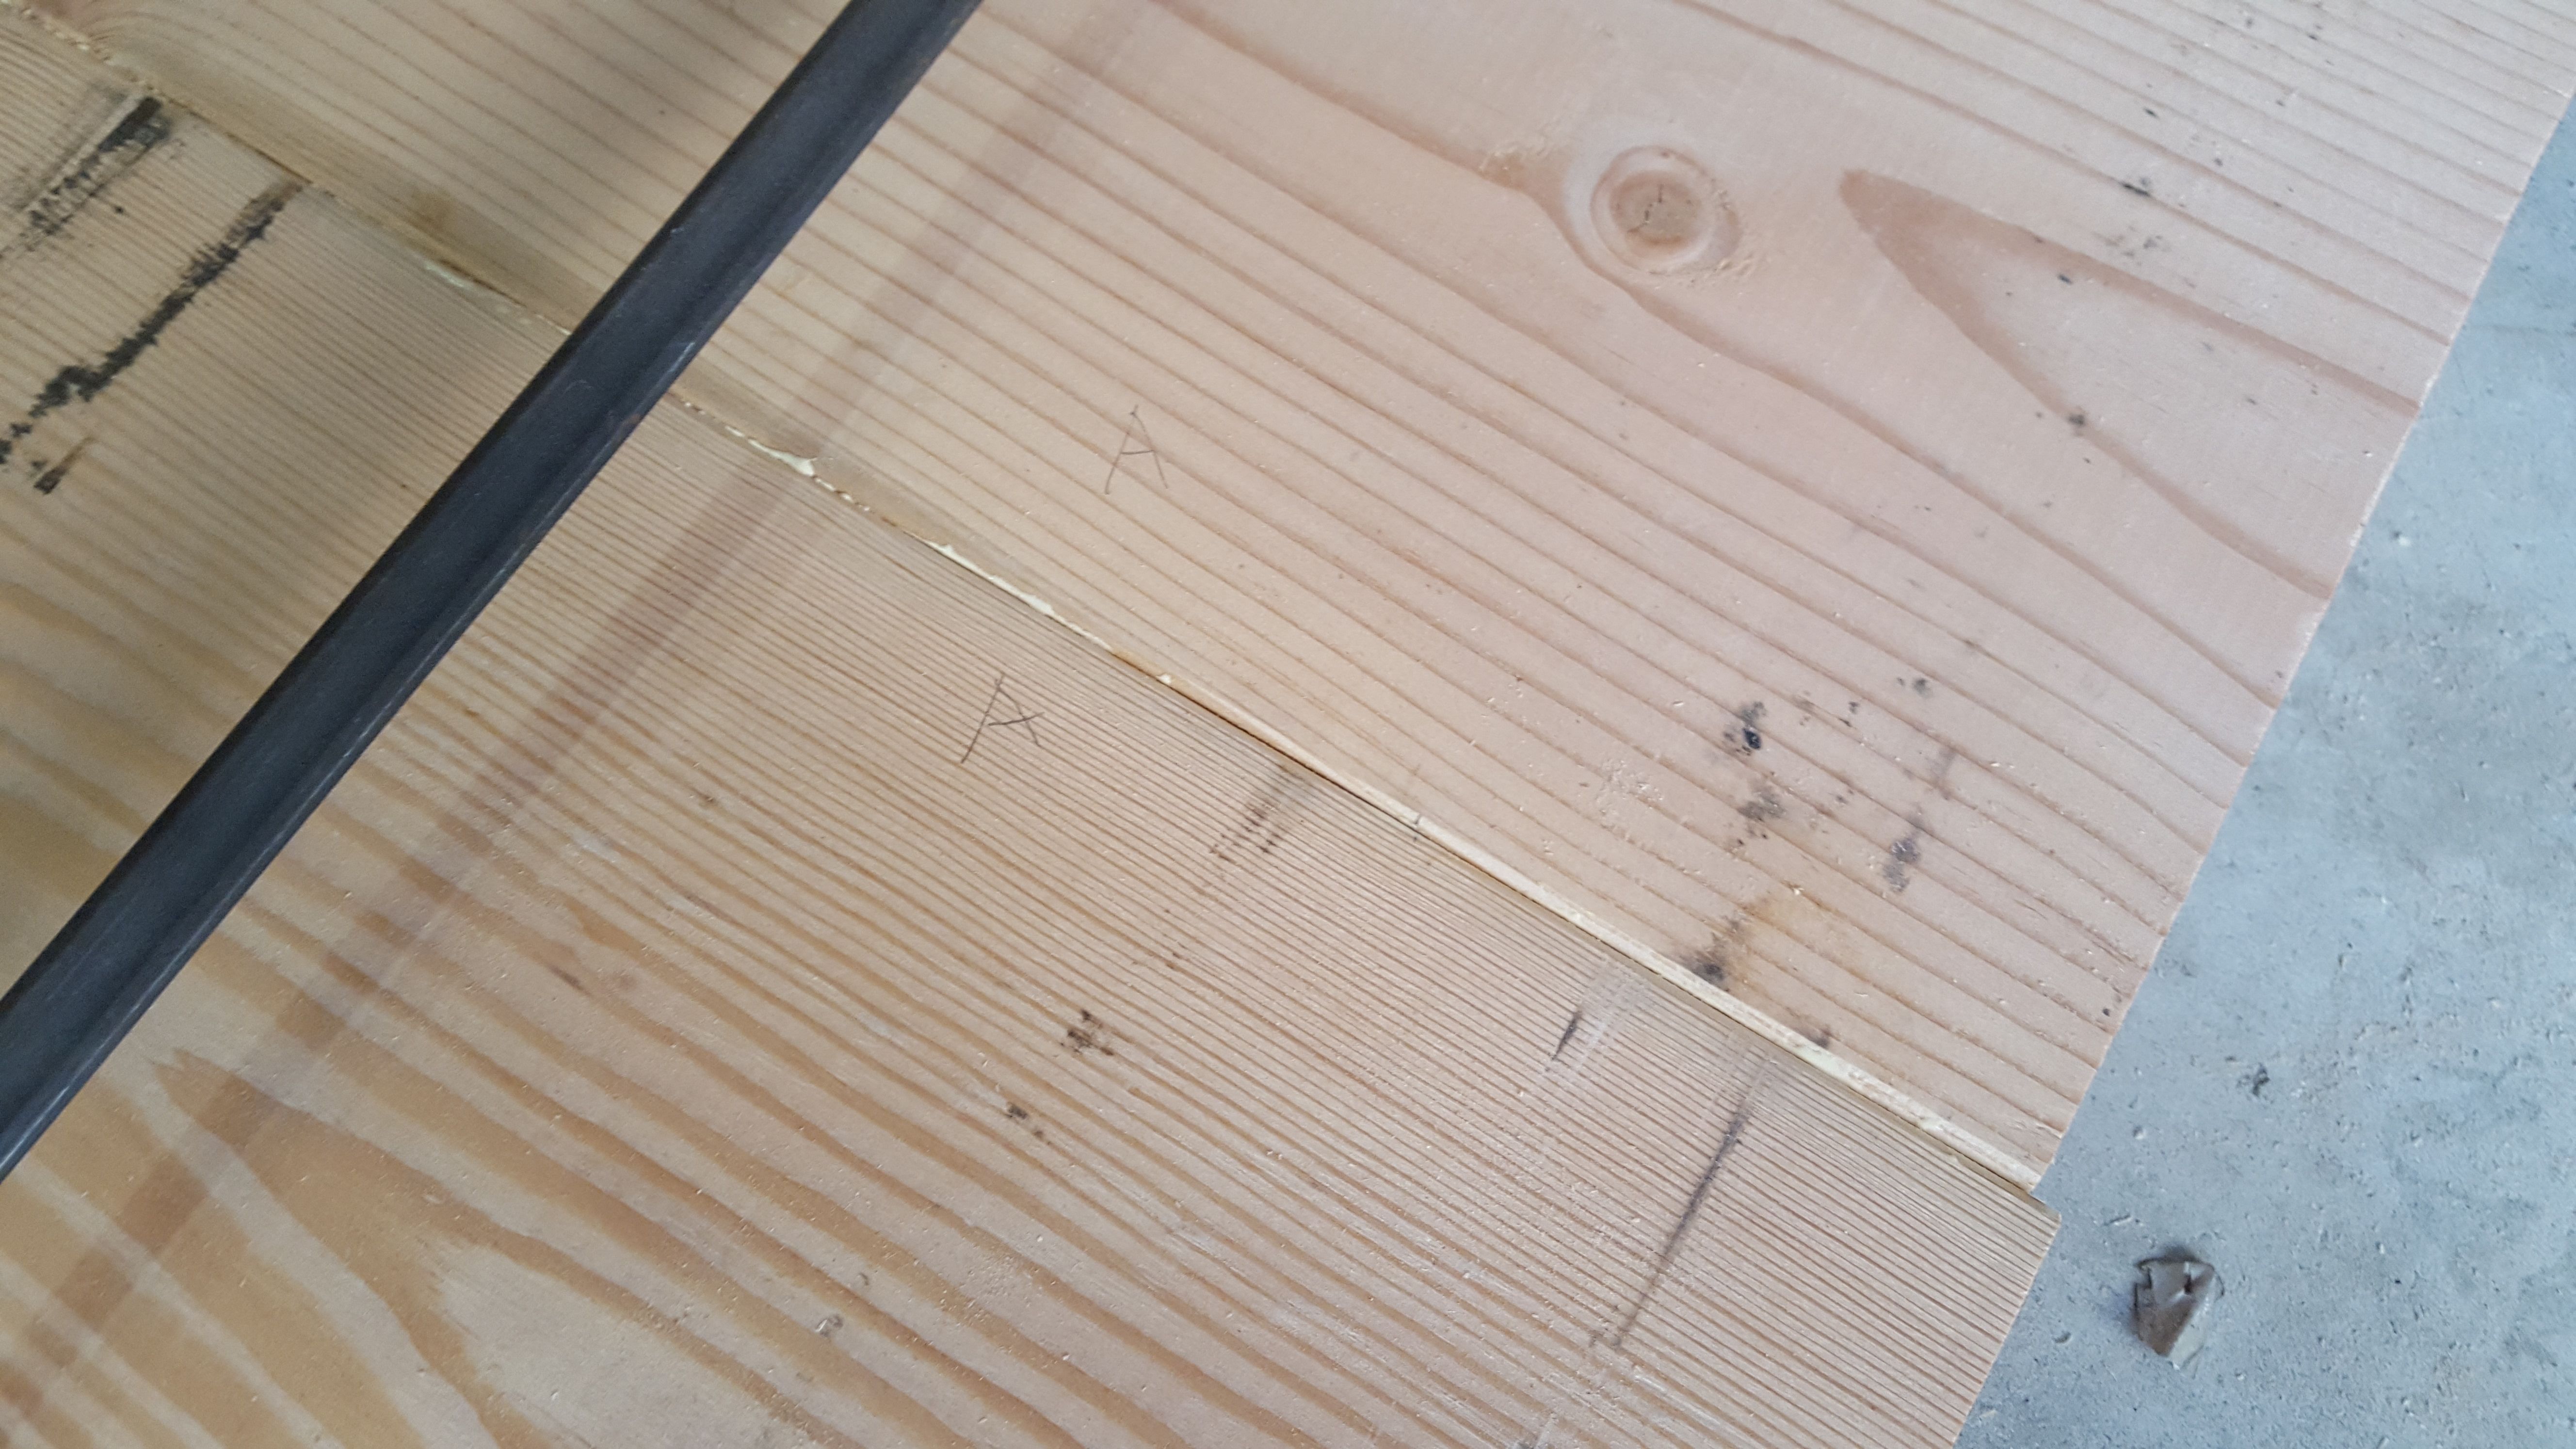
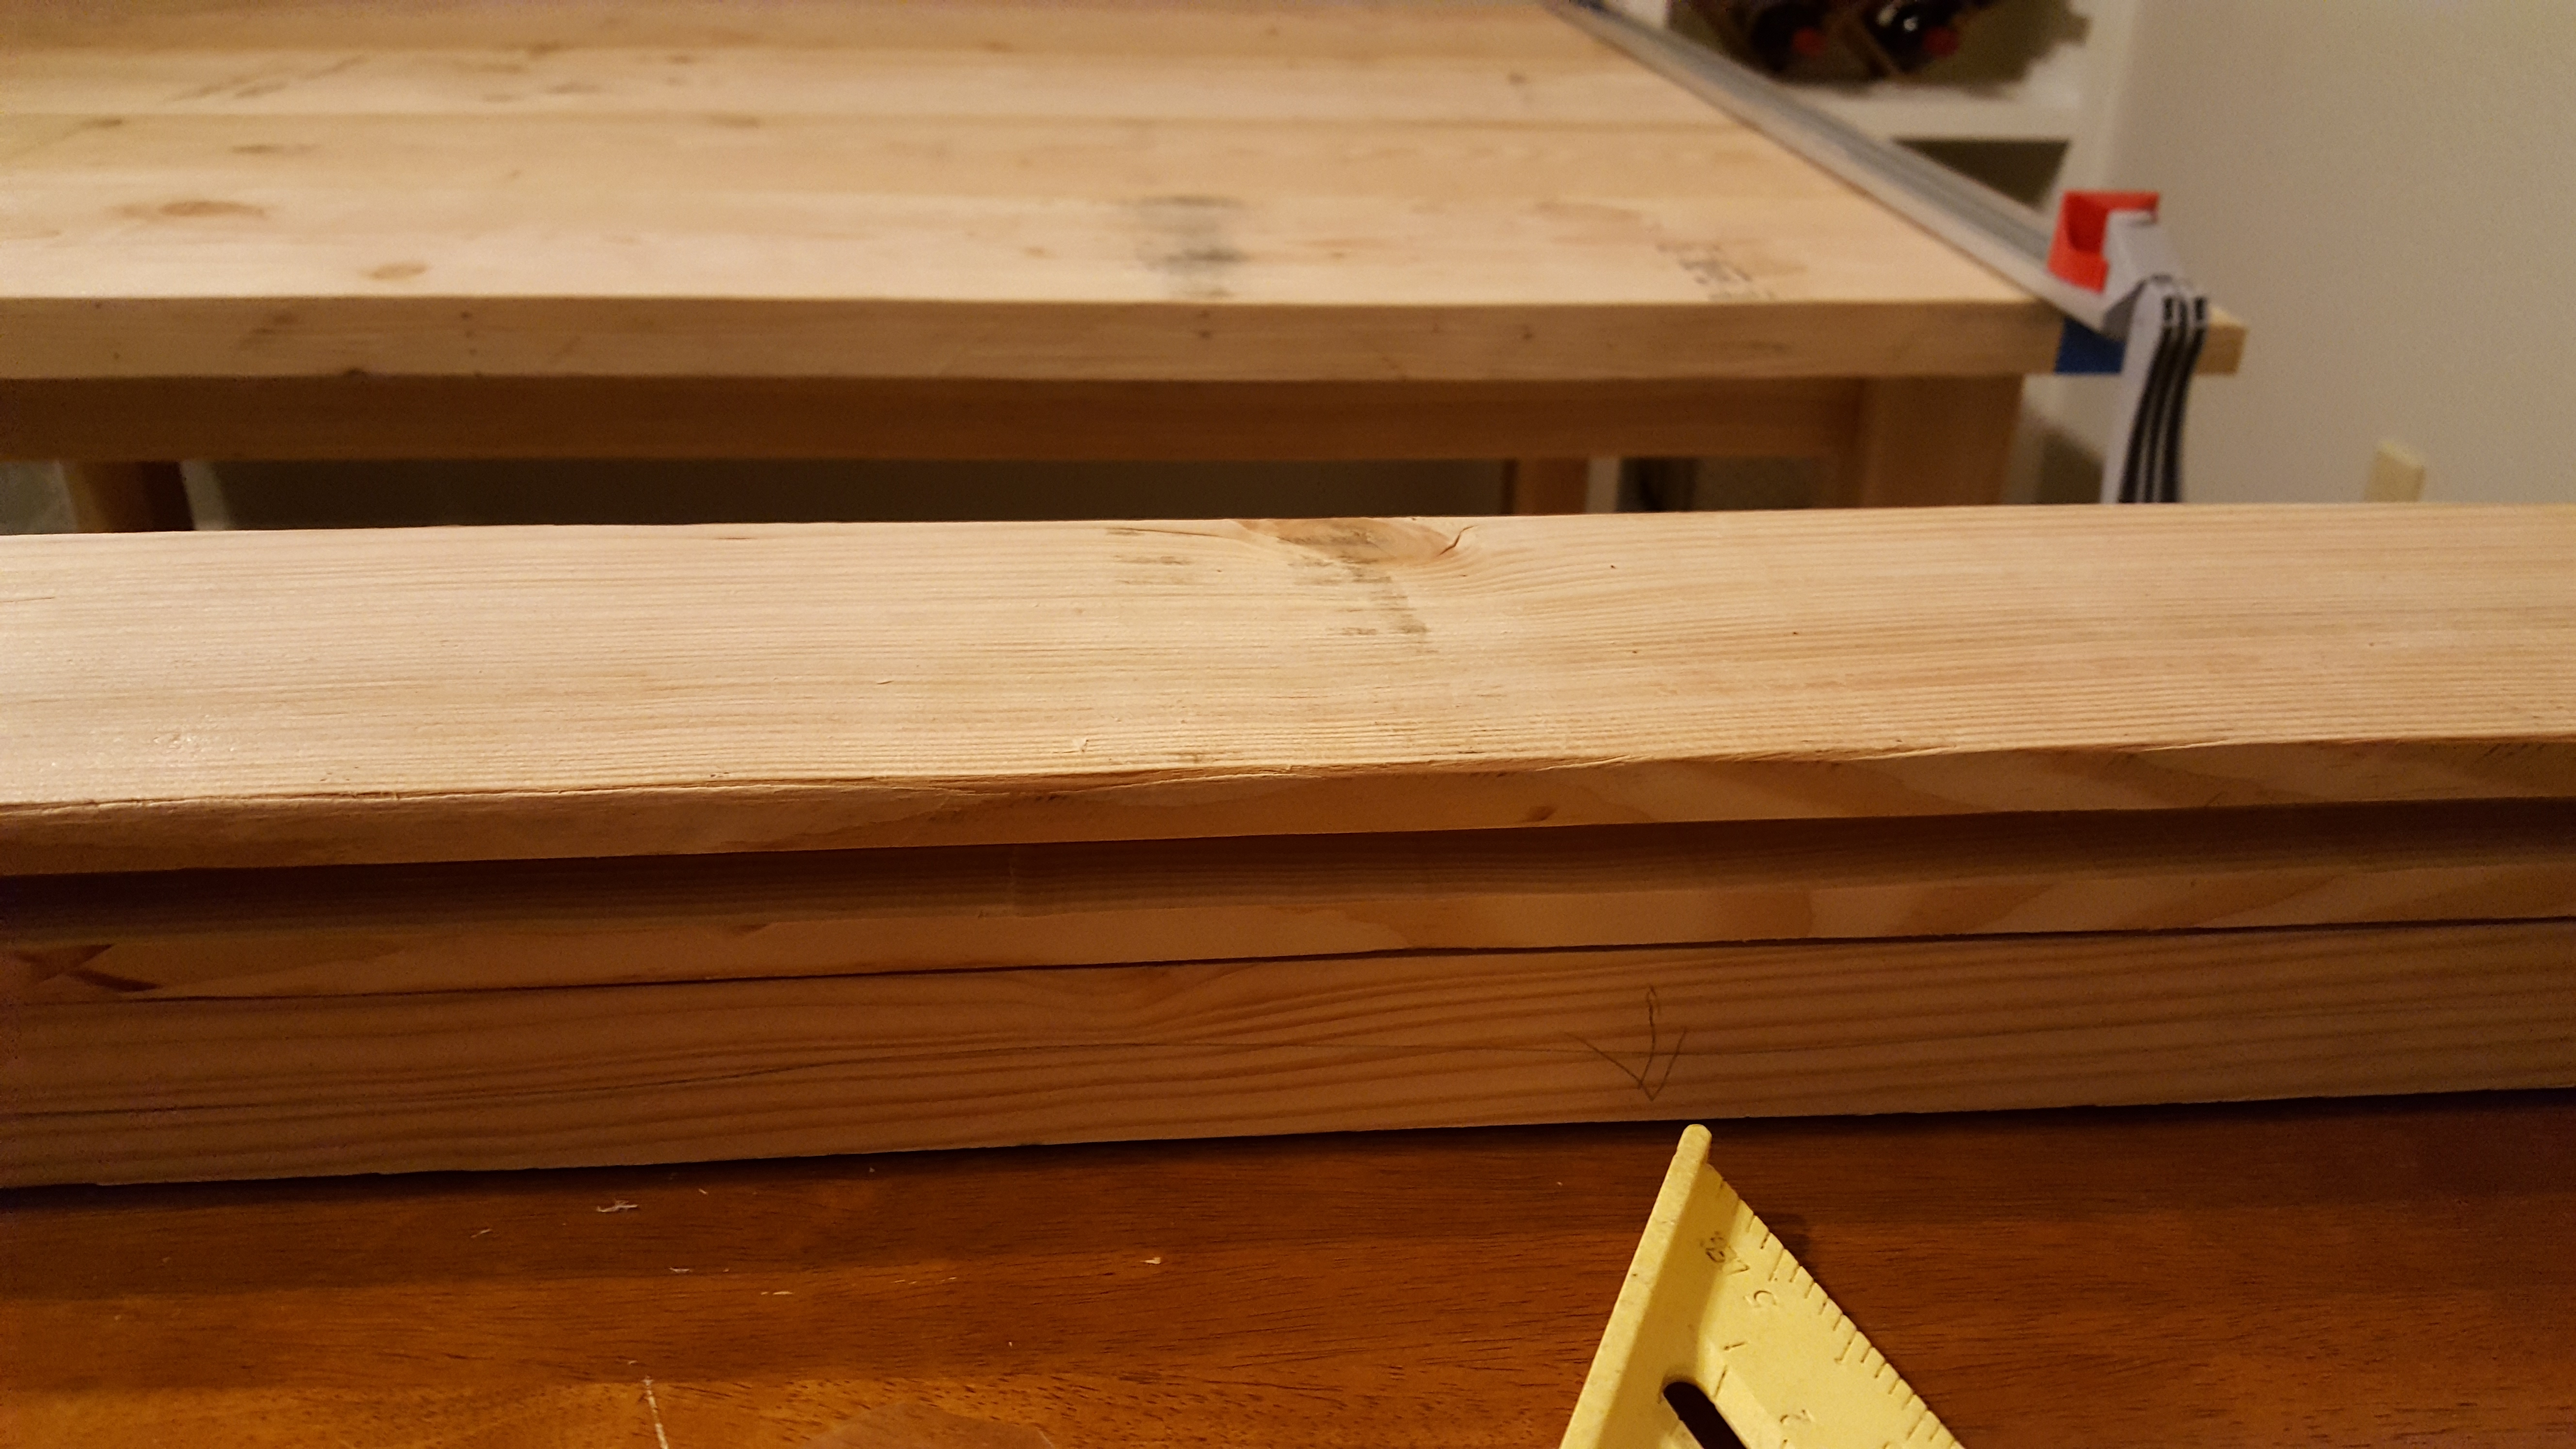
I used 5 2x12s for the majority of the top. The breadboard ends are the same thickness (1 1/2″) but 5″ wide and cut from a leftover 2×12.
I wanted that rustic look, but with edges that didn’t have large gaps in them. I accomplished this by running each 2×12 through my table saw with a jointing jig installed. This gave me a fairly straight edge on one side that I ran against the table saw fence to get a square edge on the opposite side. I then eased the top corners with a small hand plane to hide the variation in the board height. My thinking was that flush edges could be glued up (true) and not finishing the rest of the board would look rustic (also true) and the variation wouldn’t cause me too many problems by having slight variations (very, very false).
By having some variation while being very large and heavy, cutting the breadboard shoulders was nearly impossible except by hand. I was able to do it, but it took over a week of work to make happen and I had to invest in some hand planes.
If I did this over again, I would square the edges and run each board through my planer with a sled to get perfectly similar boards, or leave the boards alone and not do the breadboard ends at all.


Breadboard Ends
Like I said, the attempt to leave the top half-rough really made this next step a giant pain. There are very few resources for doing this with a large table. Most are using smaller pieces of hardwood that have been dimensioned and is small enough to move around by one person. Mine was very difficult to move and most of the work was done by hand.
Some helpful links:
Great video demonstrating cutting a breadboard end by hand. I used several of his techniques including the using the Stanley 45, chisel, and another hand plane to cut the shoulder, and hand saw for the cutting:
https://www.youtube.com/watch?v=G2R8JjkiGWo
Discussion on breadboard ends and making allowances for wood movement:
http://woodworking.stackexchange.com/questions/2054/how-does-one-properly-mount-a-breadboard-end
Wood Magazine article on using dowels to attach breadboard ends:
http://www.woodmagazine.com/woodworking-tips/techniques/joinery/breadboard
Eagle Lake Woodworking article on making a Cherry table top with breadboard ends:
http://www.eaglelakewoodworking.com/post/Mission-Style-Cherry-Coffee-Table.aspx
Mortise
I cut the breadboard ends to 1 1/2″ x 5″ x 58″ from the rest of my last 2×12 from the top. To cut the mortise, I borrowed a router table from a friend and used a 3/4″ straight router bit. To cut both sides evenly, I lowered the breadboard end onto the bit while running, ran it along the fence, and repeated the same thing with the piece of wood flipped around to keep the mortise centered. Then I raised the bit about 1/4″ and repeated until I had the depth I was looking for, about 1 1/2″ deep.

Cutting the Tenons
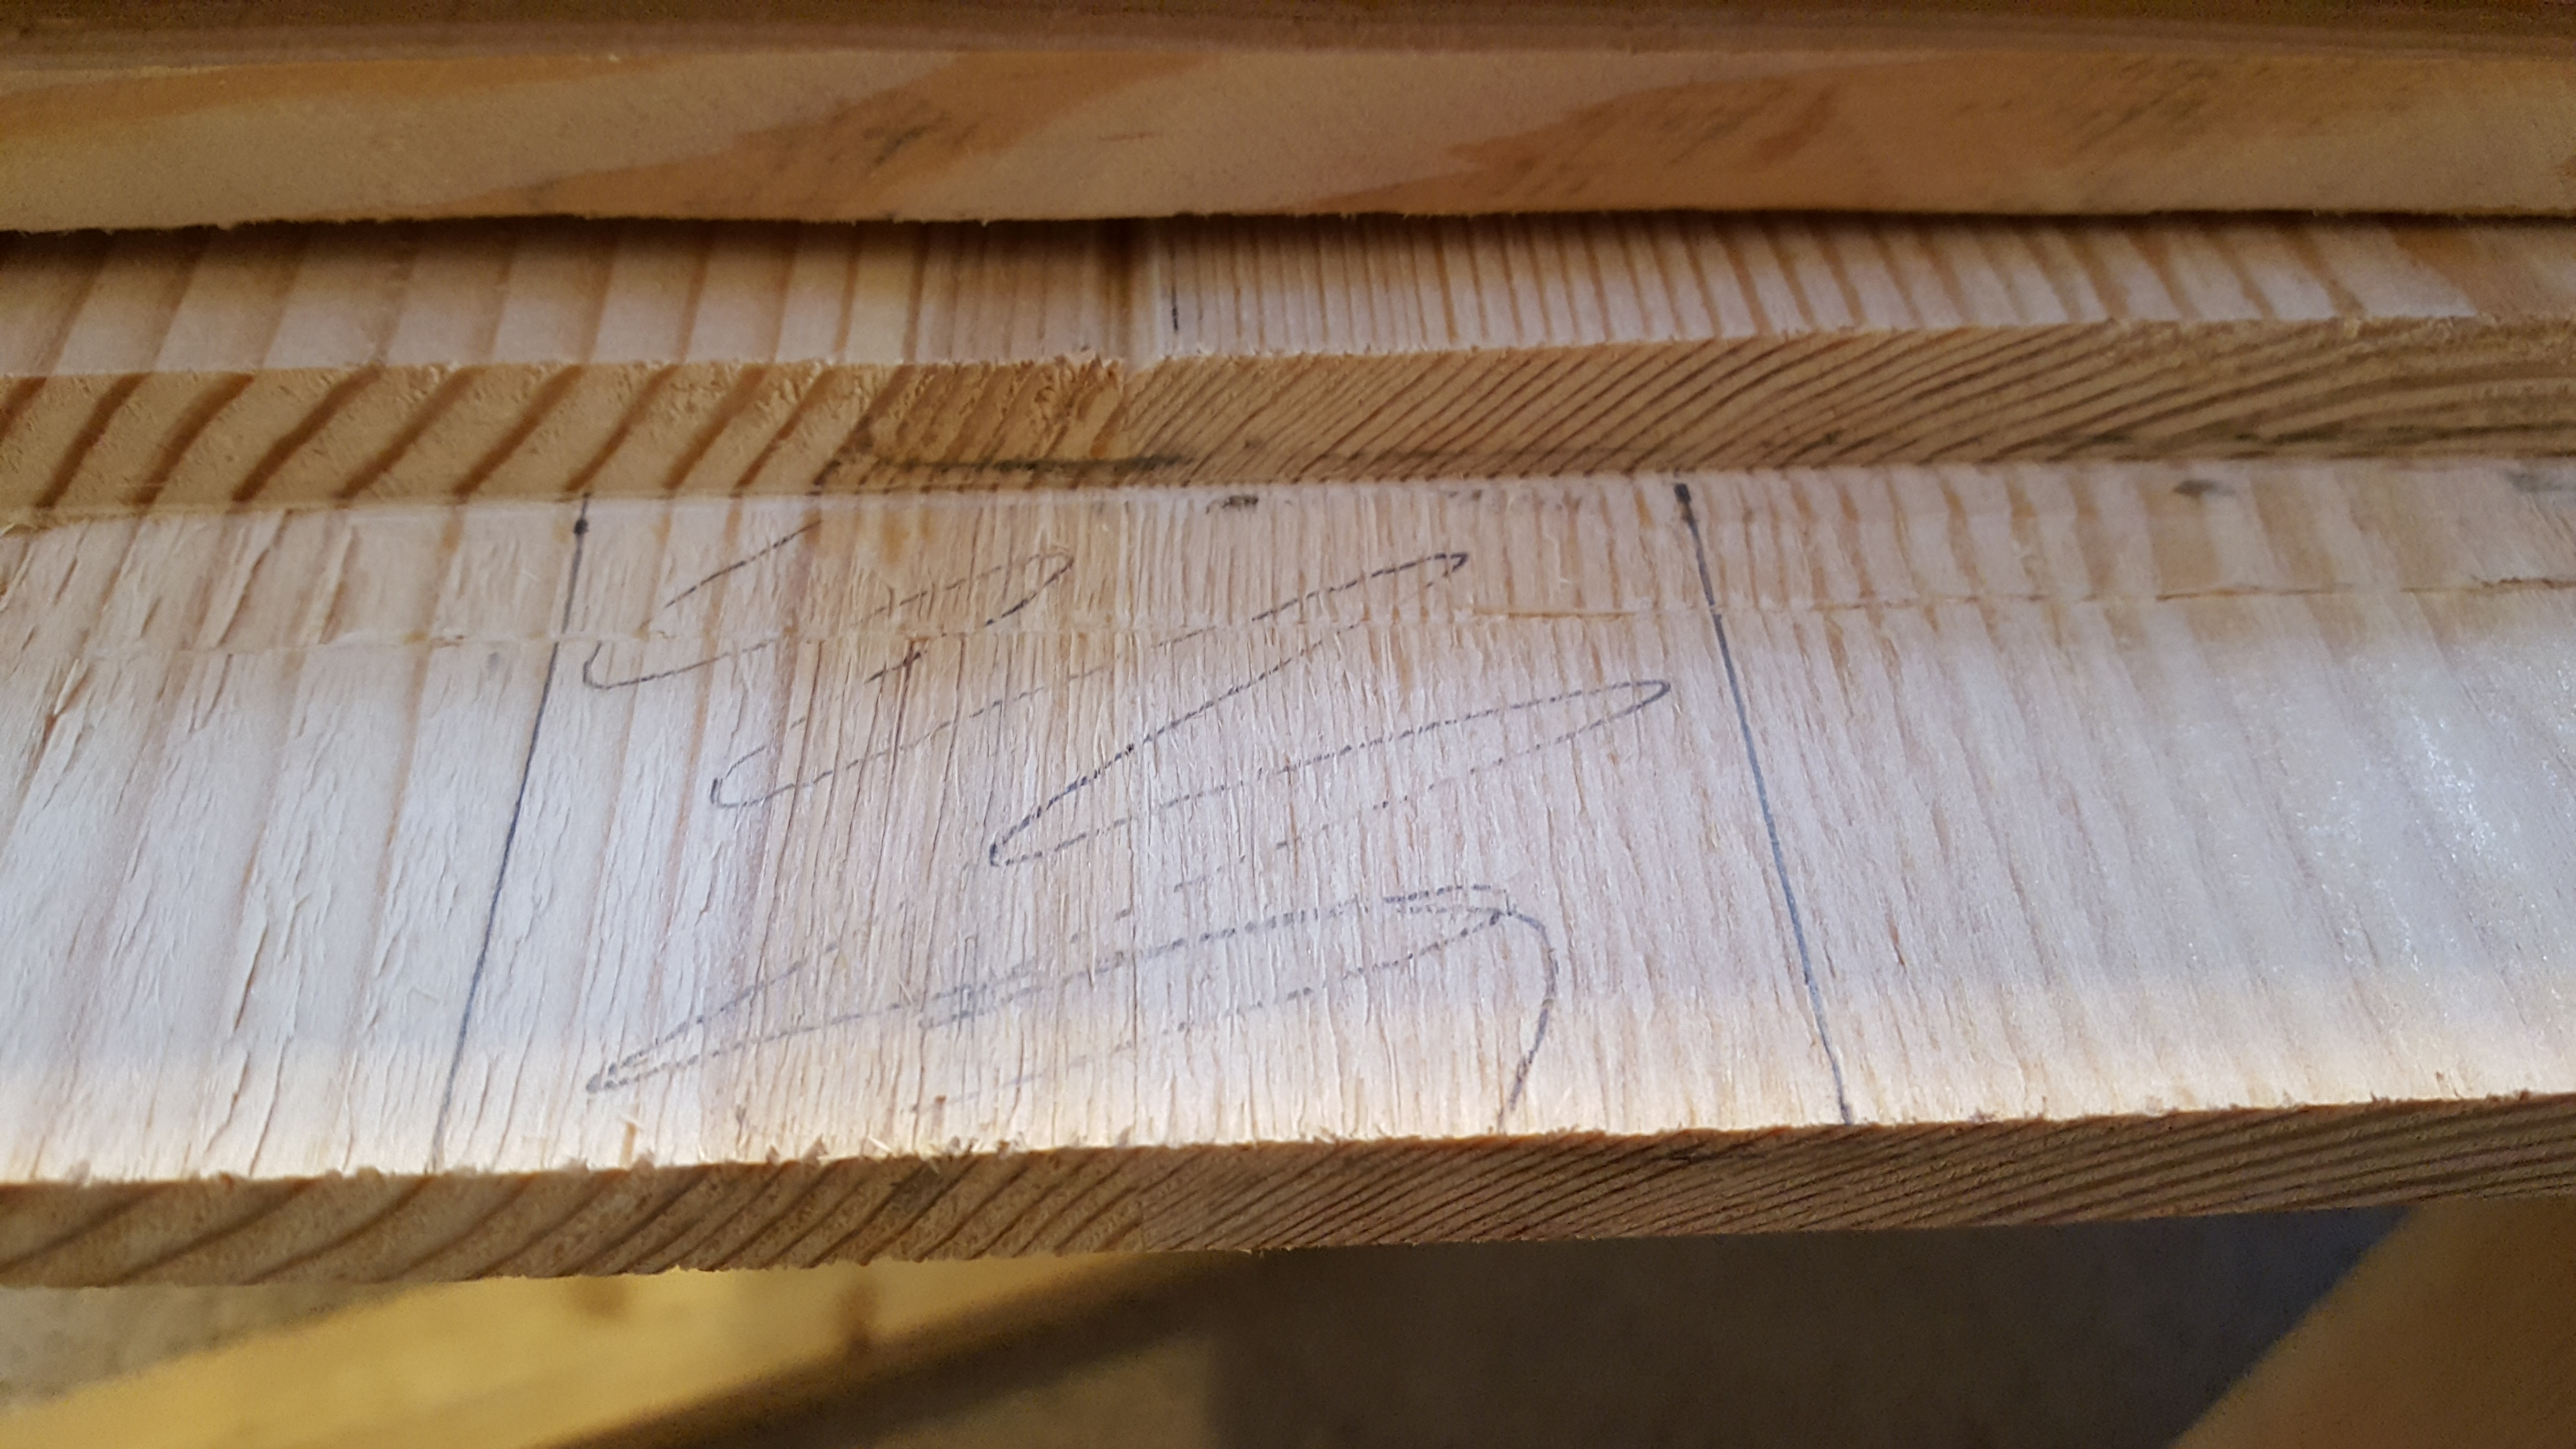
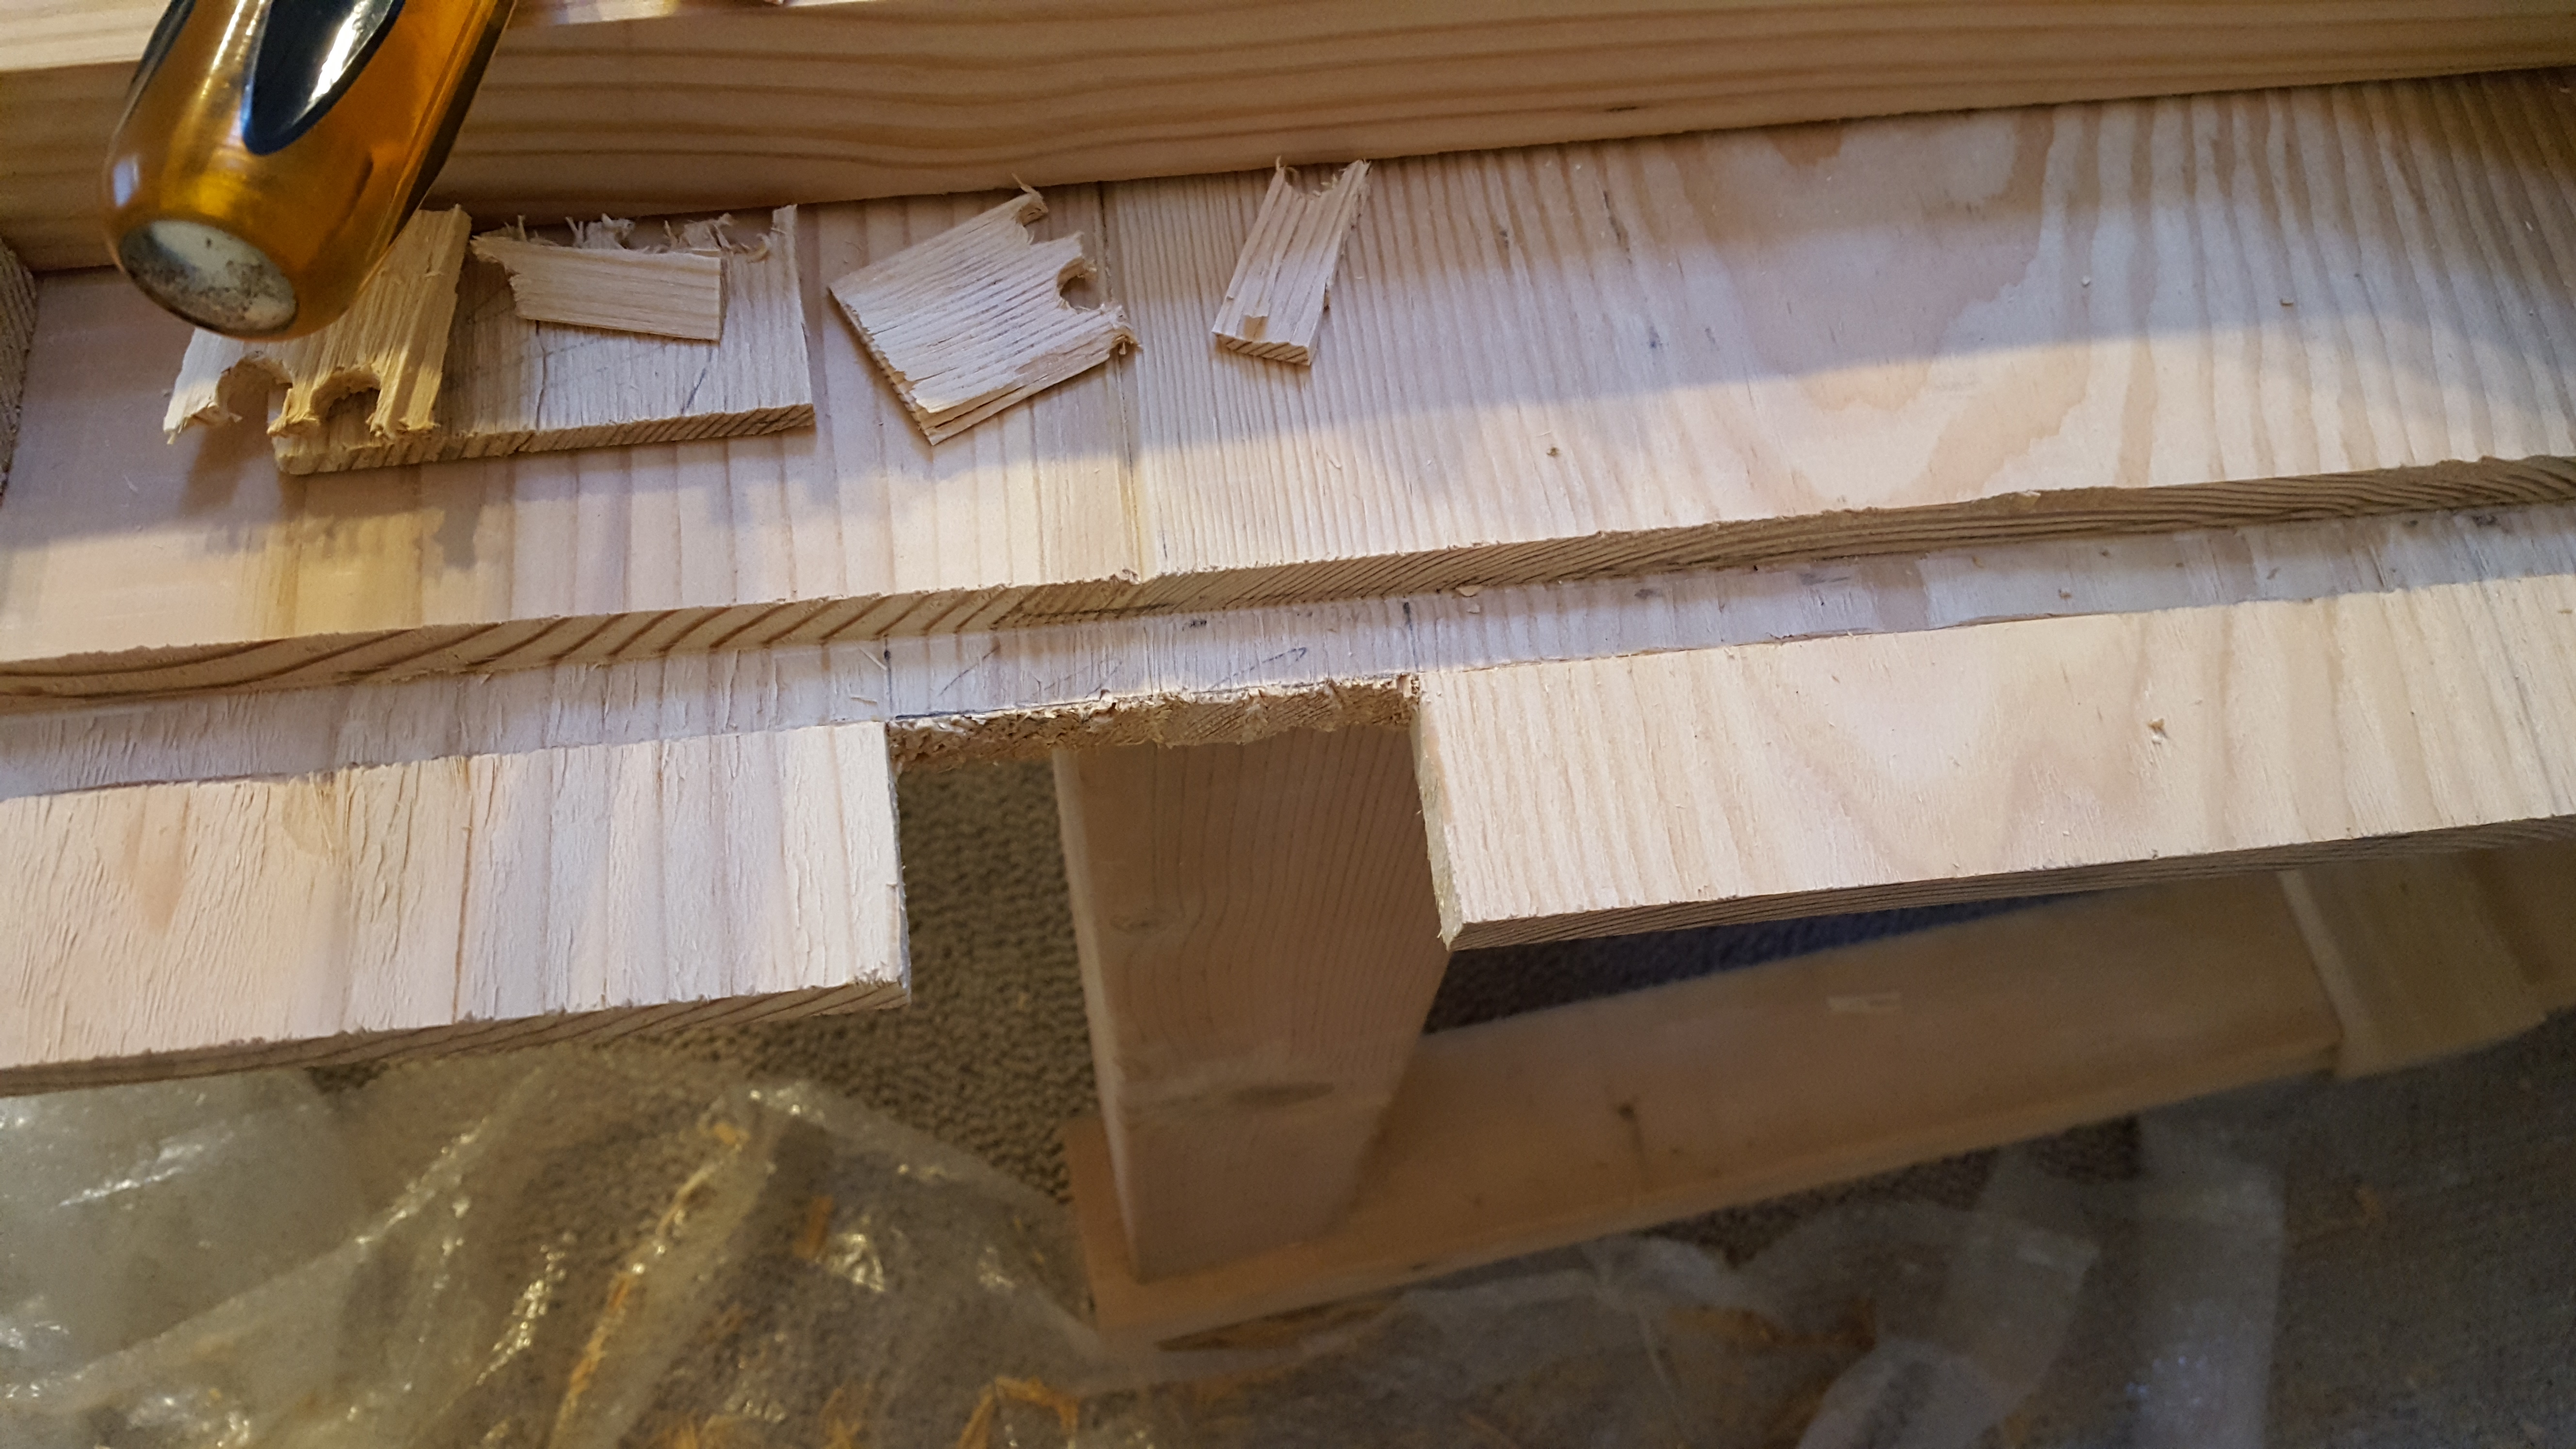
The best solution I found was using hand tools. Again, the best resource I found was How to Make Breadboard Ends with Will Myers. The first step was to cut the ends flush with a hand saw. Then I used my new Stanley 45 to cut a dado about 1 1/4″ from the end. When the dado was to the right depth (about 3/8″), I used a chisel to remove most of the wood from the end, and then cleaned up the shoulder with a Stanley No. 5. Then the table was flipped and the same process repeated on the other side.
I then marked out about two inches between each board and removed some of the material so each board has a large tenon across the middle. For the ends I cut out about 1 inch of the tenon all the way.
To secure the breadboard, I drilled a pilot hole from underneath just to below the top surface of the breadboard. Then I pulled the end off and expanded the holes to 1/4″ on each tenon. To allow for movement, I drilled the outer tenon holes wider so the screws can slide laterally without cracking the wood. The screws were installed through those holes so they are only screwing into the breadboard and can move within the tenon.


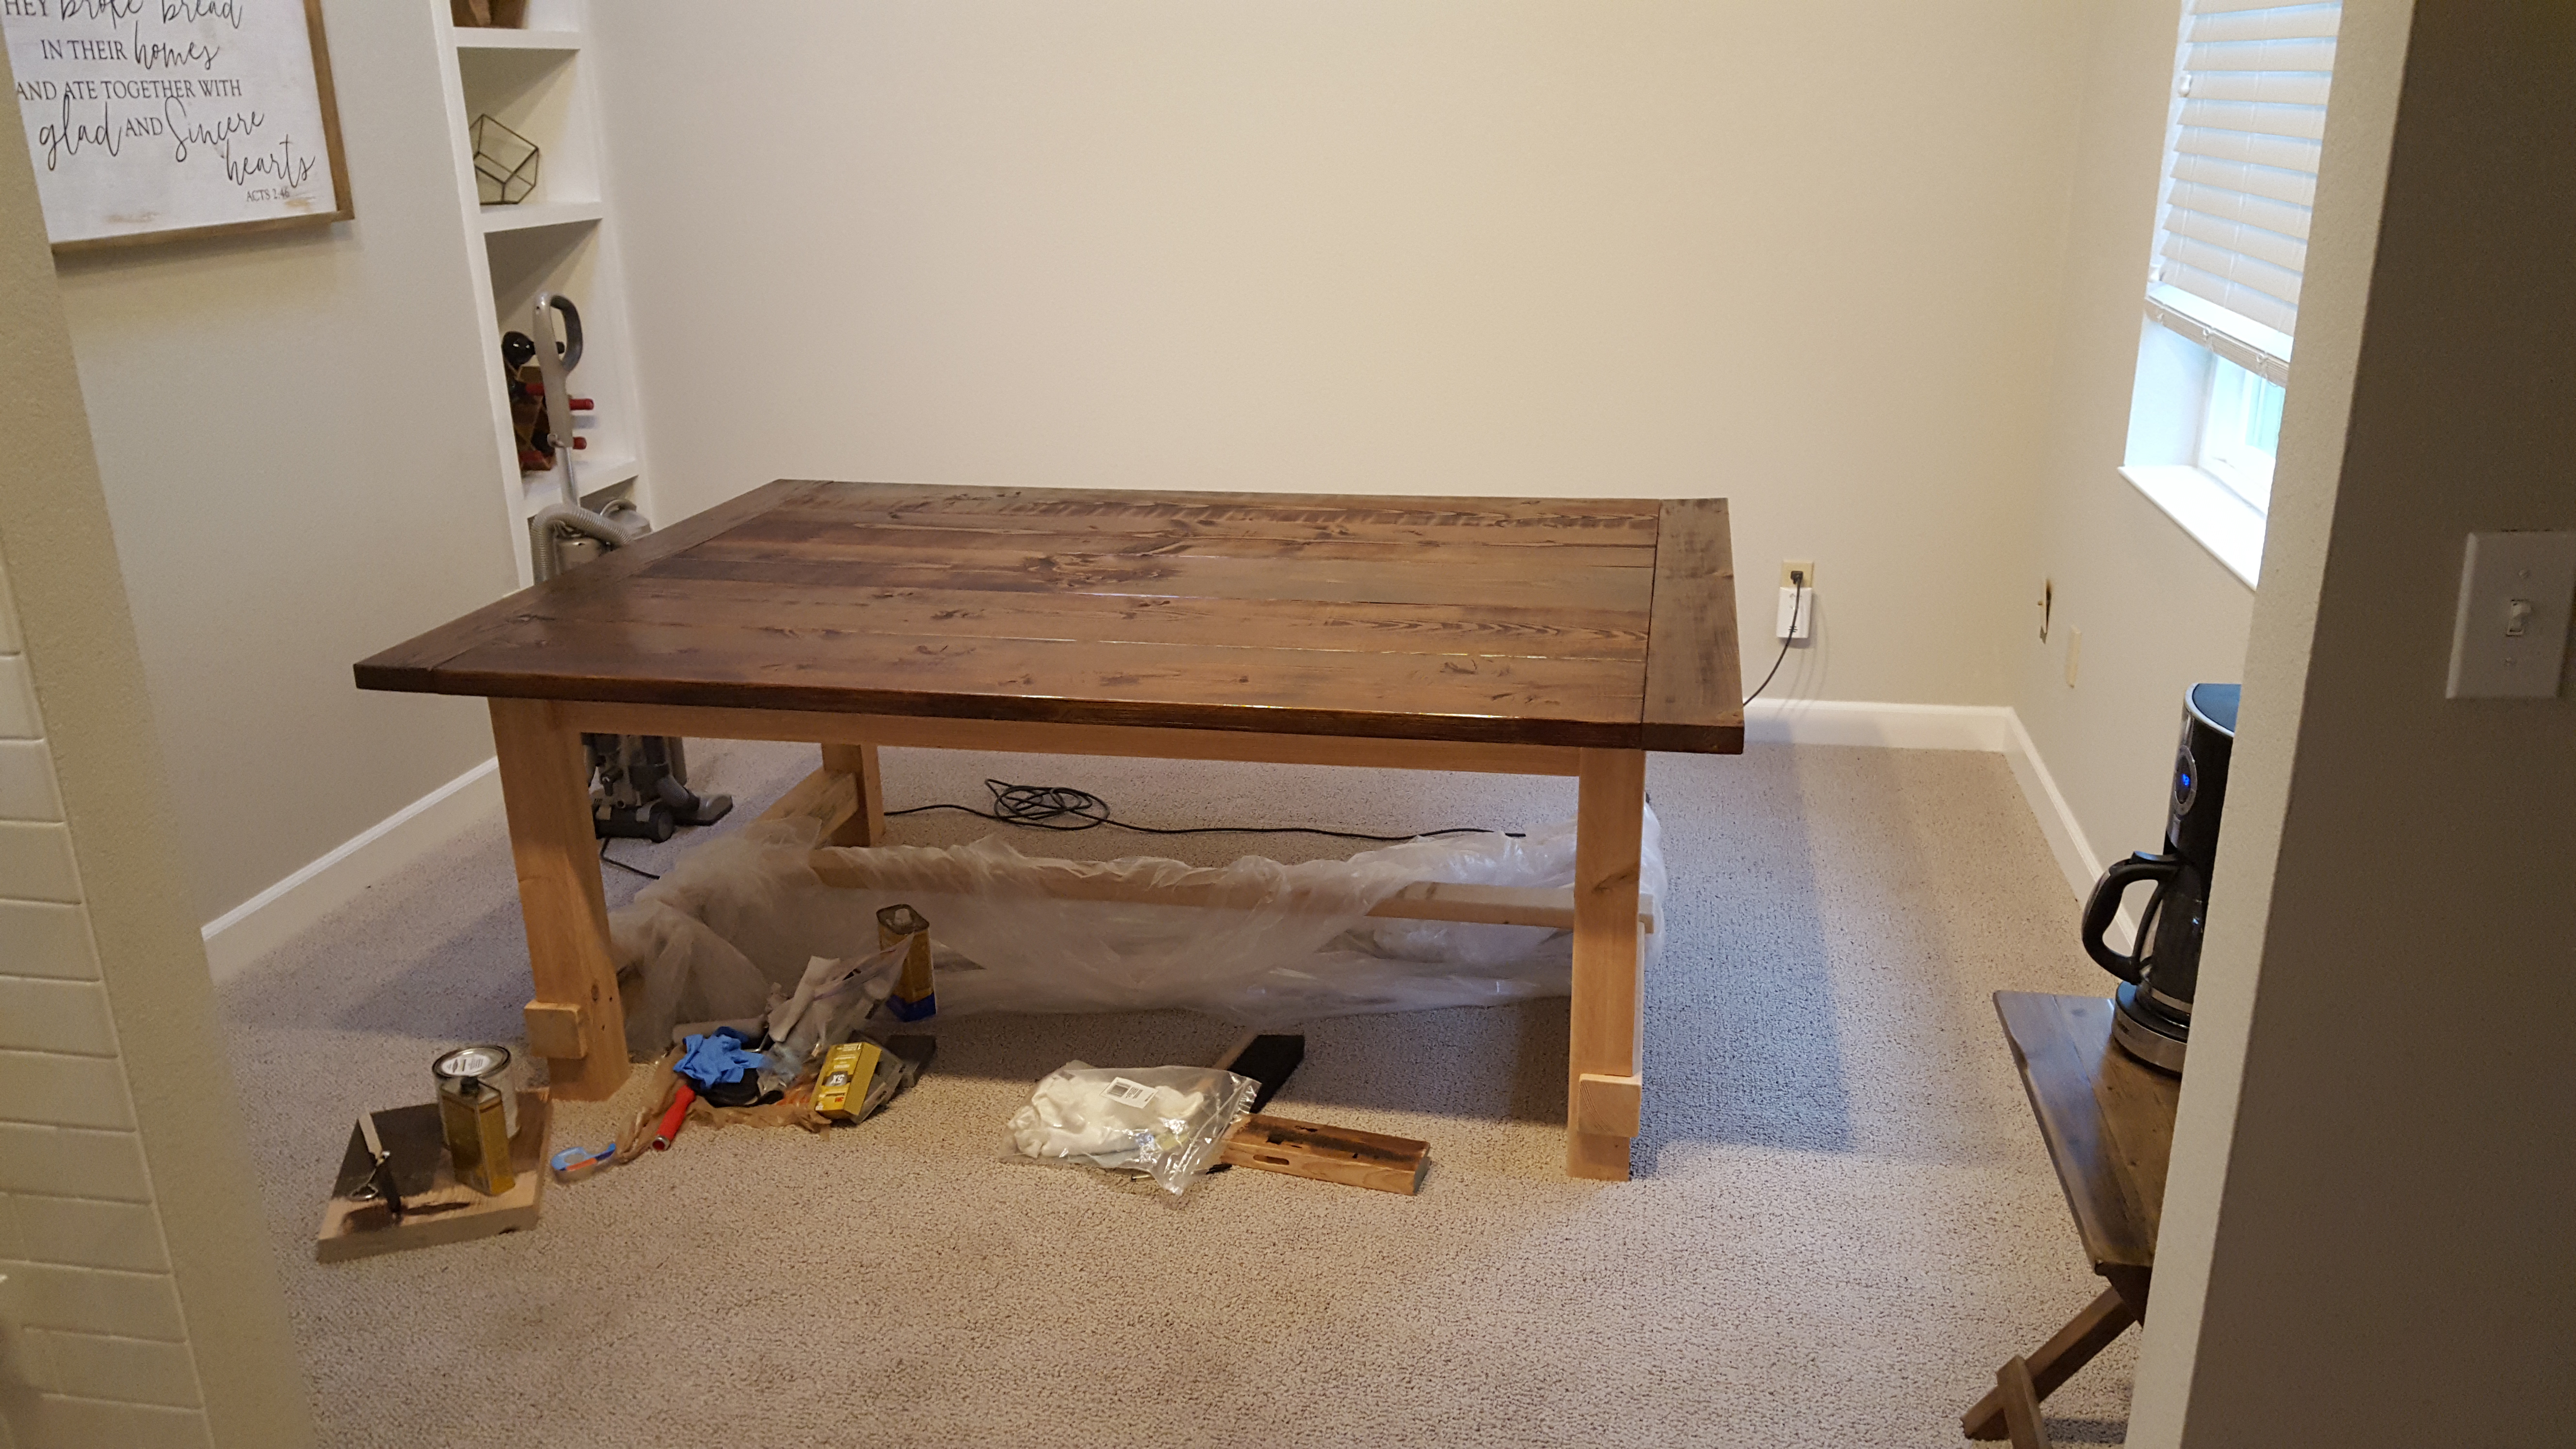
Finish
We were hosting Christmas for my family and I wanted to use the table, but only had a few days after finishing the top. There wasn’t enough time to apply a finish, so we put down the biggest table cloth we had and asked everyone not to spill. Thankfully, it turned out fine and we were able to make it through the day without any problems.
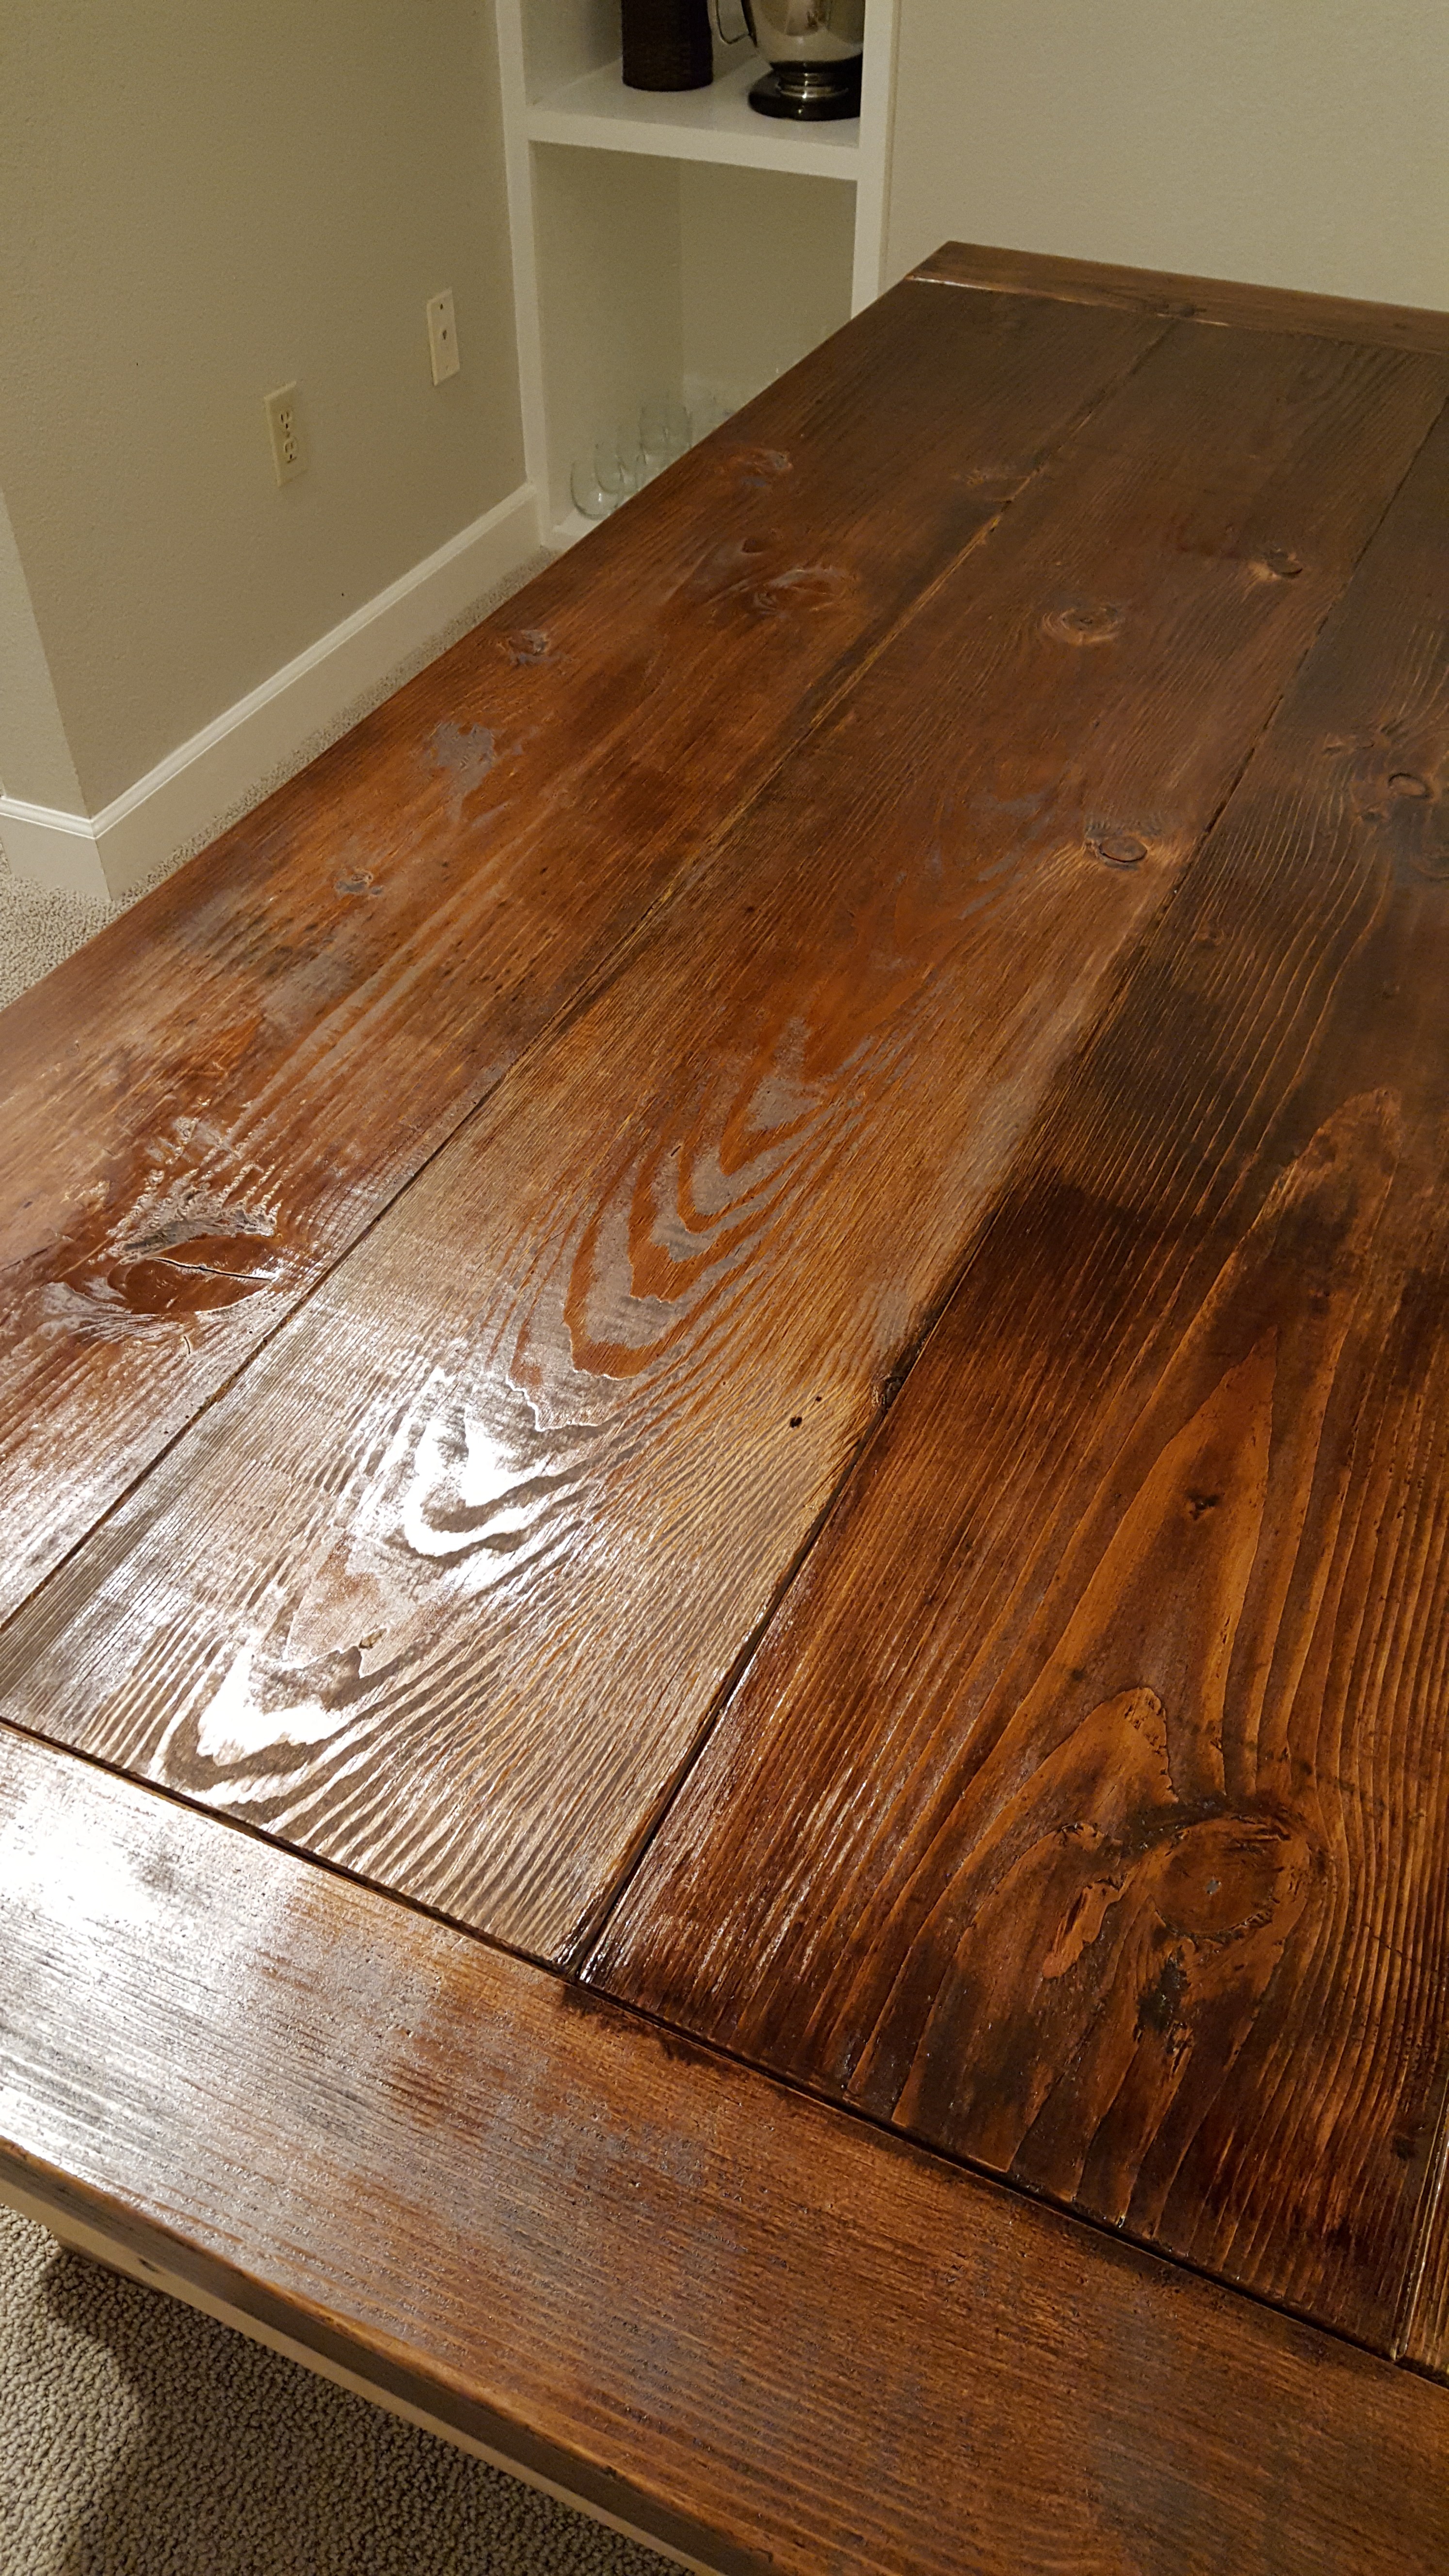
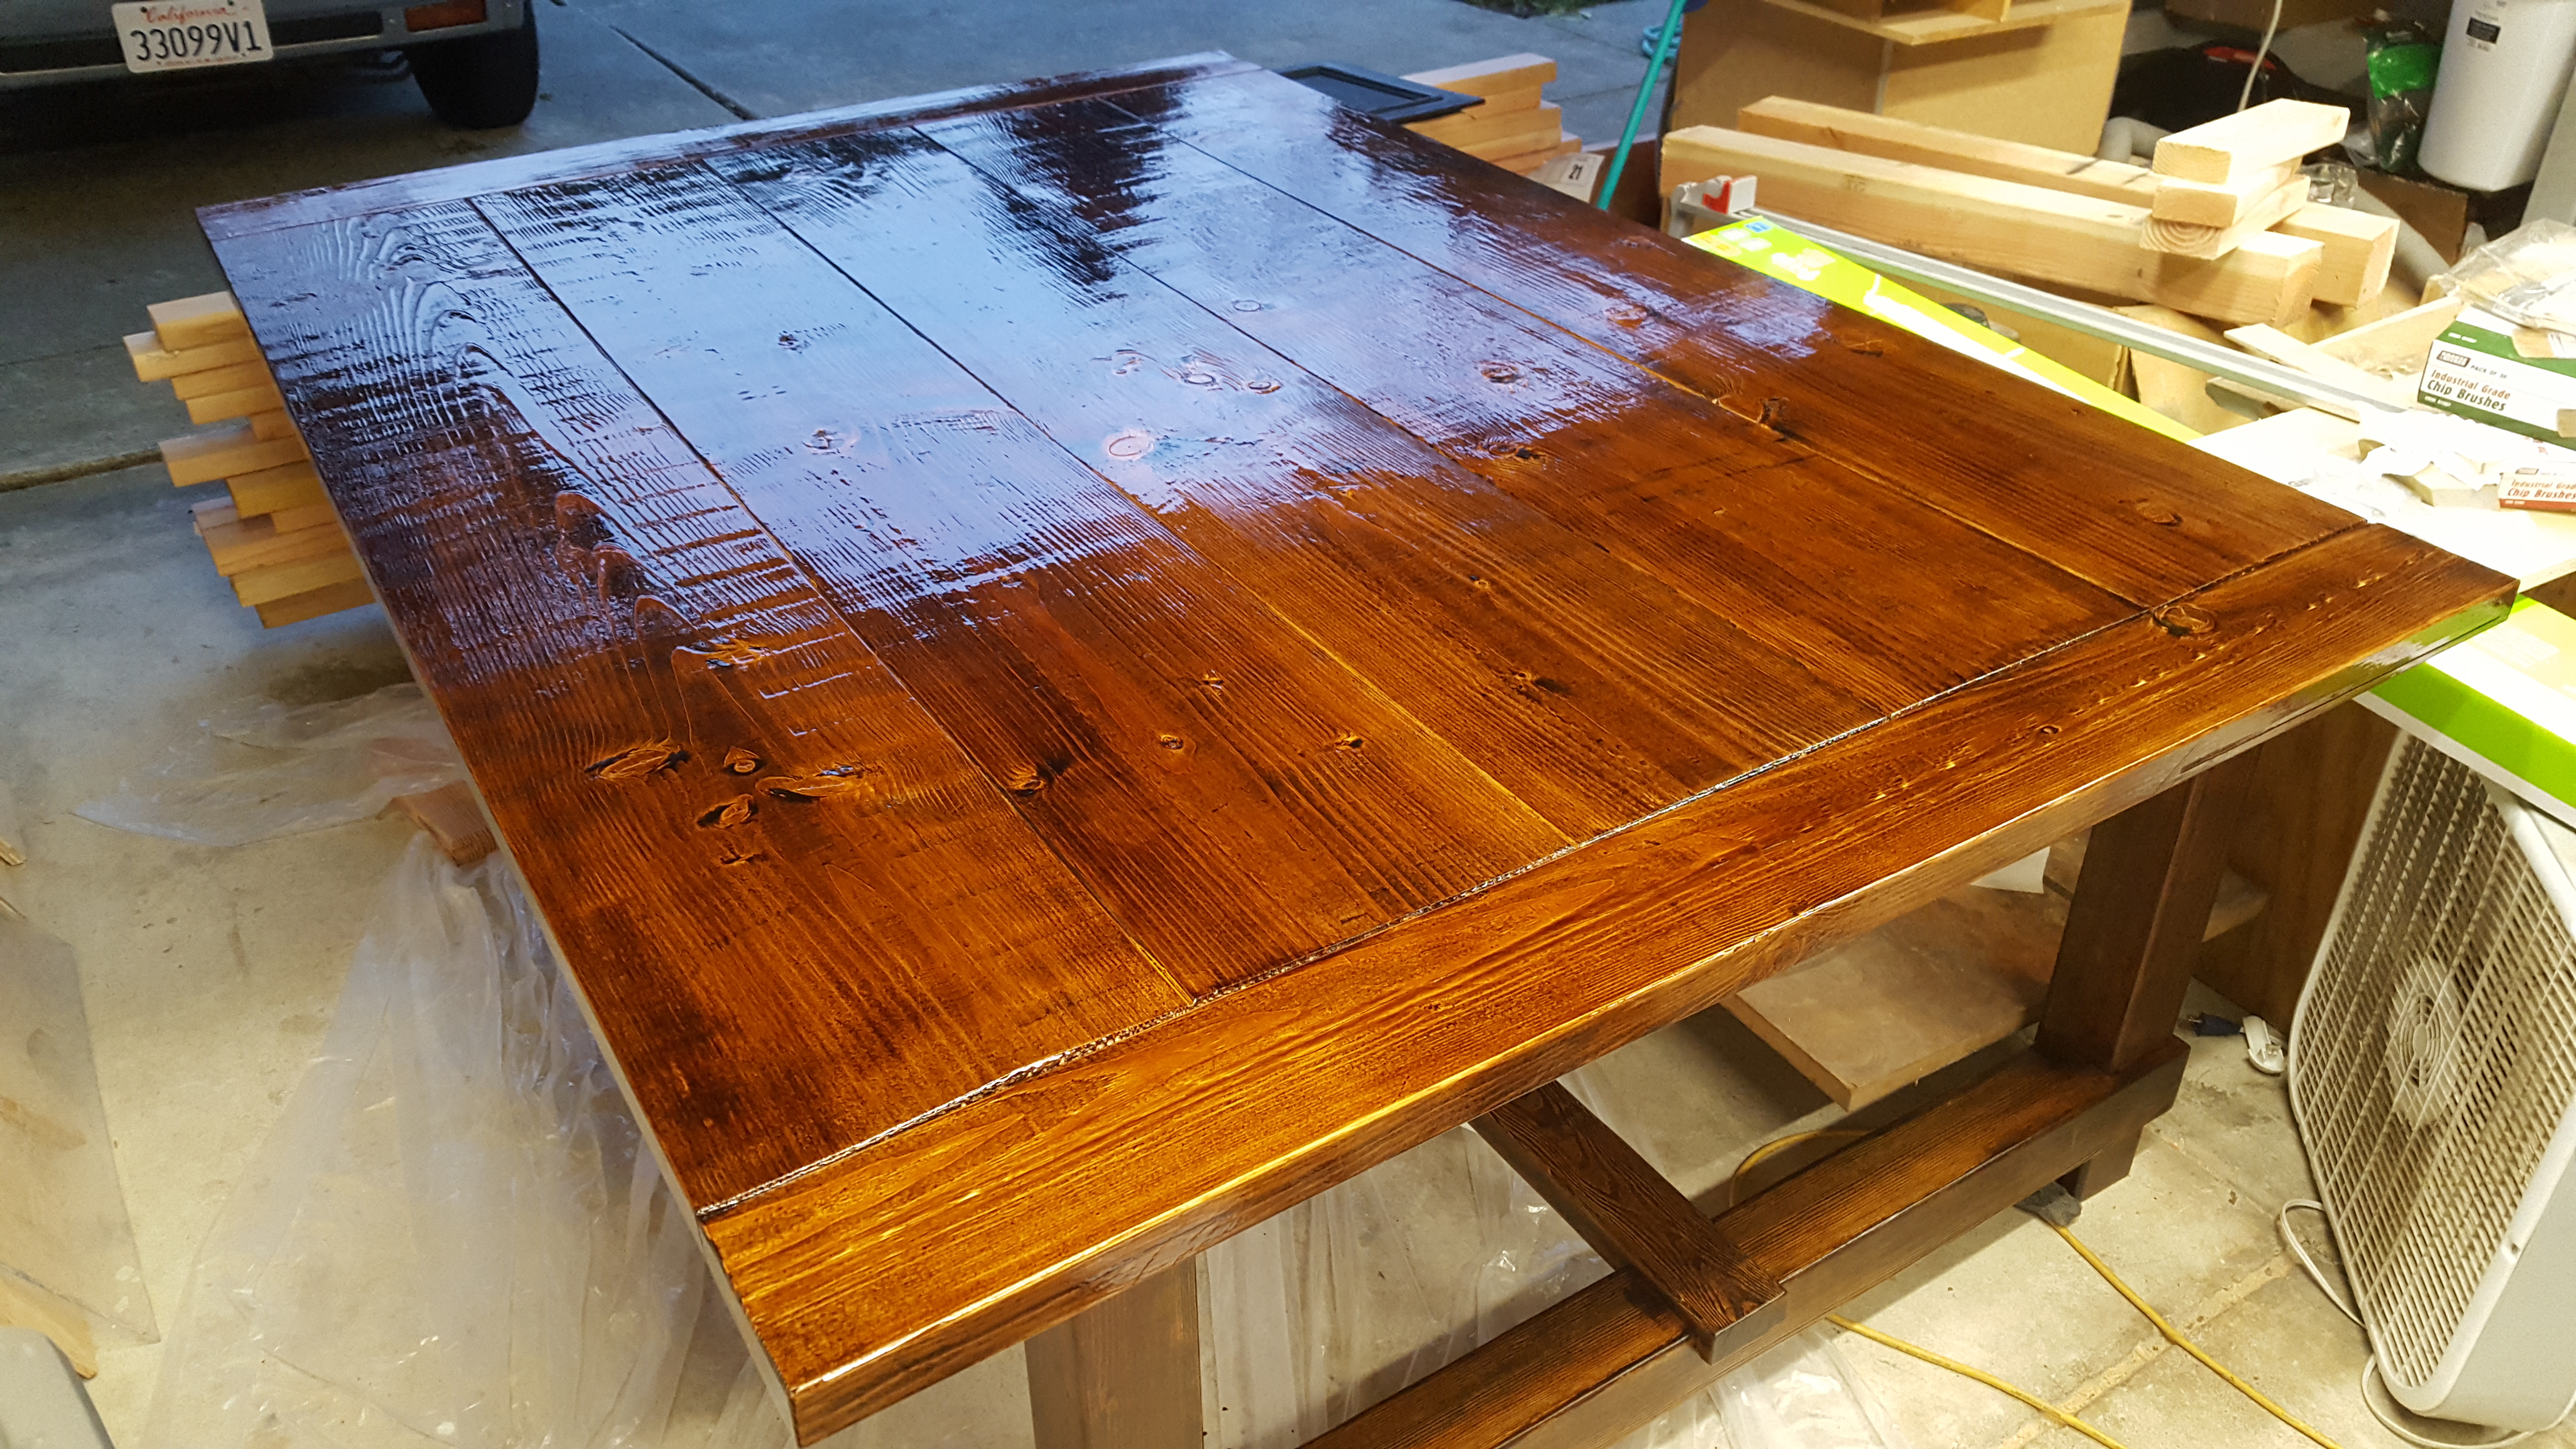
The stain is one coat of Miniwax PolyShades Mission Oak. We brushed it on in a fairly thin coat and allowed it to dry for several days.
The finish over the base is two coats of satin Minwax Helmsman Spar Urethane given about a day to dry between coats. The top received three coats for a little extra durability. We went with a satin finish to highlight the wood grain and since it is near a window, the Spar Urethane should keep it from discoloring from the Sun.


Securing The Top
The top is secured to the base with hard Maple buttons that are screwed into the top and sit in slots in the aprons. This holds the top down, but they are free to slide a little to allow for the wood in the top to expand and contract. I used a 1/4″ slot cutting router bit to cut the slot in the aprons and 2″ screws to attach the buttons to the top. The buttons measure 3/4″ x 1″ x 1 1/4″.
Here are several links I found that helped me decide to use this method:
Matthias Wandel’s small table build that uses the same buttons I did:
https://www.woodgears.ca/table/kids/index.html
Craftsmanspace article on attaching tops:
http://www.craftsmanspace.com/knowledge/17-ways-to-fasten-a-tabletop.html
Timber Tech’s PDF of a Fine Woodworking article on securing tops:
http://timbertech.wikispaces.com/file/view/Attaching+Tabletops.pdf


Conclusion
The table looks great and we really feel happy with how it turned out! Although some of the work was frustrating at times, I’m glad we took this on. Sometimes it just feels good to finish a project that we did from start to finish and will get to enjoy for years to come!
The table really looks great!
Thanks for posting this. Looking forward to building one very similar.
Thanks Mark! Feel free to send some photos of your finished table!